Ensure that an appropriate contact input filter is created. For more information, seeInput Filter.
You can import a maximum of 5,000,000 contacts in a single file into Contact Manager on the LiveVox Portal (LVP).
When importing contacts, ensure that the file contains only the necessary fields that are mapped to the columns in the Contacts window.
To import contacts:
On the Configure tab of LVP, click Contacts > Contacts. The Contacts window appears.
On theContactstab, clickImport. TheImport Contactswindow appears.
In theFilefield, click Choose File, and then select the file that you want to import.
In theFile Formatfield, select the input filter.
Optional: To customize the file format:
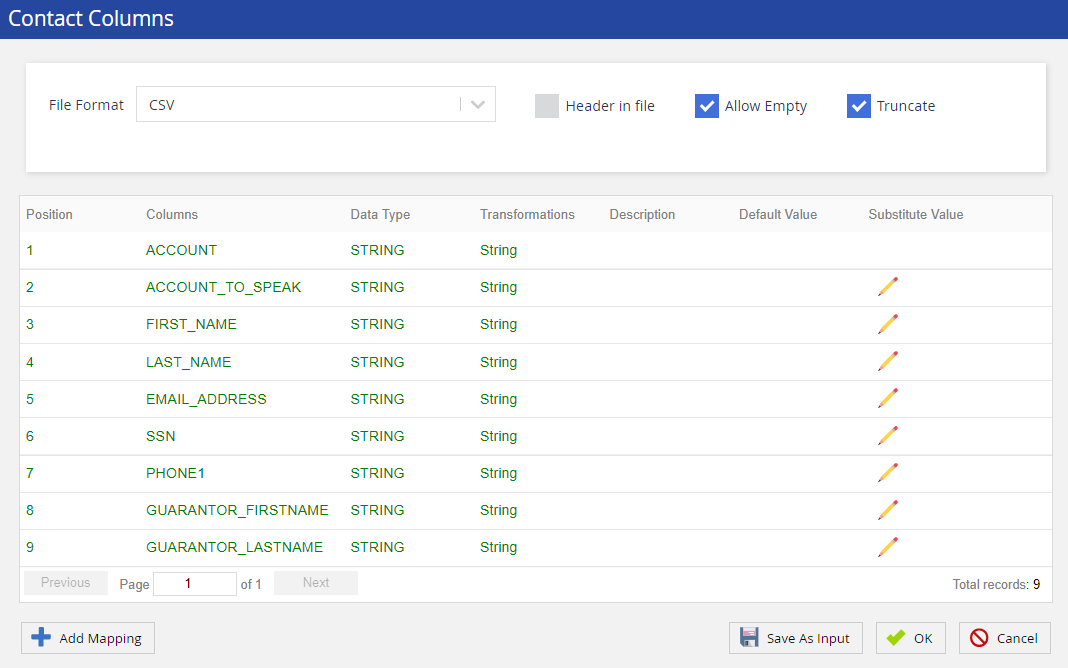
ClickCustomize Format. TheContact Columnswindow appears. The table in the window displays the mapping of the columns.
Modify the values in the fields.
For more information about the fields, see Input Filter Fields (the General section).
To modify a mapping, double-click the row displaying the mapping. The Edit Mapping window appears.
Modify the values in the fields.
For more information about the fields, see Input Filter Fields (the Mapping section).
To replace a specific value in a field in the file with a different value on LVP, see Managing an Input Filter (the Substituting a Value section).
If you want to save your changes to the format as a new input filter:
ClickSave As Input. The Add Name window appears.
In the Name field, enter a name for identifying the filter
Optional: In the Description field, enter a description of the filter.
Click OK. A message stating that the input filter is created appears.
This input filter is available in the Input Filter(s) field in the Input window. You can access this window by clicking Input / Output > Input Filter on the Configure tab.
In addition, the Import Contactswindow displaying theData Formatsection appears. This section displays the columns that will be imported.
Go to Step 6.
In the Contact Columns window, click OK. The Import Contactswindow displaying theData Formatsection appears. This section displays the columns that will be imported.
ClickImport. A message stating that the import task is running appears.
You can view the status of the task in the User Tasks window, which appears when you click your avatar and then click User Tasks.
After the message disappears, refresh the window. All the contacts in the file are imported to LVP, and they appear on the Contacts tab.
Demo
For more information, see the Importing Contacts demo: