Download PDF
Download page Work Queue.
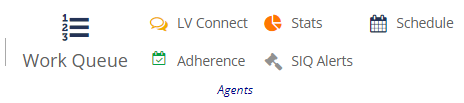
Work Queue
This section covers the steps to configure and set property values for the Work Queue elements. The Work Queue section in a Designer Desktop contains the following elements:
Work Queue lists all the scheduling, e-learning, coaching, and acknowledgment tasks and their related details. This option enables you to capture information regarding Task Type, Task Subtype, Subject, Priority, Duration Days, Auto (Rejection/Approval) and Days For (Rejection/Approval). Use the Filter field to narrow the list. For example, type Email to list the information for Task Type 'Email'.
To configure and set Work Queue element on the Designer Desktop:
- On the Designer Desktop, select a page where you want to add the Work Queue element. For example, the initial page where you have the Home bar and Containers configured.
- Drag and drop the Work Queue element onto the canvas.
The Work Queue element appears on the Designer page.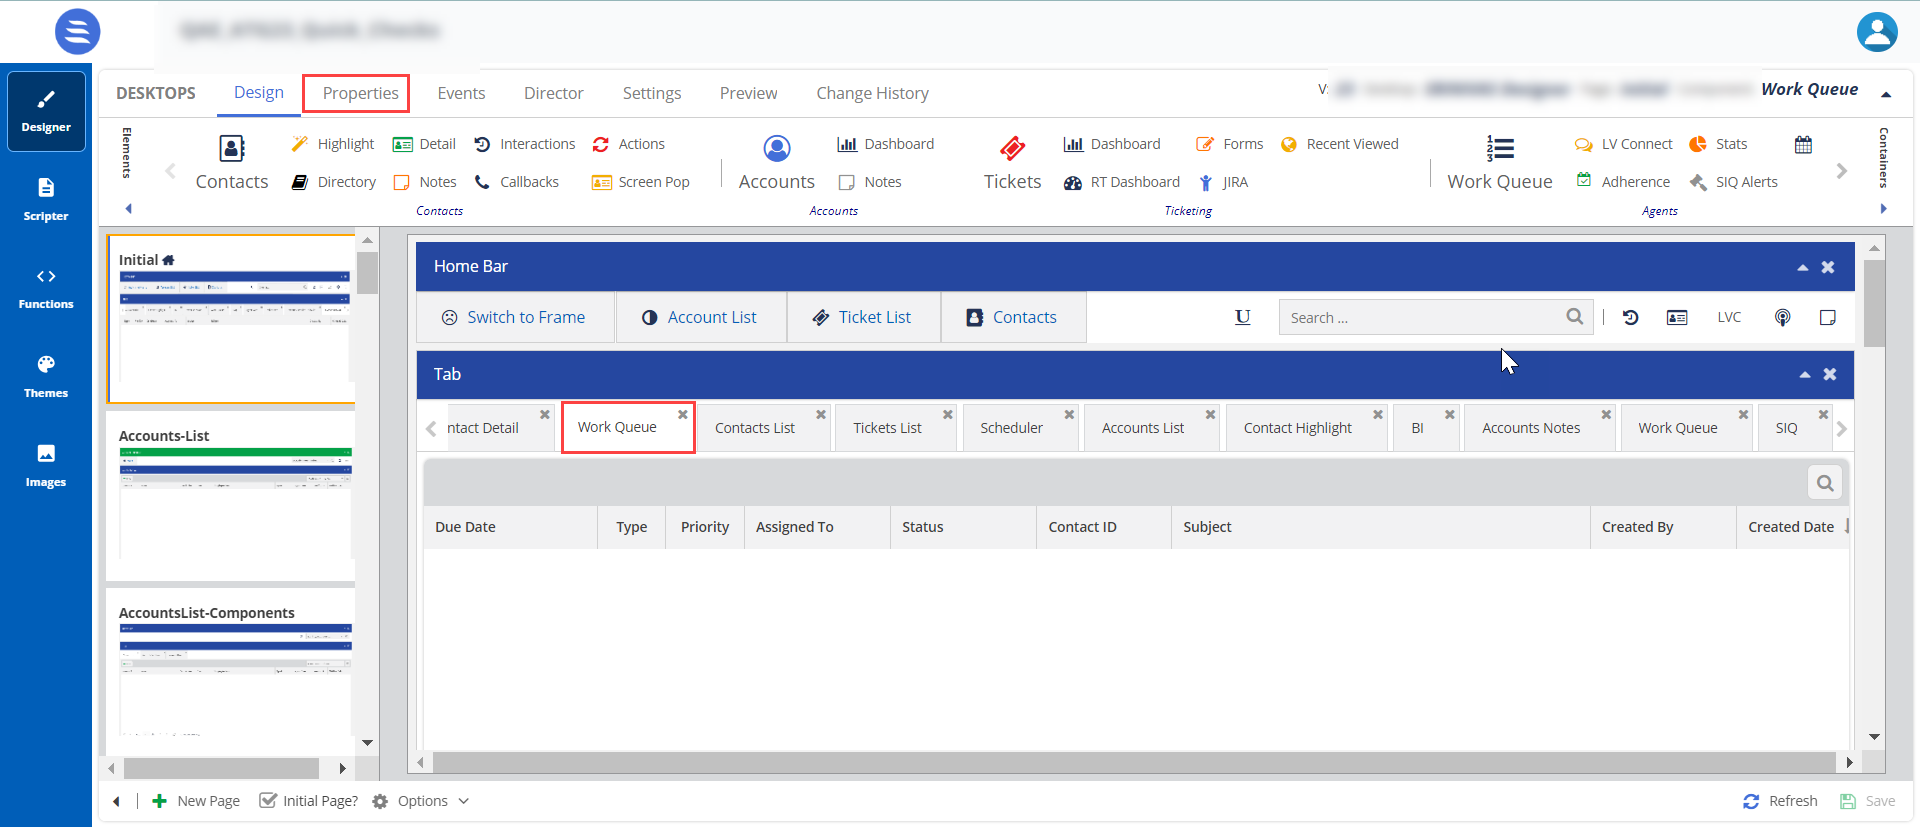
The elements appear in a tabular form because you have selected the Container type as Tab. For more information on Containers, see Working with Containers.
The agents can quickly sort and search the fields from Ascending to Descending or Descending to Ascending.
- Drag and drop the Work Queue element onto the canvas.
- Select the Work Queue element on the canvas, then click the Properties tab.
The Properties and Events tabs are enabled only when the element is selected on the canvas.

The element properties for Tickets are listed here:Number
Property
Feature
Description

Title Title You can change the default title of an element. When you change the title, the element name on the canvas is updated to the new title. 
Styles Header, Header Position, and Theme To change the current formatting, change the Header Position and Theme. When you enable the Header Position option and select the Header Position in the drop-down menu, the header position is updated. 
Options Hide Comments Author
When you enable this option, an agent cannot view the evaluating manager's name in the agent panel.


Allowed Tasks Acknowledgments
Notification
Arbitration
Coaching
Email
Elearning
Callbacks
Scheduling
SIQ Scoring Code
You can use these buttons to enable the work queue type task. On the agent desktop, calls are classified based on the agent's interaction with the customer. The agent can then accept the interaction and assign a name corresponding to the customer interaction. For more information, see Work Queue.

Teckst Allow Teckst Allow Teckst: Specifies if an agent can use the Teckst platform to send SMSes.
When an agent clicks the Compose an SMS icon (
 ), the Teckst window appears.
Teckst Client ID:
- You must specify a value in this field if you have selected the Allow Teckst checkbox. To obtain the Teckst client ID, contact the Customer Care Team.
- If the Teckst platform is not enabled, an agent can still send SMSes through the default SMS window.
- After updating the required information, Save the Designer Desktop.
LiveVox Connect (LV Connect) acts as a notification or a bulletin board designed for the contact center. It displays real-time alerts, posts, and notifications for agents and managers. It is a centralized tool for managers to post updates or reminders to their respective teams, individuals, or an entire group.
To configure and set the LV Connect element on the Designer Desktop:
- On the Designer Desktop, select a page where you want to add the LV Connect element. For example, the initial page where you have the Home bar and Containers configured.
- Drag and drop the LV Connect element onto the canvas.
The LV Connect appears on the Designer page.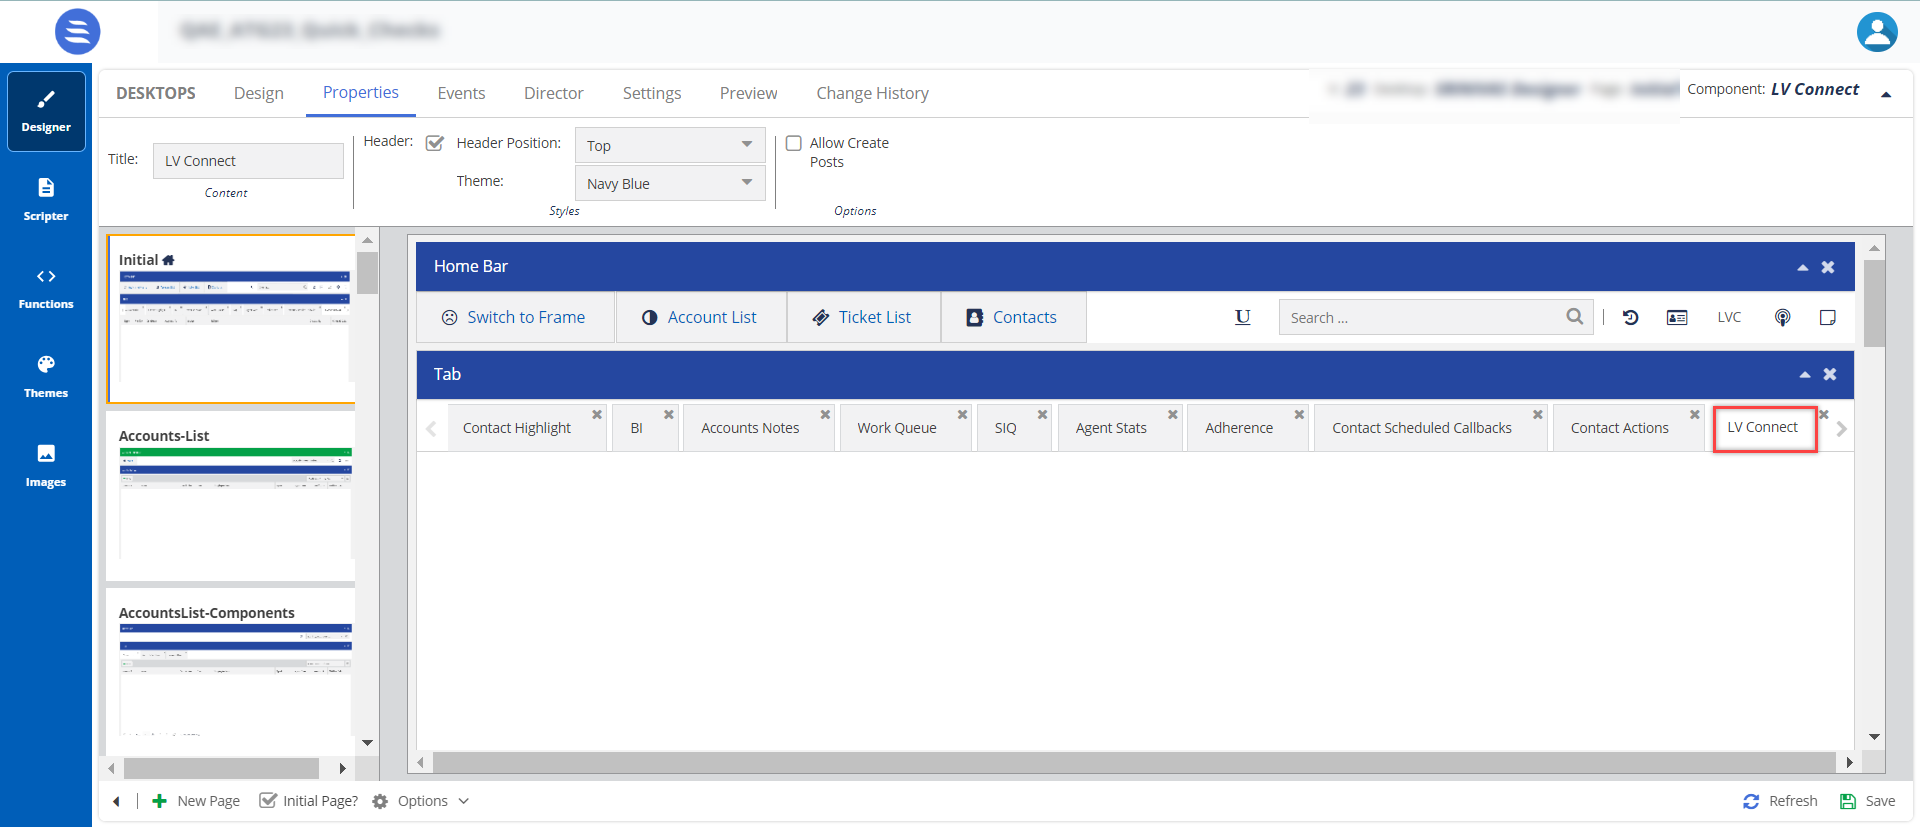

The elements appear in a tabular form because you have selected the Container type as Tab. For more information on Containers, see Working with Containers.
The agents can quickly sort and search the fields from Ascending to Descending or Descending to Ascending.
- Drag and drop the LV Connect element onto the canvas.
- Select the Work Queue element on the canvas, then click the Properties tab.
The Properties and Events tabs are enabled only when the element is selected on the canvas.

The element properties for Tickets are listed here:Number
Property
Feature
Description
Title Title You can change the default title of an element. When you change the title, the element name on the canvas is updated to the new title. Styles Header, Header Position, and Theme To change the current formatting, change the Header Position and Theme. When you enable the Header Position option and select the Header Position in the drop-down menu, the header position is updated. Options Allow Create Posts
When you enable this option, an agent can create posts/notifications on LV Connect.
- After updating the required information, Save the designer desktop.
The Agent Schedule Adherence dashboard displays the scheduling adherence and conformance data for a single day and multiple days. A single day's data is further divided into summary and hourly information. You can use this dashboard to ensure that contact center agents work efficiently within their schedules.
To configure and set the Agent Schedule Adherence dashboard on the Designer Desktop:
- On the Designer Desktop, select a page where you want to add the Agent Schedule Adherence element. For example, the initial page where you have the Home bar and Containers configured.
- Drag and drop the Adherence element onto the canvas.
The Adherence appears on the Designer page.
The elements appear in a tabular form because you have selected the Container type as Tab. For more information on Containers, see Working with Containers.
The agents can quickly sort and search the fields from Ascending to Descending or Descending to Ascending.
- Drag and drop the Adherence element onto the canvas.
- Select the Adherence element in the canvas, then click the Properties tab.
The Properties and Events tabs are enabled only when the element is selected on the canvas.

The element properties for Tickets are listed here:Number
Property
Feature
Description
Title Title You can change the default title of an element. When you change the title, the element name on the canvas is updated to the new title. Styles Header, Header Position, and Theme To change the current formatting, change the Header Position and Theme. When you enable the Header Position option and select the Header Position in the drop-down menu, the header position is updated. - After updating the required information, Save the Designer Desktop.
The Stats element enables you to view the following widgets depending on the configuration of your agent desktop.
- Productive Widget
- Term Code Distribution Widget
- Time Distribution Widget
To configure and set the Agent Stats element on the Designer Desktop:
- On the Designer Desktop, select a page where you want to add the Stats element. For example, the initial page where you have the Home bar and Containers configured.
- Drag and drop the Stats element onto the canvas.
The Stats element appears on the Designer page.
- The elements appear in a tabular form because ;you have selected the Container type as Tab. For more information on Containers, see Working with Containers.
The agents can quickly sort and search the fields from Ascending to Descending or Descending to Ascending. - When you add the Stats element to the canvas, the name is changed to Agent Stats.
- The elements appear in a tabular form because ;you have selected the Container type as Tab. For more information on Containers, see Working with Containers.
- Drag and drop the Stats element onto the canvas.
- Select the Agent Stats element in the canvas, then click the Properties tab.
The Properties and Events tabs are enabled only when the element is selected on the canvas.

The element properties for Tickets are listed here:Number
Property
Feature
Description
Title
Type
Stat
Content - Title: You can change the default title of an element. When you change the title, the element name on the canvas is updated to the new title.
- Type: Select the type of chart you want to choose. You have Pie, Donut, Bar, and Table.
- Stat: Choose any of the following widgets
- Productive Widget
- Term Code Distribution Widget
- Time Distribution Widget
Styles Header, Header Position, and Theme To change the current formatting, change the Header Position and Theme. When you enable the Header Position option and select the Header Position in the drop-down menu, the header position is updated. - After updating the required information, Save the Designer Desktop.
The SpeechIQ (SIQ) element enables you to generate alerts from the SpeechIQ work area.
To configure and set the SIQ element on the Designer Desktop:
- On the Designer Desktop, select a page where you want to add the SIQ element. For example, the initial page where you have the Home bar and Containers configured.
- Drag and drop the LV Connect element onto the canvas.
The SIQ element appears on the Designer page.
- The elements appear in a tabular form because you have selected the Container type as Tab. For more information on Containers, see Working with Containers.
The agents can quickly sort and search the fields from Ascending to Descending or Descending to Ascending.
- The elements appear in a tabular form because you have selected the Container type as Tab. For more information on Containers, see Working with Containers.
- Drag and drop the LV Connect element onto the canvas.
- Select the SIQ element on the canvas, then click the Properties tab.
The Properties and Events tabs are enabled only when the element is selected on the canvas.

The element properties for Tickets are listed here:Number
Property
Feature
Description
Title Content You can change the default title of an element. When you change the title, the element name on the canvas is updated to the new title. Styles Header, Header Position, and Theme To change the current formatting, change the Header Position and Theme. When you enable the Header Position option and select the Header Position in the drop-down menu, the header position is updated. Options Hide Comments Author
When you enable this option, the evaluator's name is hidden from the agent.
- After updating the required information, Save the Designer Desktop.
The Agent Schedule Adherence dashboard displays the scheduling adherence and conformance data for a single day and multiple days. A single day's data is further divided into summary and hourly information. You can use this dashboard to ensure the contact center agents work efficiently within their set schedules.
To configure and set the Schedule element on the Designer Desktop:
- On the Designer Desktop, select a page where you want to add the Schedule element. For example, the initial page where you have the Home bar and Containers configured.
- Drag and drop the Schedule element onto the canvas.
The Schedule appears on the Designer page.
- The elements appear in a tabular form because we have selected the Container type as Tab. For more information on Containers, see Working with Containers.
The agents can quickly sort and search the fields from Ascending to Descending or Descending to Ascending. - The element name is changed to Scheduler from Schedule.
- The elements appear in a tabular form because we have selected the Container type as Tab. For more information on Containers, see Working with Containers.
- Drag and drop the Schedule element onto the canvas.
- Select the Scheduler element on the canvas, then click the Properties tab.
The Properties and Events tabs are enabled only when the element is selected on the canvas.

The element properties for Tickets are listed here:Number
Property
Feature
Description
Title Content You can change the default title of an element. When you change the title, the element name on the canvas is updated to the new title. Styles Header, Header Position, and Theme To change the current formatting, change the Header Position and Theme. When you enable the Header Position option and select the Header Position in the drop-down menu, the header position is updated. - After updating the required information, Save the Designer Desktop.