When designing an agent desktop, you can display the elements on the page in a specific layout using the Containers section on theDesignsubtab. The Containers section provides a structured view of the agent desktop.
To display the elements in a specific layout on the page:
On the toolbar, expand the Containers section, and then drag and drop any of the following buttons to the initial or default page:Tabs,Rows,Columns,Accordion. The selected container appears on the canvas. Expand the sections to see how the containers appear on the page when you drag and drop the container icon onto the initial or default page:
The elements appear in a tabular form.
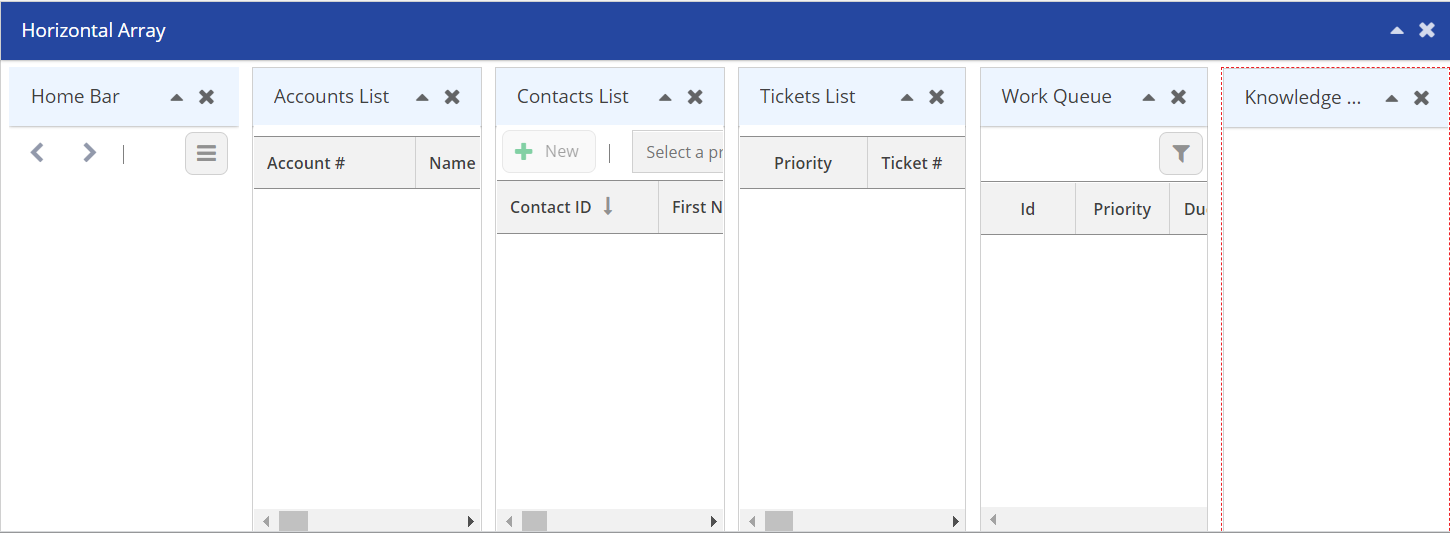
The elements appear horizontally.
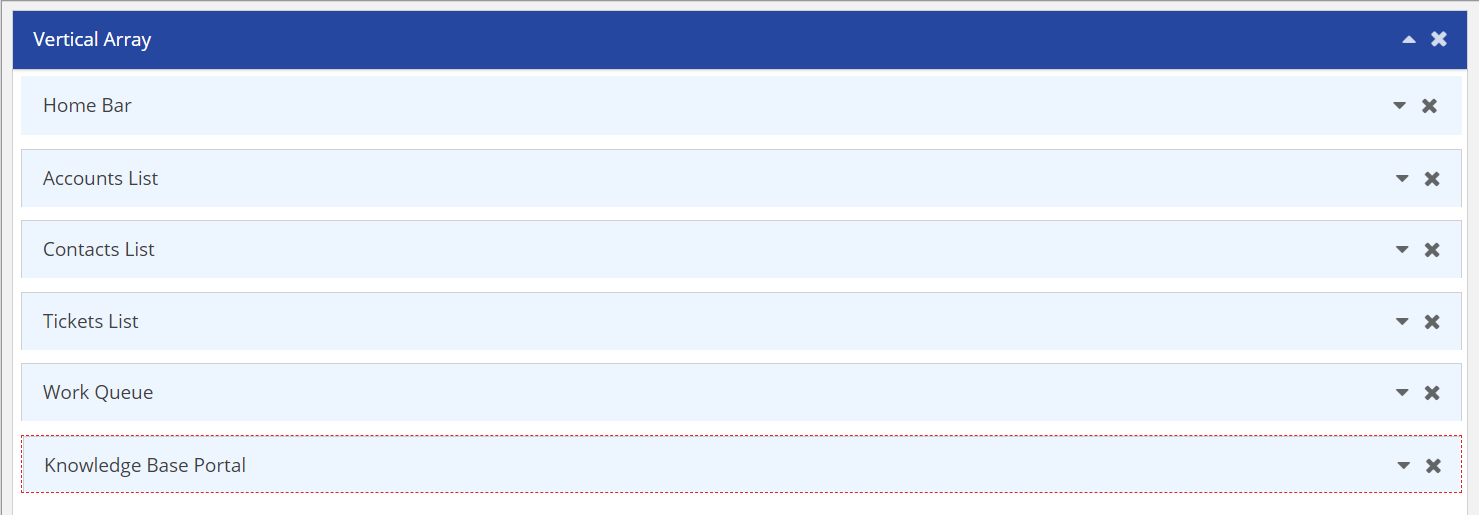
The elements appear vertically.
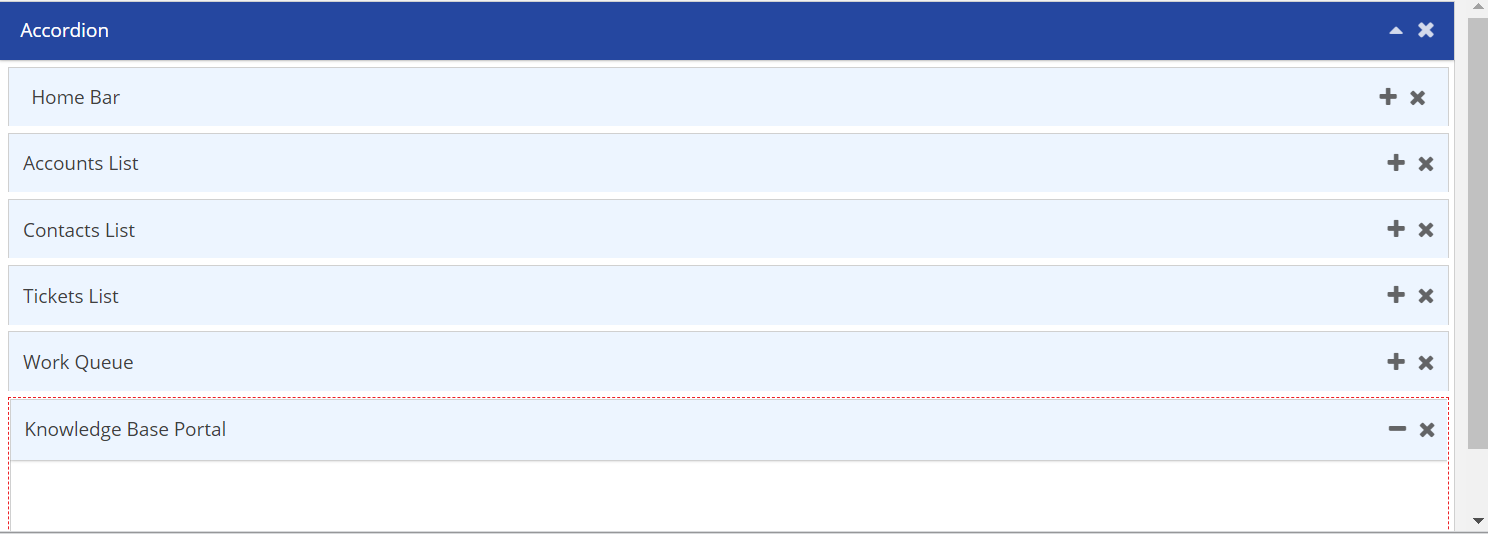
The elements appear in a vertically stacked list, enabling an agent to expand and collapse the elements.
Drag and drop the Tabs icon to the page. The Tab container appears on the page.
Click Save.
Show Me How
This video provides an overview of how to use the Containers section and then add elements to the containers.
Managing the Properties for Containers
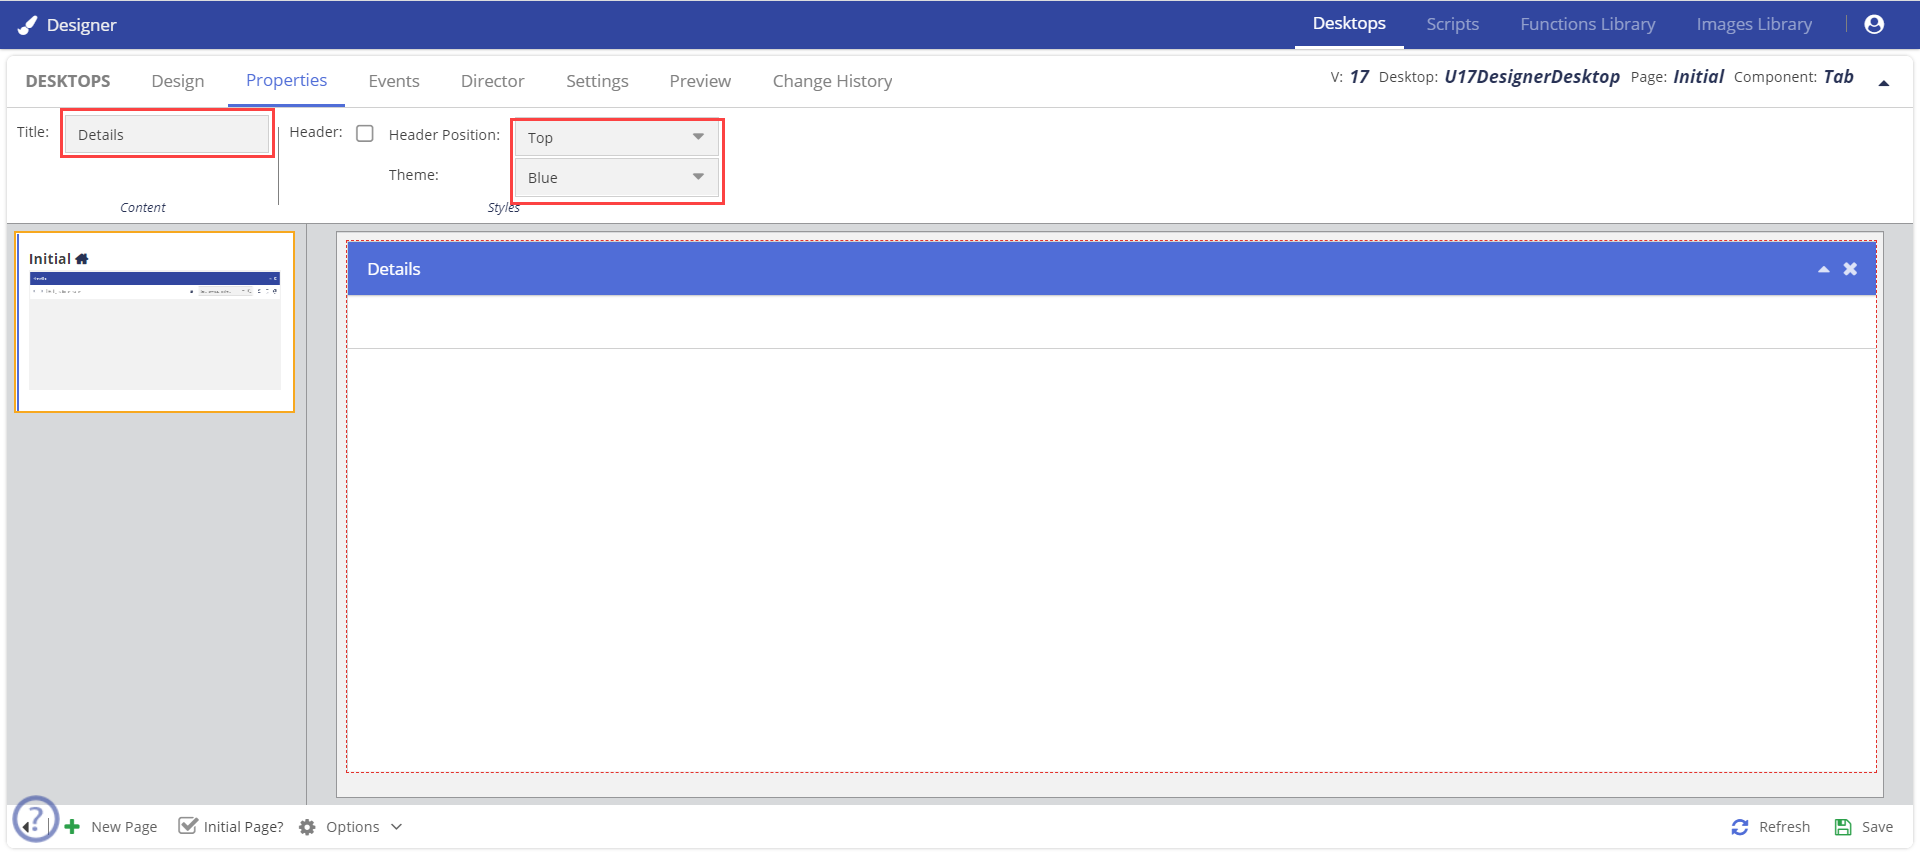
If you want to change the container properties, use thePropertiestab. For example, if you want to change the Tab title fromTabtoDetails.
On the page, select the Tab container.
Click the Properties tab.
Click the Title field and change the title from Tab to Details.
To change the position for the title to appear and the color of the title bar, use the Header Position and Theme accordingly from the list.