Download PDF
Download page Tickets.
Tickets
This section covers steps to configure and set the property values for the Tickets elements. The Tickets section in a Designer Desktop contains the following elements:
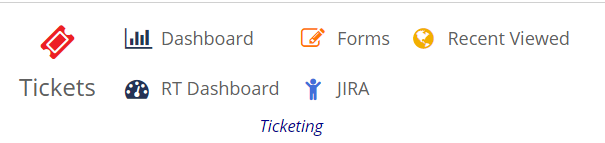
The Ticket options list all the available tickets and the agents handling the tickets. You can enable an option for an agent to create a ticket from the Ticket List window.
To configure and set the Tickets element on the Designer Desktop:
- On the Designer Desktop, select a page where you want to add the Tickets element. For example, the initial page where you have the Home bar and Containers configured.
- Drag and drop the Ticket element onto the canvas.
The Tickets List appears on the Designer page.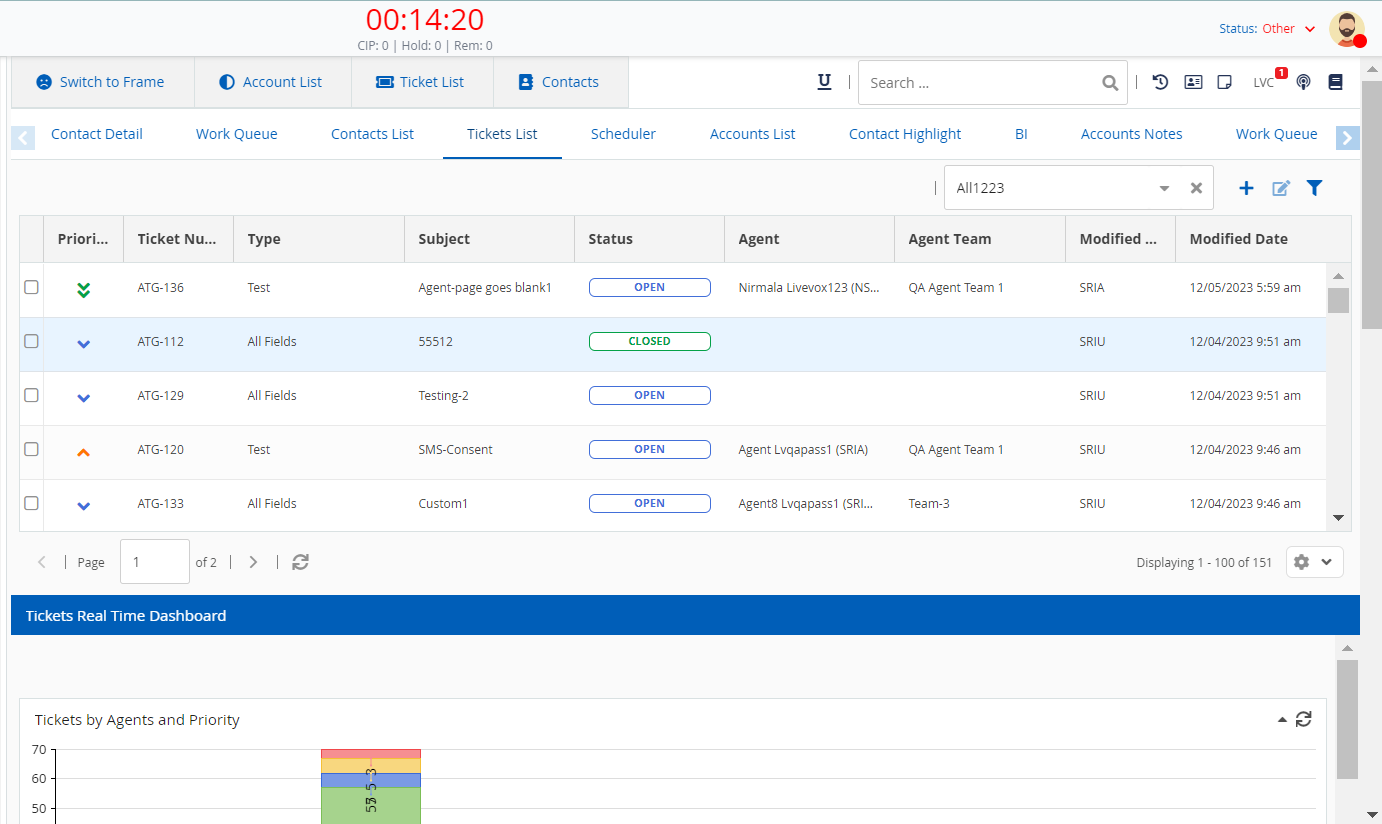

- The elements appear in a tabular form because you have selected the Container type as Tab. For more information on Containers, see Working with Containers.
- The element name of Tickets is changed to Tickets List when added to the canvas. This is a system change and does not impact the functionality.
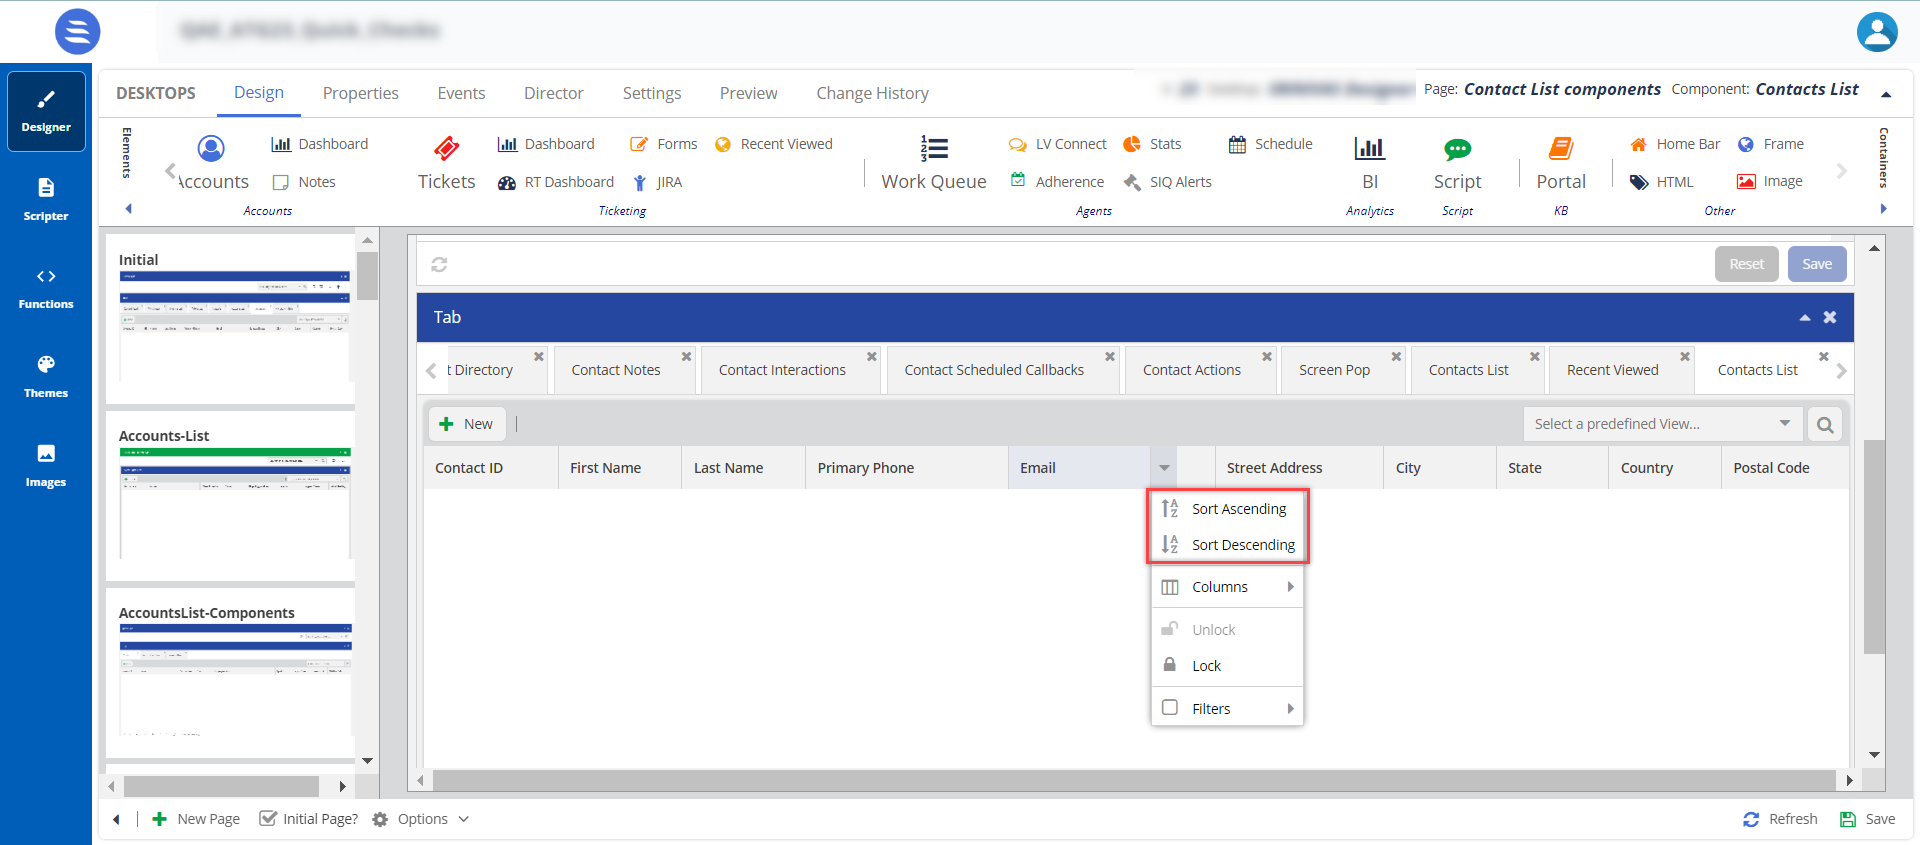
The agents can quickly sort and search the fields from Ascending to Descending or Descending to Ascending.
- Drag and drop the Ticket element onto the canvas.
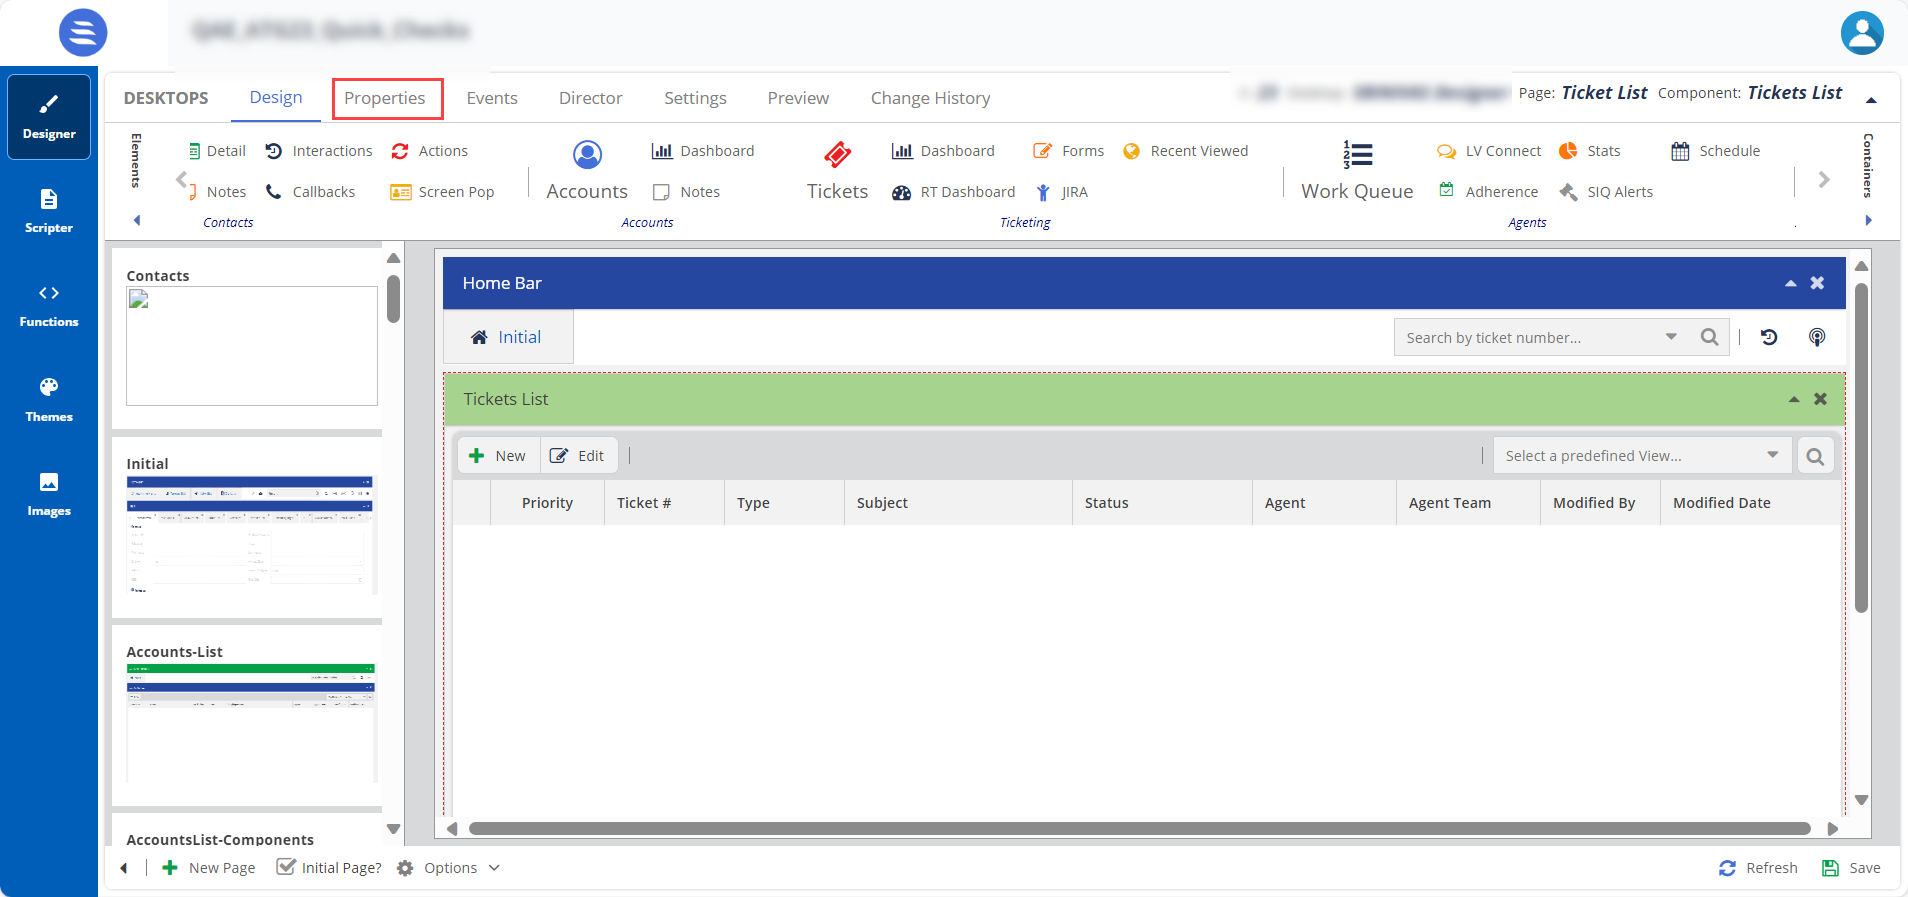
- Select the Tickets List element on the canvas, then click the Properties tab.
The Properties and Events tabs are enabled only when the element is selected on the canvas.
The element properties for Tickets are listed here:Number Property Available Features Expected Result 
Title Title You can change the default title of an element. When you change the title, the element name on the canvas is updated to the new title. For example, you can change the title from Tickets List to List, and the name is updated on the tab on the canvas. 
Styles Header, Header Position, and Theme To change the current formatting, change the Header Position and Theme. When you enable the Header Position option and select the Header Position in the drop-down menu, the header position is updated. 
Screen Configuration Ticket Highlight Screen, Ticket Detail Screen
- If you want to have the configuration for the Tickets List, You must configure the Screen Configuration configuration now.
- You can handle the screen configurations of the Ticket Highlight Screen and Ticket Detail Screen individually by adding the tabs to the canvas as explained below or handling all the configurations during the Tickets List configuration.
Screen Configurations for Ticket Highlight Screen and Ticket Detail Screen
The screen configuration information for the Ticket Highlight Screen and Ticket Detail Screen are explained in the relevant sections below.
Screen Configuration for List Screen
To configure fields in the List screen:
Setting Configurations on the Designer Desktop

Configurations appearing on the Agent Desktop

Buttons New Ticket using Forms
New Account using Forms
New Contact using Forms
Custom Buttons
You can use these buttons to create forms for tickets, accounts, and contacts.
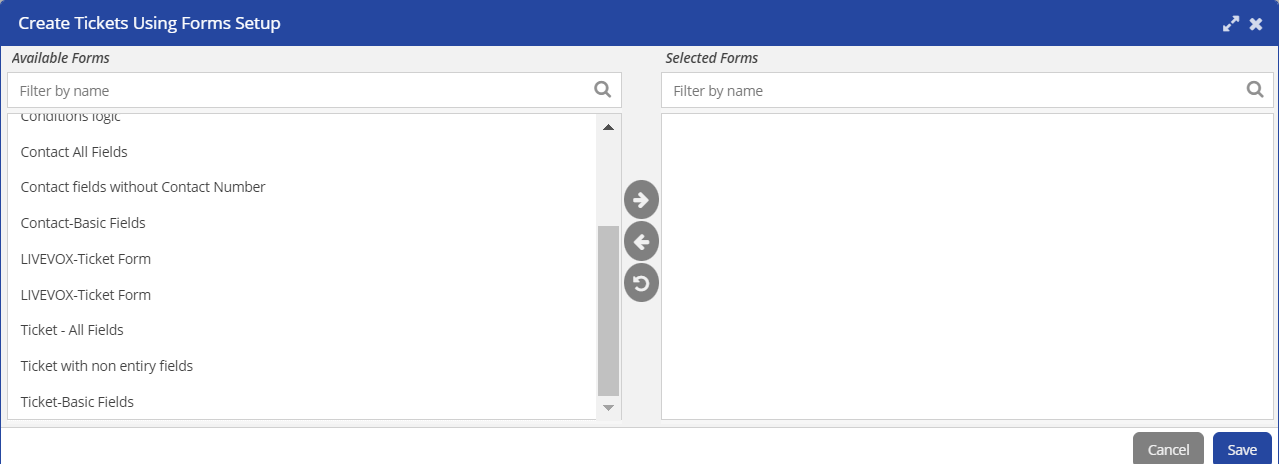
Select the forms from the Available Forms list, move them to the Selected Forms list, and Save the changes.
Custom Buttons: You can use the Custom Buttons option and create an event.
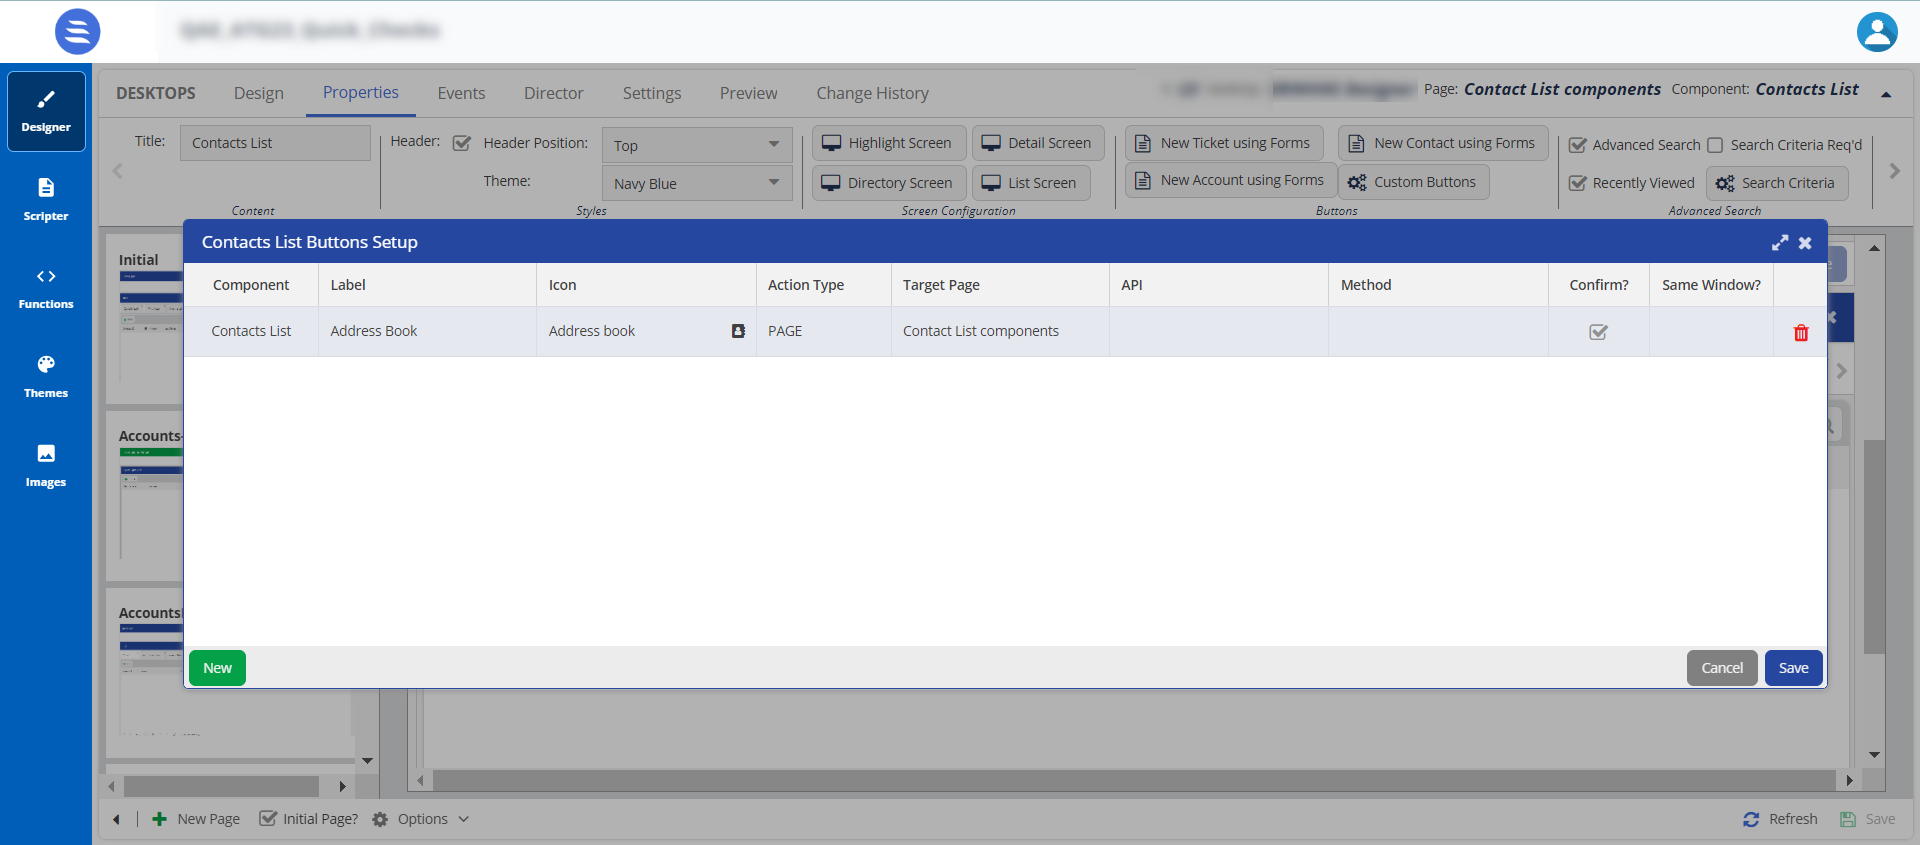
When you create a button, an event is created in the Events tab.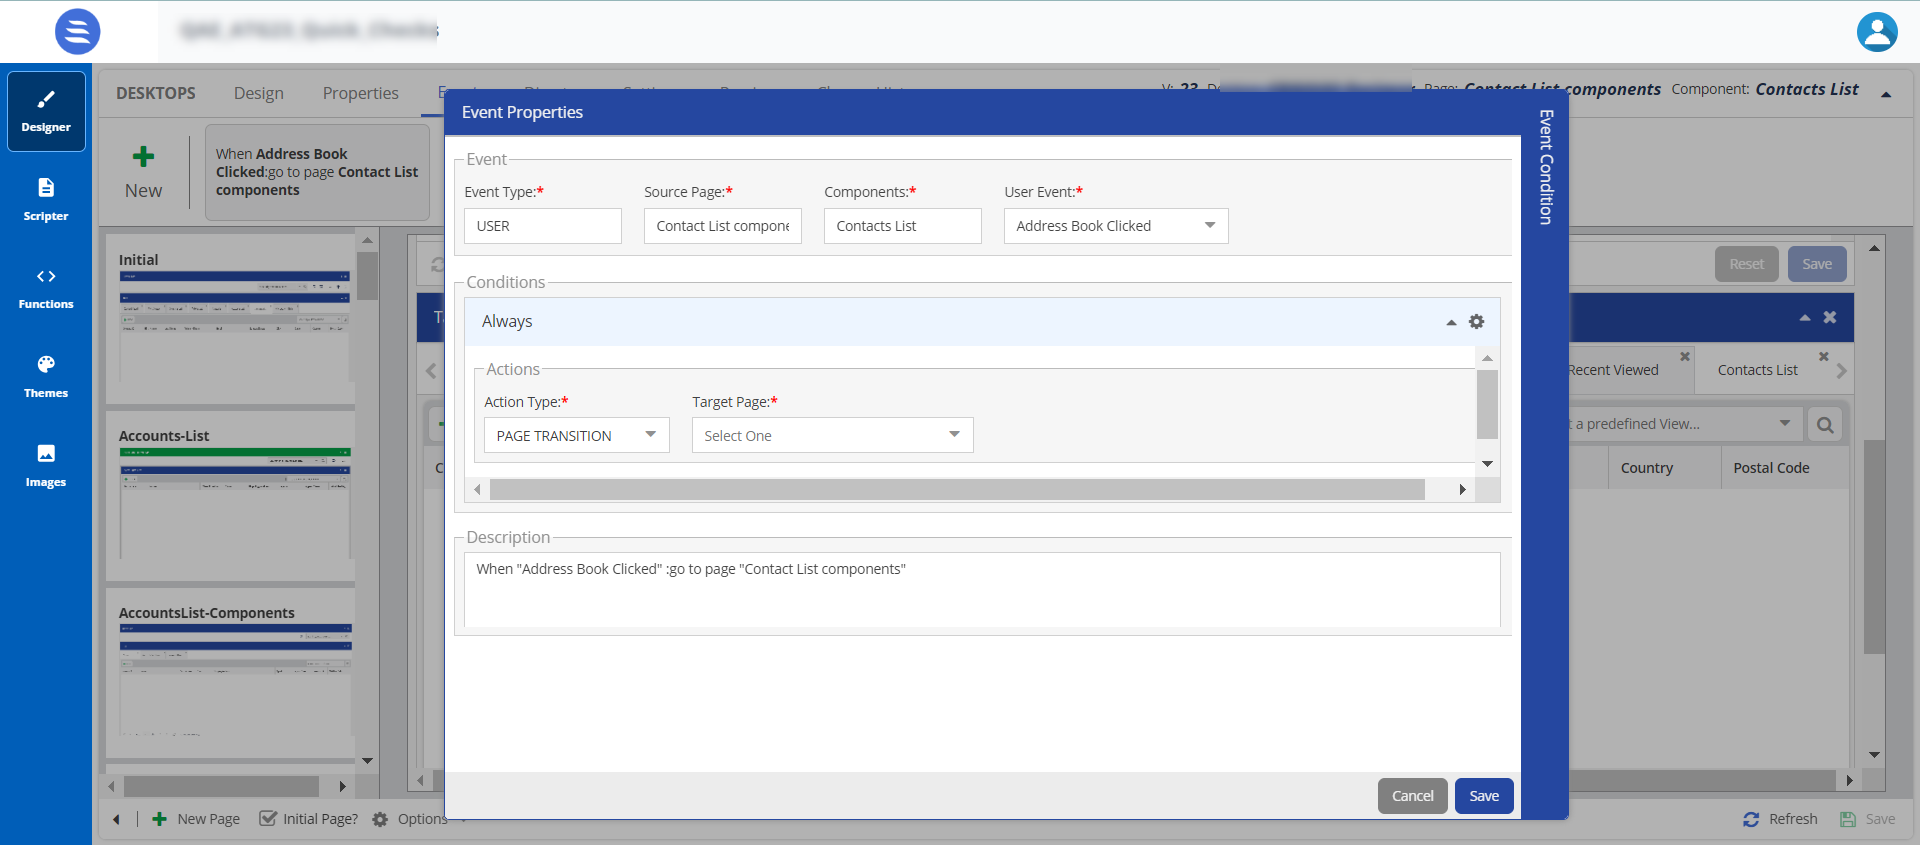

Teckst Allow Teckst Allow Teckst: Specifies if an agent can use the Teckst platform to send SMSes.
When an agent clicks the Compose an SMS icon (
 ), the Teckst window appears.
Teckst Client ID:
- You must specify a value in this field if you have selected the Allow Teckst checkbox. To obtain the Teckst client ID, contact the Customer Care Team.
- If the Teckst platform is not enabled, an agent can still send SMSes through the default SMS window.

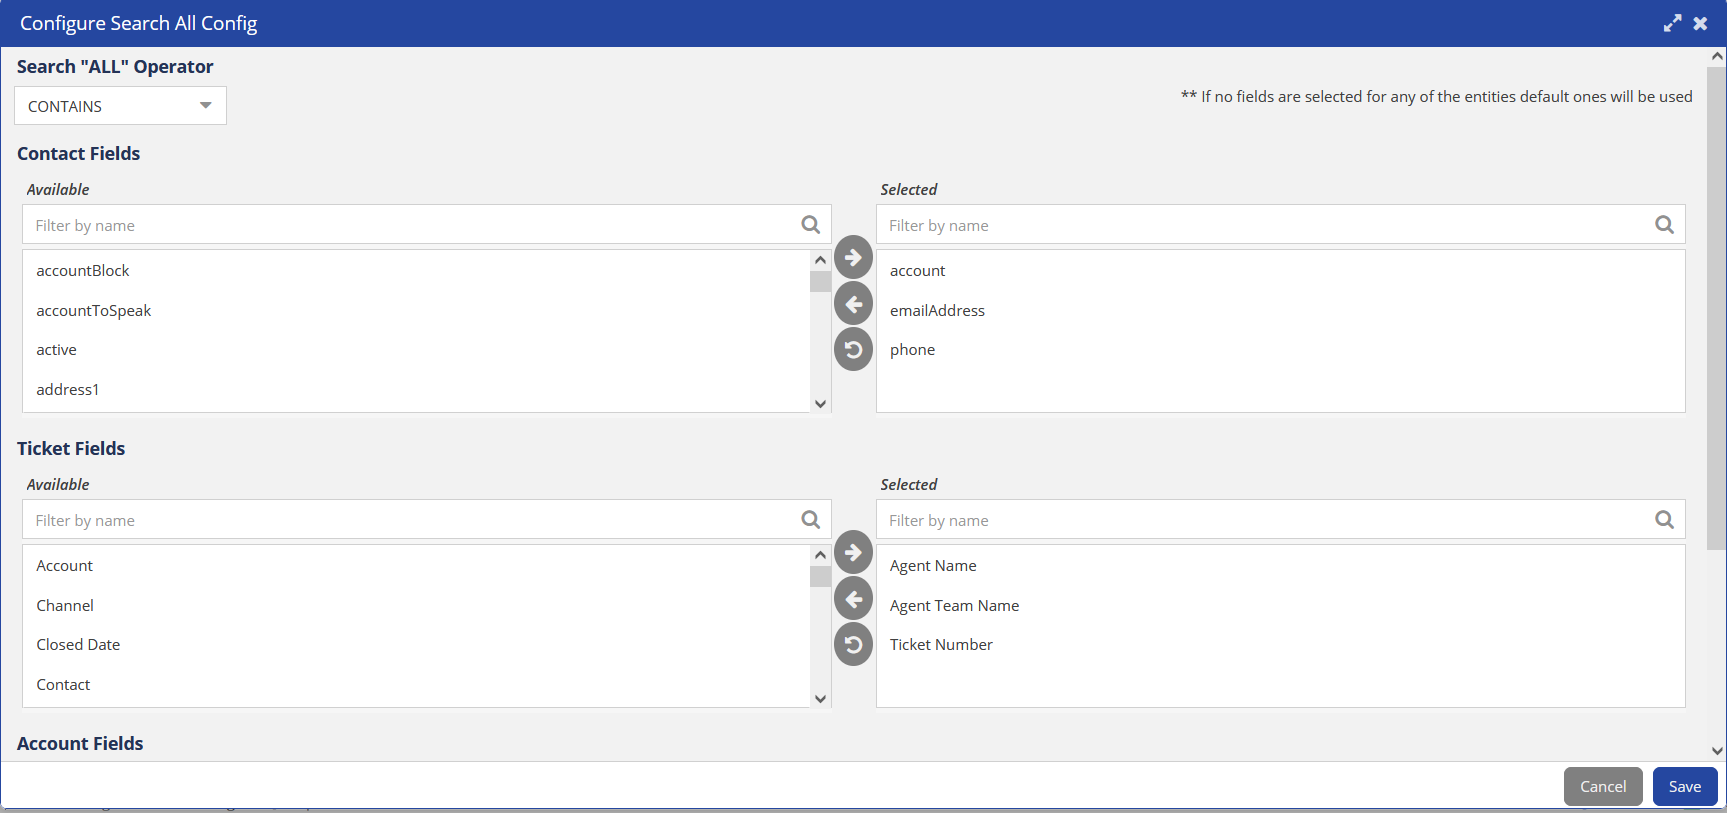
Omni Search Fields for All Allows you to select fields from Contacts, Accounts, and Tickets to be used in a search. Click Fields for All, and then select the fields from the Configure Search All Config window.

Options Allow Ticket Creation,
Allow Ticket Deletion,
Allow Ticket Import,
Allow Ticket Export,
Support Tickets Bulk Update,
Allow Encrypted Fields,
Allow Playing Audio Recording,
Allow Account Creation,
Allow Contact CreationAllow Account Creation, Allow Contact Creation, Allow Account Deletion,Allow Tickets, Allow Ticket Creation,
When you enable these features, the agent can perform the tasks specified in the Options section.
By default, the Allow Account Creation, Allow Tickets, Allow Ticket Creation, Allow Contacts, and Allow Contact Creation checkboxes are enabled when creating a Designer Desktop. Administrators and managers must disable them if they do not want the agent to create them.
- After updating the required information, Save the designer desktop.
To configure and set the Dashboard element on the Designer Desktop:
- On the Designer Desktop, select a page where you want to add the Dashboard element. For example, the initial page where you have the Home bar and Containers configured.
- Drag and drop the Dashboard element on to the canvas.
The Dashboard details appear on the Designer desktop page.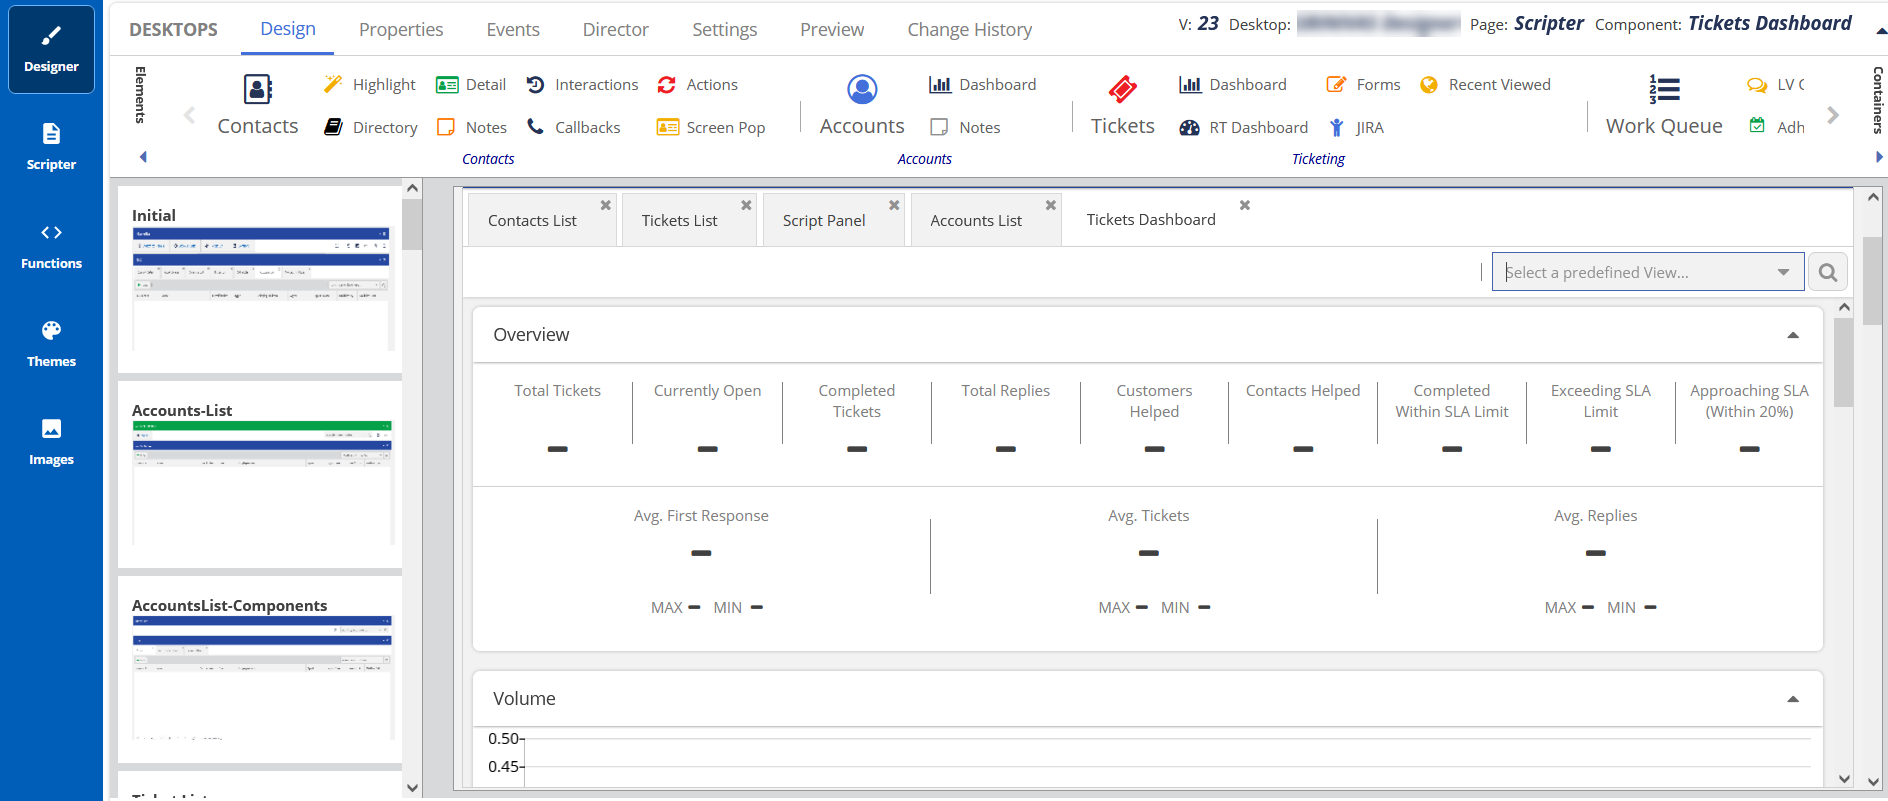
- Select the Dashboard element on the canvas, then click the Properties tab.
The Properties and Events tabs are enabled only when the element is selected on the canvas.
- The properties for the Tickets Dashboard are shown.

The element properties for the Dashboard are listed here:
| Property | Available Features | Closer Screenshot | Expected Result |
|---|---|---|---|
| Title | Title |
| You can change the default title of an element. When you change the title, the element name on the canvas is updated to the new title. For example, you can change the title from Ticket Dashboard to Dashboard, and the name is updated in the tab on the canvas. |
| Styles | Header, Header Position, and Theme |
| To change the current formatting, change the Header Position and Theme. When you enable the Header Position option and select the Header Position in the drop-down menu, the header position is updated. |
| Search | Fields for All |
| Allows you to select fields from Contacts, Accounts, and Tickets to be used in a search. Click Fields for All, and then select the fields from the Configure Search All Config window. |
To configure and set the RT (Real Time) Dashboard on the Designer Desktop:
- On the Designer Desktop, select a page where you want to add the RT Dashboard element. For example, the initial page where you have the Home bar and Containers configured.
- Drag and drop the RT Dashboard element on to the canvas.
The Dashboard details appear on the Designer Desktop page.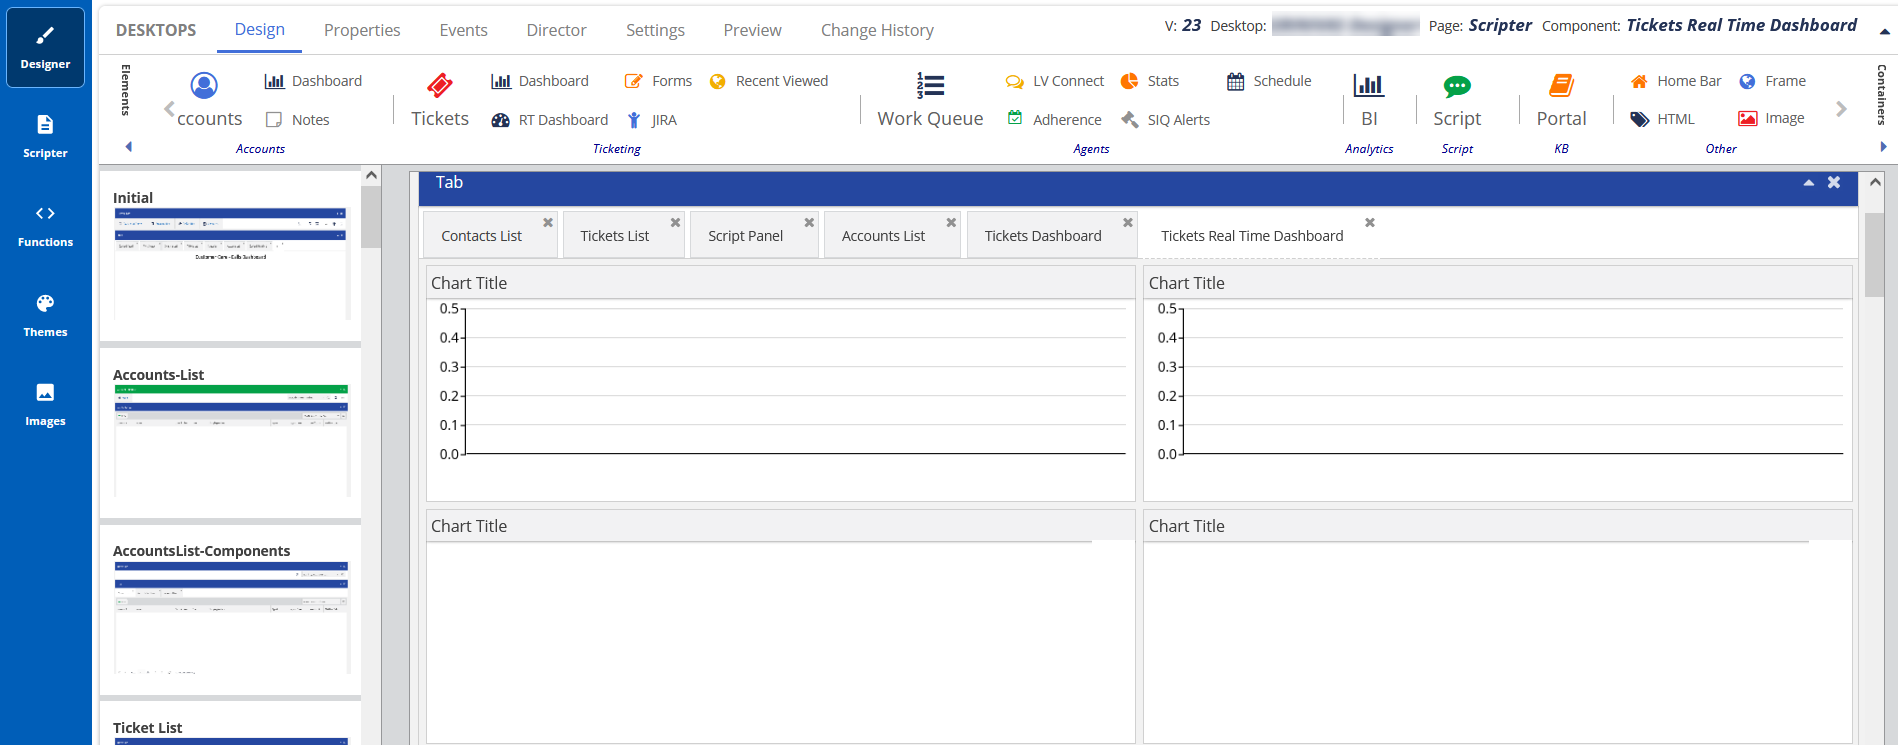
- Select the RT Dashboard element on the canvas, then click the Properties tab.
The Properties and Events tabs are enabled only when the element is selected on the canvas.
- The properties of the RT Dashboard are shown.

The element properties for the RT Dashboard are listed here:Property Available Features Closer Screenshot Expected Result Title Title 
You can change the default title of an element. When you change the title, the element name on the canvas is updated to the new title. For example, you can change the title from RT Dashboard to Dashboard, and the name is updated on the tab on the canvas. Styles Header, Header Position, and Theme 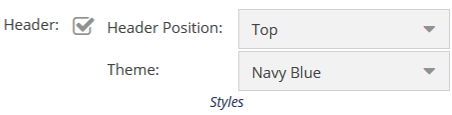
To change the current formatting, change the Header Position and Theme. When you enable the Header Position option and select the Header Position in the drop-down menu, the header position is updated. Search Fields for All 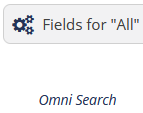
Allows you to select fields from Contacts, Accounts, and Tickets to be used in a search. Click Fields for All, and then select the fields from the Configure Search All Config window.
You can configure the ticketing forms to the designer desktop. For more information, see Forms.
To configure and set the Forms element in the Designer Desktop:
- On the Designer Desktop, select a page where you want to add the Forms element. For example, the initial page where you have the Home bar and Containers configured.
- Drag and drop the Forms element onto the canvas.
The Forms element appears on the Designer Desktop page. - Select the Forms element on the canvas, then click the Properties tab.
The Properties and Events tabs are enabled only when the element is selected on the canvas.
- The properties for Forms are shown:

The element properties for Forms are listed here:Property Available Features Closer Screenshot Expected Result Title Title
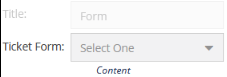
Ticket Form
You can change the default title of an element. When you change the title, the element name on the canvas is updated to the new title. For example, you can change the title from Ticket Dashboard to Dashboard, and the name is updated on the tab on the canvas. Styles Header, Header Position, and Theme To change the current formatting, change the Header Position and Theme. When you enable the Header Position option and select the Header Position in the drop-down menu, the header position is updated. Search Fields for All Allows you to select fields from Contacts, Accounts, and Tickets to be used in search. Click Fields for All, and then select the fields from the Configure Search All Config window.
To configure and set the JIRA element on the Designer Desktop:
- On the Designer Desktop, select a page where you want to add the Forms element. For example, the initial page where you have the Home bar and Containers configured.
- Drag and drop the JIRA element on to the canvas.
The JIRA element appears on the Designer desktop page.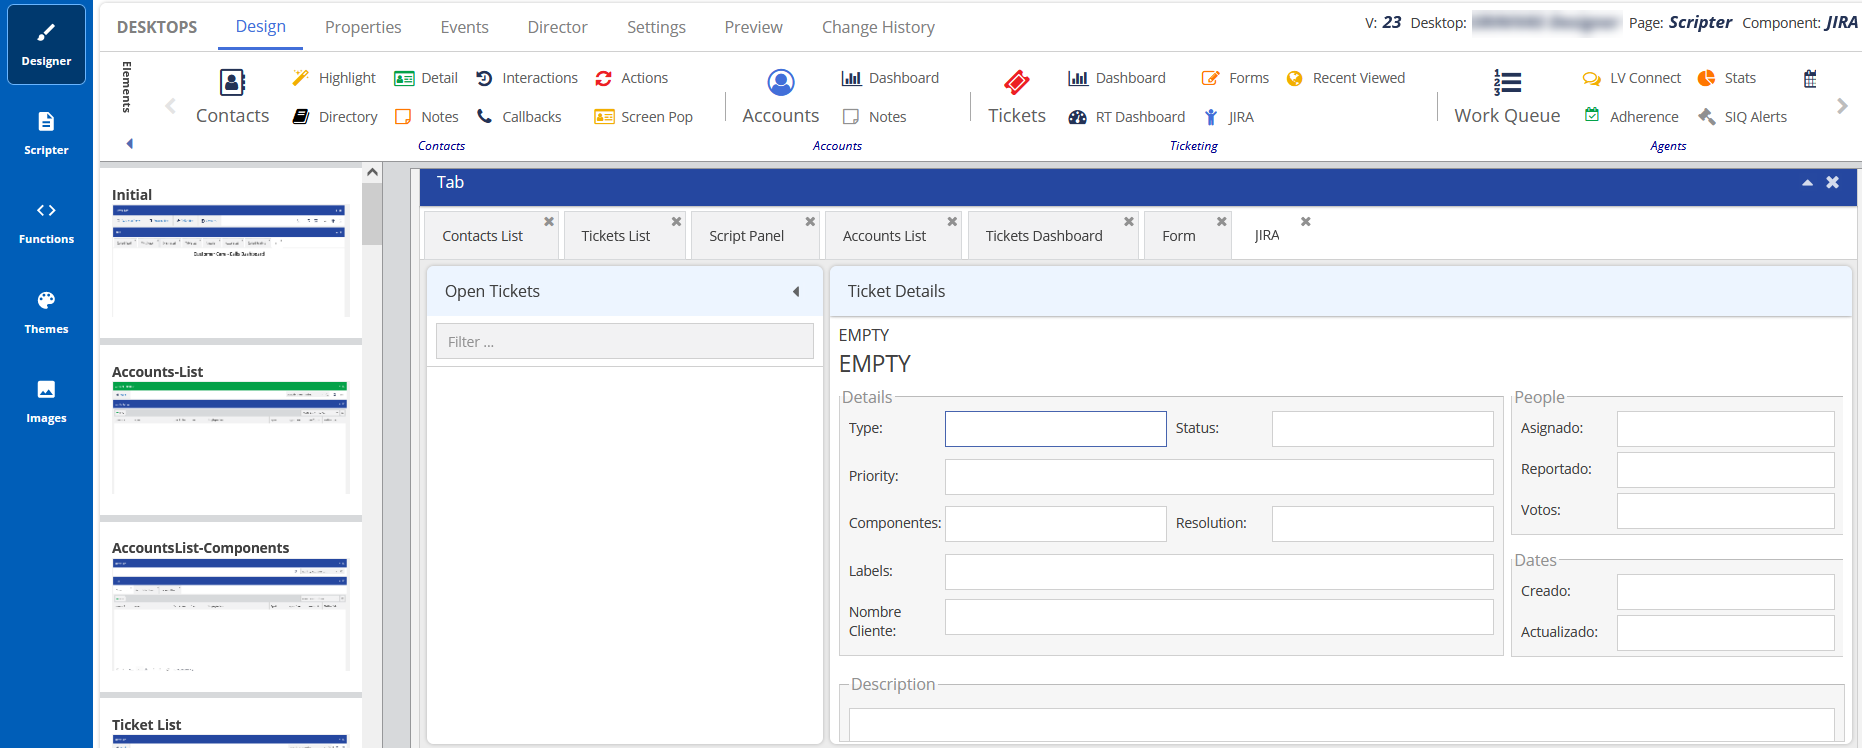
- Select the JIRA element on the canvas, then click the Properties tab.
- The Properties and Events tabs are enabled only when the element is selected on the canvas.
- When you create a ticket and link the ticket with an account or contact, and a request is called against this ticket, it opens the Account or Contact object details linked to the Ticket.
- The Properties and Events tabs are enabled only when the element is selected on the canvas.
- The properties for JIRA are shown:
Property Available Features Closer Screenshot Expected Result Title Title 
You can change the default title of an element. When you change the title, the element name on the canvas is updated to the new title. For example, you can change the title from JIRA to Dashboard, and the name is updated on the tab on the canvas. Styles Header, Header Position, and Theme To change the current formatting, change the Header Position and Theme. When you enable the Header Position option and select the Header Position in the drop-down menu, the header position is updated. Search Fields for All Allows you to select fields from Contacts, Accounts, and Tickets to be used in a search. Click Fields for All, and then select the fields from the Configure Search All Config window.
To configure and set the Recent Reviewed element in the Designer Desktop:
- In the Designer Desktop, select a page where you want to add the Recent Reviewed element. For example, the initial page where you have the Home bar and Containers configured.
- Drag and drop the Recent Reviewed element on to the canvas.
The Recent Reviewed element appears on the Designer Desktop page. - Select the Recent Reviewed element on the canvas, then click the Properties tab.
The Properties and Events tabs are enabled only when the element is selected on the canvas.
- The properties for Recent Reviewed are shown:
Property Available Features Closer Screenshot Expected Result Title Title 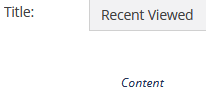
You can change the default title of an element. When you change the title, the element name on the canvas is updated to the new title. For example, you can change the title from Recent Viewed to Recent, and the name is updated on the tab on the canvas. Styles Header, Header Position, and Theme To change the current formatting, change the Header Position and Theme. When you enable the Header Position option and select the Header Position in the drop-down menu, the header position is updated. Search Fields for All Allows you to select fields from Contacts, Accounts, and Tickets to be used in a search. Click Fields for All, and then select the fields from the Configure Search All Config window.