Download PDF
Download page Other.
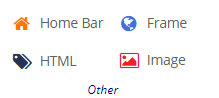
Other
This section covers steps to configure and set the property values for the elements in the Other section. The Other section in a Designer Desktop contains the following elements:
The Home Bar element is used to improve navigation to the pages. For more information on the Home Bar, see Home Bar and Icons.
The HTML element enables you to include an HTML page or a webpage on the Designer Desktop.
To configure and set the HTML element on the Designer Desktop:
- On the Designer Desktop, select a page where you want to add the HTML element. For example, the initial page where you have the Home bar and Containers configured.
- Drag and drop the HTML element onto the canvas.
The HTML element appears on the Designer Desktop page.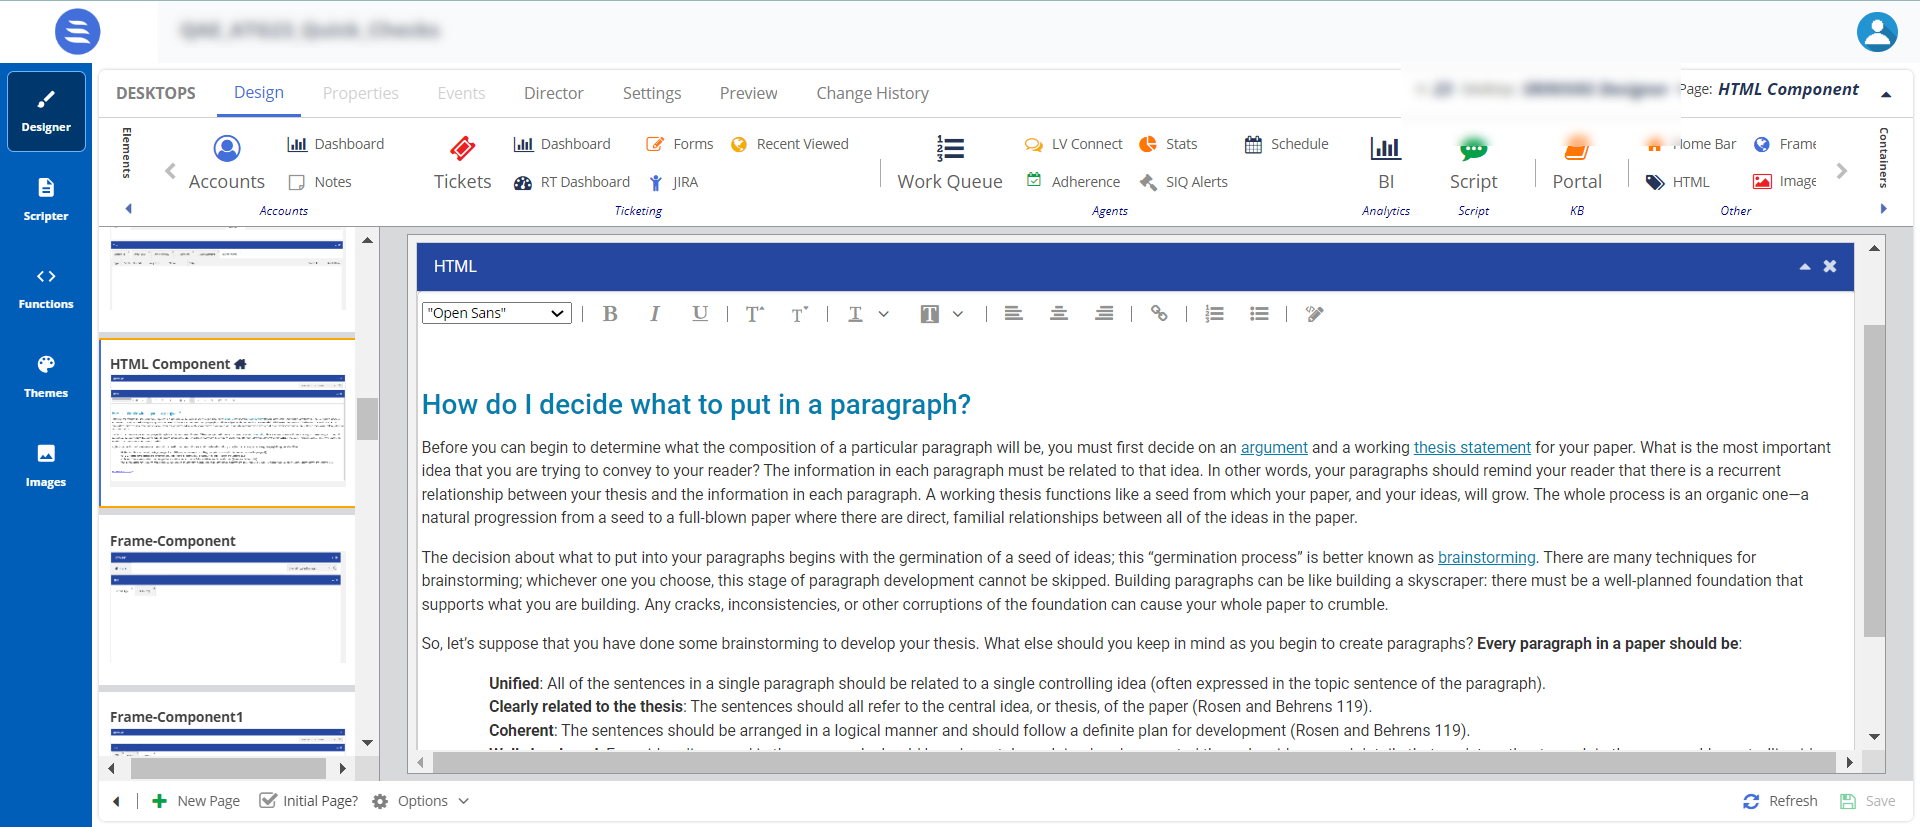
- Select the HTML element in the canvas, then click the Properties tab.

Property
Available Features
Expected Results
Title Content You can change the default title of an element. When you change the title, the element name on the canvas is updated to the new title. For example, you can change the title from HTML to HTML page, and the name is updated on the tab on the canvas.
Styles Header, Header Position, and Theme To change the current formatting, change the Header Position and Theme. When you enable the Header Position option and select the Header Position in the drop-down menu, the header position is updated. - After updating the required changes, Save the Designer Desktop.
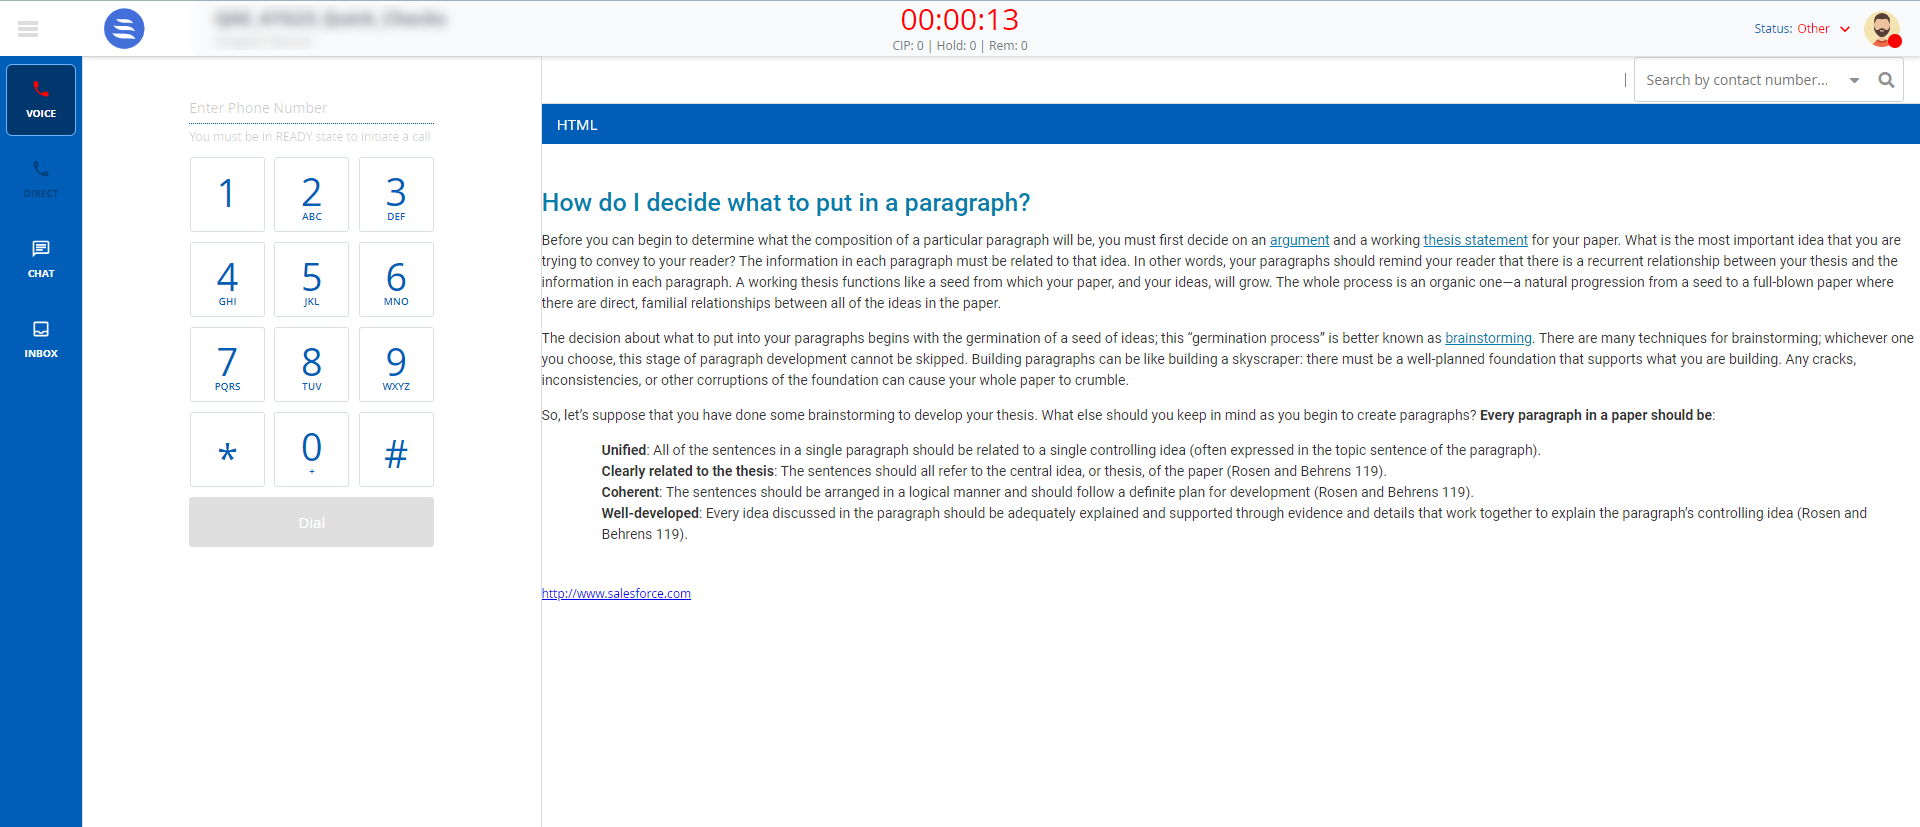
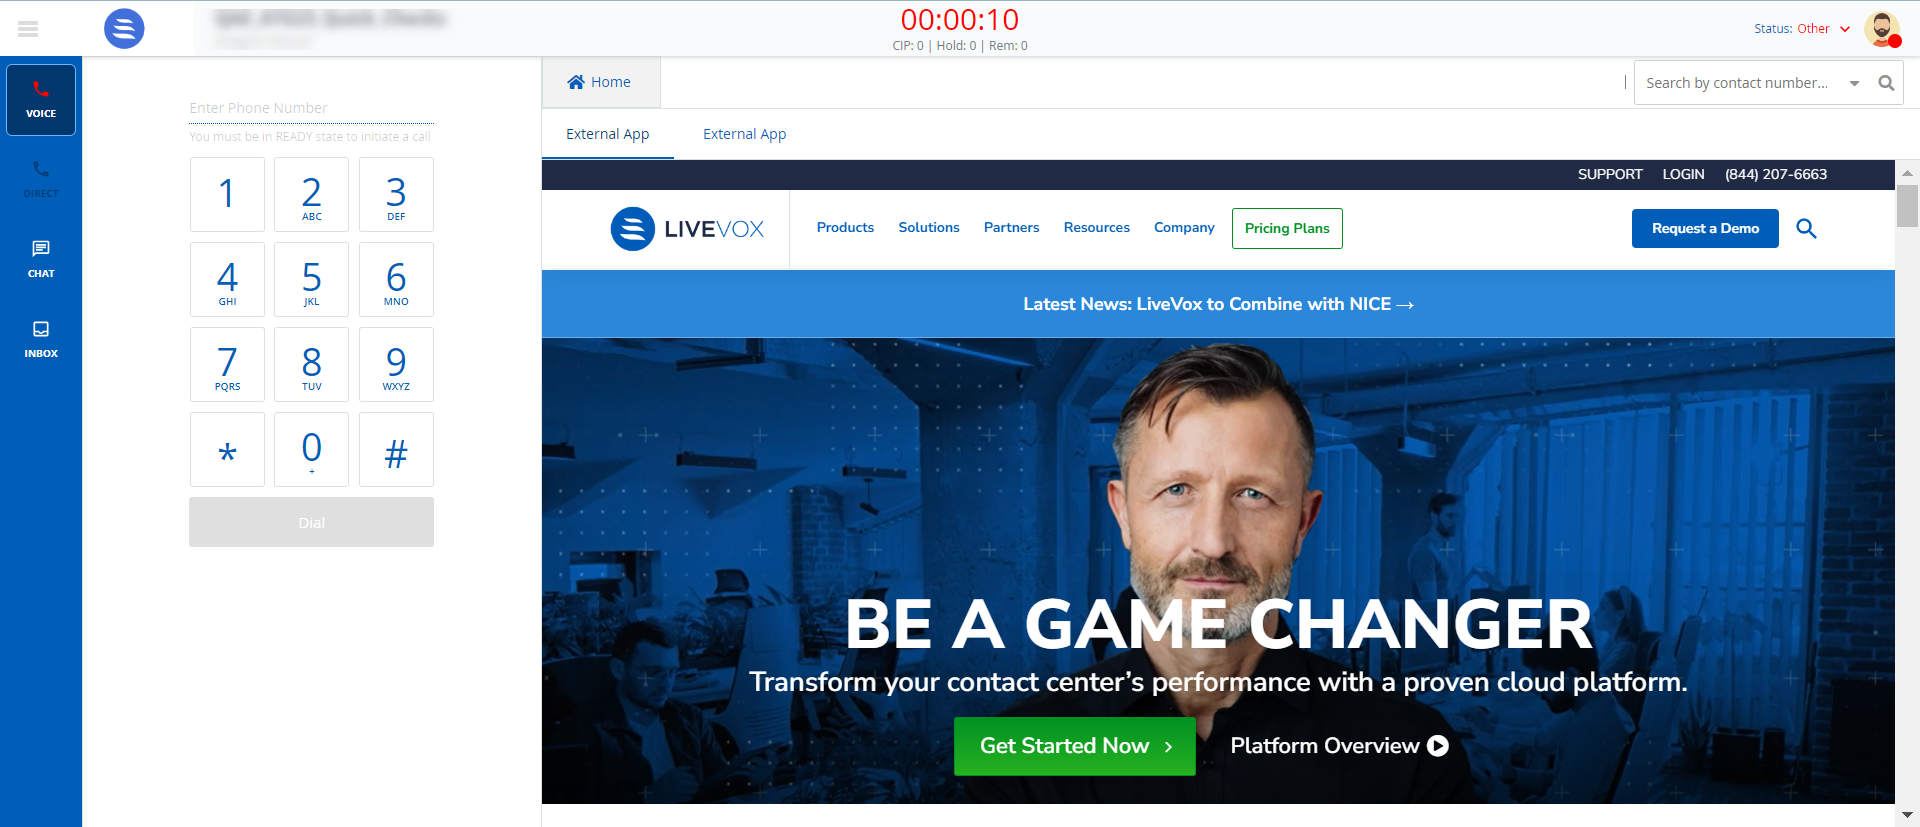
Agent Panel - HTML Page
The agent panel for the HTML page, as below:
To configure and set the Frame element on the Designer Desktop:
- On the Designer Desktop, select a page where you want to add the Frame element. For example, the initial page where you have the Home bar and Containers configured.
- Drag and drop the Frame element to the canvas.
The Frame element appears on the Designer Desktop page. - Select the Frame element in the canvas, then click the Properties tab.

Property
Available Features
Expected Results
Title Content You can change the default title of an element. When you change the title, the element name on the canvas is updated to the new title. For example, you can change the title from Frame to Frame page, and the name is updated on the tab on the canvas.
Styles Header, Header Position, and Theme To change the current formatting, change the Header Position and Theme. When you enable the Header Position option and select the Header Position in the drop-down menu, the header position is updated. Options URL URL: Provide a URL name.
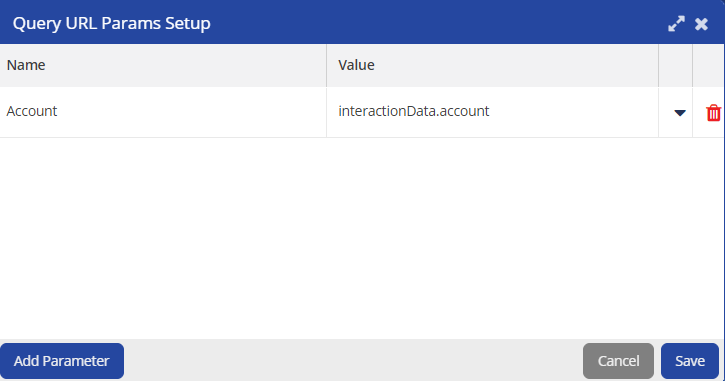
Configure URL Query Params: You can add a parameter for your provided URL.
Auto Load: When you enable this option, the URL is loaded automatically in the designer canvas.
- After updating the required changes, Save the Designer Desktop.
Agent Panel - HTML Page
The agent panel for the HTML element appears, as below:
You can add a banner/image on the agent desktop.
To configure and set the Image element on the Designer Desktop:
- On the Designer Desktop, select a page where you want to add the Image element. For example, the initial page where you have the Home bar and Containers configured.
- Drag and drop the Image element onto the canvas.
The Image element appears on the Designer Desktop page.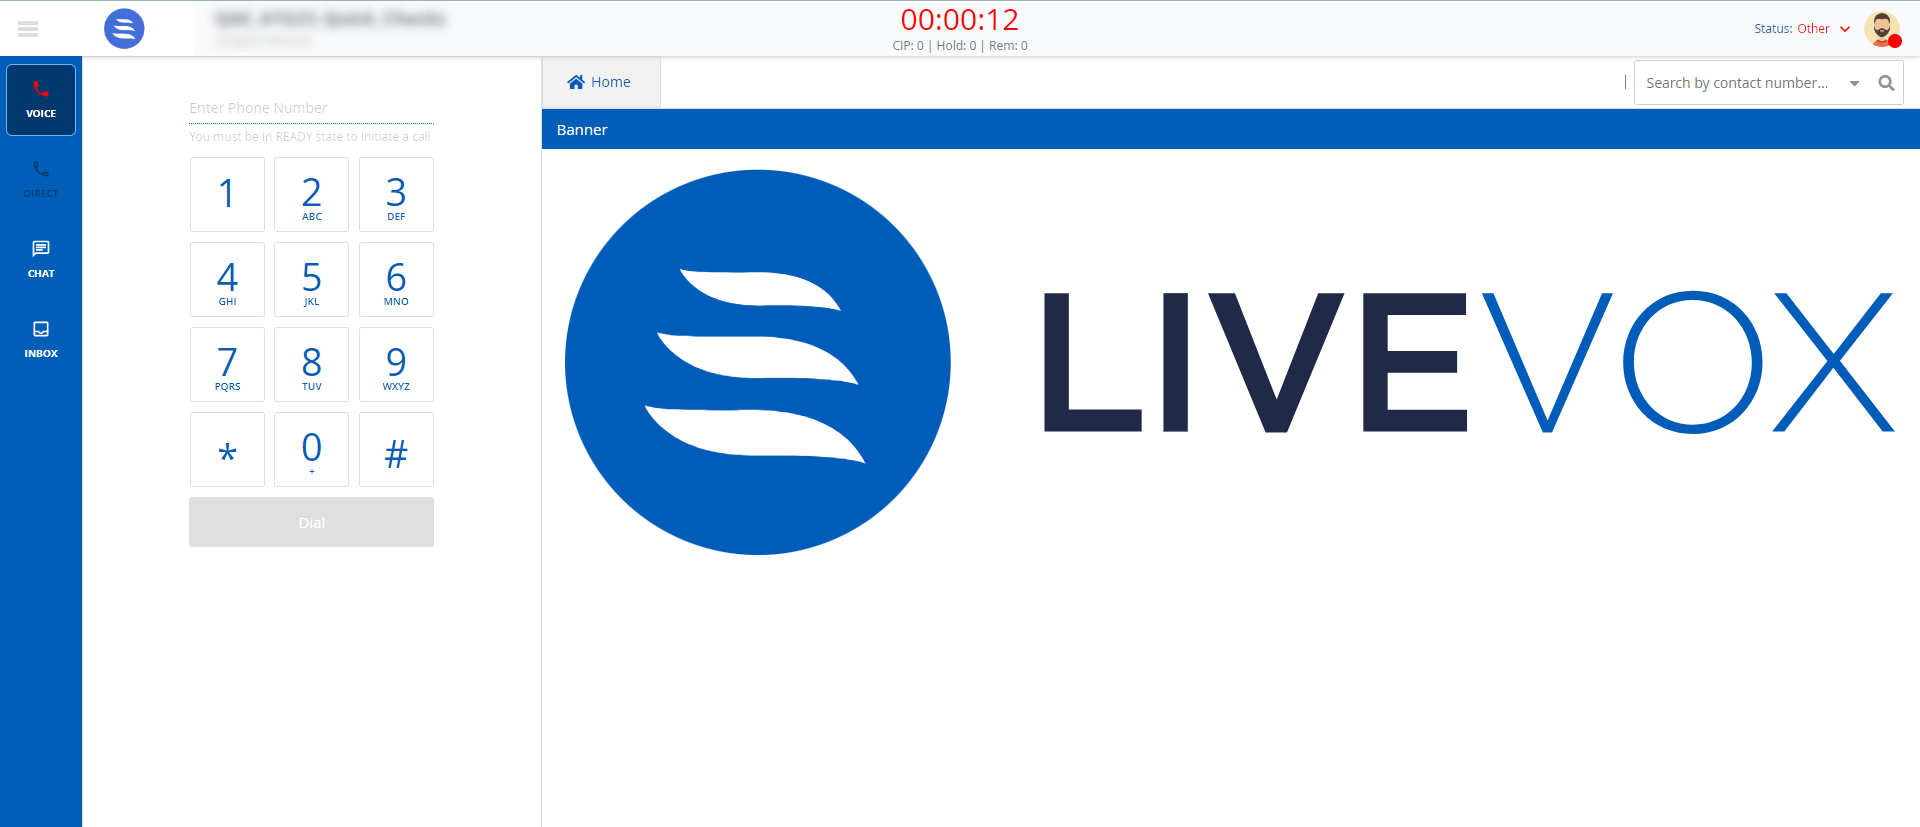
- Select the Image element on the canvas, then click the Properties tab.

Property
Available Features
Expected Results
Title Content You can change the default title of an element. When you change the title, the element name on the canvas is updated to the new title. For example, you can change the title from Images to Banner, and the name is updated on the tab on the canvas.
Styles Header, Header Position, and Theme To change the current formatting, change the Header Position and Theme. When you enable the Header Position option and select the Header Position in the drop-down menu, the header position is updated. Images - You upload the required images using the Upload Images option and drag and drop the required images to the designer canvas.
- After updating the required changes, Save the Designer Desktop.
Agent Panel - Image
The agent panel for the Images appears, as below: