Download PDF
Download page Accounts.
Accounts
This section covers the steps to configure and set the property values for the Accounts elements. The Accounts section on a Designer Desktop contains the following elements:
The Accounts element enables an agent to view all the customer account information. You can configure the account fields required for an agent.
To configure and set the Accounts element on the Designer Desktop:
- On the Designer Desktop, select a page where you want to add the Accounts element. For example, the initial page where you have the Home bar and Containers configured.
- Drag and drop the Accounts element on to the canvas.
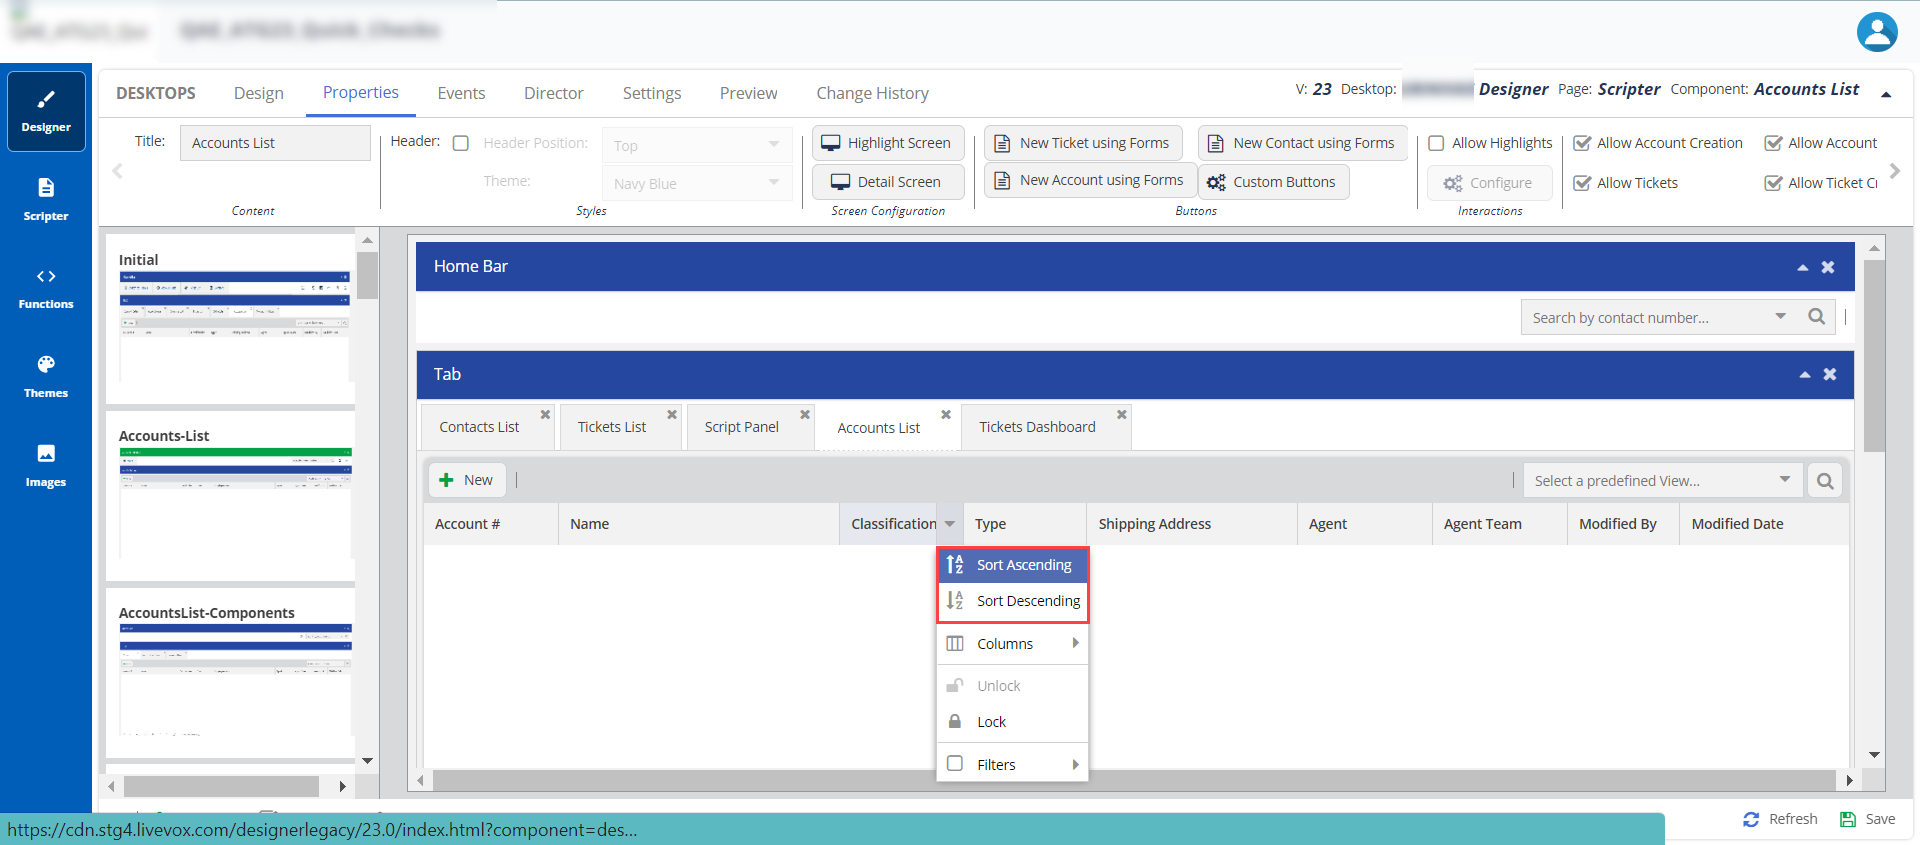
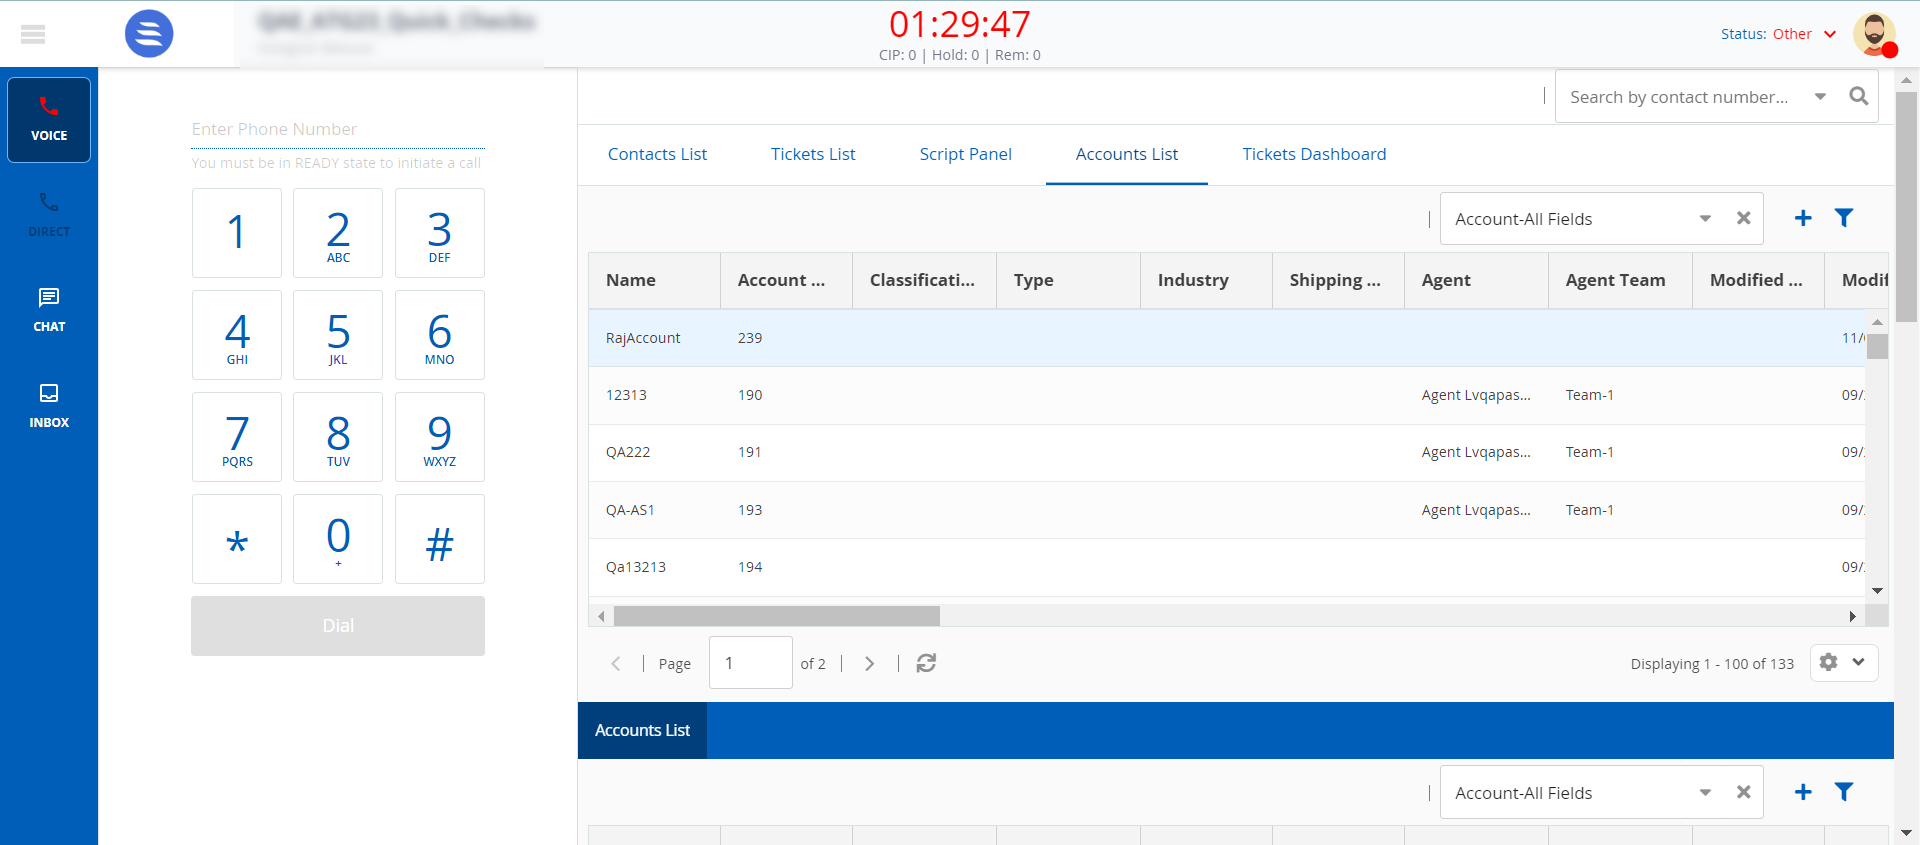
The Account details appear on the Designer page.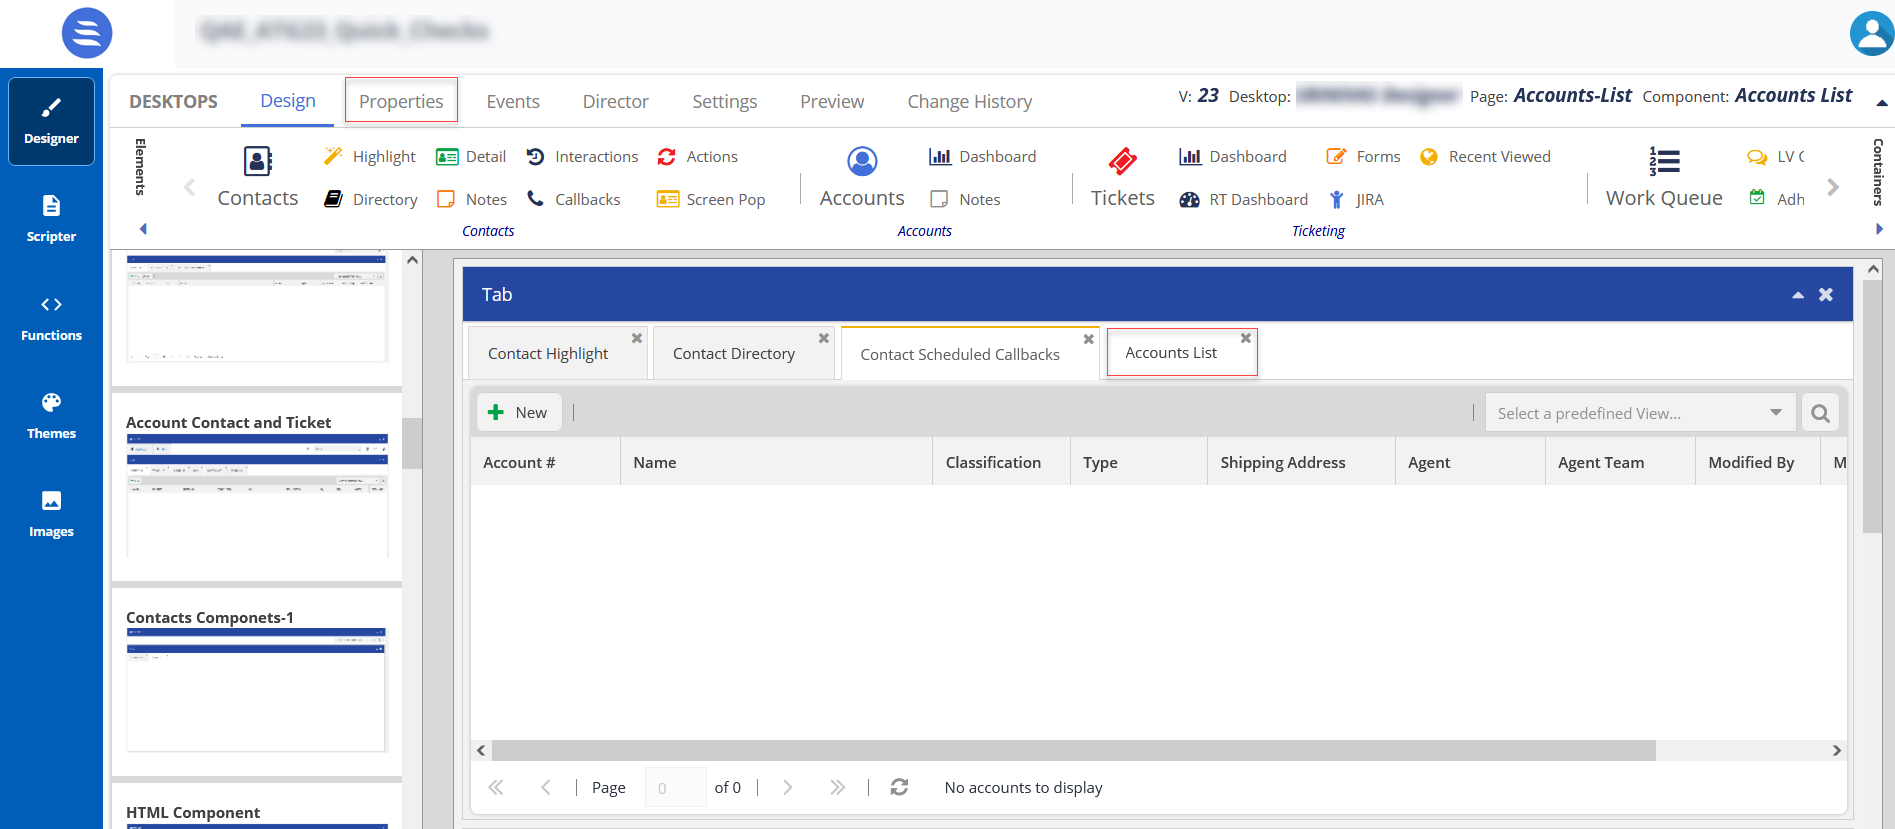 Sorting: Agents can quickly sort and search the fields from Ascending to Descending or vice versa. Agents can sort all the available fields enabled in the Accounts List.
The elements appear in a tabular form because you have selected the Container type as Tab. For more information on Containers, see Working with Containers.
- Drag and drop the Accounts element on to the canvas.
- Select an element, and then click the Properties tab.
The properties for Accounts are shown.
The element properties for Accounts are listed here:Number Property Available Features Expected Result 
Title Title You can change the default title of an element. When you change the title, the Element name on the canvas is updated to the new title. For example, you can change the title from Account to Account List, and the name is updated on the tab on the canvas. 
Styles Header, Header Position, and Theme To change the current formatting, change the Header Position and Theme. When you enable the Header Position option and change the Header Position (top, bottom, left, and right) and the Theme color, the header is updated to the selected option in the drop-down menu. 
Screen Configuration Highlight Screen, Detail Screen
Screen Configurations for Highlight Screen and Detail Screen
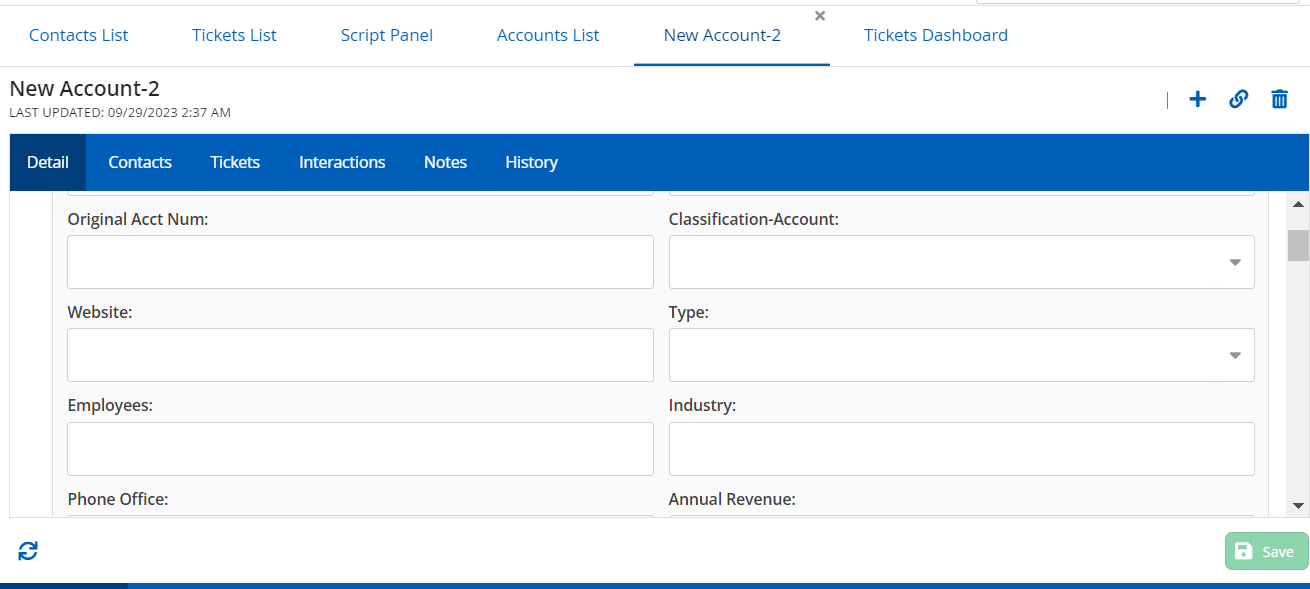
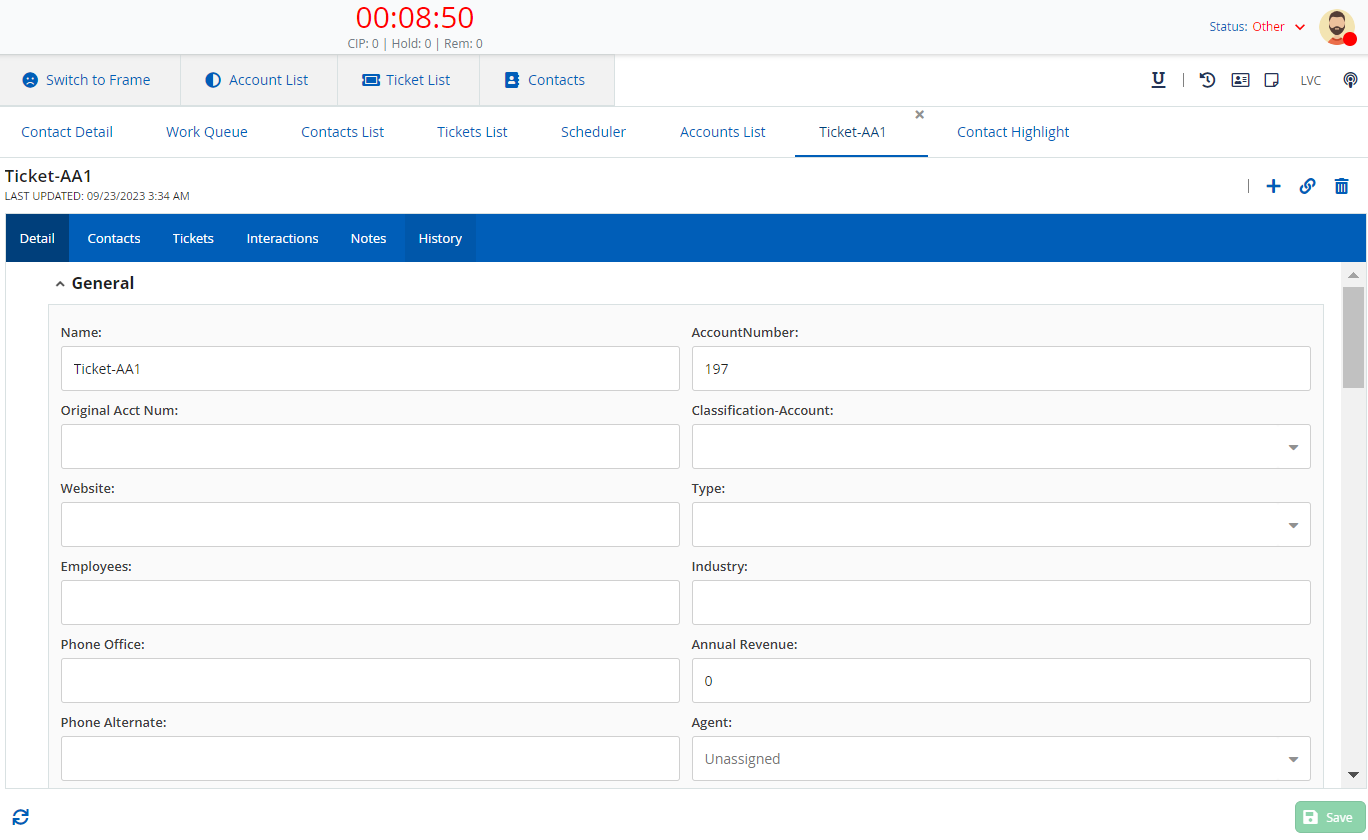
A Highlight Screen lists all the account information for customers. A Detail Screen shows information about a specific account holder; an agent double-clicks on an account to view the account details.
The screen configuration information for the Highlight Screen and Detail Screen are explained in the relevant sections below.
Screen Configuration for Highlight Screen
To configure fields on the Highlight Screen:
- Click the Highlight Screen button.
The field Configuration for: Account List Components window appears. - You can select fields from the Available options list and move them to the Select option.
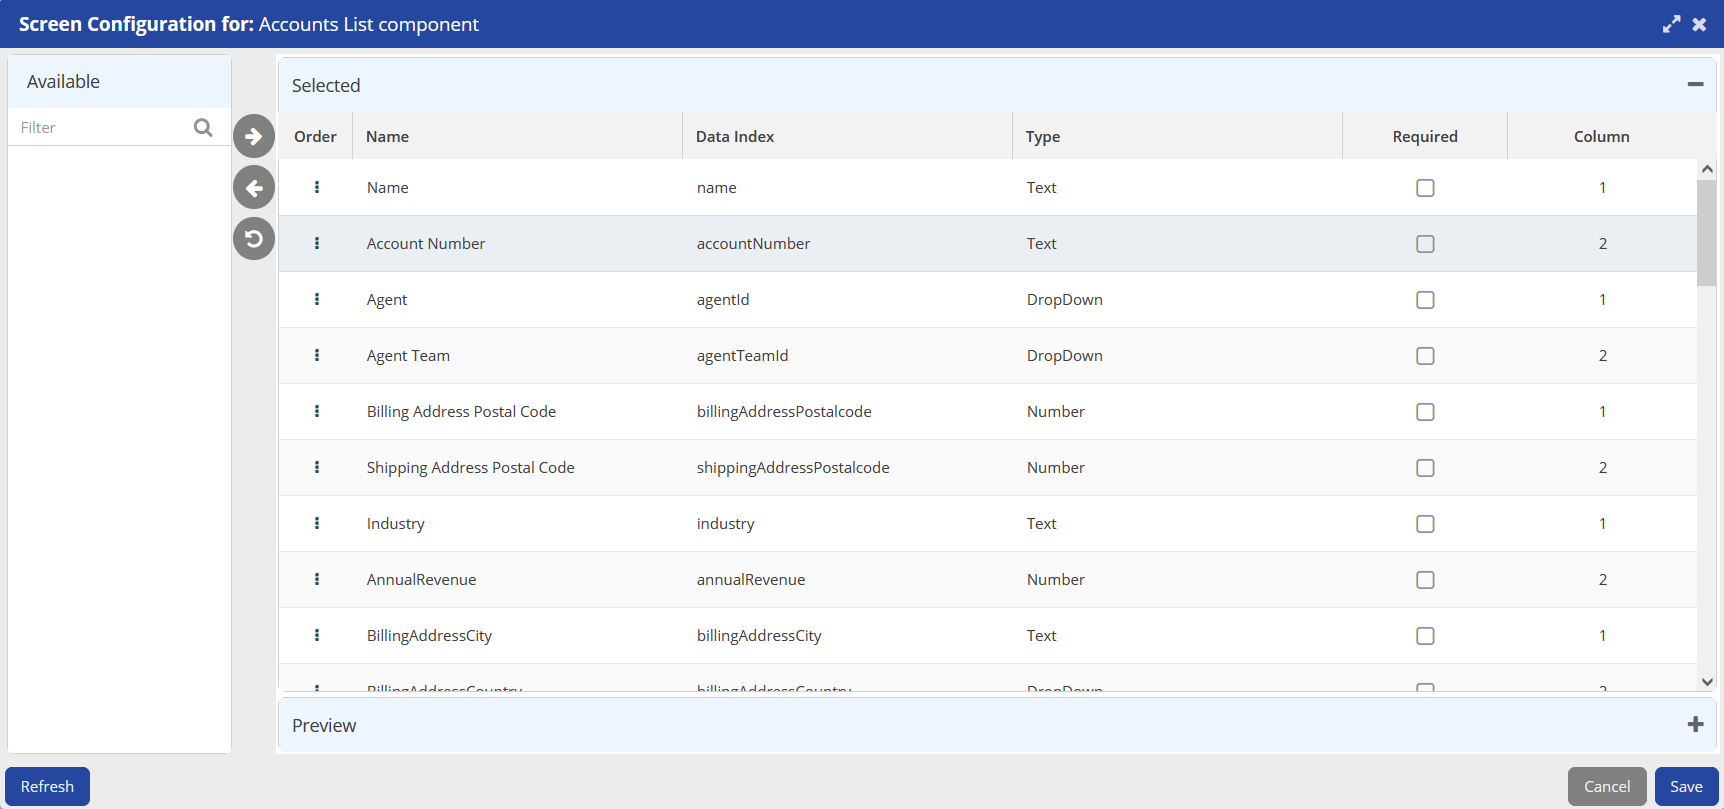
- After updating the fields, click Save.
The changes are updated in the Account List tab and are visible in the agent desktop.
When you configure the Account List, it appears as per the settings in the agent desktop, below the Settings screen and Agent Desktop screen.
Screen Configuration in the Designer Desktop
Screen Appearance in the Agent Desktop
Screen Configuration for the Detail Screen
Follow the screen configuration steps specified in the Highlight screen and configure the fields in the Detail Screen.

Buttons New Ticket using Forms, New Contact using Forms, New Account using Forms, and Custom Buttons You can use these buttons to create forms for tickets, accounts, and contacts.
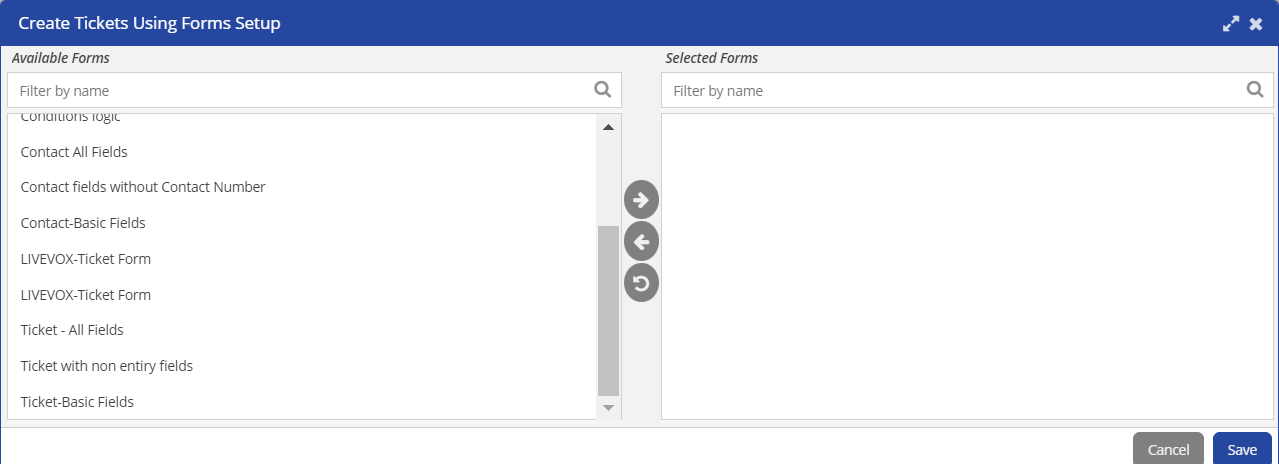
Select the forms from the Available Forms list, move them to the Selected Forms list, and Save the changes.
Custom Buttons: Use the Custom Buttons option to create an event.
When you create a button, an event is created in the Events tab.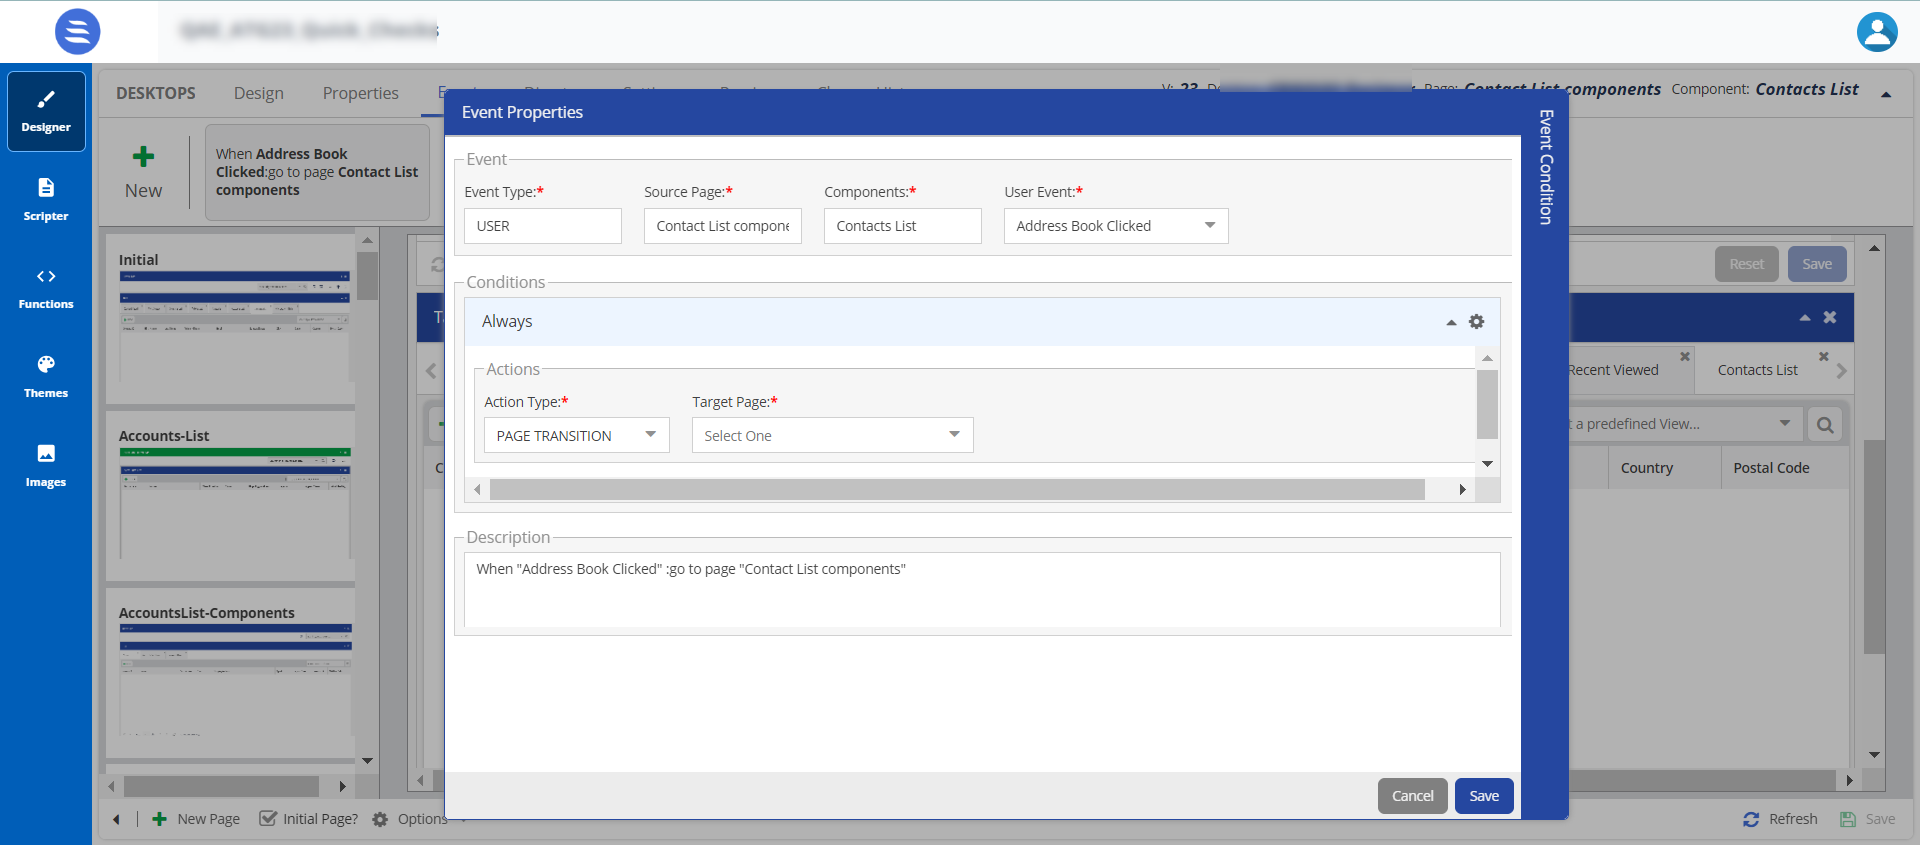

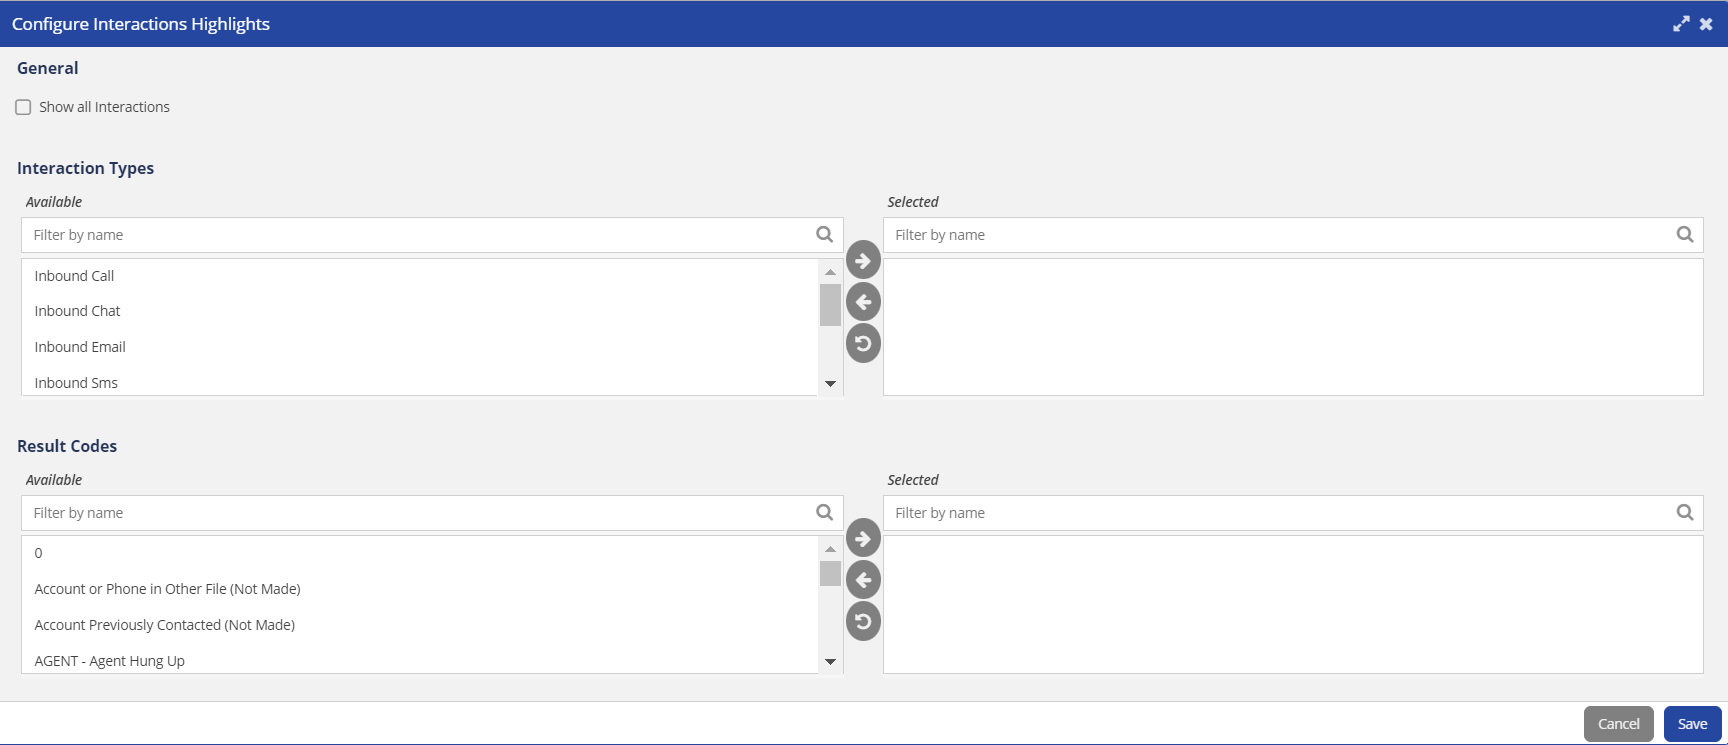
Interactions Allow Highlights and Configure When you select the Allow Highlights option, the Configure button is enabled. You can select the interaction highlights for the interaction types and set the result codes.

Options Allow Account Creation,
Allow Account Deletion,
Allow Tickets,
Allow Ticket Creation,
Allow Account Import,
Allow Contacts,
Allow Account Export,
Allow Contact Creation,
Allow Encrypted Fields,
Allow Playing Audio RecordingAllow Account Creation, Allow Contact Creation, Allow Account Deletion, Allow Tickets,
Allow Ticket Creation,When you enable these features, the agent can perform the tasks, as specified in the Options section.
By default, the Allow Account Creation, Allow Tickets, Allow Ticket Creation, Allow Contacts, and Allow Contact Creation checkboxes are enabled when creating a Designer Desktop. Administrators and managers must disable them if they do not want the agent to create them.
Account Import, Allow Contacts, Allow Account Export
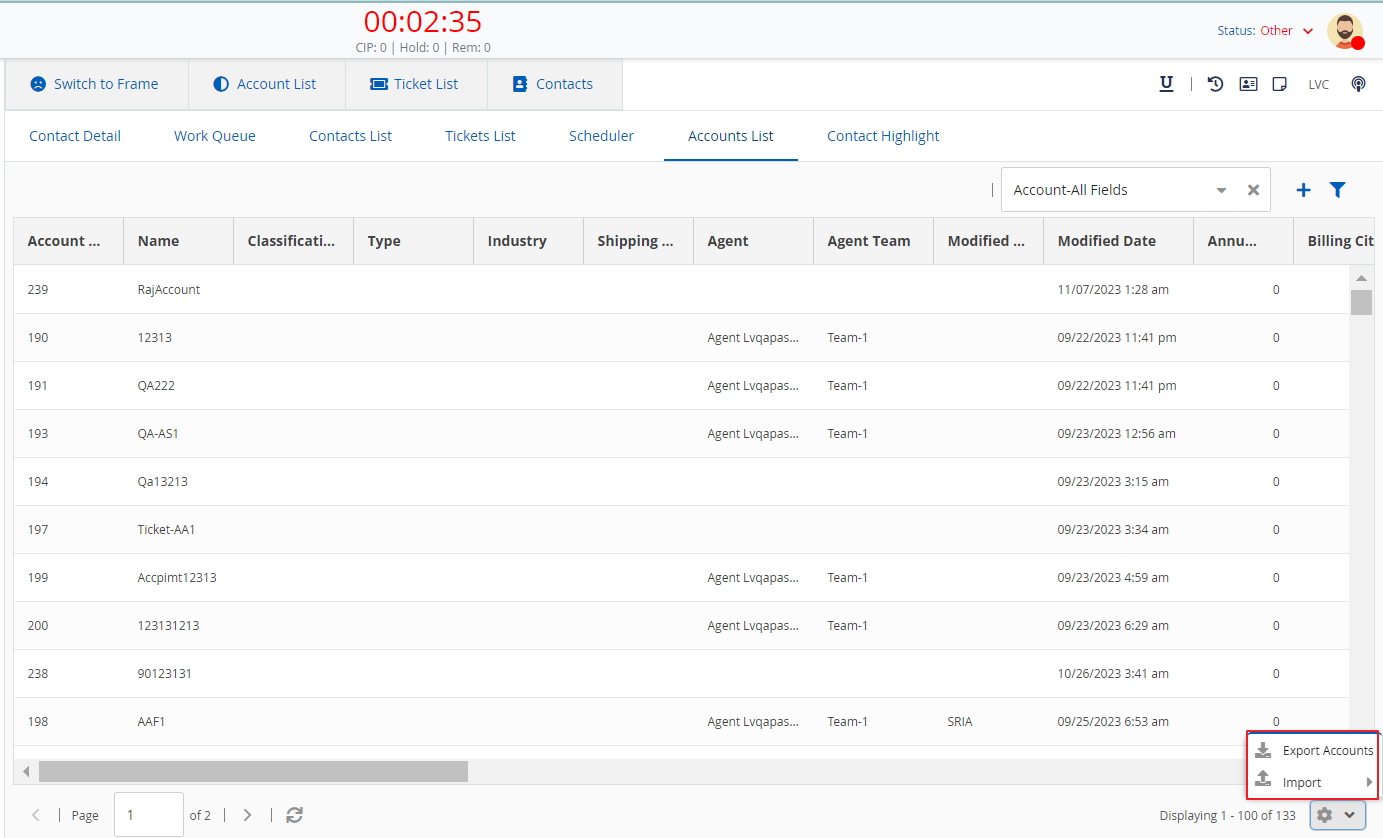
The Allow Account Import and Allow Account Export options enable an agent to import and export the account record using the Import and Export Accounts buttons at the bottom of the Account List in the agent desktop.
Allow Contacts
The Allow Contacts button enables an agent to view the contacts when an agent double-clicks and views the account information. This helps an agent to view the contact details of the account.
Allow Encrypted Fields
Encrypted fields are enabled when an agent views a contact.
Allow Playing Audio Recording
Any call recordings during a call interaction are added to the interactions feature on the agent desktop. An agent can use the recording to check information, and managers can use the recording to rate an agent.
- Click the Highlight Screen button.
- After updating the required information, Save the designer desktop.
Using an Account Dashboard, an agent can view Total Accounts, Accounts Created, Accounts with Open Tickets, and Accounts with Completed Tickets. This dashboard provides an overview of the agent's performance in handling calls and customer interactions.
To configure and set the Dashboard element on the Designer Desktop:
- On the Designer Desktop, select a page where you want to add the Dashboard element. For example, the initial page where you have the Home bar and Containers configured.
- Drag and drop the Dashboard element on to the canvas.
The Dashboard details appear on the Designer desktop page.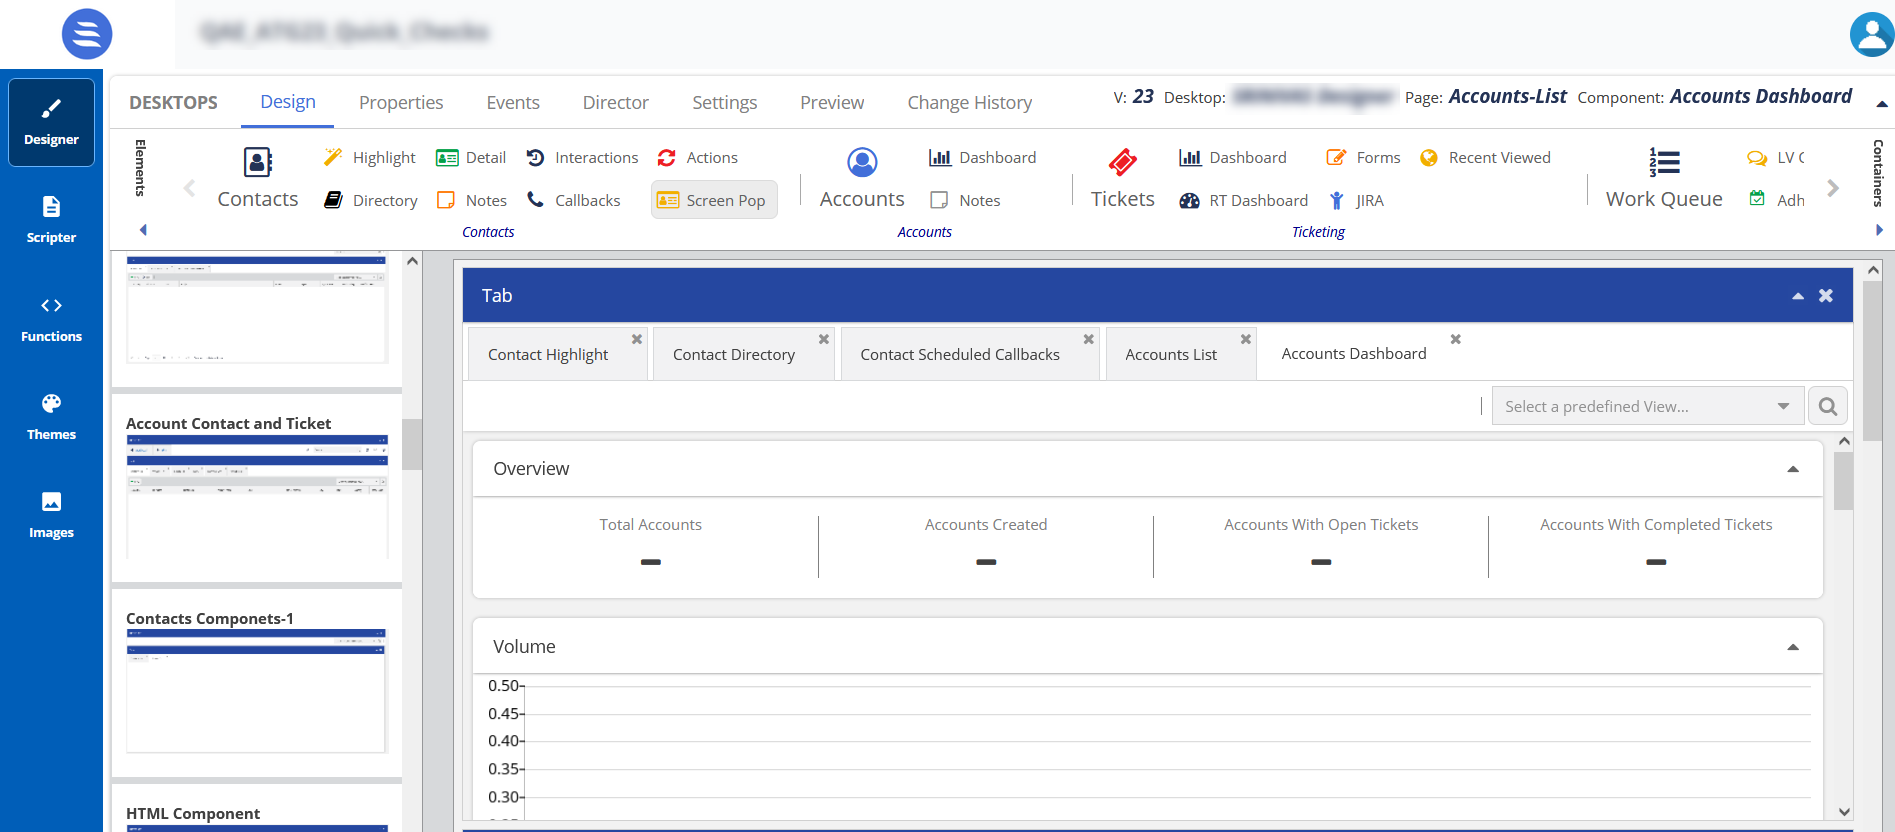
- Select the Dashboard element on the canvas, then click the Properties tab.
The Properties and Events tabs are enabled only when the element is selected on the canvas.
- The properties for the Dashboard are shown.

The element properties for the Dashboard are listed here:Property Available Features Closer Screenshot Expected Result Title Title 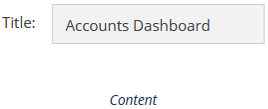
You can change the default title of an element. When you change the title, the element name on the canvas is updated to the new title. For example, you can change the title from Account Dashboard to Dashboard, and the name is updated on the tab on the canvas. Styles Header, Header Position, and Theme 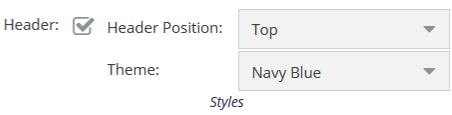
To change the current formatting, change the Header Position and Theme. When you enable the Header Position option and change the Header Position (top, bottom, left, and right) and the Theme color, the header is updated to the selected option in the drop-down menu.
To configure and set the Notes element on the Designer Desktop:
- On the Designer Desktop, select a page where you want to add the Notes element. For example, the initial page where you have the Home bar and Containers configured.
- Drag and drop the Notes element on to the canvas.
The Notes details appear on the Designer Desktop page.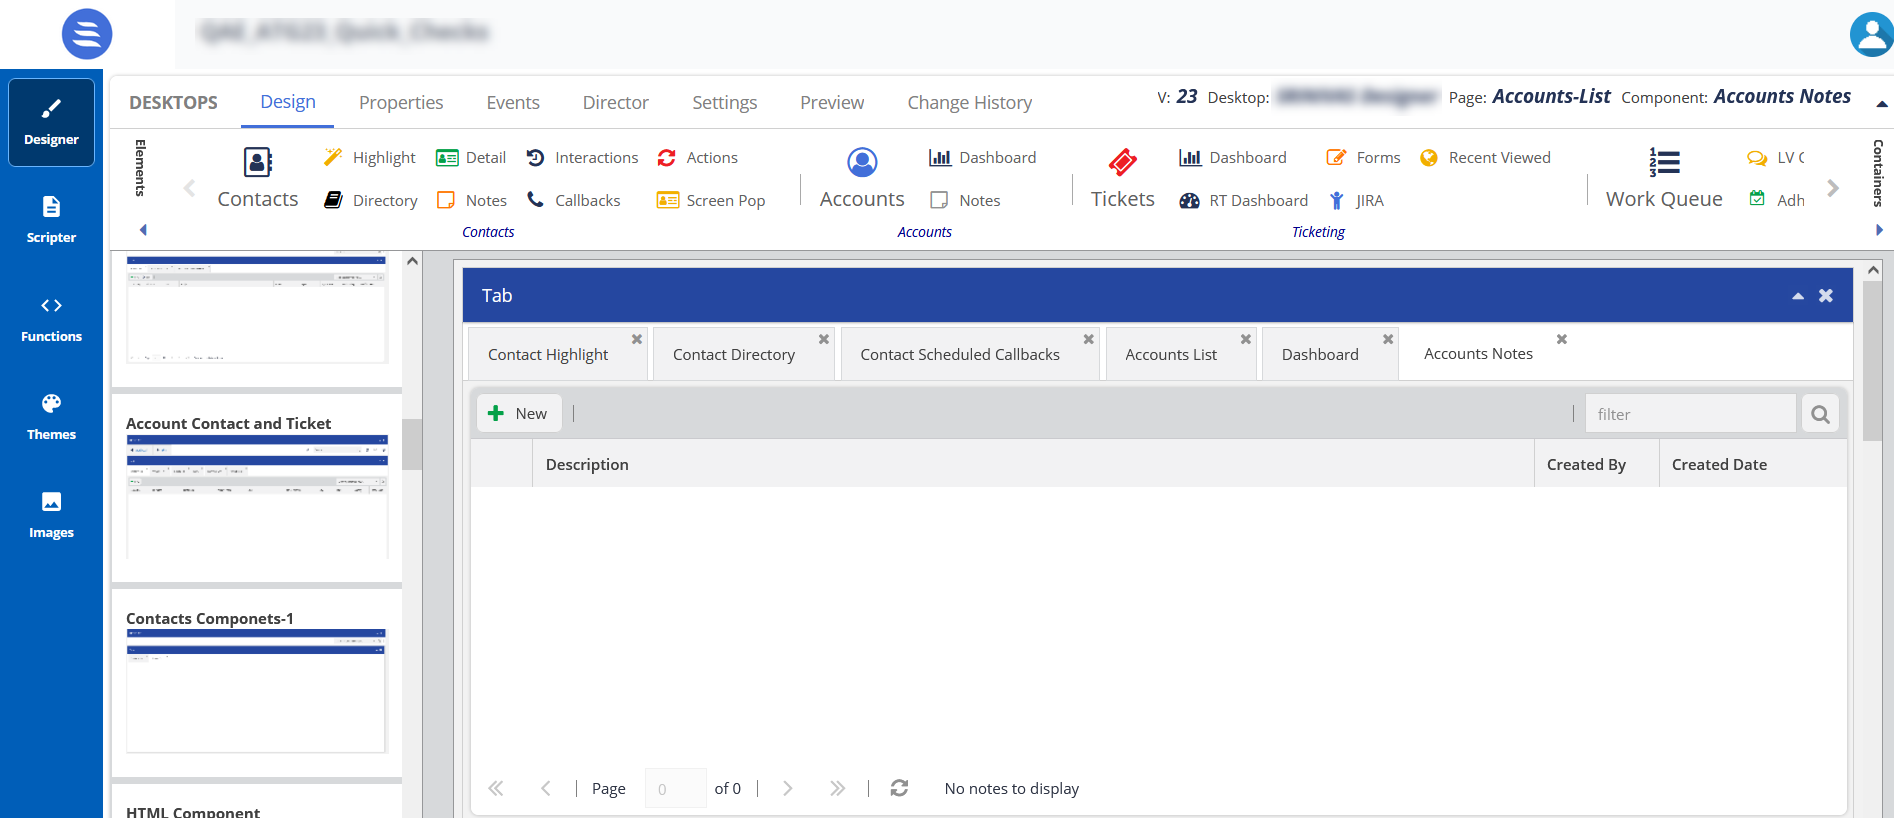
- Select the Notes element on the canvas, then click the Properties tab.
The Properties and Events tabs are enabled only when the element is selected on the canvas.
- The properties for the Notes element are displayed.

The element properties for Notes are listed here:Property Available Features Closer Screenshot Expected Result Title Title 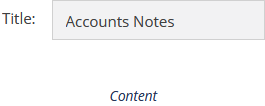
You can change the default title of an element. When you change the title, the element name on the canvas is updated to the new title. For example, you can change the title from Account Notes to Notes, and the name is updated on the tab on the canvas. Styles Header, Header Position, and Theme To change the current formatting, change the Header Position and Theme. When you enable the Header Position option and change the Header Position (top, bottom, left, and right) and the Theme color, the header is updated to the selected option in the drop-down menu. Options Allow Note Deletion 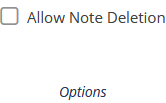
Select the Allow Note Deletion checkbox if you want your agents to be able to delete notes.