Download PDF
Download page Accessing the LiveVox Agent Desktop.
Accessing the LiveVox Agent Desktop
LiveVox Agent Sign-In Options
Agent Desktop Native
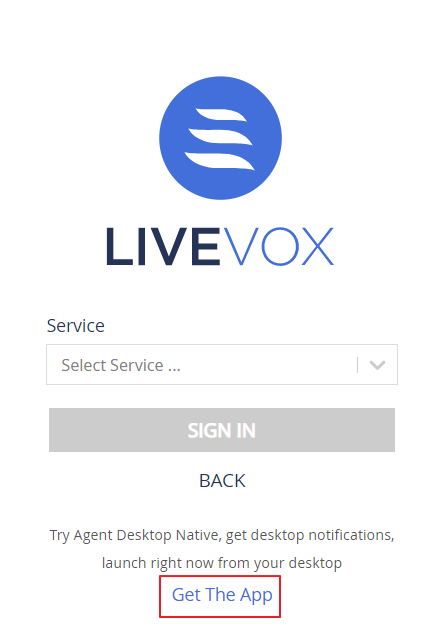
LiveVox supports the Agent Desktop Native (ADN) application. ADN is an installable application that is designed to enhance your experience by providing you with browser-independent access to the Agent Desktop. When signing in from the browser, you can download the ADN installation file from the below screen by clicking the Get The App link on your local machine.
For more information about ADN installation instructions, see the Agent Desktop Native Installation Infosheet in Product Documentation, or check with your manager.
Once you run the Agent Desktop Native application, the LiveVox Agent sign-in screen is displayed.

Agent Desktop
You can access the LiveVox Agent Desktop through a web browser using a URL.
Check with your manager for the URL that is specific to your organization (for example, https://portal.na3.livevox.com/<Client Code>/AgentLogin).
Go to the LiveVox Agent Desktop URL of your organization.
The Agent Sign In window appears.
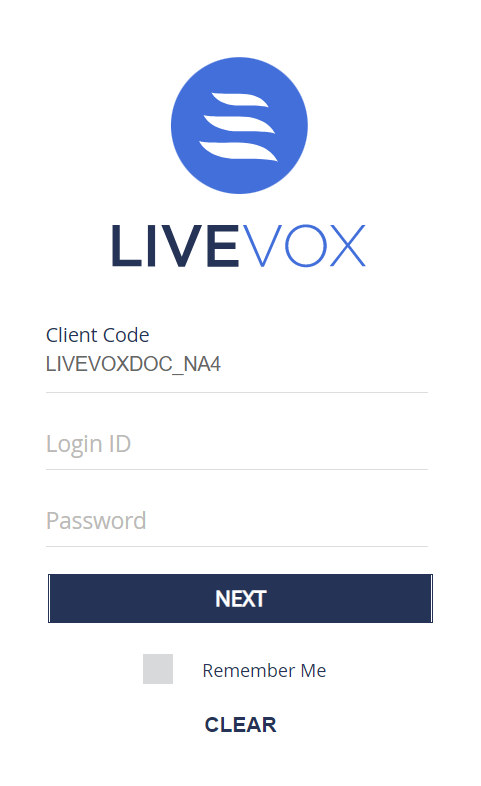
Sign In process
- The Client Code is auto-populated when you log in using your Agent Login link.
Specify your Login ID and Password.

- The Login ID is your Agent ID. The password is case-sensitive.
- You might be required to change your password upon sign in. See the Changing Your Password section for instructions on updating your password.
- You can select the Remember Me checkbox to save your Login ID for next logins. Your password is not saved.
- You can use the Clear option to remove your entered credentials.
Click Next to sign in to the Agent Desktop.
- If you are unable to sign in, click the Clear button and try again.
- If you exceed the account lockout threshold, your account is locked. You must contact your manager to unlock your account.
- When enabled, your password might be set to expire after a set number of days. If your password has expired see Password Expiration for steps on how to renew your password.
- After you log in to the Agent Desktop, select a service by clicking the Service drop-down menu.
Establishing Audio Path
Depending on the type of service you select, you may have to follow different instructions to establish your audio, as presented on your screen.
Call Using Computer
- Select the Call using computer checkbox to establish an audio path using Agent Desktop.

- Click the Sign In button. The dial-in instructions screen is displayed.
When you log in through the browser for the first time (or after clearing browser cache), the browser prompts you to Allow or Block the use of your microphone. You must allow the use of a microphone for browser audio to be established. Also, be sure that your browser pop-up blockers are disabled which may prevent you from seeing this prompt for allowing the use of your microphone.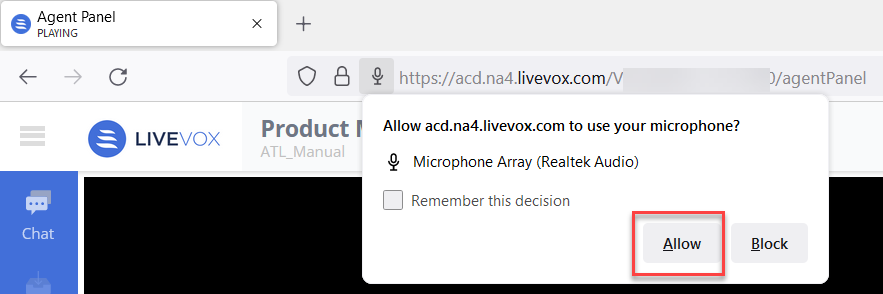
Call-In Instructions
For certain services, you might have to call into LiveVox to establish a persistent audio connection. If you are signing into such a service, you are prompted to call in. The below screen shows the sample of calls in instruction pop-up.
- Each agent is assigned a unique PIN number. However, the call-in number is the same for any call center location.
- When signing into the Agent Desktop, you can hear a beep sound which indicates that you are connected to audio.
- If you are using a softphone to connect to LiveVox, see the LiveVox Communicator User Guide
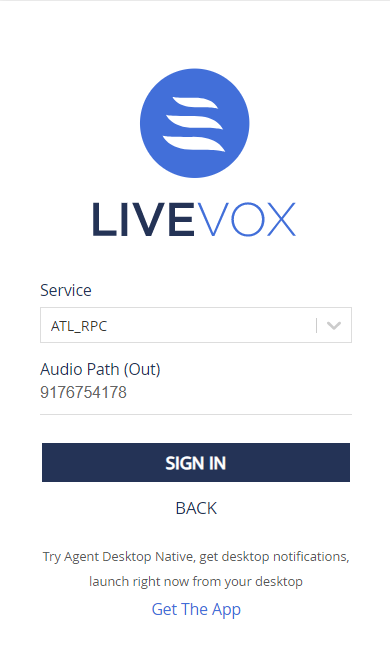
Audio Path (Out)
You must populate this field only if LiveVox is calling you to establish an audio path. If you are unsure, check with your manager.
Click the Sign In button to log in to the Agent Desktop.
- The Audio Path (Out) field is only editable by permitted agents. If you need access to this field, contact your manager.
If the Audio path (Out) is not configured by your manager, you cannot log on to Agent Desktop where the Audio Path (Out) is necessary.
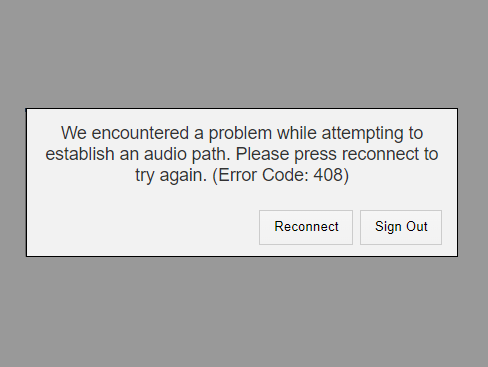
If the call to establish your audio path fails, an error message is displayed. You can click the Reconnect or Sign Out button.