Download PDF
Download page Managing an Account.
Managing an Account
Accessing the Account List
To access a list of accounts, on the Configure tab of the LiveVox Portal (LVP), click Account > Accounts. 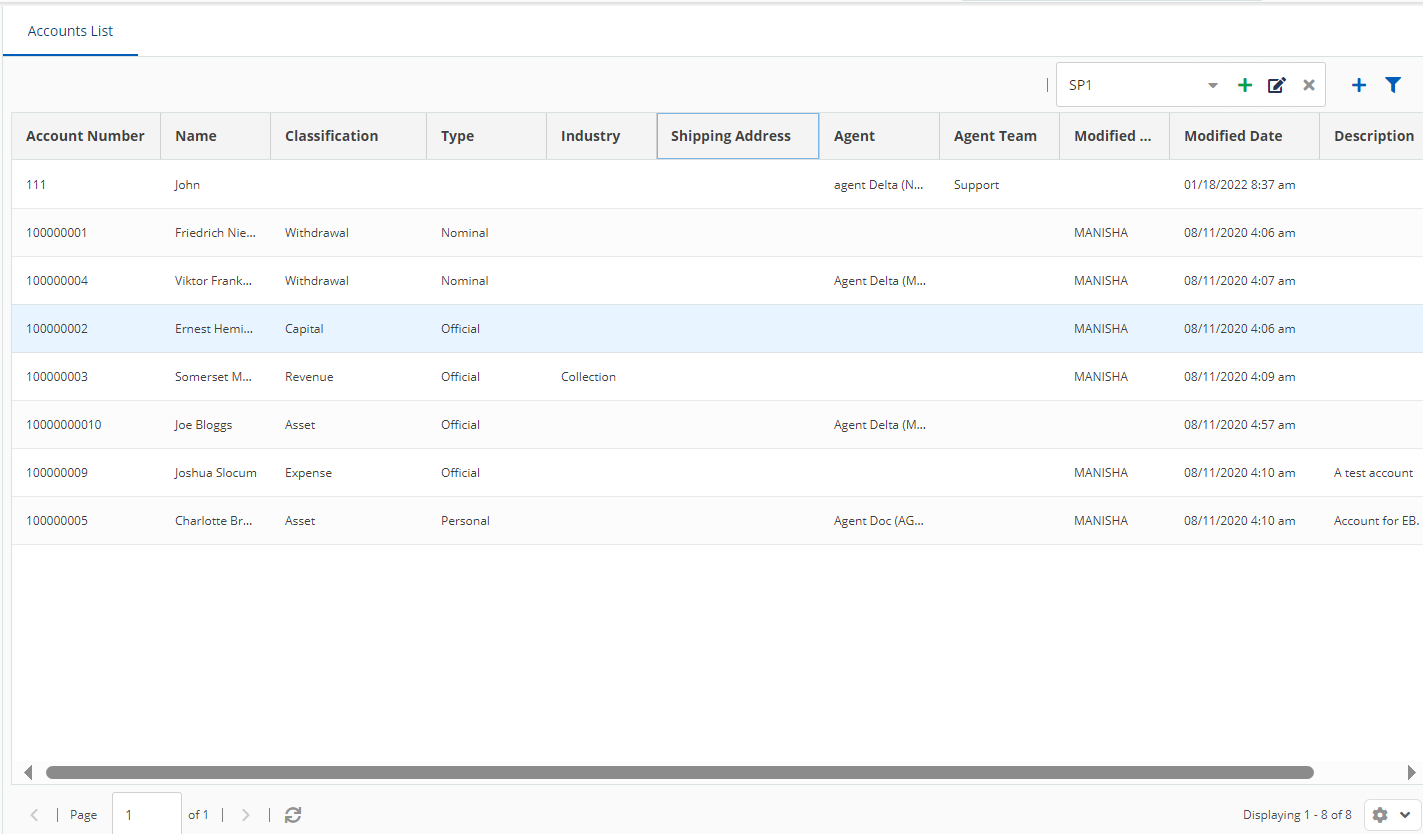
- For information about the default filter and how to filter Accounts, see Filtering Accounts, Contacts, and Tickets.
- For information about how to customize the Account table, see Customizing Account, Contact, and Ticket Tables.
Creating an Account
To create an account:
- On the Configure tab of the LiveVox Portal (LVP), click Account > Accounts.
The Account List window appears. - Click New.
The New Account window appears.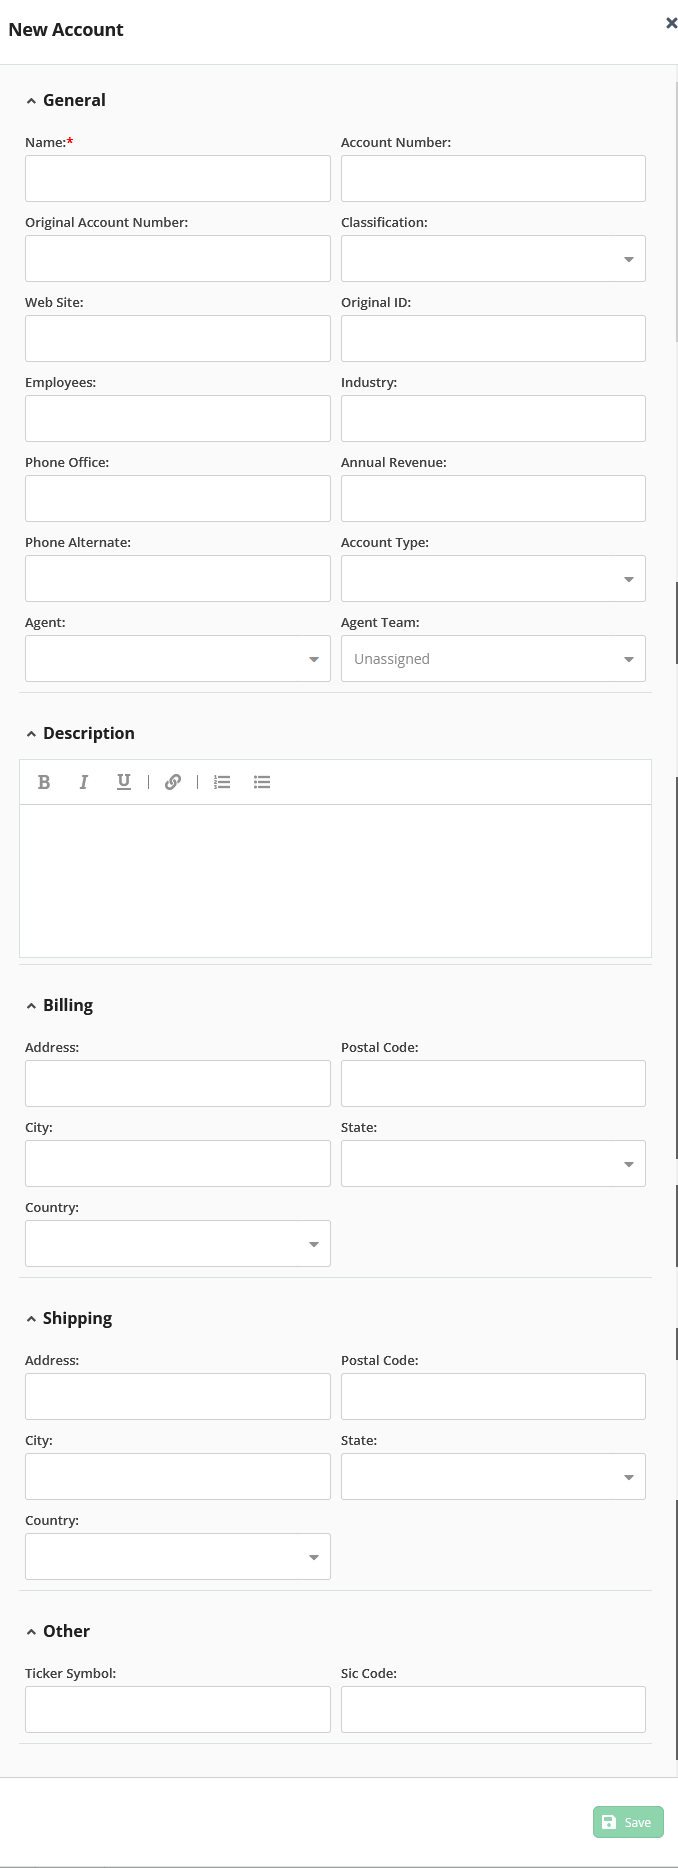
Specify values in the fields.
For information about the fields, see Account Fields.
Click Save.
A message stating that the account has been created appears, along with the account details.
- To create another account, click New.
- To view the table of accounts, click the Close icon
 .
.
Accessing an Account
To access an account from the table in the Account List section, double-click the row displaying the account. Each account has associated tabs, such as Detail, Contacts, Tickets, Interactions, Notes, History, and Submitted Form.
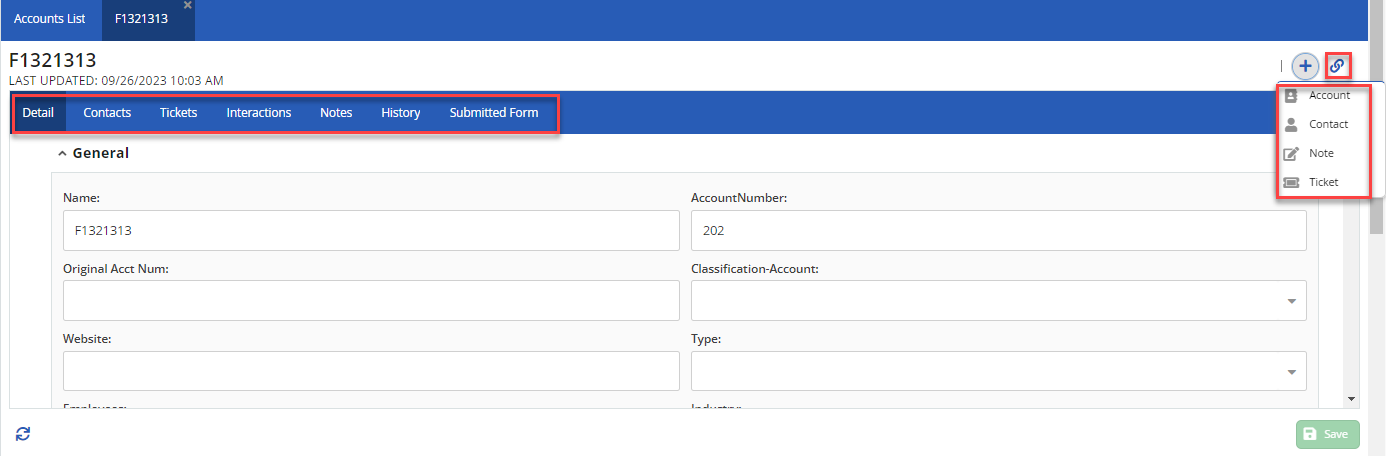
- Detail: Provides information about the account.
- Contacts: Provides a list of contacts associated with the account.

- Tickets: Provides a list of tickets associated with the account.

- Interactions: Provides previous interactions with the account.

- Notes: Provides the list of notes associated with the account.

- History: Provides a history of the changes made to the account, such as Changed By, Changed On, and a Short Description.

- Submitted Form: If you have used a web form for the account, the Submitted Form tab appears on the account page.
- The Interactions tab of an account displays the interactions associated with all the contacts linked to the account. By default, only the interactions that are connected to an agent appear. To view the interactions that are not connected to an agent, clear the Exclude Non Agent checkbox on the Interactions tab. By default, you can view the data for one month. To view the previous month's data, specify the required date range and the data will be loaded.

- Playing Audio Recording: You can find and play call recordings under the Interaction tab to access information about the customer interaction.

Modifying an Account
To modify an account, access the account, modify the values, and then click Save.
Creating an Associated Entity for an Account
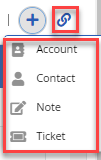
To create a contact, ticket, or note for an account, access the account, and then, on the New menu, click the corresponding option.
- For information about the Contact fields, see Contact Fields.
- For information about the Ticket fields, see Ticket Fields.
- The contact, ticket, and note you create for an account appear on the Contacts, Tickets, and Notes tabs of the account, respectively.
Linking an Account to an Entity

To link an account to an existing contact or ticket, access the account, and then, on the Link menu, click the corresponding option.
- The contact and ticket you link to an account appear on the Contacts and Tickets tabs of the account, respectively.
- You can unlink the contact and ticket from the account by clicking the Unlink icon
 in the Unlink column on the Contacts and Tickets tabs of the account.
Exporting Accounts
You can export accounts from the LiveVox Portal to a comma-separated values (CSV) file.
Before You Begin
Ensure that the Account List section displays the accounts that you want to export. For information about how to filter accounts, see Filtering Accounts, Contacts, and Tickets.
To export the accounts, in the Account List section, click the Settings icon ![]() , and then click Export Accounts.
, and then click Export Accounts.
A CSV file containing the accounts from the LiveVox Portal (based on the applied filter) is downloaded.

Importing Accounts
You can import accounts from a file into the LiveVox Portal.
Before You Begin
Ensure that each account record in the file that you want to import contains a name for the account and that the file size is not more than 15 megabytes (MB).
To import the accounts:
- In the Account List section, click the Settings icon
 , and then click Import > Accounts.
The Import Accounts window appears.
Specify values in the following fields:
- File: Click the magnifying glass icon
 , and then select the file.
 Input Filter: Select an input filter (a predefined format to import the data from the file). Ensure that the format of the file you selected in the File field corresponds to the format of the input filter.
- File: Click the magnifying glass icon
- Click Import.
A message stating that the data is imported appears. The accounts from the file appear in the Account List section (depending on the current filter).
Importing a File to Link Accounts to Contacts
You can automatically link accounts to contacts by importing a file (containing the account records linked to the contact records) into the LiveVox Portal.
Before You Begin
- Ensure that the account and contact records that you want to import exist on the LiveVox Portal
- Each account record in the file contains the unique ID of the account.

- Each contact record in the file contains the unique ID of the contact.


- Each account record in the file contains the unique ID of the account.
- Ensure that the file size is not more than 15 megabytes (MB).
Example
The following image displays the contents of a file containing the account records linked to the contact records. In the file, 111, 222, and 333 are the original Account IDs; 1001, 1002, and 1003 are the Account/Contact numbers.
To import the accounts with linked contacts:
- In the Account List section, click the Settings icon , and then click Import > Contacts for Accounts.
The Import Contacts for Accounts window appears.
In the File field, click the magnifying glass icon
, and then select the file.Click Import.

If you are using the LiveVox Portal (that is, if you are not an agent), you can view details, such as the status of the import or the date and time when the import started or ended in the User Tasks window. This window appears when you click the avatar icon
 > User Tasks.
A message stating that the data has been imported appears. The accounts from the file appear in the Account List section (depending on the current filter), and the accounts are linked to the contacts, as defined in the file.
Deleting an Account
You can delete an account only if is not linked to a Contact or Ticket. To delete an account, access the account, and then, on the More menu, click Delete.

You can view details, such as the status of the import or the date and time when the import started or ended in the User Tasks window. This window appears when you click the avatar icon ![]() > User Tasks. In the User Tasks window, the Account import task is identified by the value Account_IMPORT in the Operation column.
> User Tasks. In the User Tasks window, the Account import task is identified by the value Account_IMPORT in the Operation column.