If configured, SpeechIQ automatically generates and shares the speech/text analytics data reports and call recording data reports at a specific frequency and time. The automated reports are updated in real-time, generated, and then sent to the selected email recipients in MS Excel files.
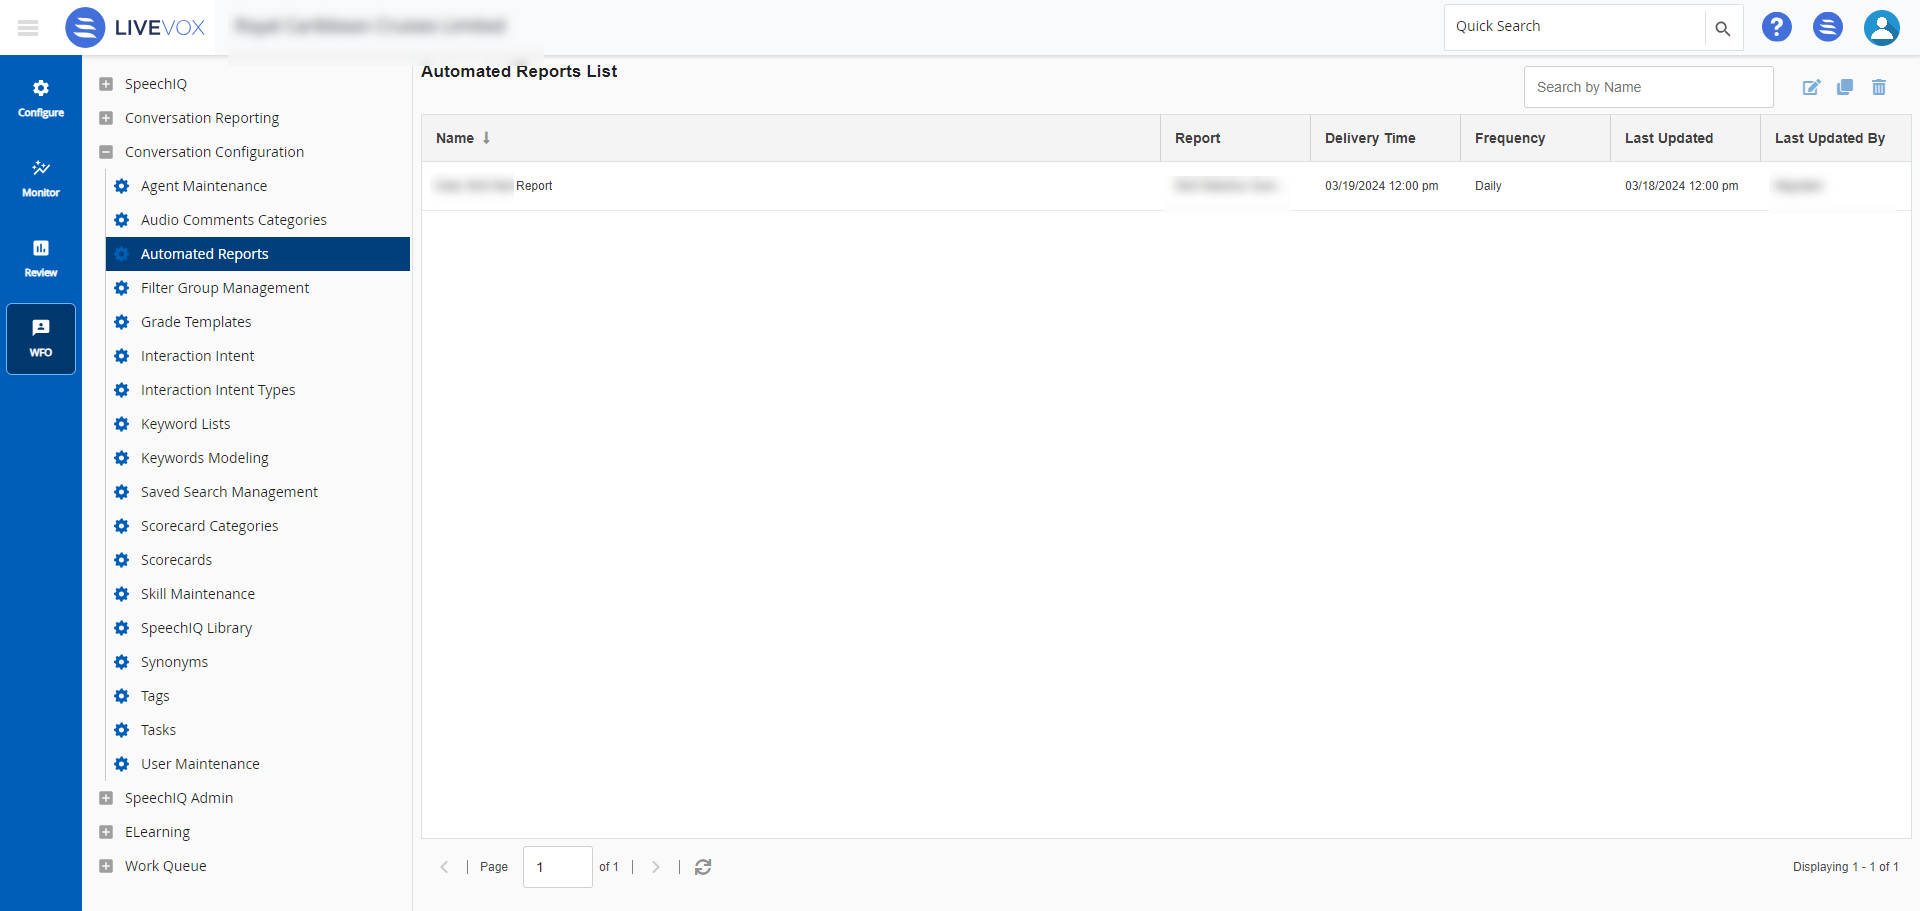
The Automated Reports window displaying all the scheduled reports that are added in each reporting subsection appears.
Enabling Automated Reports
To facilitate this feature, you must add the required reports for automated sharing:
On the WFO tab, click Conversation Reporting.
Select the type of report for which you want an automated report to be generated. The selected report window appears.
Click .
In theSearchwindow that appears, specify the required filters.
Specify values in the following fields as required.
Field
Description
Name
Specify a name for the automated report.
Report
This is a non-editable field. By default, it displays the report you have selected.
Report Date
Select the time duration of the report to be generated and shared automatically. You have the following options:
Today
Yesterday
This Week
Month to Date
Last Month
Frequency
Select the reporting frequency, in which the reports are to be generated and sent to the selected recipients. You have the following options:
Daily
Weekly
Biweekly
Monthly
Quarterly
Yearly
Delivery Time
Select the time that you want the report to be triggered and sent.
Email
Select the email IDs from the list.
ClickSave.
Accessing the Automated Reports
To access the automated reports configuration, on the WFO tab, click Conversation Configuration >Automated Reports.
To search for a specific report, use the Search by Namefield.
To customize the table columns view, see instructions in the Customizing a Table section in SpeechIQ Reporting.
To refresh the list, click theRefreshicon ().
Editing a Report Schedule or Filter
To edit a report schedule or filter:
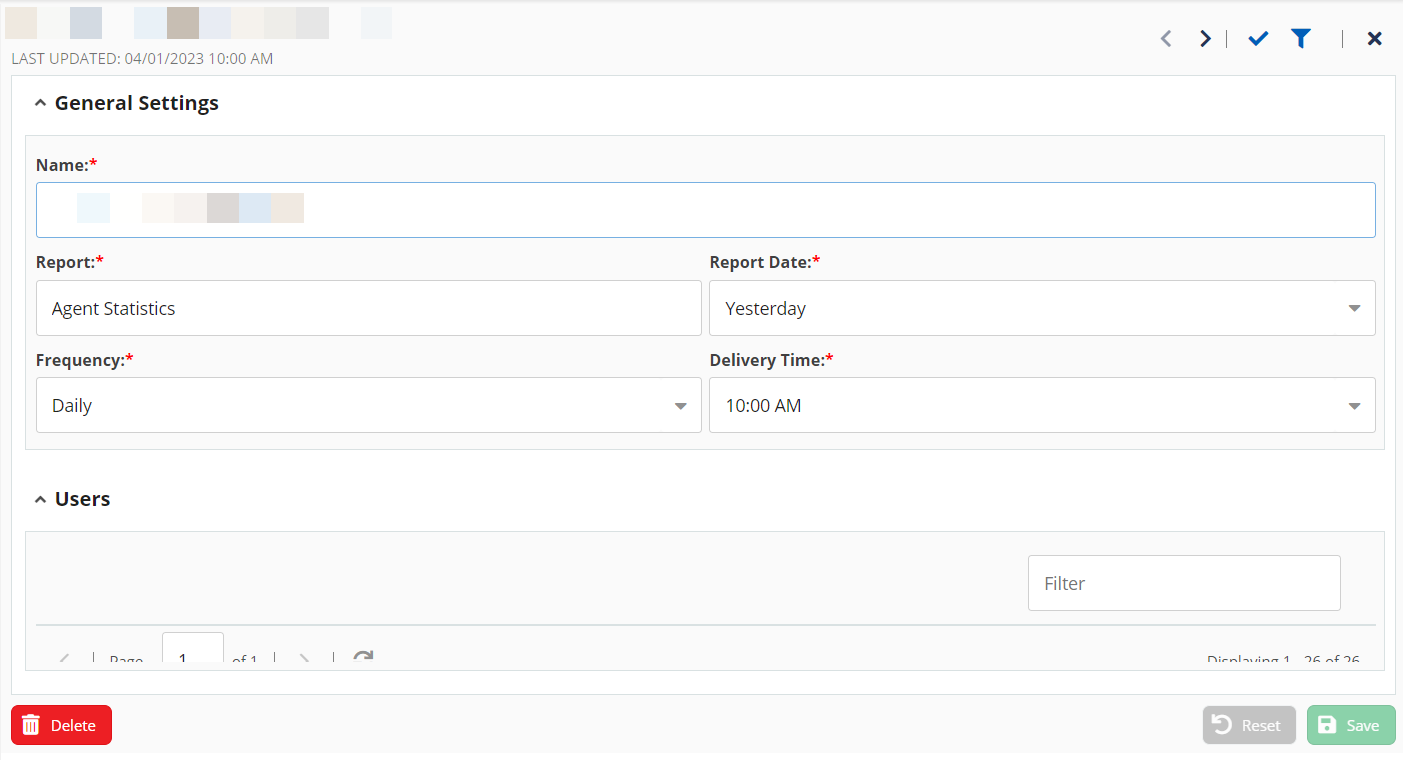
In theAutomated Reportswindow, double-click the automated report that you want to modify. Alternatively, you can select the row and click .
In the report details window, modify values in the fields as required.
Specify values in the following fields as required.
Field
Description
Name
Specify a name for the automated report.
Report
This is a non-editable field. By default, it displays the report you have selected.
Report Date
Select the time duration of the report to be generated and shared automatically. You have the following options:
Today
Yesterday
This Week
Month to Date
Last Month
Frequency
Select the reporting frequency, in which the reports are to be generated and sent to the selected recipients. You have the following options:
Daily
Weekly
Biweekly
Monthly
Quarterly
Yearly
Delivery Time
Select the time that you want the report to be triggered and sent.
Email
Select the email IDs from the list.
To reset or modify the filters:
On the selected report window, clickUpdate Filters.
Modify the filters as required.
ClickApply. The filters are updated for the scheduled report.
ClickSave.
To download and verify the updates, clickTest Report. The report is downloaded into your local folder.
To delete an automated report, clickDelete.
Duplicating an Automated Report
You can create a copy of an automated report by duplicating the report. Duplicate reports inherit the settings from the original report, but you can make modifications if required.
To duplicate a report:
In the Automated Report window, select a report and click .
Enter the new report name in thepop-up window that appears.
ClickSave.
A duplicate report is created with a different name inheriting the settings of the original report.