Download PDF
Download page Managing Associated Entity for a Ticket.
Managing Associated Entity for a Ticket
After you create a ticket, you can incorporate components, such as a contact, account, task, and comment and even establish connections between tickets.
Once the ticket is created, you can execute the following tasks:

- Add: Perform the following tasks using this option:
- Generate an account.
- Set up an alert.
- Add a comment.
- Include a contact.
- Create a task.
- Establish a link to another ticket.
- Link: Perform the following tasks using this option:
- Connect an account.
- Associate with a contact.
- Link to knowledge base articles.
- Establish connections with other tickets.
- Create a hyperlink to a URL.
- Follow or unfollow a ticket: Receive notifications for all updates by following a ticket.
- Workflow: Modify the workflow status of the ticket.
- Delete: Remove a ticket from the system.
Creating an Account for a Ticket
You can create an account for the ticket after creating a ticket.
To create an account using the Ticketing feature:
- On the Configure tab, click Ticketing > Tickets.
A window appears displaying the Tickets List. - Locate and double-click the ticket to which you want to add an account.
The ticket opens in a new tab. Click the add
 icon and select Account.
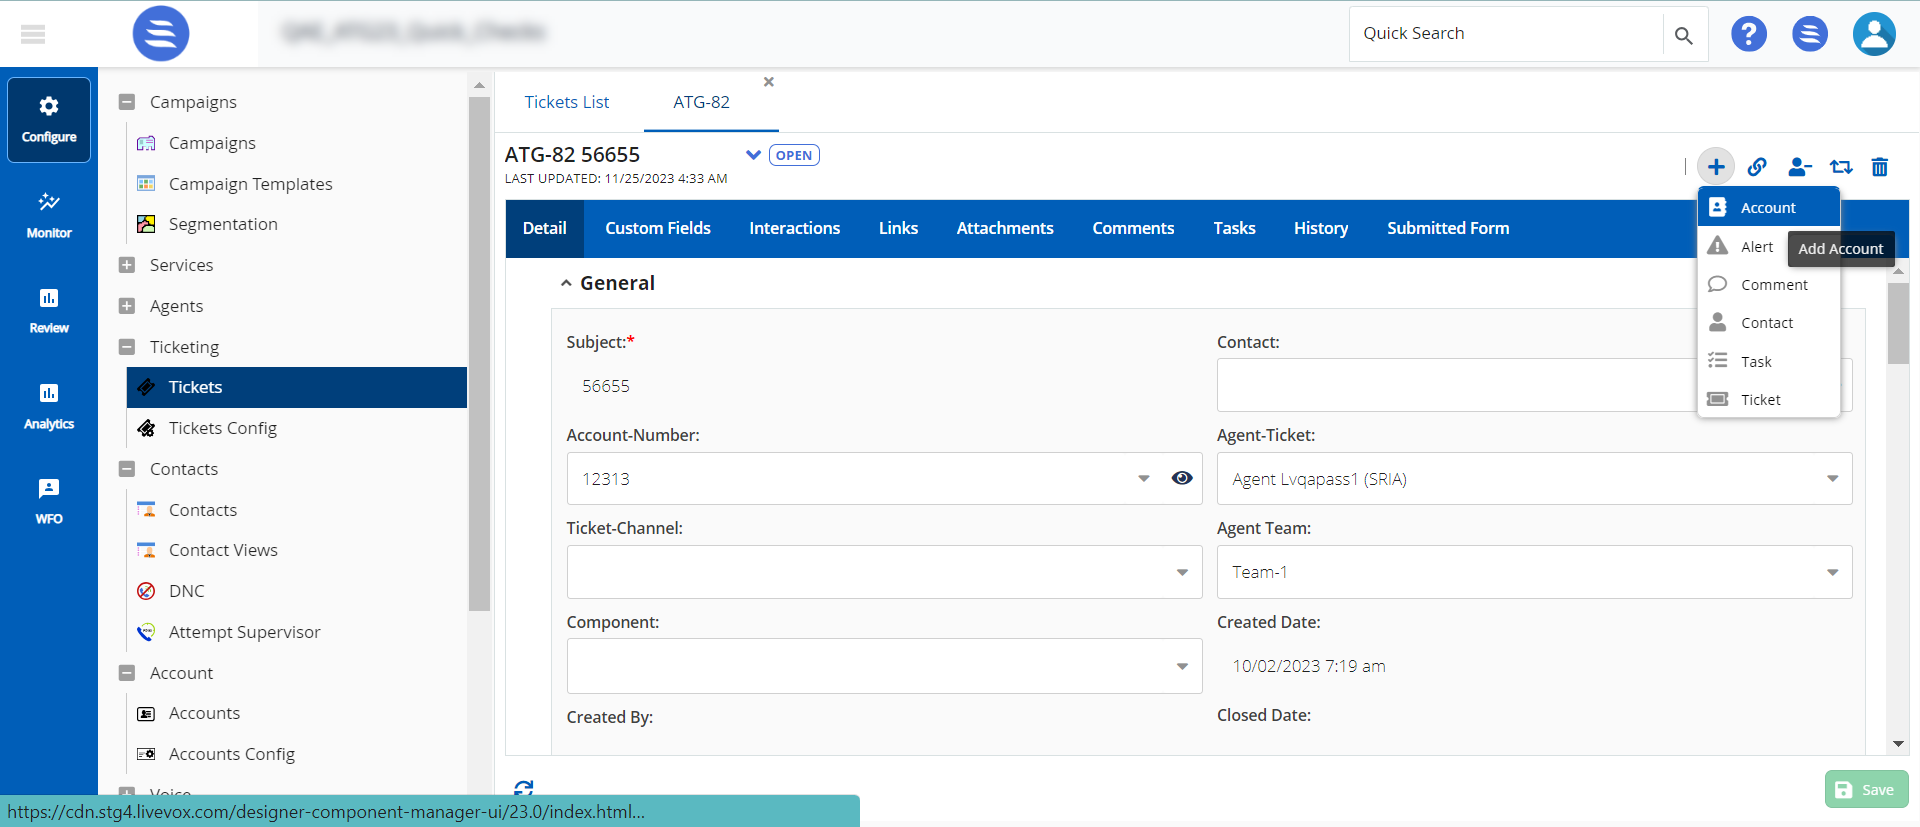
The New Account window appears.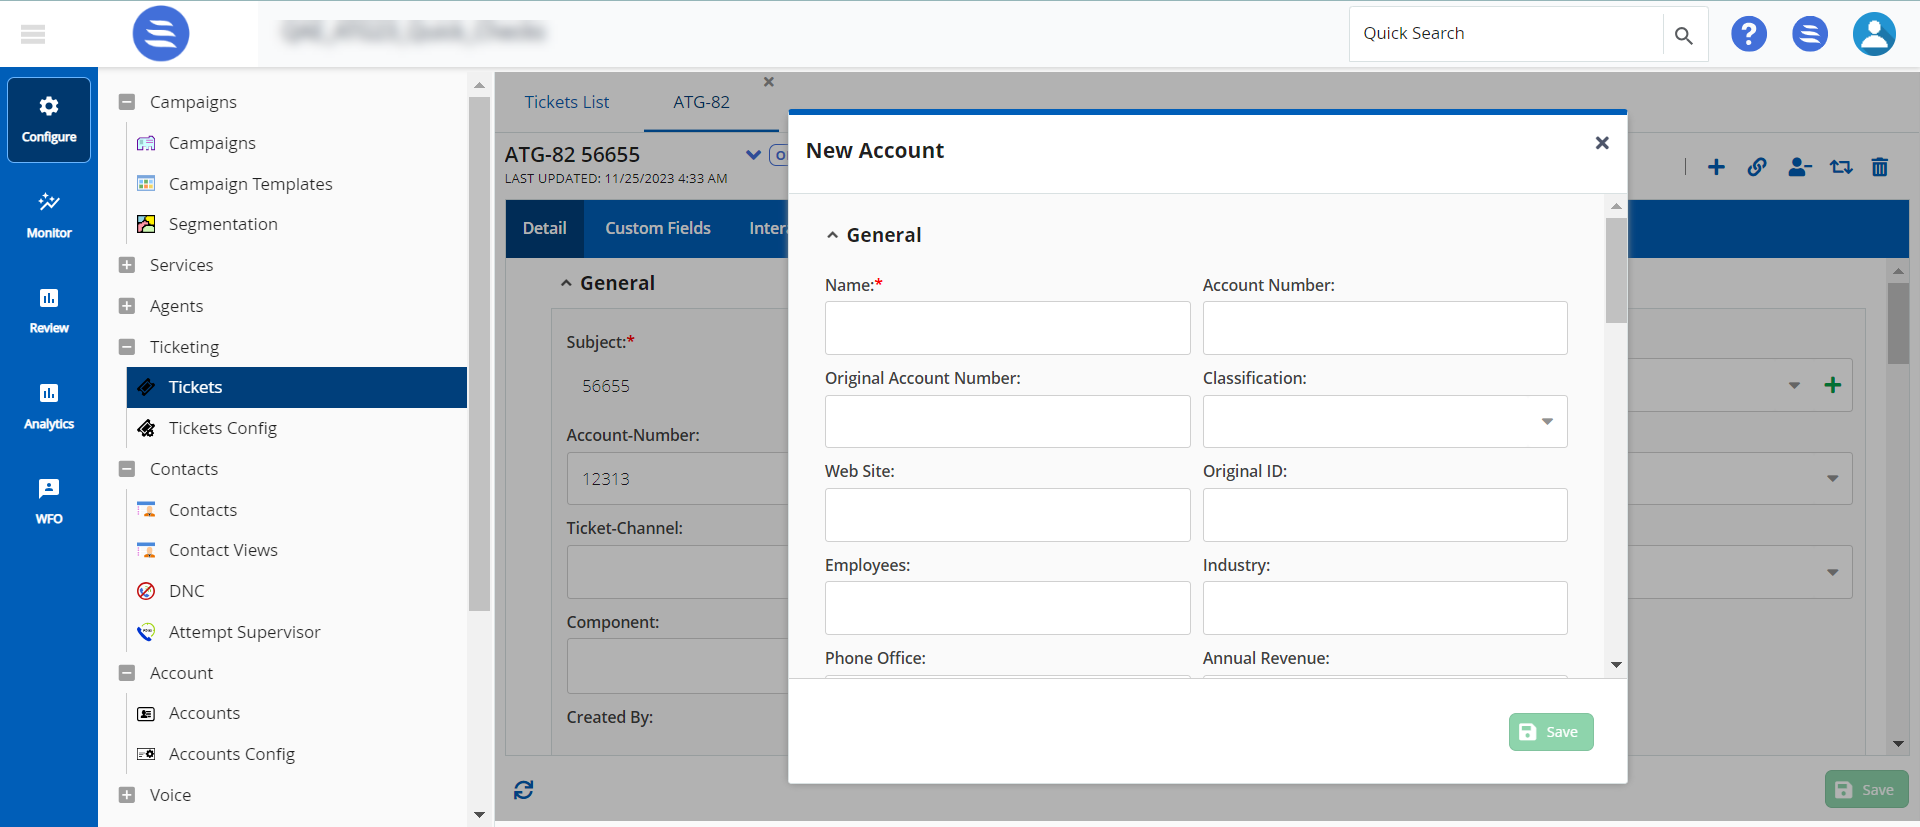
- In the New Account window, specify the relevant values.
- Click Save.
The account is created, and the details of the account appear on the Account tab.
Linking an Account to a Ticket
You can link an account to the ticket after creating a ticket.
To link an account using the Ticketing feature:
- On the Configure tab, click Ticketing > Tickets.
A window appears displaying the Tickets List. - Locate and double-click the ticket to which you want to link an account.
The ticket window opens. Click the link
 icon and select an account.
The Link Account window appears.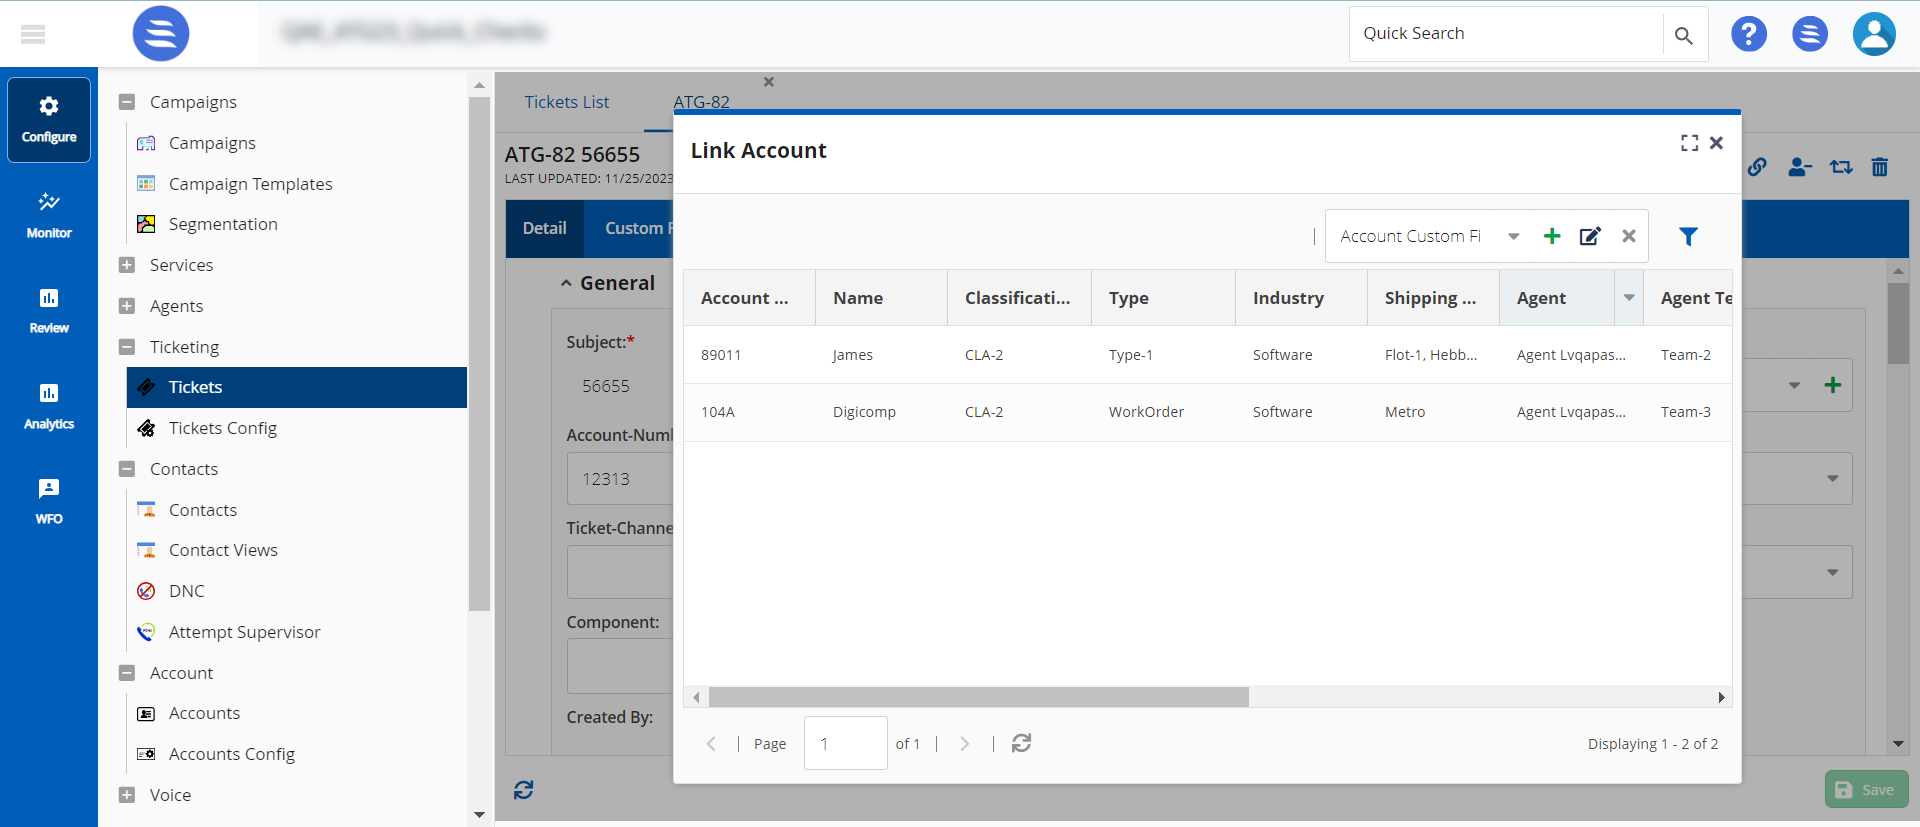
- Double-click and select the account you want to link.
The account is added to the ticket. - Click Save.
You can create an alert for the ticket after creating a ticket.
To create an alert using the Ticketing feature:
- On the Configure tab, click Ticketing > Tickets.
A window appears displaying the Tickets List. - Locate and double-click the ticket to which you want to add an alert.
The ticket opens in a new tab. Click the add
icon and select Alert.
The Create Alert window appears.
- In the Create Alert window, specify values as required.
The following are the field descriptions in the Create Alert window:
Field Descriptions Email The alerts are sent using email. SMS The alerts are sent using SMS. Work Queue The alerts are sent using the Work Queue window. Priority Set the required priority for the alert:
- High
- Medium
- Low
- Critical
Days to Complete An alert is triggered after completing the set number of days.
Allow replies When you enable this option, the recipient can respond to the alert.
Recipient Select the recipients for whom you want the alert to be triggered.
Alert Subject Line Specify the subject for the alert.
Message Specify the required alert.
- Click Save.
The alert is saved to the ticket.
You can create a comment for the ticket after creating a ticket.
To create a comment using the Ticketing feature:
- On the Configure tab, click Ticketing > Tickets.
A window appears displaying the Tickets List. - Locate and double-click the ticket to which you want to add a comment.
The ticket opens in a new tab. Click the add
icon and select Comment.
The New Comment window appears.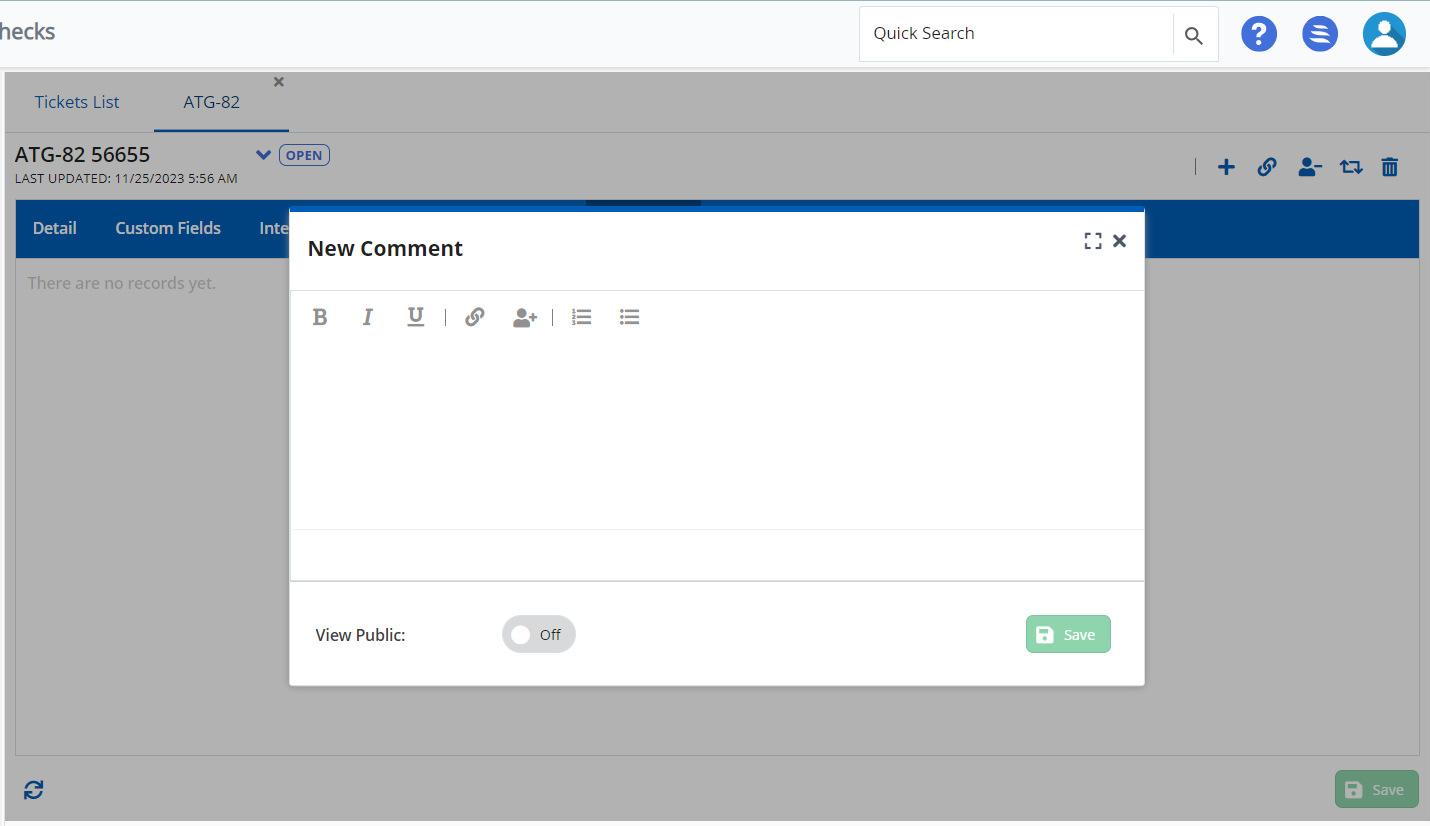
- Specify the comment in the text box.
- To add a link to the comment, click the link
 icon.
icon. - In the Confirm window, specify the hyperlink and then click OK.
- To tag a recipient in the comment, click the
 icon and select the required recipients.
 - To make the comment public, enable the View Public
 option.
 - Click Save.
Creating a Contact for a Ticket
You can create a contact for the ticket.
To create a contact using the Ticketing feature:
- On the Configure tab of the LiveVox Portal (LVP), click Ticketing > Tickets.
A window appears displaying the Tickets List. - Locate and double-click the ticket to which you want to add a contact.
The ticket opens in a new tab. Click the
add icon and select Contact.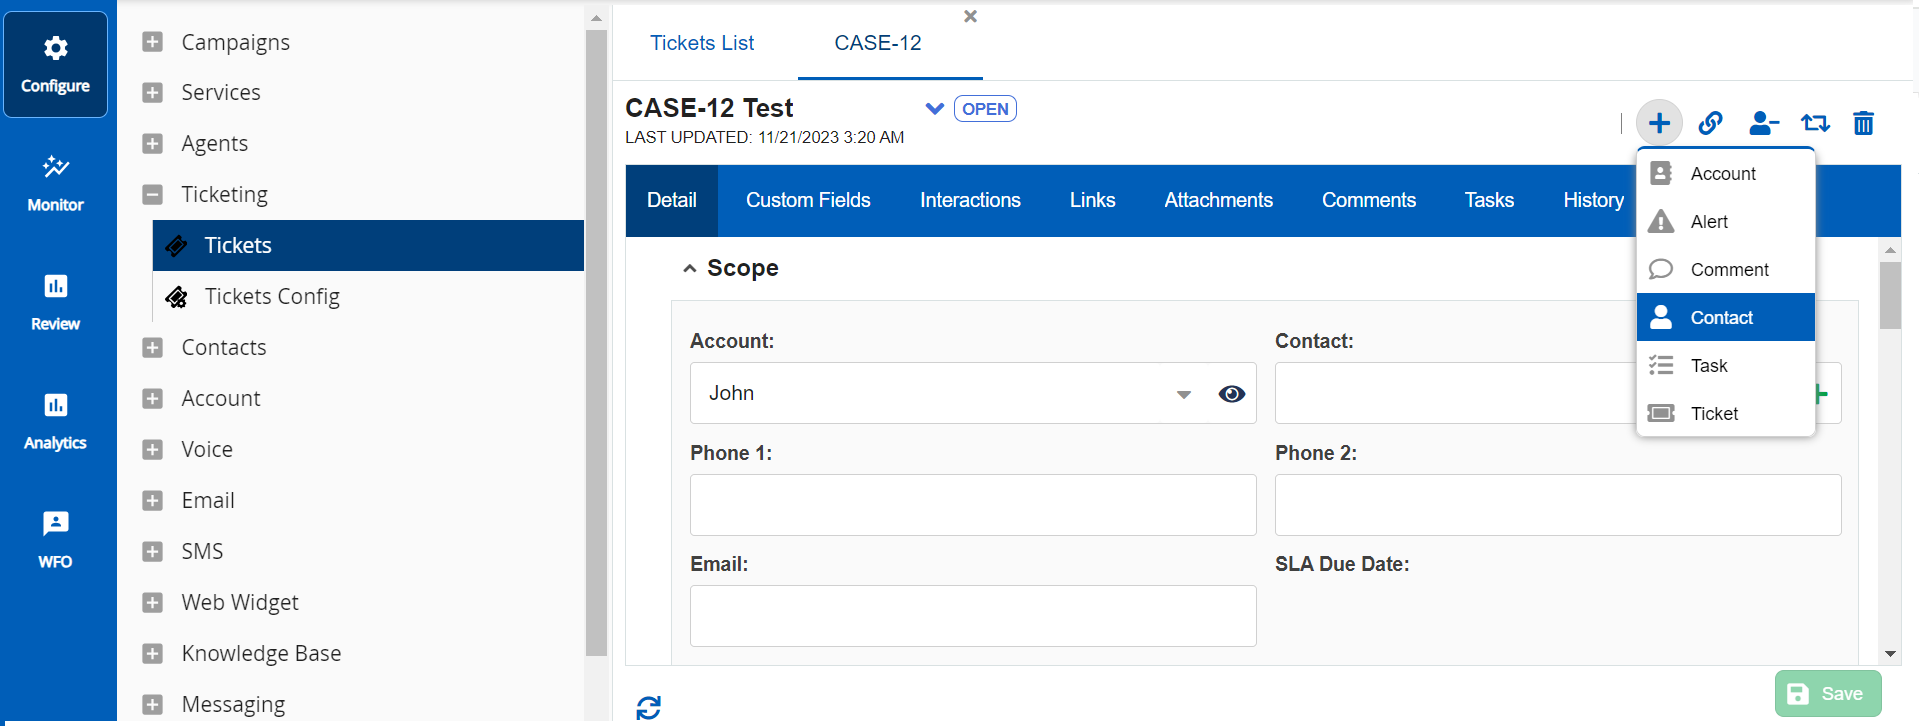
The New Contact window appears.- In the New Contact window, specify values in the Contact Fields.
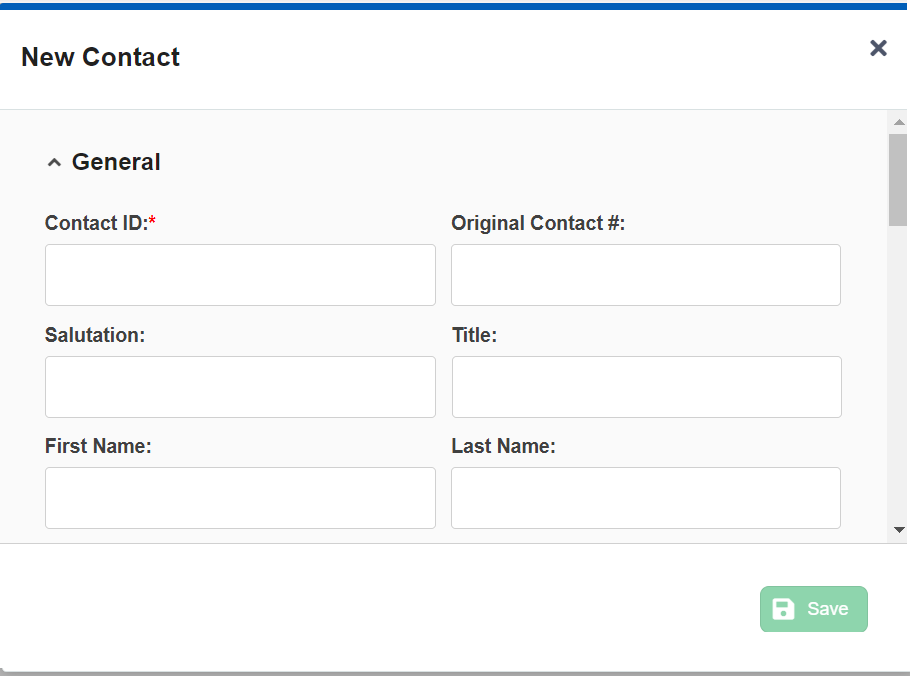
- Click Save.
The contact is created, and the details of the contact appear on the Contacts tab.
Linking a Contact to a Ticket
You can link a contact to the ticket. The contact is automatically notified of any changes to the ticket.
To link a contact using the Ticketing feature:
- On the Configure tab, click Ticketing > Tickets.
A window appears displaying the Tickets List. - Locate and double-click the ticket to which you want to link a contact.
The ticket window opens. Click the link
icon and select an account.
The Link Contact window appears.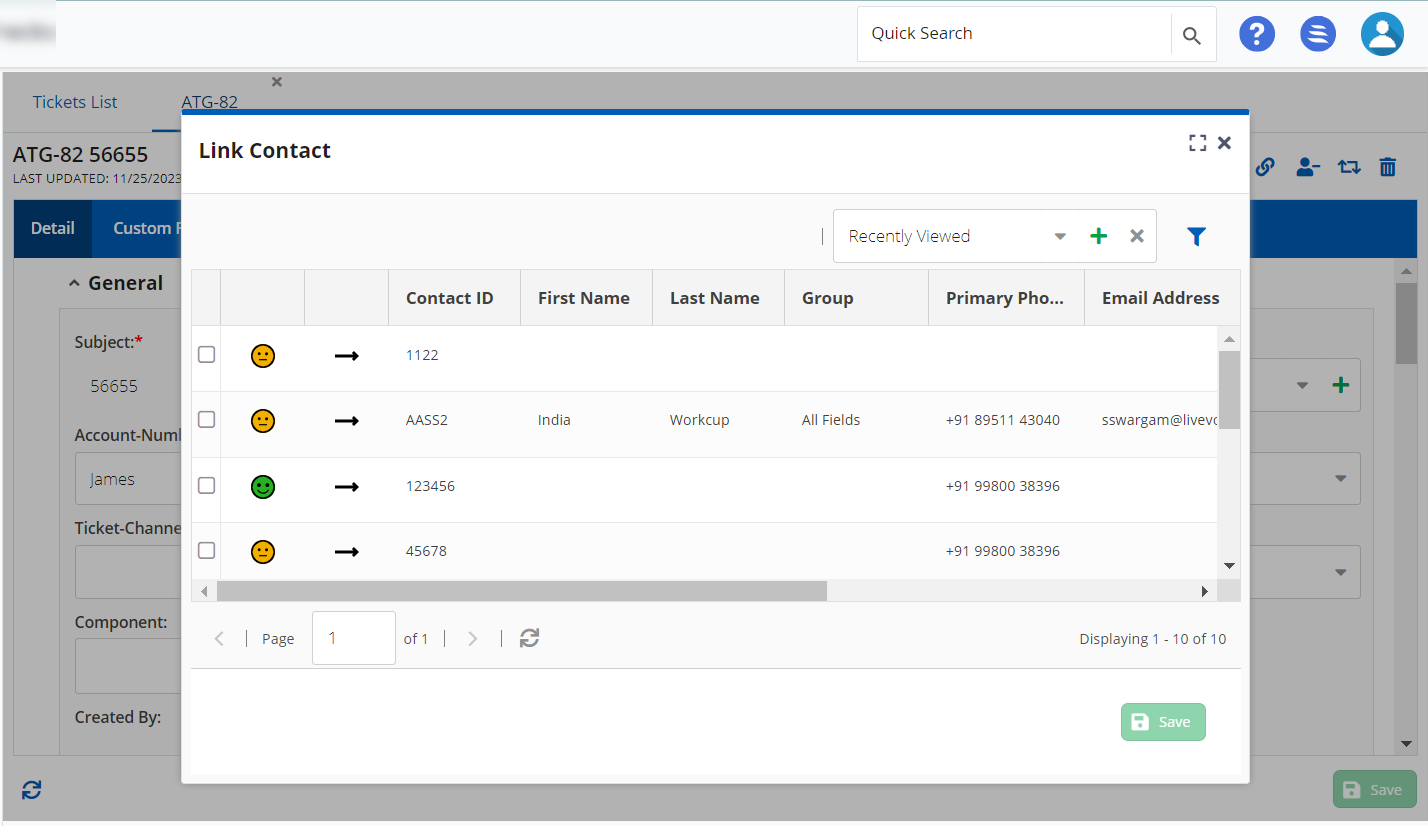
- Double-click and select the contact you want to link to the ticket.
The contact is added to the ticket. - Click Save.
You can create a task for the ticket.
To create a task using the Ticketing feature:
- On the Configure tab, click Ticketing > Tickets.
A window appears displaying the Tickets List. - Locate and double-click the ticket to which you want to add an account.
The ticket opens in a new tab. Click the add
icon and select Task.
The New Task window appears.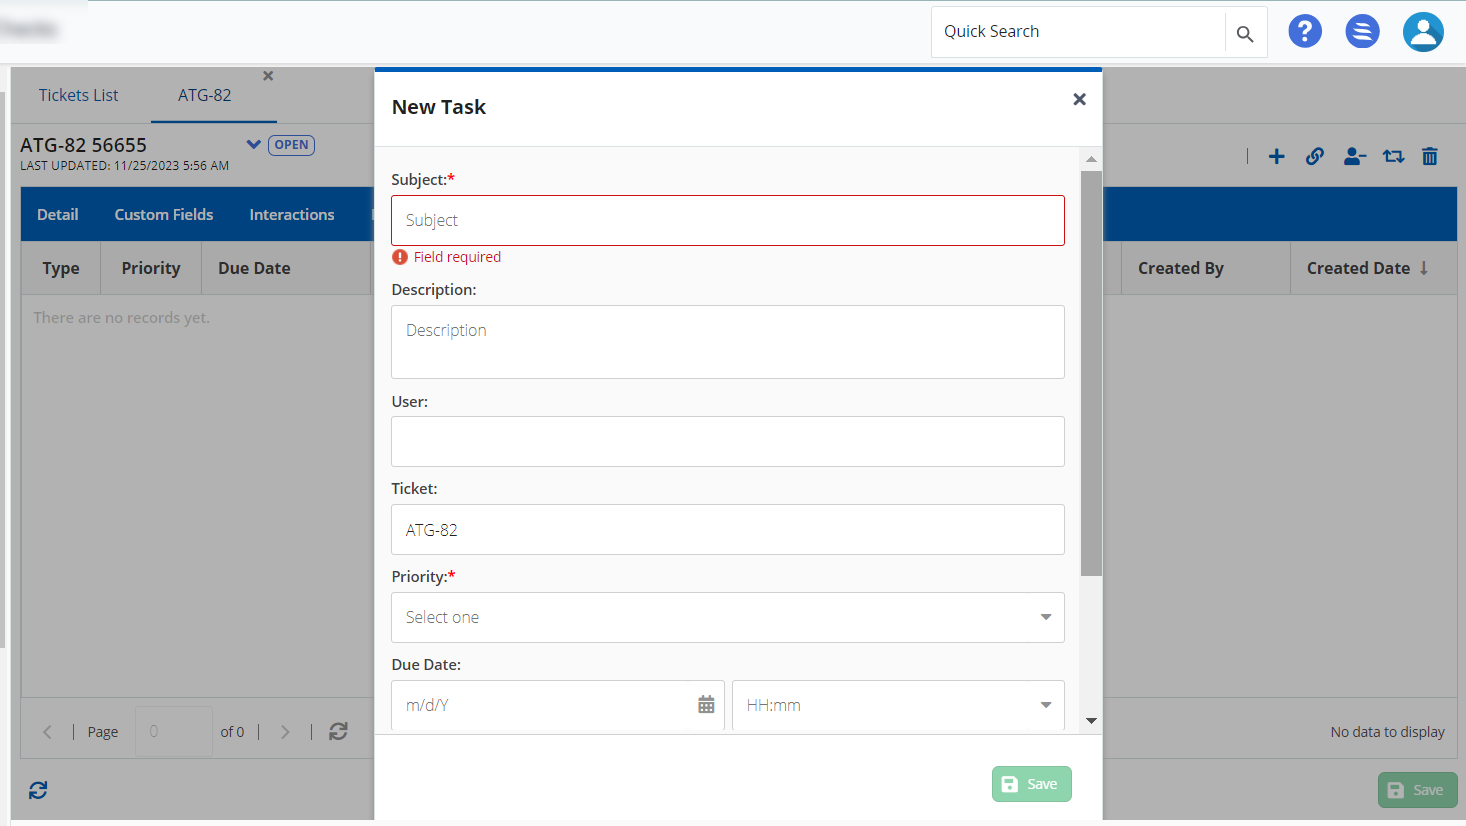
- In the New Account window, specify the relevant values.
The following are the field descriptions in the New Task window:
Field Descriptions Subject Specify the subject for the task. Description Specify the description for the task. User This is a non-editable field. Ticket This is a non-editable field. Priority Set the required priority for the alert:
- High
- Medium
- Low
- Critical
Due Date Specify the due date and time when you want the task to finish.
Type Select the type from the drop-down list.
Target Select the target from the drop-down list.
- Click Save.
Creating a Sub-Ticket for a Ticket
After the ticket is created, you can create a sub-ticket.
To create a ticket using the Ticketing feature:
- On the Configure tab, click Ticketing > Tickets.
A window appears displaying the Tickets List. - Locate and double-click the ticket to which you want to add a ticket.
The ticket opens in a new tab. Click the add
icon and select Ticket.
The New Ticket window appears.- In the New Contact window, specify values in the Ticket Fields.
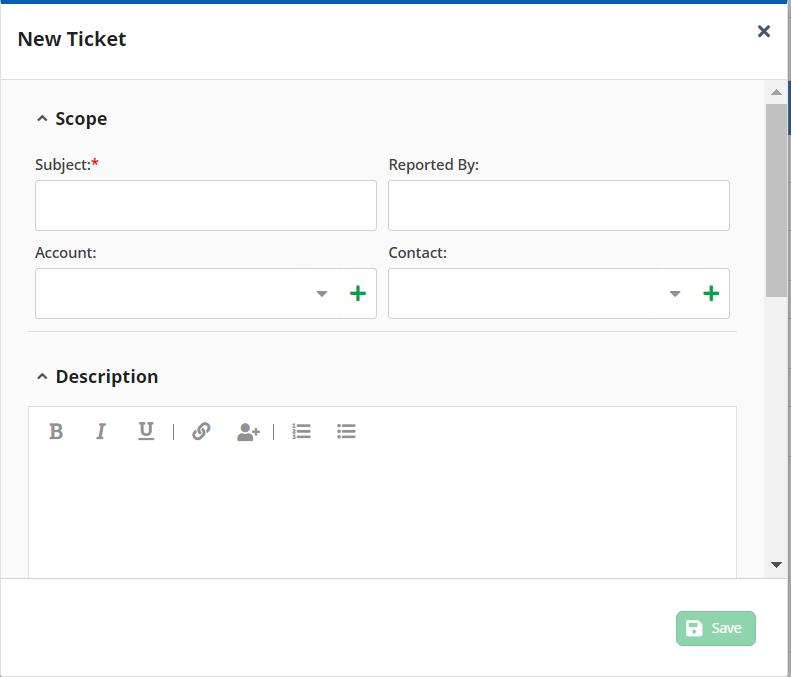
- Click Save.
The ticket is created, and the details of the ticket appear on the tickets tab.
Linking a Ticket to a Ticket
You can link a ticket with another ticket.
To link a ticket using the Ticketing feature:
- On the Configure tab, click Ticketing > Tickets.
A window appears displaying the Tickets List. - Locate and double-click the ticket to which you want to link a contact.
The ticket window opens. Click the link
icon and select an account.
The Link window appears.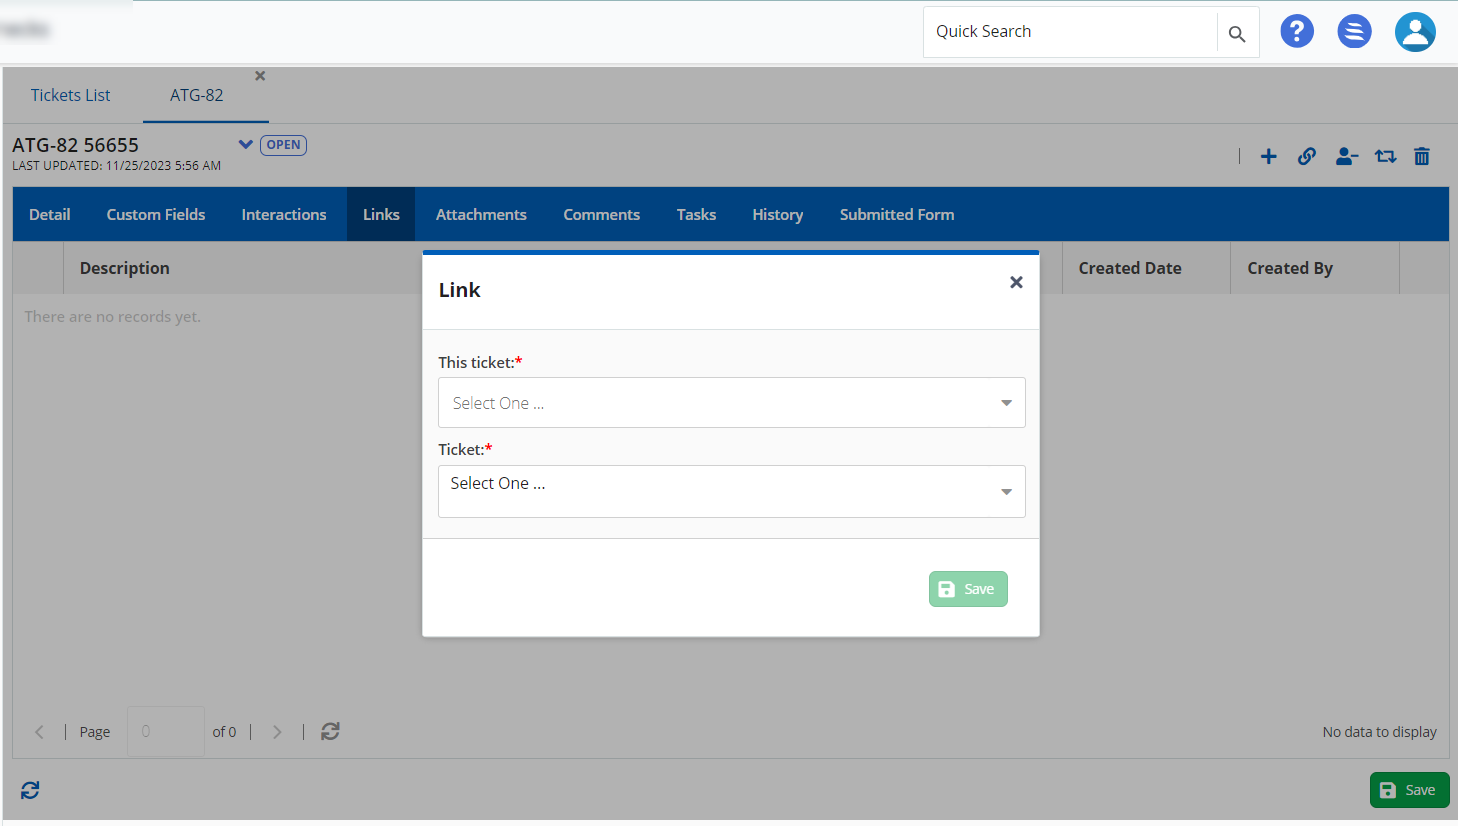
- Select the ticket type (Block or Duplicate) and then select the ticket.
- Click Save.
The ticket is linked to the main ticket.
You can link a Knowledge Base (KB) article to the ticket.
To link a KB article to a ticket:
- On the Configure tab, click Ticketing > Tickets.
A window appears displaying the Tickets List. - Locate and double-click the ticket to which you want to link the article.
The ticket window opens. Click the link
icon and select a KB article.
The Link window appears.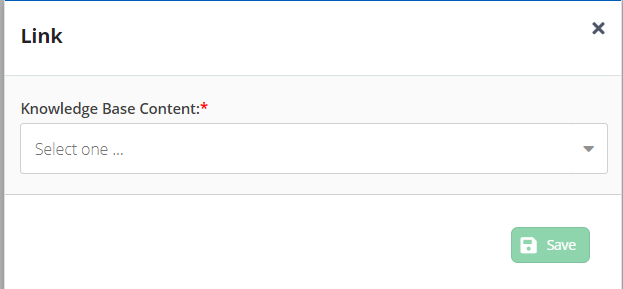
- Select the KB article from the list and then click Save.
- The KB article is linked to the ticket.
You can link a URL to the ticket.
To link a URL article to a ticket:
- On the Configure tab, click Ticketing > Tickets.
A window appears displaying the Tickets List. - Locate and double-click the ticket to which you want to link the URL.
The ticket window opens. Click the link
icon and select a URL.
The URL window appears.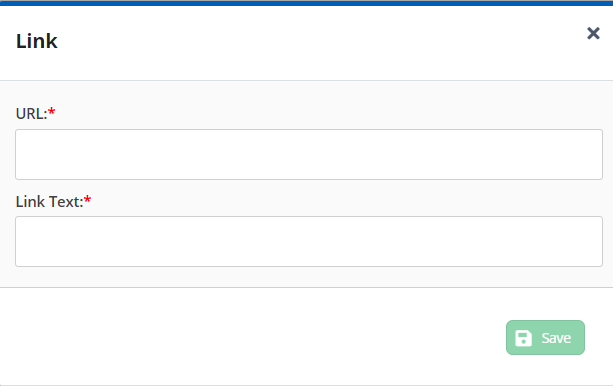
- Select the URL and the Link Text for the URL, and then click Save.
- The URL is linked to the ticket.
You can follow or unfollow a ticket; to follow a ticket, click the ![]() icon.
icon.
You can modify the workflow status of the ticket. The following are the workflow states:
- Cancelled
- Closed
- Duplicate
- Escalate
- In-Progress
- On-Hold
- Open
- Pending Customer
If you want to delete a ticket, click the Delete ![]() icon.
icon.