The Tickets feature user interface (UI) has been enhanced with new features to improve usability when you are creating rules that control the type of fields that display on the ticket form.
The following describes the enhancements to the Tickets feature user interface:
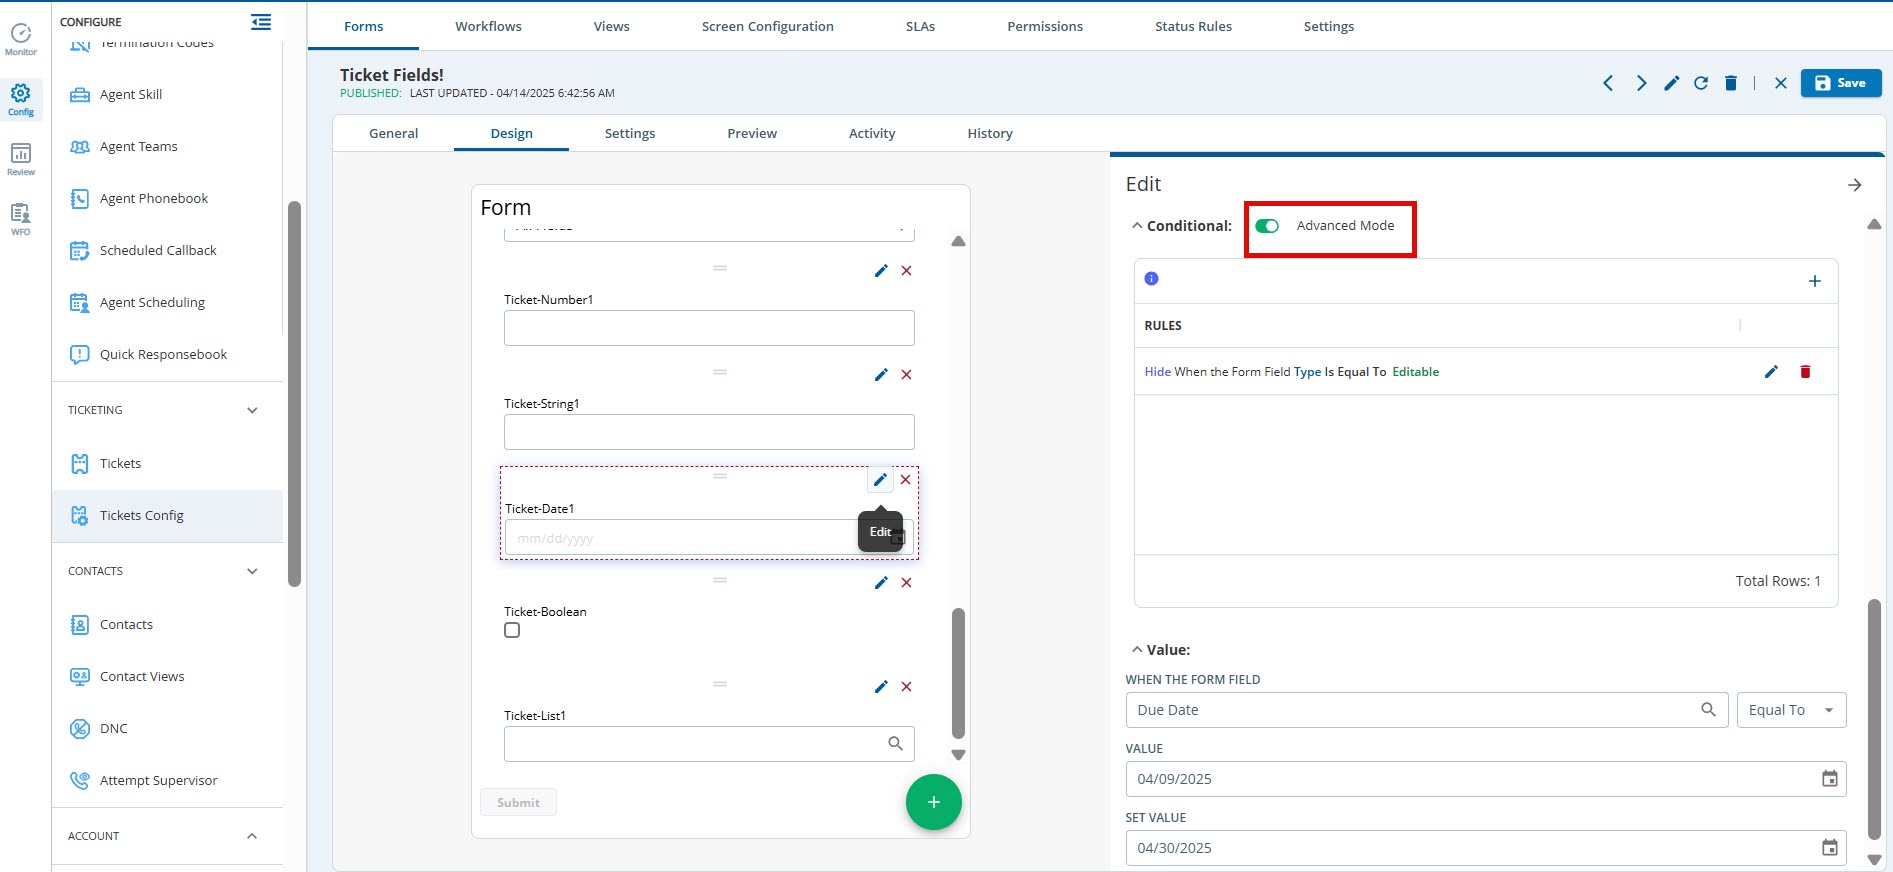
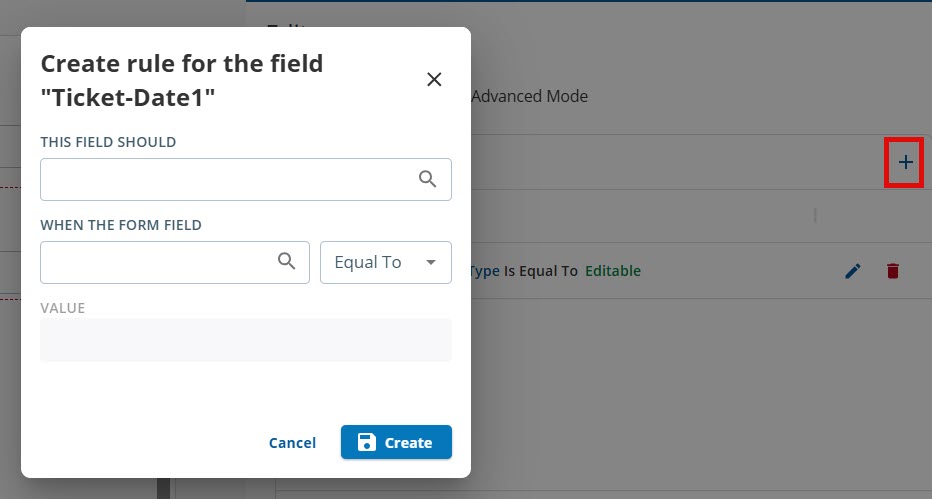
Advanced Mode: You can now use a new Advanced Mode option to configure the ticket fields on the ticket. Using the Advanced mode feature, click the add (+) icon to create a new rule. You can configure the following fields:
THIS FIELD SHOULD: Select the visibility of the field on the ticket. The available options are: Display, Hide, and Read-Only.
WHEN THE FORM FIELD: Select a field based on your requirement.
Equal To: Select Equal To or Equals Anyway from the drop-down list to form the condition with the selected field.
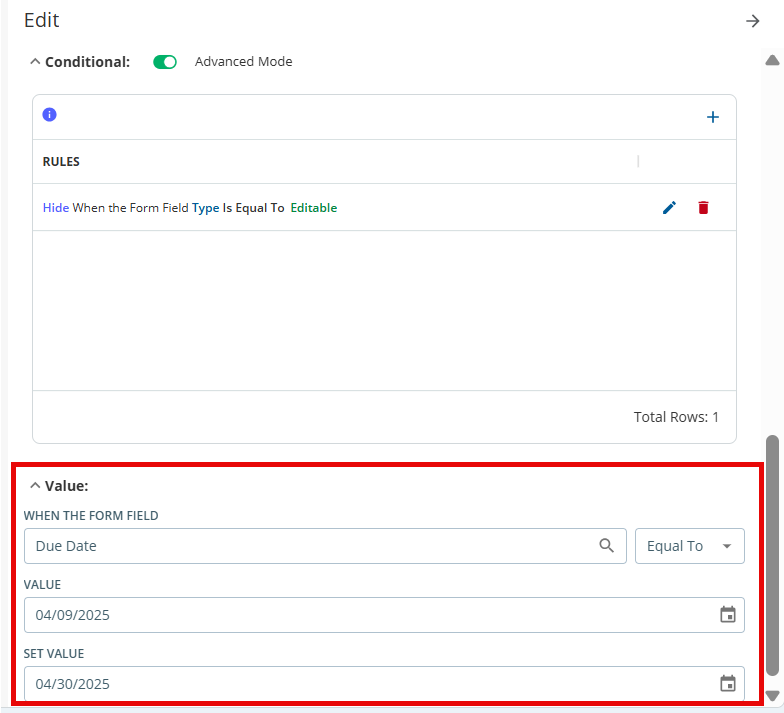
VALUE: Set the default value, if needed.
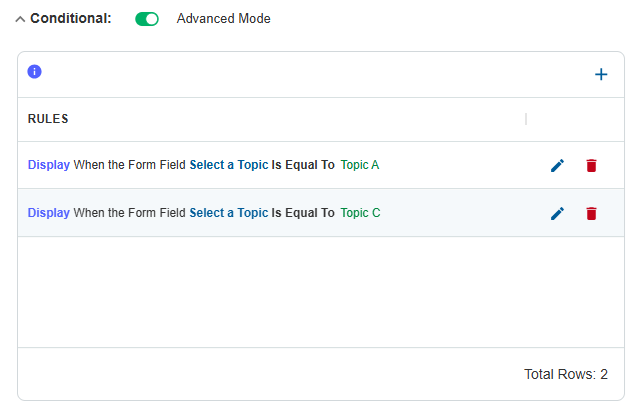
You can create multiple rules.
Conditional logic now supports Advanced Mode, which allows for different rules based on the OR condition.
You can now define a field that is required based on another condition.
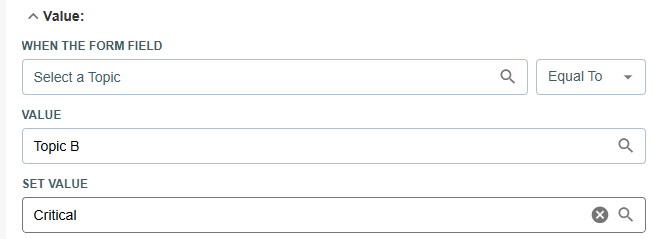
Fields can now auto-populate values based on conditional fields. For example, if the selected topic is equal to Topic B then you can set the value as Critical for the ticket form field.
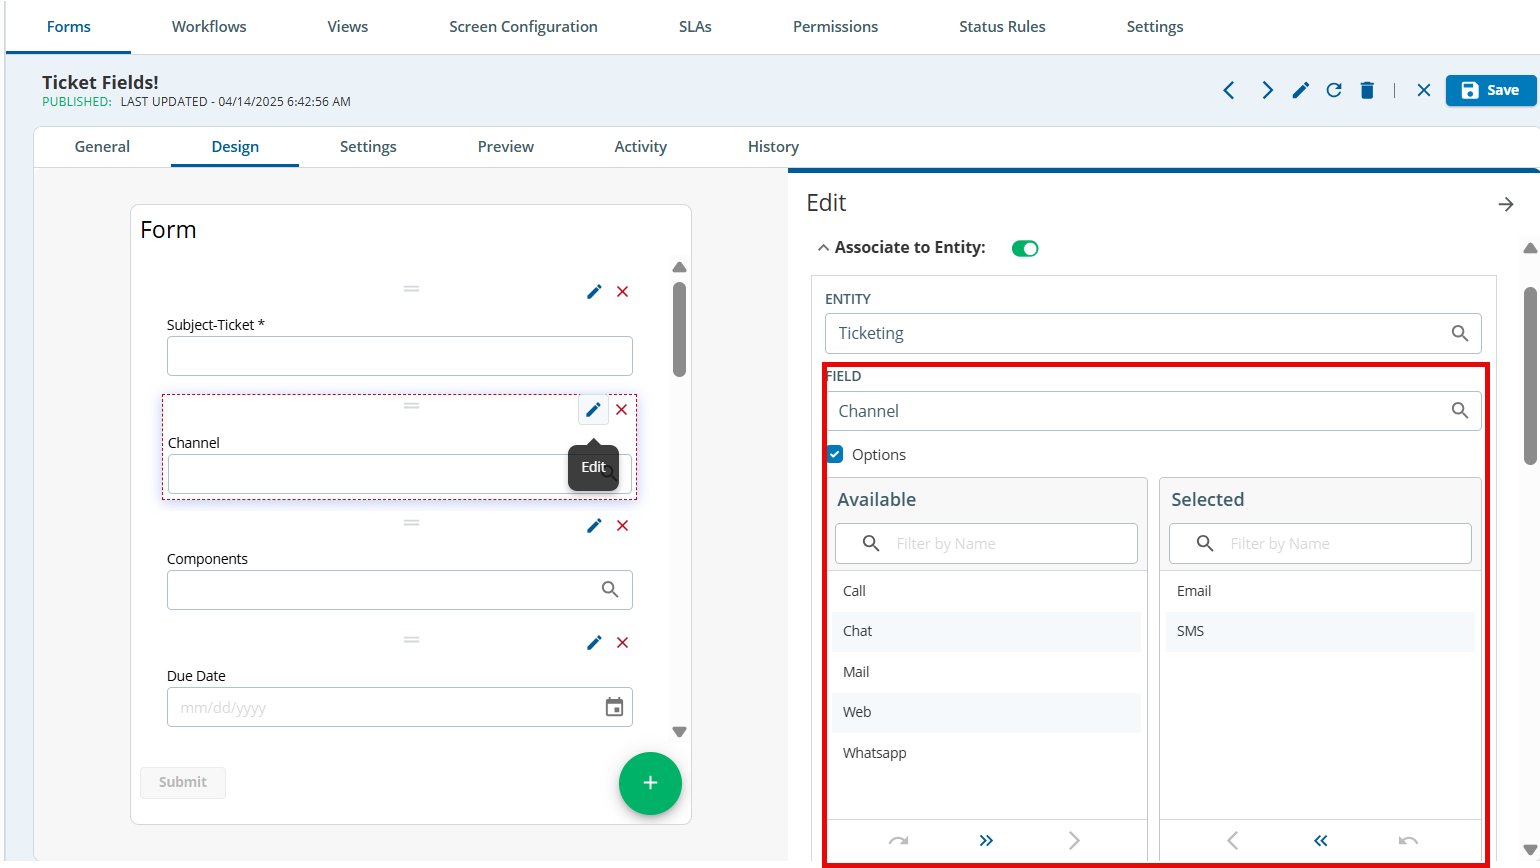
You can select values from the Available list and only these selected values will be made available for selection in a ticket form.
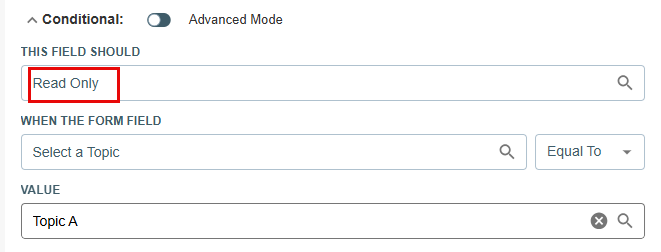
Fields can now be displayed as Read Only based on conditions.
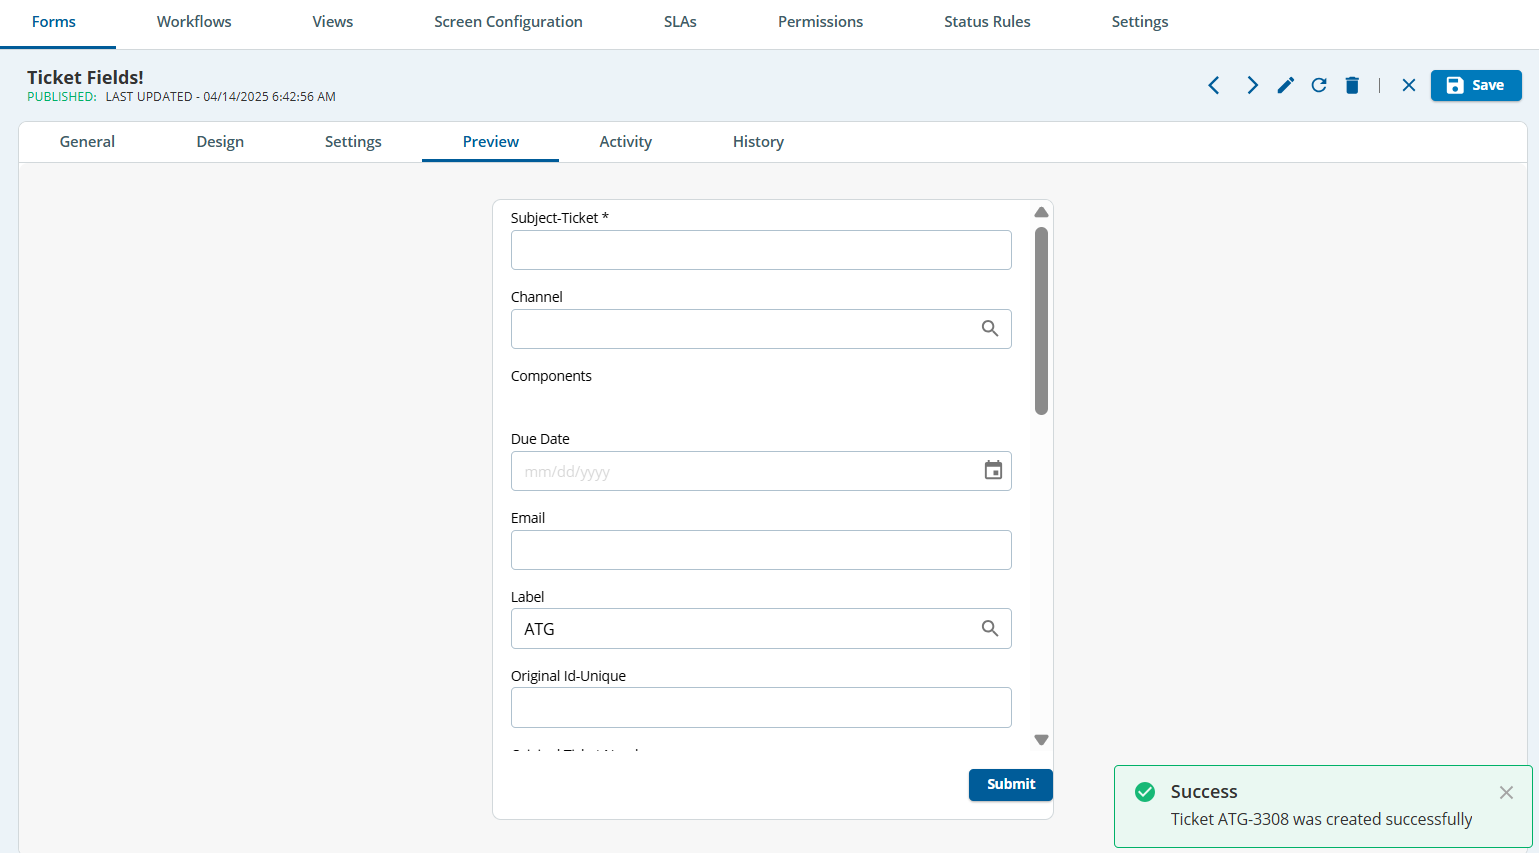
You can test the form from the Preview tab. The system creates a Ticket, Account or Contact object within the Ticket Form editor.
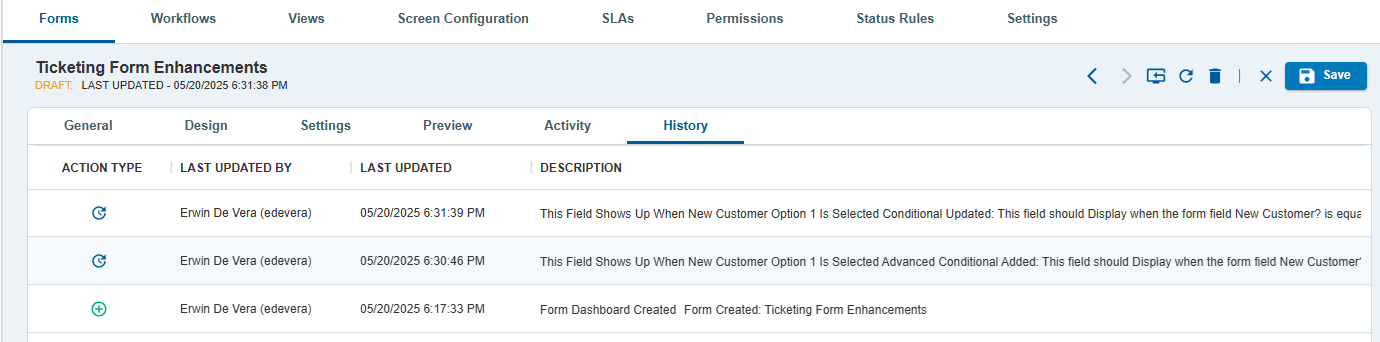
Ticket Forms now have a description of changes that are made on the Forms in the History tab.