Voicemail 2.0
The SmartReach voicemail feature provides two types of voicemail boxes: An agent's personal voicemail box and a group voicemail box. While many people can access the group voicemail, an agent's personal voicemail is specific only to that agent.

A group voicemail allows access to voicemails to all the agents who can log into the specific service so that they can take the expected actions on the messages left there.
The SmartReach Voicemail 2.0 application contains the following features:
- Personal and group voicemails are available on the agent desktop for the current month and the previous month.
A personal inbox provides real-time notifications. For a group inbox, it can take up to five seconds for you to receive a notification.
- The storage capacity of Voicemail 2.0 has been increased to 500 MB.
- There is no restriction on the number of voicemails to be viewed in the agent desktop inbox.
- Voicemail 2.0 provides access to the Voicemail Recording Report.
- The duration of a voicemail is limited to 5 minutes. After 5 minutes, calls are automatically disconnected.
Voicemail 2.0 supports the international caller ID in E.164 format. This enables you to identify the country of origin for the incoming call.
For example, if the country of origin is the USA and the agent or service receives a voicemail from a US number and a voicemail from a UK number, then the window displays the phone number as below:- Local number: (628) 386-0752
- International number: +44 20 7946 000
You can receive real-time voicemail (VM) notifications through email if the feature is enabled. The system supports voicemail notifications with the following options:
- Email Only
- Email with Audio file
- Email with transcription text
- Email with both the Audio file and the transcription text
You can check an email as an alternative to playing the voicemail on the agent desktop.
Checking Voicemail
To check group or personal voicemail on the agent desktop, follow the procedure below:
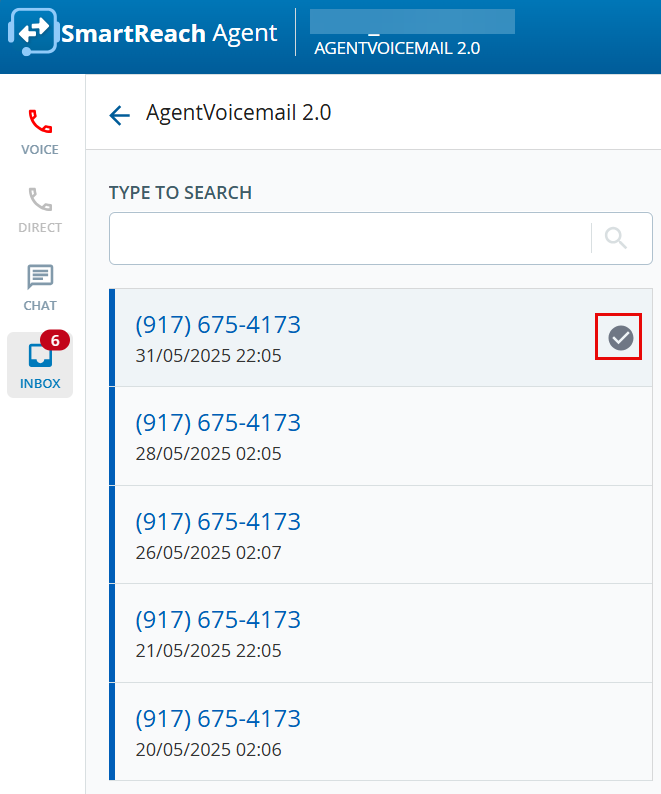
- Click the INBOX tab to access voicemail. The tab displays the personal and group voicemail (service name) boxes to which you have access and the number of unheard messages out of the total message count.

- Only messages from the current and previous months are displayed to agents.
- The Voicemail inbox displays the number of unread voicemails in a red circle and the total number of voicemails in round brackets next to the inbox.
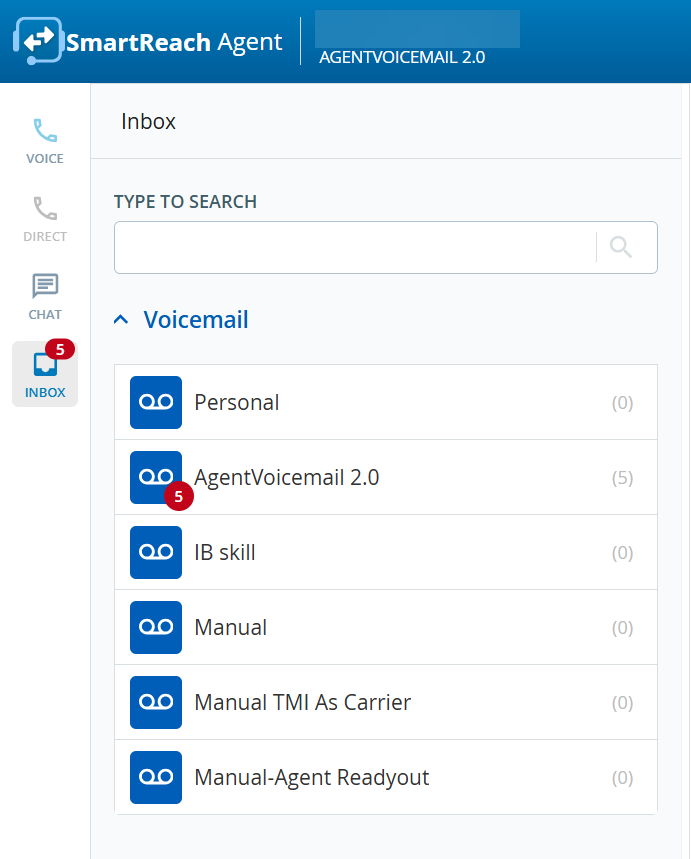
The default naming conventions for personal and group voicemail boxes are as follows:
- Group Voicemail Box: An agent desktop displays the group voicemail name as the service name. If the service name is long, then it shows a partial service name with an ellipsis (...).
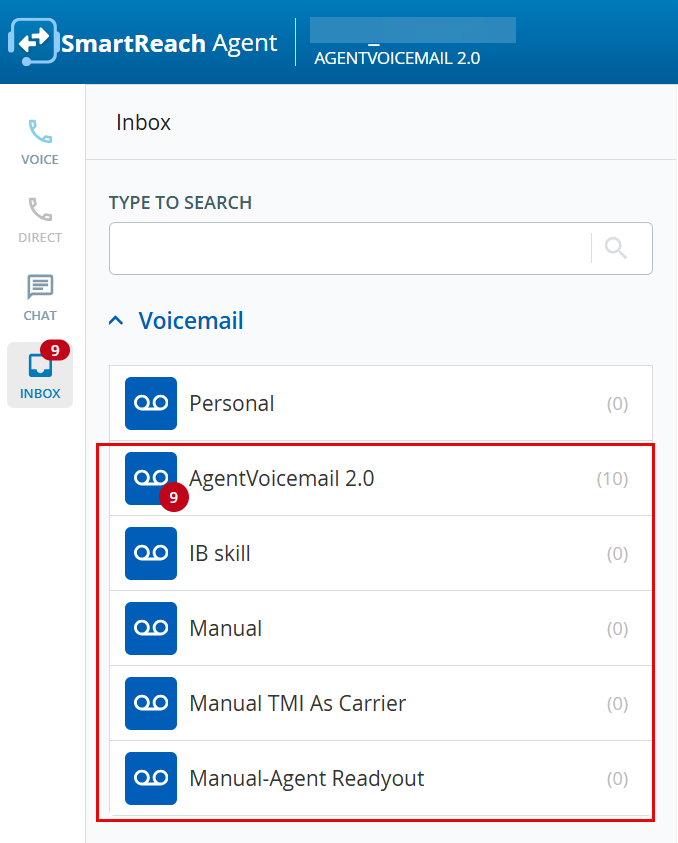
- Personal Voicemail Box: An agent desktop displays a personal voicemail name.
If the agent has more than one direct line for the agent or up to 10 extensions, the agent desktop displays Personal followed by the phone number.
For example, suppose the Home Country is configured as the UK for the site, then the Voicemail box name scenarios are as follows:- The Voicemail box now displays as Personal.
- If the second direct line for the agent's voicemail phone number is 441225982446, then the Voicemail box displays as Personal 01225 982446 (the local home country phone number is displayed using the E.164 format).
- If the third direct line for the agent's voicemail phone number is an international number 16142853713 or +16142853713, then the voicemail box displays as Personal +1 614-285-3713 (the international phone number of the home country is displayed using the E.164 format).
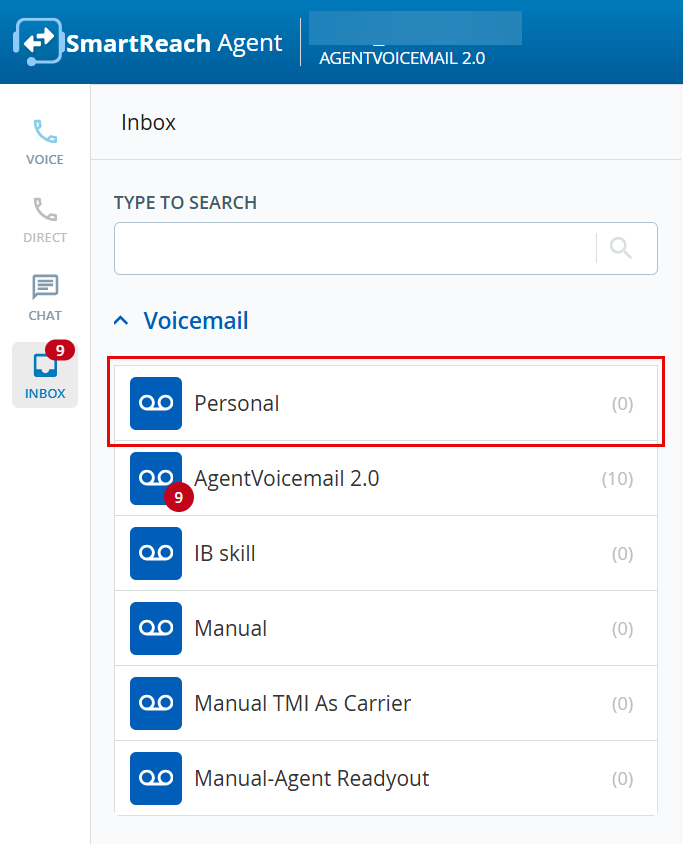
- Select an option from the list of personal or group voicemails.
- The caller ID, date, and time appear on the agent desktop.
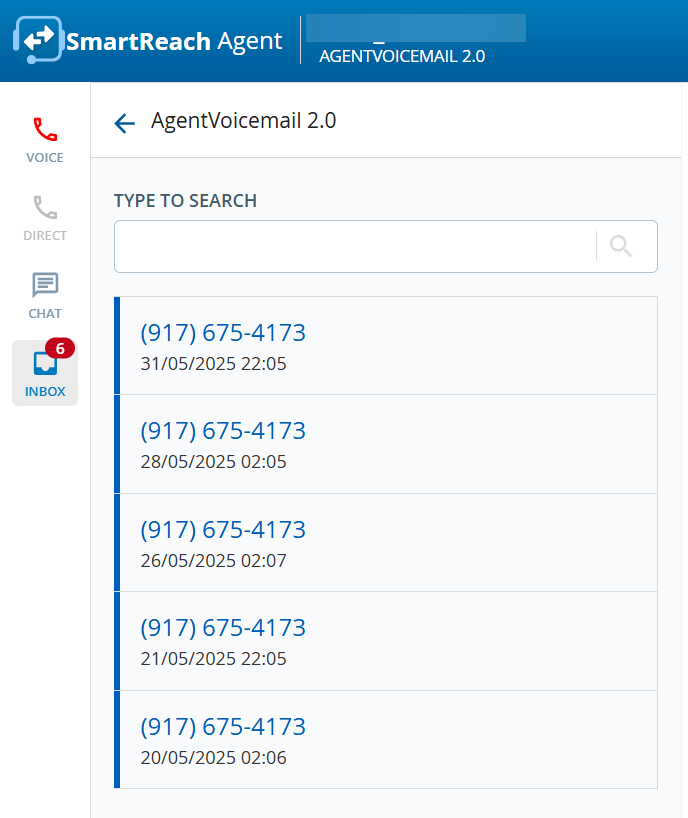
- Click the required voicemail row to listen to the voicemail.
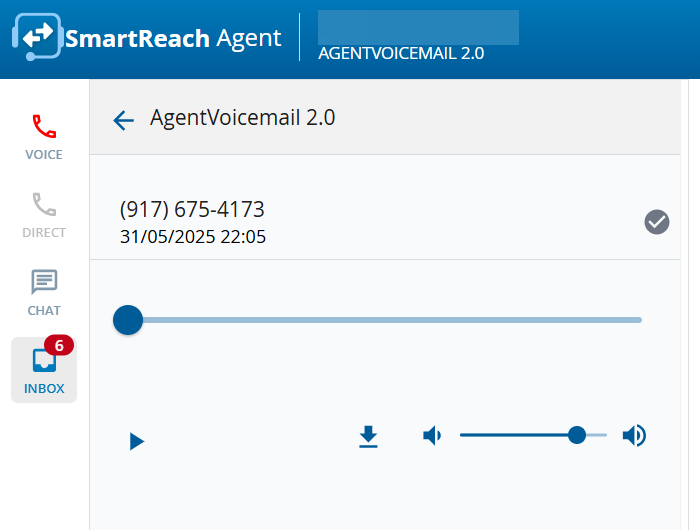
- To play the audio, click the play button (
 ).
To download the voicemail, click the download button (
 ).
To adjust the playback volume, click the volume slide (
 ).
Voicemail audio is stored in MP3 format.
- To play the audio, click the play button (
- Hovering over the caller ID number displays the resolve (
 ) icon. Click the resolve icon to remove the voicemail from your inbox after listening to the message.
Agent and group voicemail boxes cannot be accessed by a user outside the agent desktop. However, Public APIs for VM 2.0 are available if needed.
Recording a Personal Greeting
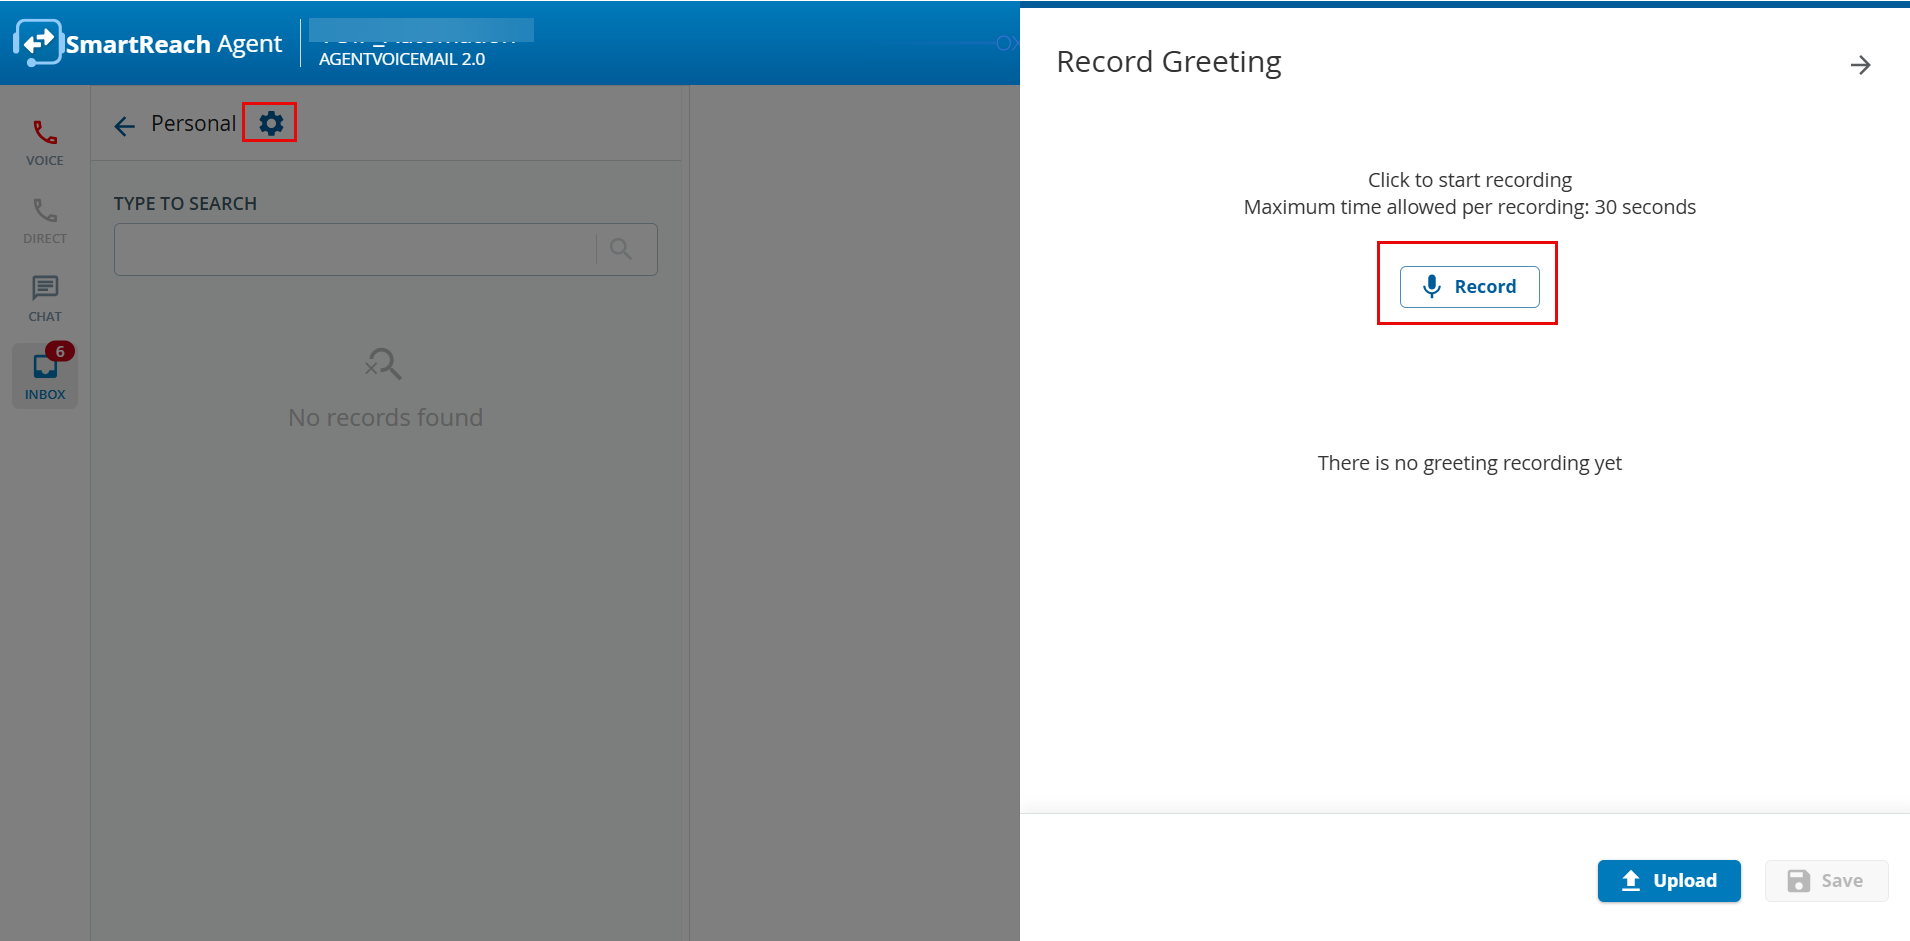
You can record or upload a personal greeting message ( supported file format is .WAV ) for your personal voicemail. To record/upload a personal greeting message, go to your personal voicemail. Click the cog icon ( ), as shown below. The Record Greeting window appears.
To record a personal message:
- Click the Record button. Start recording your message. You can use the Stop or Pause buttons to stop or pause your recording.
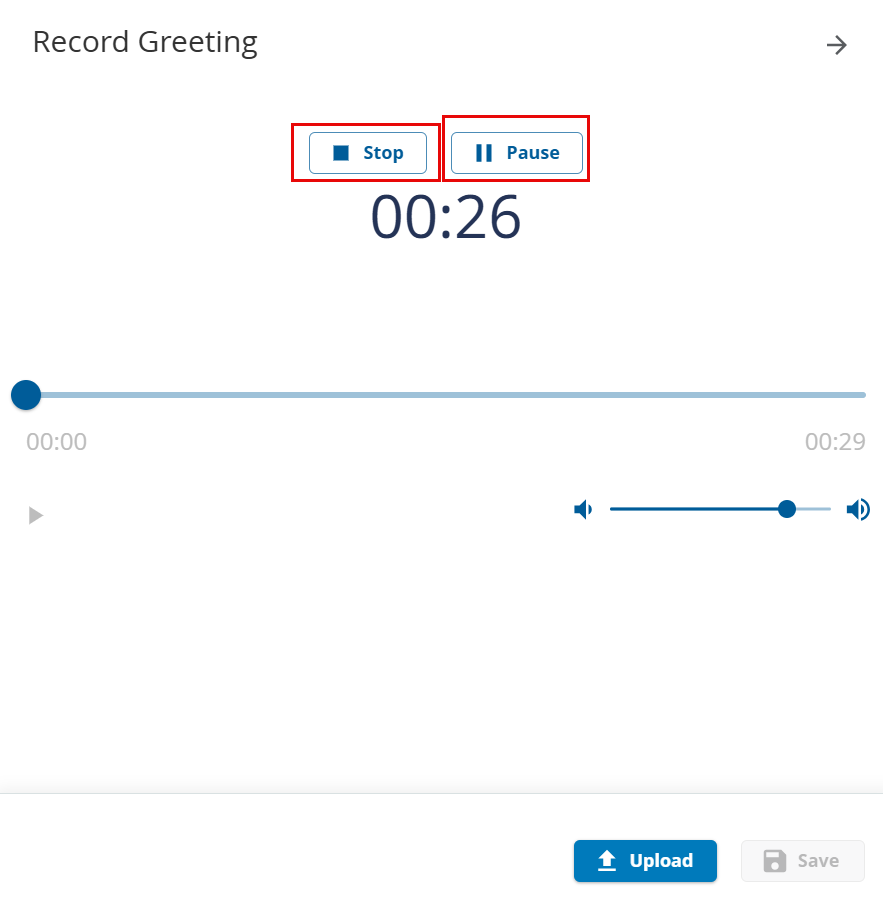
Click the Stop button when you have finished recording your message. The maximum time allowed for the recording is 30 seconds.
When you are recording a personal greeting message and only 10 seconds are left from the maximum allowed time, the following message appears.

- Click the play button to listen to your recorded personal message.
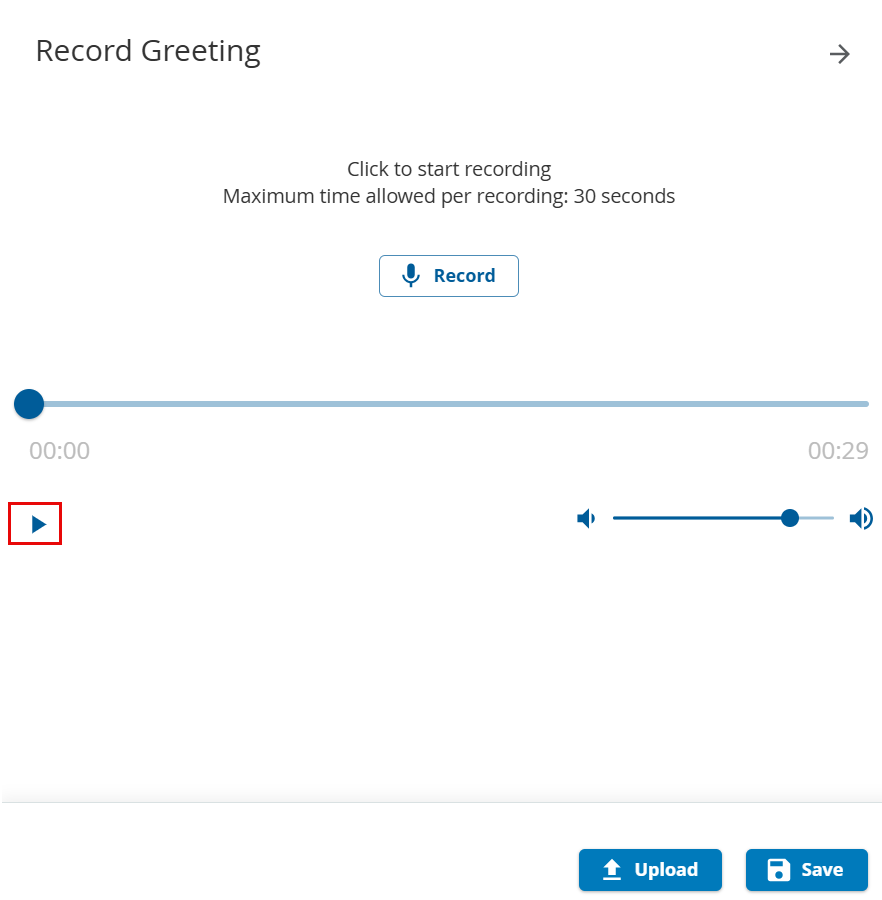
- After recording the desired message, click Save. The following message appears:

To upload a personal greeting message:
- Click Upload from the Record Greeting window.
- Select the file from your computer that you want to upload (supported file format is .WAV).
- Click Save. The following message appears:
Voicemail Playback for Agents without Sound Cards: Agents who do not have a sound card on their PCs or virtual machines can still play voicemail using the Play button. A voicemail plays over the agent's audio connection, and the agent is moved to the Not Ready status. When the voicemail has completed playing, the agent is moved back to the previous status.
If you are using a Firefox browser with Web Real-Time Communications (WebRTC) service to play back a voicemail, then complete the following steps before playing the voicemail:
- Enter about:config in the URL bar.
- Click the Enter button.
Search for media.setsinkid.enabled and set that flag to true.
Ensure that microphone permission is granted when you log in as an agent.