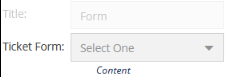
| Title | Title Ticket Form | | You can change the default title of an component. When you change the title, the element name on the canvas is updated to the new title. For example, you can change the title from Ticket Dashboard to Dashboard, and the name is updated on the tab on the canvas. |
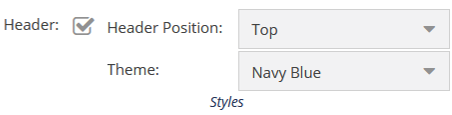
| Styles | Header, Header Position, and Theme | | To change the current formatting, change the Header Position and Theme. When you enable the Header Position option and select the Header Position in the drop-down menu, the header position is updated. |
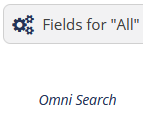
| Search | Fields for All | | Allows you to select fields from Contacts, Accounts, and Tickets to be used in search. Click Fields for All, and then select the fields from the Configure Search All Config window. |