Download page Navigating the Email Channel Window.
Navigating the Email Channel Window
Using the Email Channel window, you can:
Add the configured email addresses from which you can send emails to your customers, on the Addresses tab.
Assign the email addresses to specific services, using the Addresses tab.
View the names of the active agents who can access the email channel, on the Agents tab.
View the email settings for all services, on the Services tab.
Accessing the Email Channel Window
To access the Email Channel window, on the Configure tab of the LiveVox Portal (LVP), click Email > Email Channel.
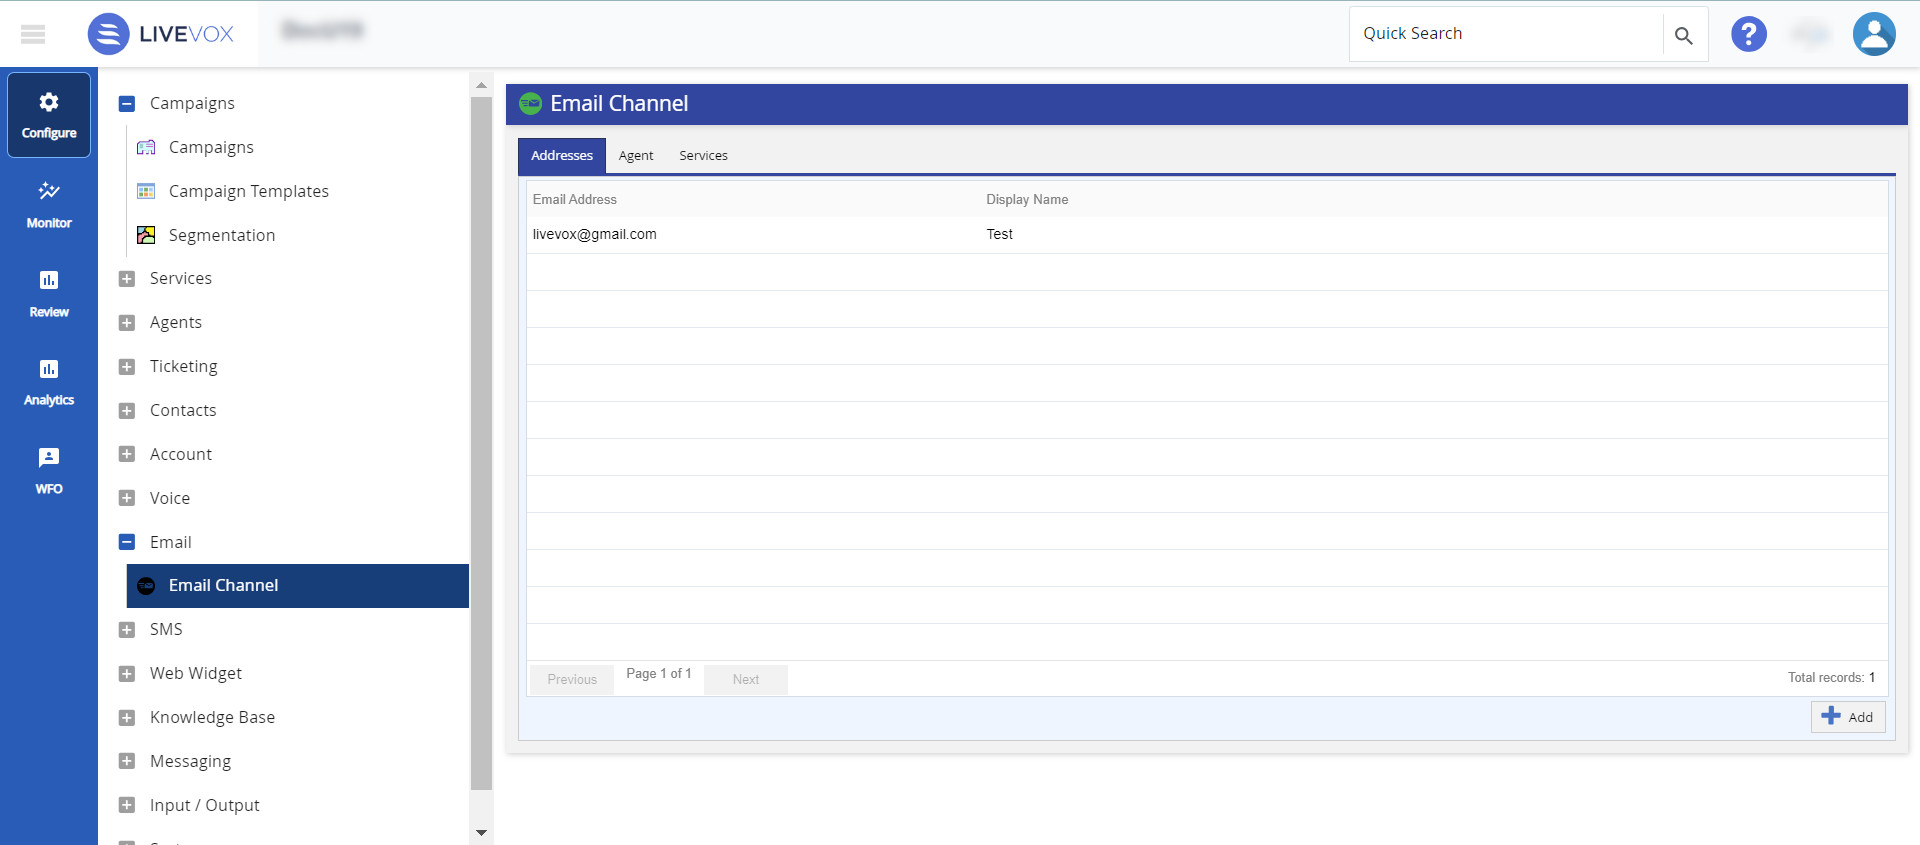
The Email Channel Window
The following table describes the columns that appear on the tabs in the Email Channel window.
Addresses
Column
Description
Email Address
Email address used to send and receive emails.
Display Name
Name that appears next to the email address in the outbound emails (for example, LiveVox johndoe@livevox.com). When customers reply to the emails, the display name appears in the To field.
Agents
Column
Description
Login ID
Login ID of the agent who can access the email channel.
First Name
First name of the agent.
Last Name
Last name of the agent.
Last Login
Date and time when the agent last logged in to the Agent Desktop.
Active
Checkmark to indicate that the agent is active.
Email
Checkmark to indicate that the agent can access the email channel.
Voice
Checkmark to indicate that the agent can access the voice channel.
SMS
Checkmark to indicate if the agent can access the SMS channel.
Chat
Checkmark to indicate if the agent can access the chat channel.
Services
Column
Description
Id
ID of the service associated with the email channel.
Name
Name of the service.
Inbound Message
Inbound message template for inbound emails.
Inbound Domain
Unique email address for routing inbound emails to the service.
Opt In Message
Message displayed in the email when an email campaign is launched for the service.
Email Consent Required
Checkmark to indicate if the customer's consent is required for sending an email to the customer.
Adding an Email Address
To add an email address:
On the Configure tab of LVP, click Email > Email Channel. The Email Channel window appears.
On the Addresses tab, click Add. The Email Channel pop-up window appears.
Specify values in the Display Name and Email Address fields, and then click Save. The email address is created, and it appears on the Addresses tab.
On the Addresses tab of the Email Channel window, you can:
Modify an email address by double-clicking the row displaying the address.
Delete an email address by using the Delete icon , which appears when you hover over the row displaying the address.
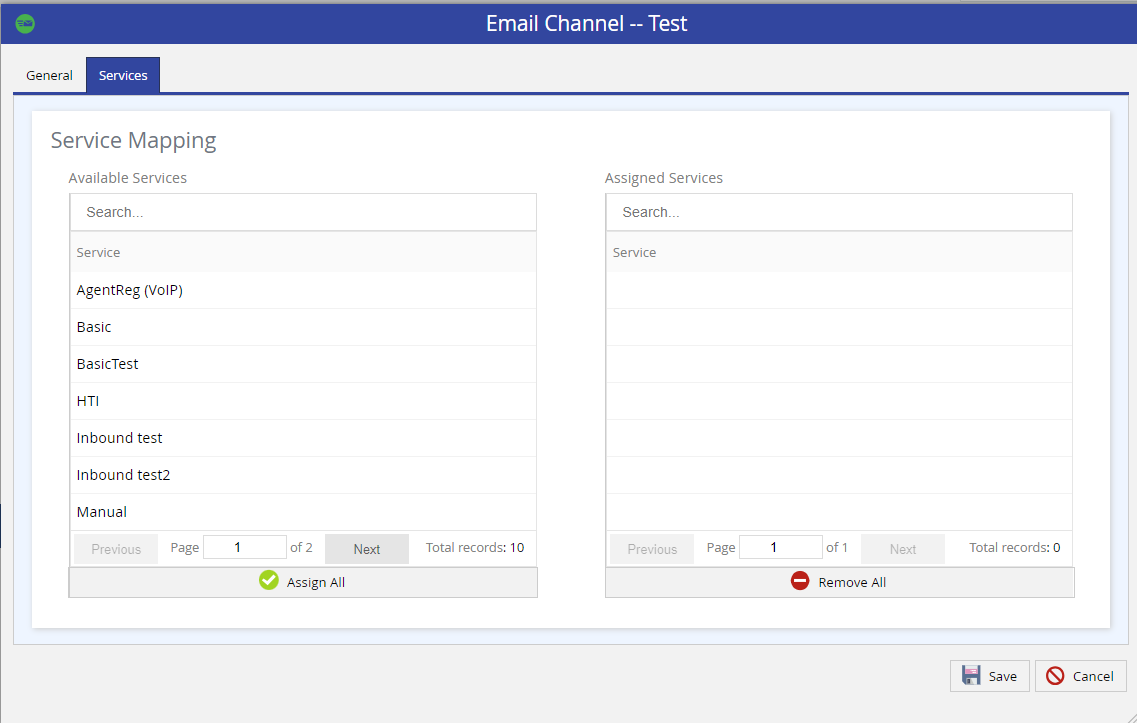
Assigning an Email Address to Services
You can assign an email address to certain services so that only the assigned email address is available to the agents logged in to those services when the agents send an email message (transactional).
When an agent responds to an email, by default, the email address used in the response is the same as that associated with the original email thread; the agent cannot modify the email address.
To assign an email address to certain services:
On the Configure tab of LVP, click Email > Email Channel. The Email Channel window appears.
On the Addresses tab, double-click the row displaying the email address that you want to assign to services. The Email Channel pop-up window for the selected address appears.
On the Services tab, in the Available Services section, select the services to which you want to assign the address.
To select all services together, in the Available Services section, click Assign All.
The selected services appear in the Assigned Services section.
Click Save. The email address is assigned to the selected services.