Download PDF
Download page Navigating the Contact Flow Engine.
Navigating the Contact Flow Engine
To access the Contact Flow Engine, go to Configure > Messaging and then click Contact Flow. The Contact Flow window lists all available contact flows in the portal.
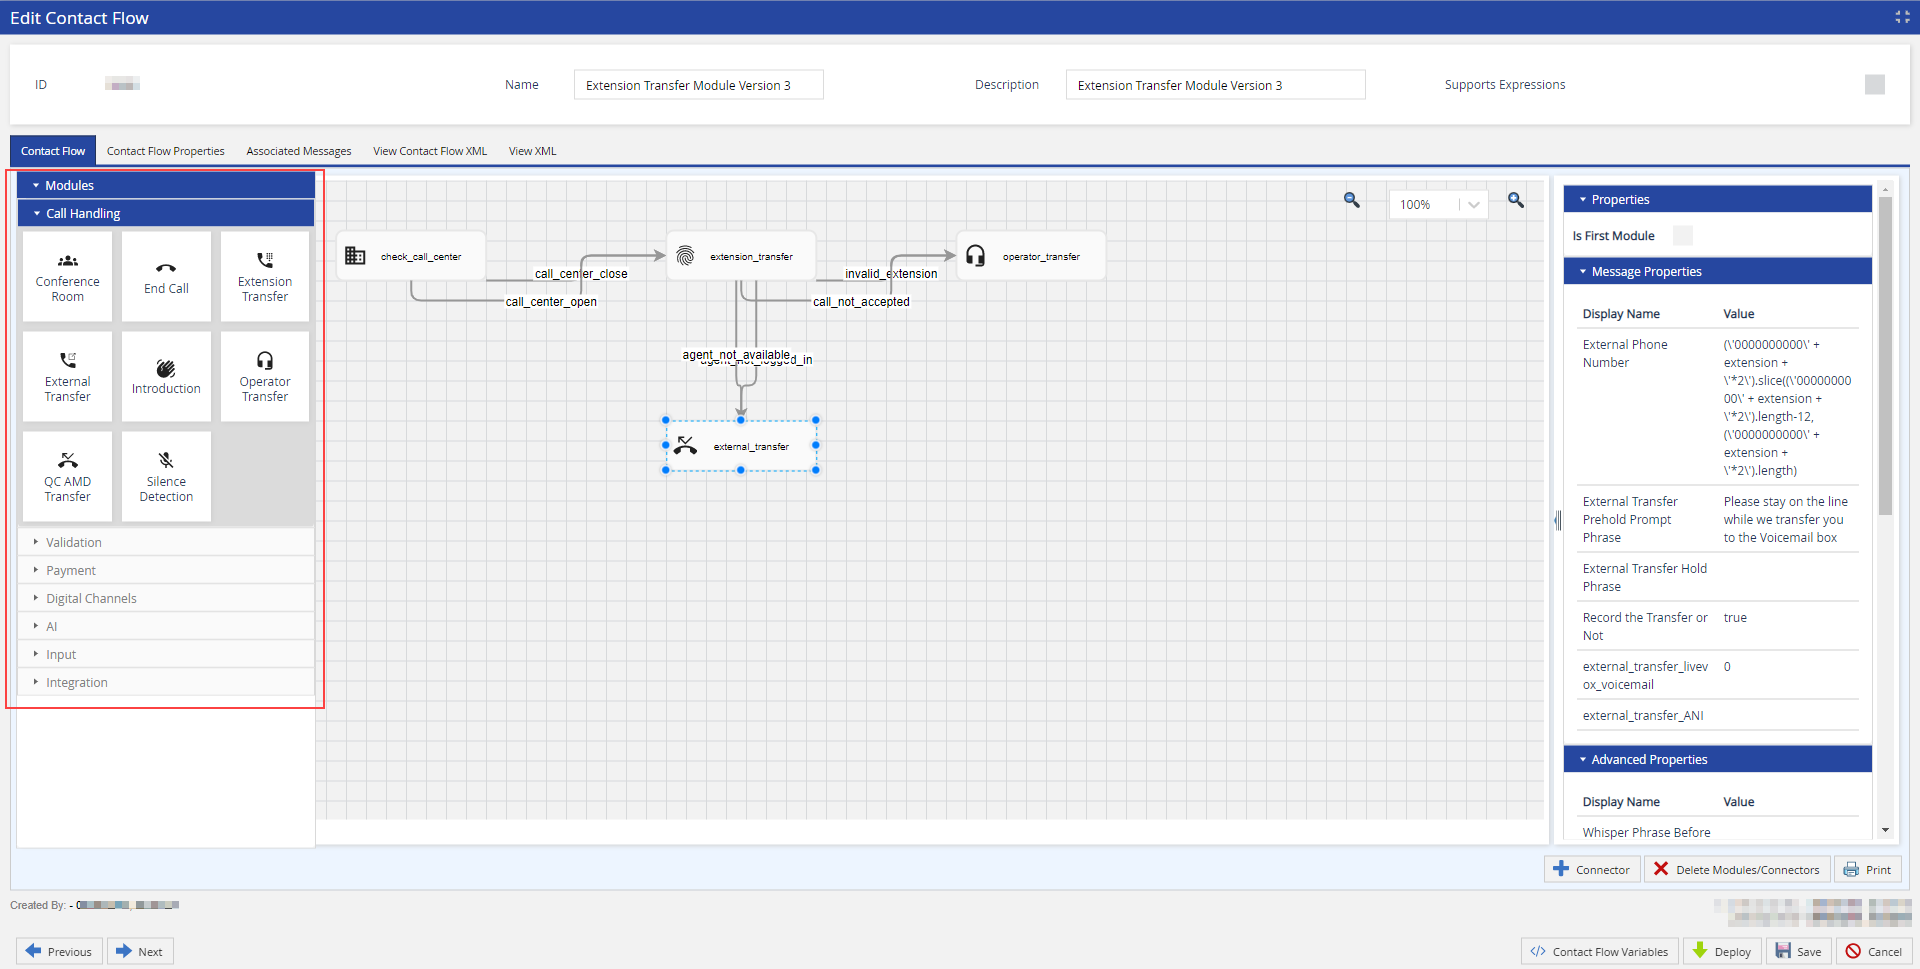
When you click Add or double-click any of the rows, the Edit Contact Flow window appears, with the following tabs, buttons, and options.
| Tab | Description | ||||||
|---|---|---|---|---|---|---|---|
| Contact Flow | Displays the contact flow in a graphical view. This is the main interface for viewing and modifying a contact flow. The display includes different panels for contact flow modules, font formatting, and a quick navigation outline.
| ||||||
| Contact Flow Properties | The system-level properties here are unique within the contact flow. You only need to define these properties once, because they retain their values within the contact flow and in any message that you create using the contact flow. These system properties do not include the module ID as a name prefix after you save the contact flow.
The platform first searches only for agents with Proficiency 1 for the wait time you specify. After that, the search expands to include Proficiency 1 and 2 for the additional time specified for Proficiency 2, and so on. If the Max Hold Time for the service has been reached and a properly-skilled agent is not available, the Service Group configuration decides the platform behavior.
| ||||||
| Associated Messages | Displays all the messages that are associated with the contact flow.
Double-click a message to view it in the Messages editor at Configure > Messaging > Messages > General tab. | ||||||
| View Contact Flow XML | Displays the detailed VXML code view of the contact flow. | ||||||
| View XML | Displays the code used to create the visual modules and connectors of a contact flow, including font specifics, module names, and property values. |

| Button | Description |
|---|---|
| Zoom In | Zoom in on the contact flow on the Contact Flow tab. |
| Zoom Out | Zooms out from the contact flow on the Contact Flow tab. |
| Connector | Displays the Connector Setup window through which you can create a link between two modules. Connectors define the outcome of a contact flow for specified actions and let you assign the system code for a disconnect. See Understanding Connectors. |
| Delete Modules/Connectors | Removes the connectors or modules selected on the canvas. |
| Contact Flow Variables | Displays the Contact Flow Variables window, through which you can create temporary variables for use in the contact flow. See Working with Variables. |
| Deploy | Deploys the contact flow into production. Any messages associated with the contact flow will begin using the contact flow only after it is deployed. |
| Downloads the contact flow in PDF for print preview and printing. | |
| Save | Saves the changes to the contact flow. The changes do not affect production until the contact flow and its messages are deployed. |