Download PDF
Download page Configuring a Web Widget.
Configuring a Web Widget
Preparing to Configure a Chat Web Widget
- Ensure that the Inbound Chat Message field of the service on which you want to run the web widget contains the message template.
To create a message, see Create Messages. To create a contact flow, see Creating Contact Flows.
To configure the Inbound Chat Message field in the Services window:
- Navigate to Configure > Services > Services.
- Select the appropriate Call Center and the required Service.
- Click the Setting tab.
- In the Contact Rules section, select the unique chat message option from the drop-down list in the Inbound Chat Messages field.
- Ensure that the Chat Routing Token field of the chat services contains a value that indicates a routing token/department to which you want to route a chat (for example, Banking, Billing, Collections, or Support).
The Chat Routing Token field appears in the Advanced Features section on the Settings tab of the Services window.
- Ensure that the chat channel is enabled for the agents who are assigned to the chat services.
The option to enable the chat channel for an agent appears in the Agent Details window of the agent.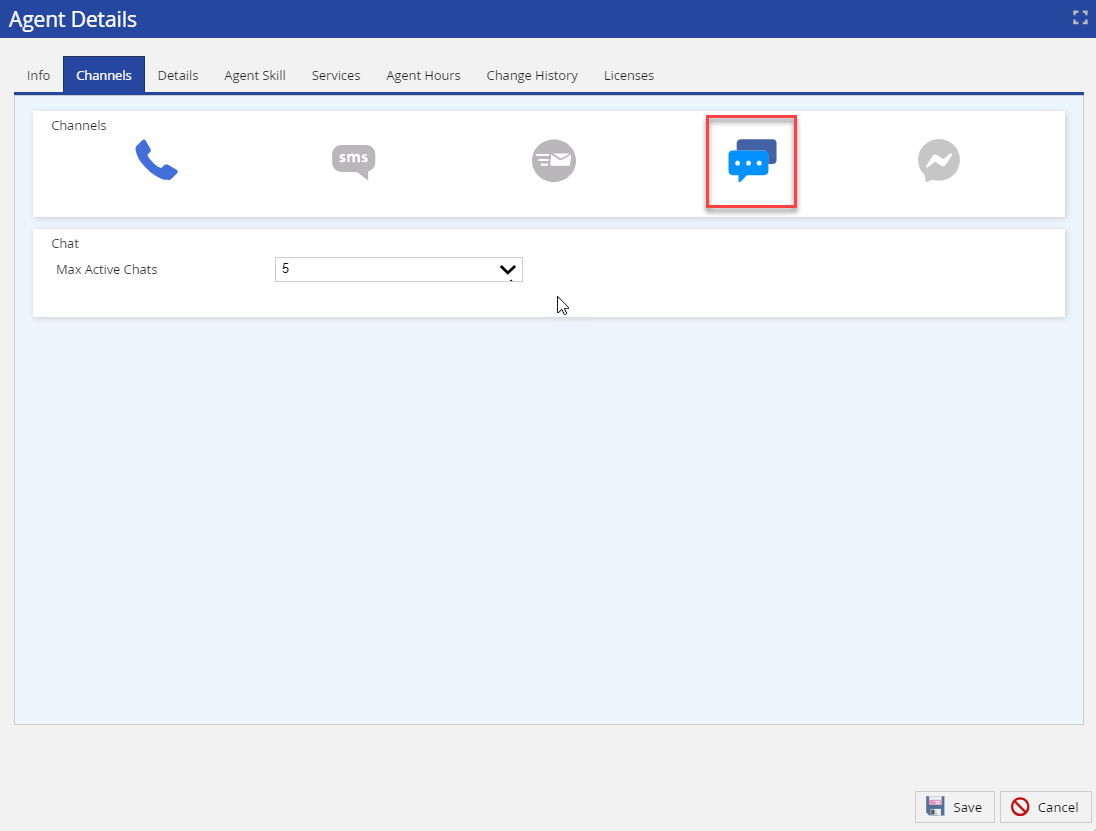
The Agent Details window appears when you click Agents > Agents on the Configure tab and then double-click the row (in the Agents window) displaying the name of the agent.
Preparing to Configure a Web Widget for Ticketing
Ensure that the ticket forms that you want to make available for your customers are published.
For more information, see Forms.
Configuring the Chat, or Ticketing Widgets
To configure a web widget:
- On the Configure tab, click Web Widget > Widget.
The Web Widget window appears.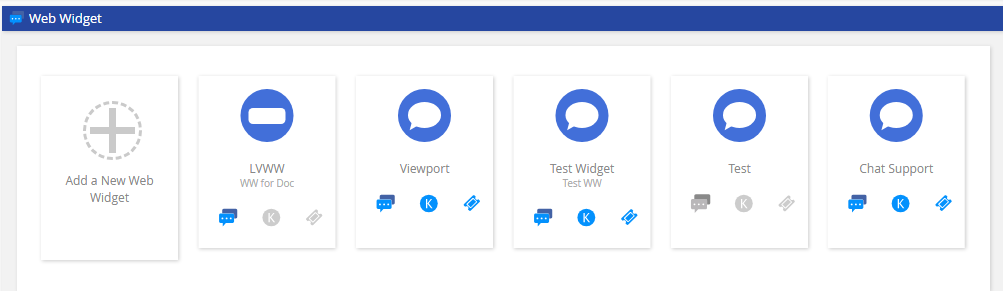
- Click Add a New Web Widget.
The Web Widget Detail window appears. On the General tab, specify values in the following fields.
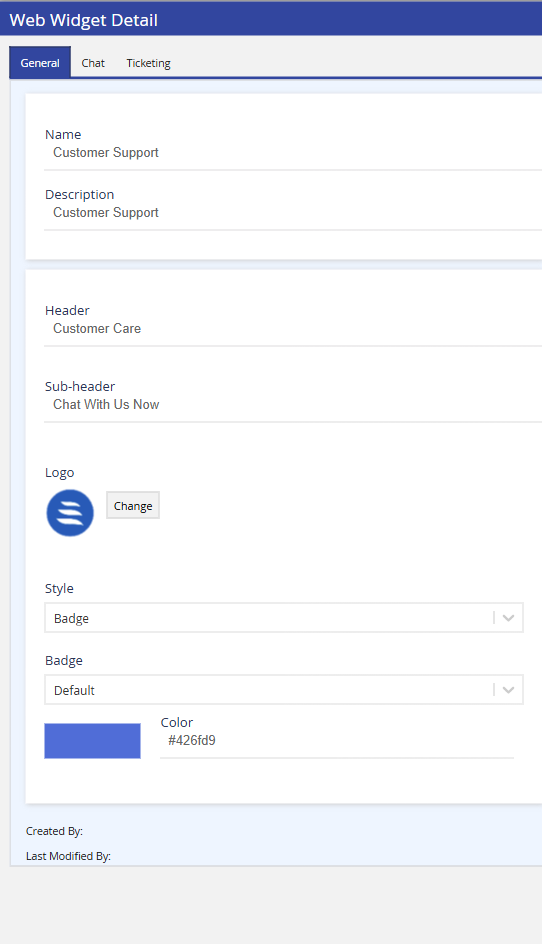
Field Description Name A name to identify the web widget on the LiveVox Portal. Description The description of the widget. Header The title of the widget as it appears on your website. Sub Header The text that appears as the sub header on your web widget. Logo The custom logo that you can use for your web widget.
Style The style of the widget (that is, badge, bar, or button) as it appears on your website. Badge The icon for the badge style. This field appears when the value in the Style field is Badge. This field contains a list of industry-standard icons. You can select an icon to represent the web widget on your website. This enables you to customize how customers see the web widget on your website.

Customers see the badge when the web widget is minimized.
Color The color of the widget as it appears on your website. - A dynamic preview of the widget appears in the Preview section of the window.
- You can preview the style of the widget (badge, bar, or button) by minimizing the current preview in the Preview section (click the Minimize icon
 ).
).
To only create a web widget (that is, to configure the web widget later), click Save. To also configure the web widget, as required, perform all or any of the following steps.
To configure the chat function for the widget (including configuring a proactive chat web widget), click the Chat tab, and then specify values in the fields/sections.
- For more information about the fields, see Web Widget Fields.
- For information about how to configure a proactive chat widget, see Making a Web Chat Proactive.
- You can preview an active chat widget (that is, the chat widget during the specified business hours) by selecting the Online checkbox in the Preview section.
- You can preview an inactive chat widget (that is, the chat widget outside the specified business hours) by clearing the Online checkbox in the Preview section.
To configure the ticketing function for the widget, click the Ticketing tab, and then specify values in the fields.
For more information about the fields, see Ticketing Widget Fields.
- Click Save.
The web widget is configured, and it appears in the Web Widget window. The widget displays three icons that represent chat, and ticketing; a selected icon indicates that the corresponding function is enabled for the widget.
- You can view a web widget by double-clicking the widget in the Web Widget window.
- You can modify a web widget by double-clicking the widget in the Web Widget window. Your name, along with the date (if applicable) and time when the widget was last modified, appears in the Web Widget Detail window.