Download PDF
Download page Viewing Campaign Details.
Viewing Campaign Details
Double-click a campaign to present the Campaign Details screen. Use the tabs in this screen to view detailed information on the listed campaigns available and see the applied dial settings, list characteristics, and outcomes.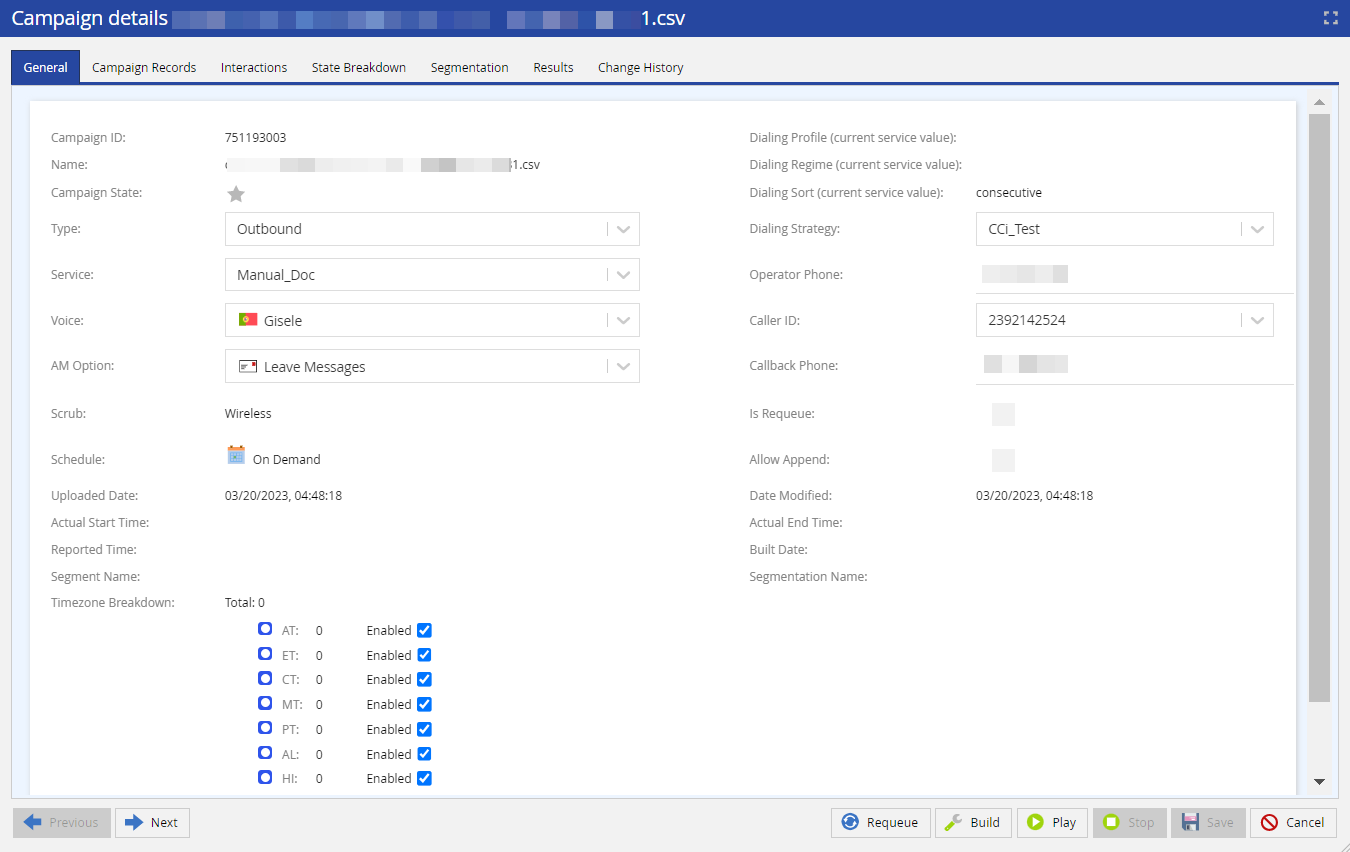
- General tab displays the following information:
- Campaign characteristics and timing details
- Phone numbers used in the campaign
Timezone Breakdown for all dialed phone numbers: Provides a breakdown of the listed accounts by time zone, i.e. ET, CT, MT, PT, AT, HI & SAFE, for the selected campaign.
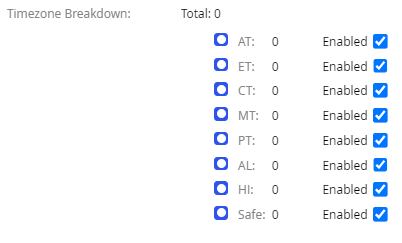
- Time zone breakdown also shows the number of accounts that were dialed multiple times due to various attempts to reach the customer.
The SAFE time zone indicates those accounts which fall under the zip/area mismatch logic. Area/zip code logic works by comparing the zip code of an account against the area code of the phone number associated with that account. If there is a mismatch between the geographical locations indicated by these two values (area code vs. zip code), the account is placed into the “SAFE” Time Zone to begin dialing at 11 am ET and end dialing at 9 pm ET.

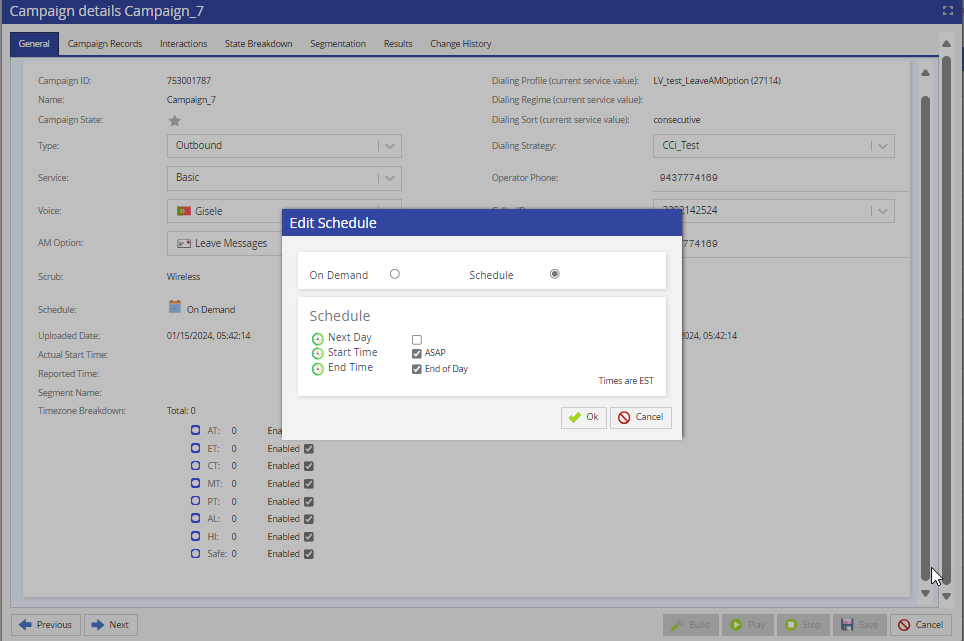
For future scheduled campaigns (viewed by selecting the "Tomorrow's" filter), access to the Campaign Details allows you to review and edit most campaign attributes before the actual campaign build excluding the following attributes which will be grayed out or disabled:
- Schedule: cannot change to On Demand, but can adjust the Start Time and End Time.
- Timezone Breakdown
- Segmentation Tab
- Campaign Records - Provides a detailed view of the first 5000 contacts. This view can be sorted by Contact Transaction ID, Contact (Account Number), First Name, Last Name, Queued, and Date Modified. You can also choose to display the contacts in ascending or descending order via the corresponding check box. Click refresh when the parameters are set to update the displayed contacts.
Interactions tab - Displays the details of all the previous interaction attempts made on a record. The default columns that appear on this tab differ depending on the type of selected campaign (email, SMS, or outbound). You can customize the columns and modify the display by using the Settings icon
 .
.
- The status of a WhatsApp campaign (for example, if a WhatsApp message is read or delivered) appears in the Result column on the Interactions tab of the campaign, depending on the privacy settings of the WhatsApp accounts. For example, if the Read receipts setting is disabled for a WhatsApp account, the corresponding status is not recorded.
- The WhatsApp feature is currently in the Beta phase of development.

*State Breakdown - Display a map that shows the percentage of records completed by the state. Hovering your cursor over a specific state will provide you the numbers of dialable and completed contacts.
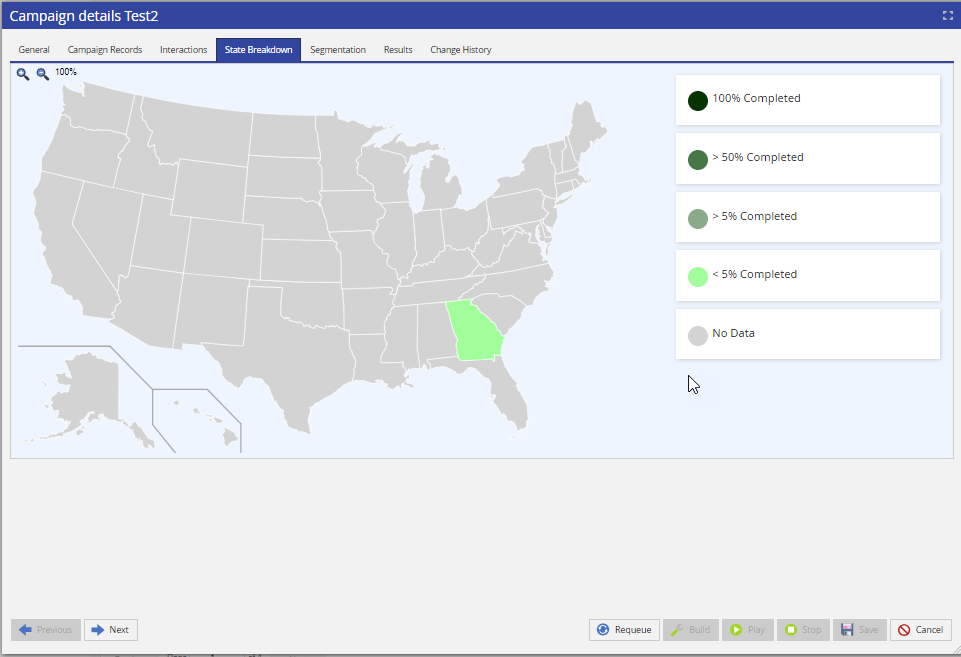
*The State Breakdown is only available for active campaigns.
* Segmentation - Displays a diagram of the segmentation applied to the campaign. When an un-built campaign with no segmentation applied is selected: you can select a segmentation template from the drop-down in the top right and click Preview to see how the selected segmentation template would be applied to the campaign. Click Finalize if you wish to apply the segmentation template to the campaign and then Save to exit Campaign Details and refresh your browser to update your display.
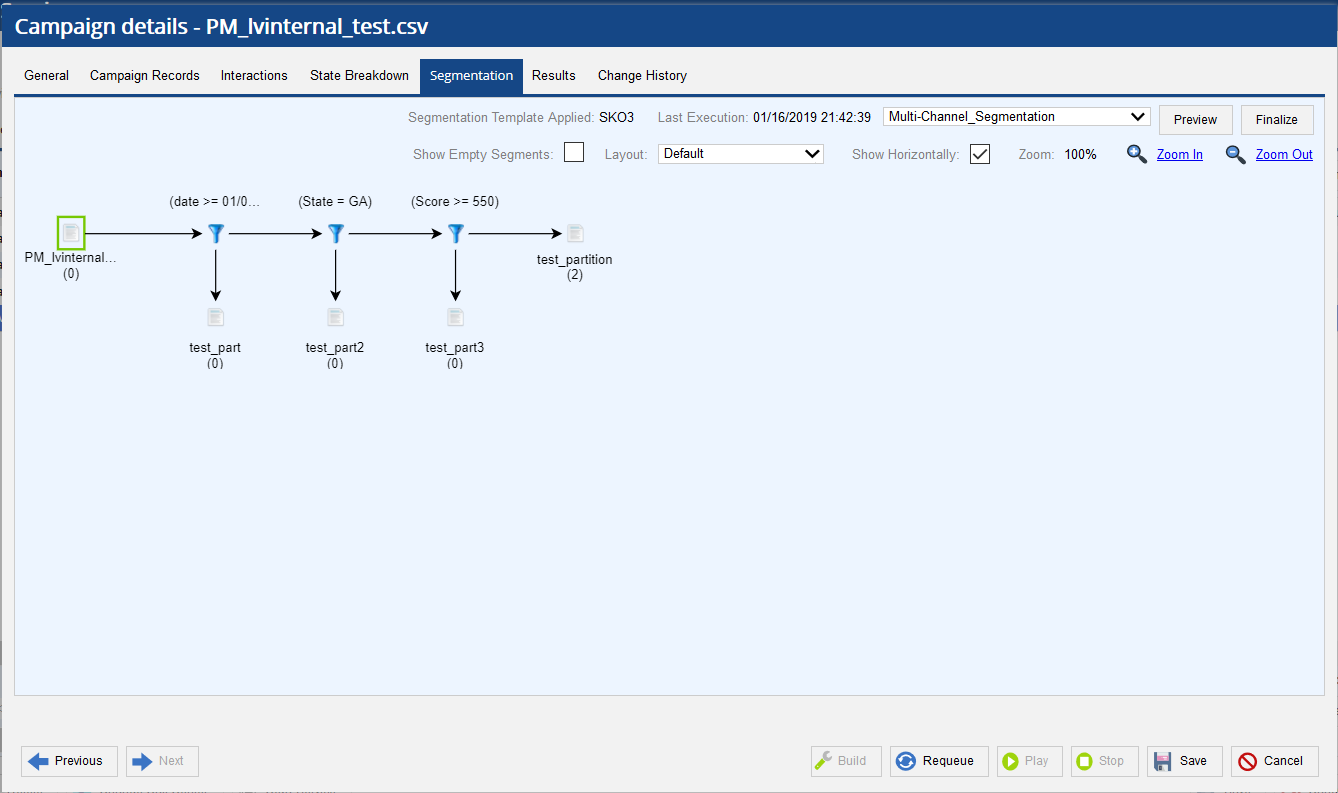
*Segmentation is only available for active campaigns.
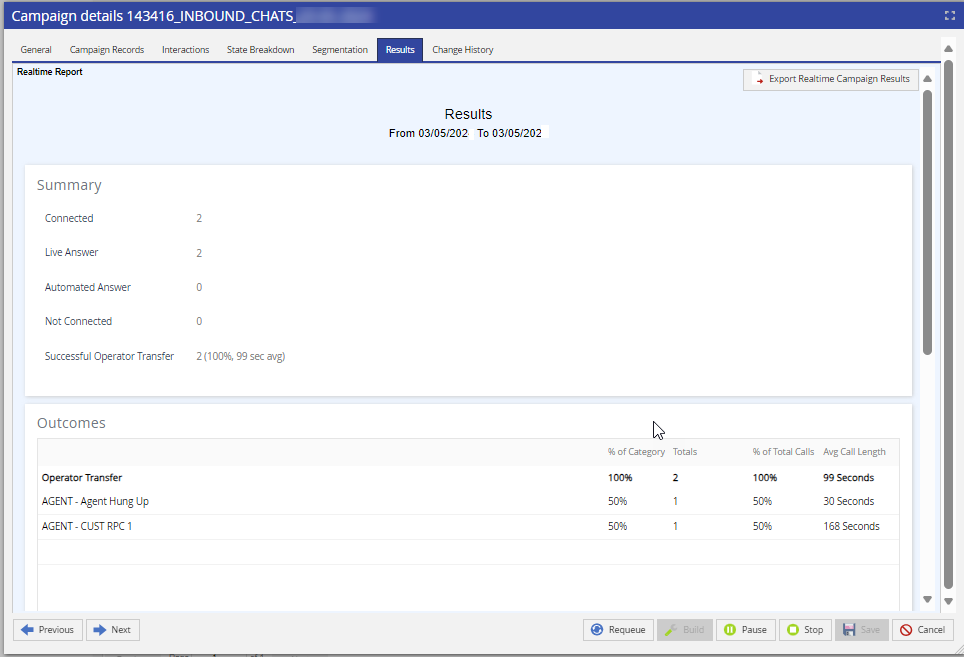
Results - Produces a campaign-specific Real Time Report to view and export real-time campaign results. Information on the RTR is available here. Select the Export Realtime Campaign Results button to download the text file.
- Change History - All campaign activity and changes made by users are tracked.
You can also:
- See the details for other campaigns by clicking the Previous and Next buttons at the bottom left of the screen.
- Build, Requeue, Play, and Stop campaigns from the Campaign Details screen with the respective buttons at the bottom right.
- Save any changes to the campaign settings by clicking the Save button at the bottom right of the screen.