The Sites window enables you to add, modify, or delete a site.
Adding a Site
To add a new site:
- On the PBX Admin Portal Dashboard, click View all Sites in the Sites section. The Sites window with all the sites listed is displayed.
- Click the Add Site button.
The Add Site screen is displayed.
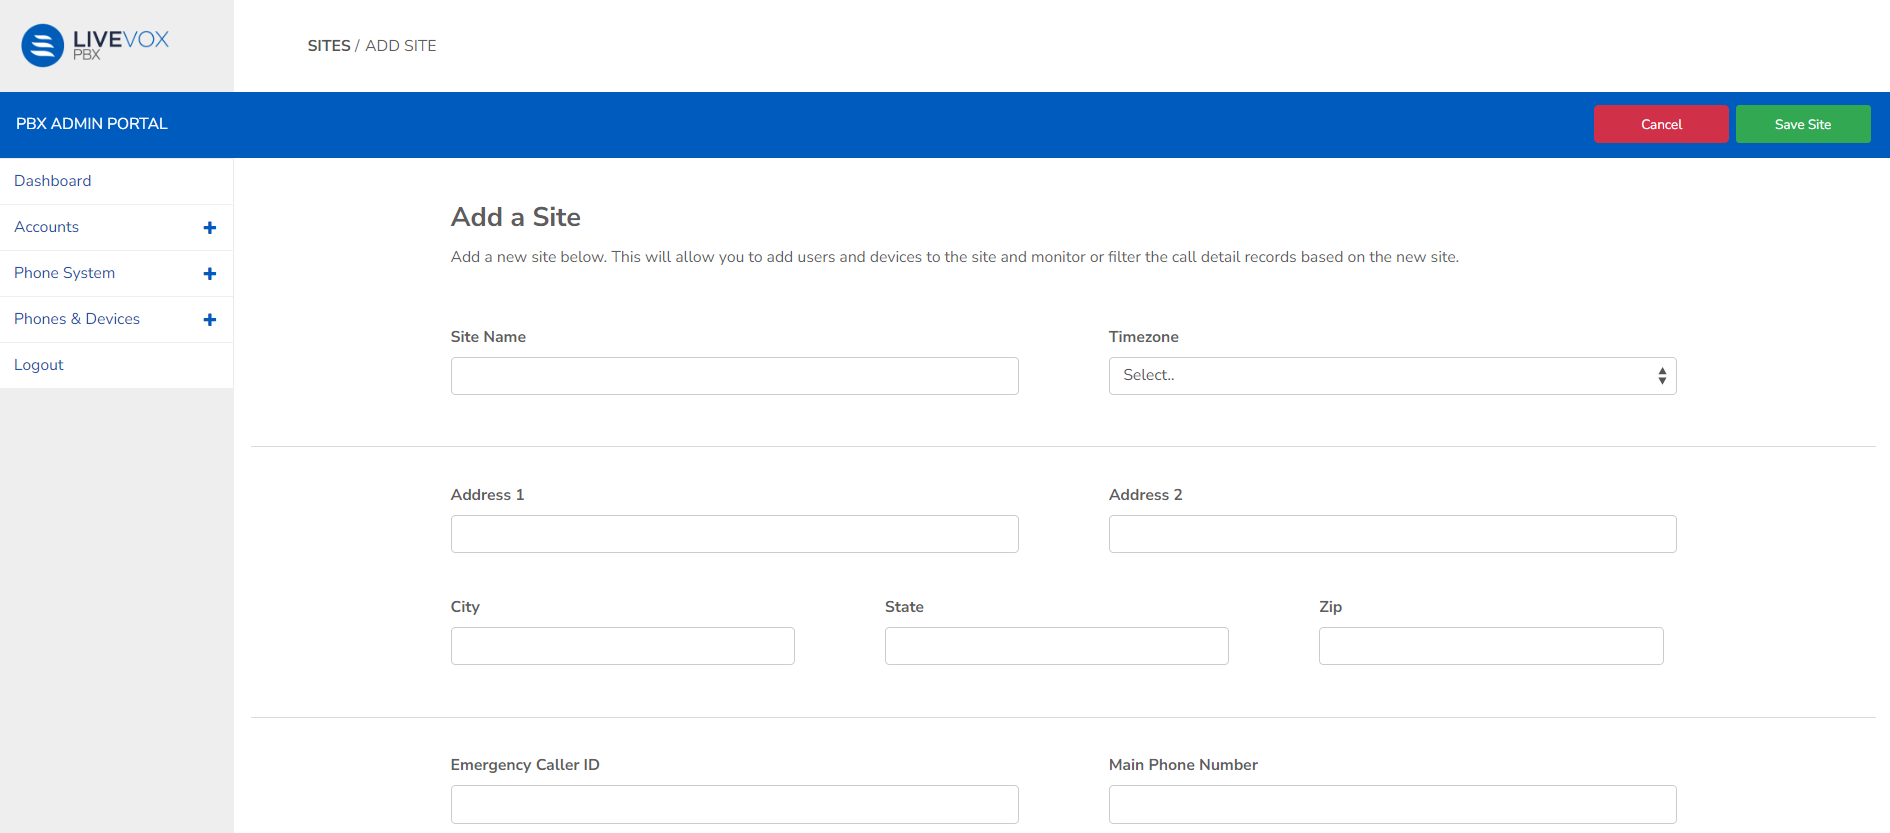
Enter the required details in each field.
| Field | Description |
|---|
| Site Name | Name of the site that you will group users or devices by. |
| Timezone | The timezone that the site operates in. |
| Address 1 | The site's physical location where emergency response personnel will be dispatched when the E911 number is dialed. |
| Address 2 |
| City |
| State |
| Zip |
| Emergency Caller ID | The number that reroutes to 911 when dialed. |
| Main Phone Number | Contact number for inbound calls to the site. |
- Click Save Site to complete the process and return to the Sites screen. The site appears as a new row in the Site table.
Editing a Site
To edit a site:
- On the PBX Admin Portal Dashboard, click View all Sites in the Sites section. The Sites window with all the sites listed is displayed.
- Double-click the site you want to edit.
The Edit Site window appears.
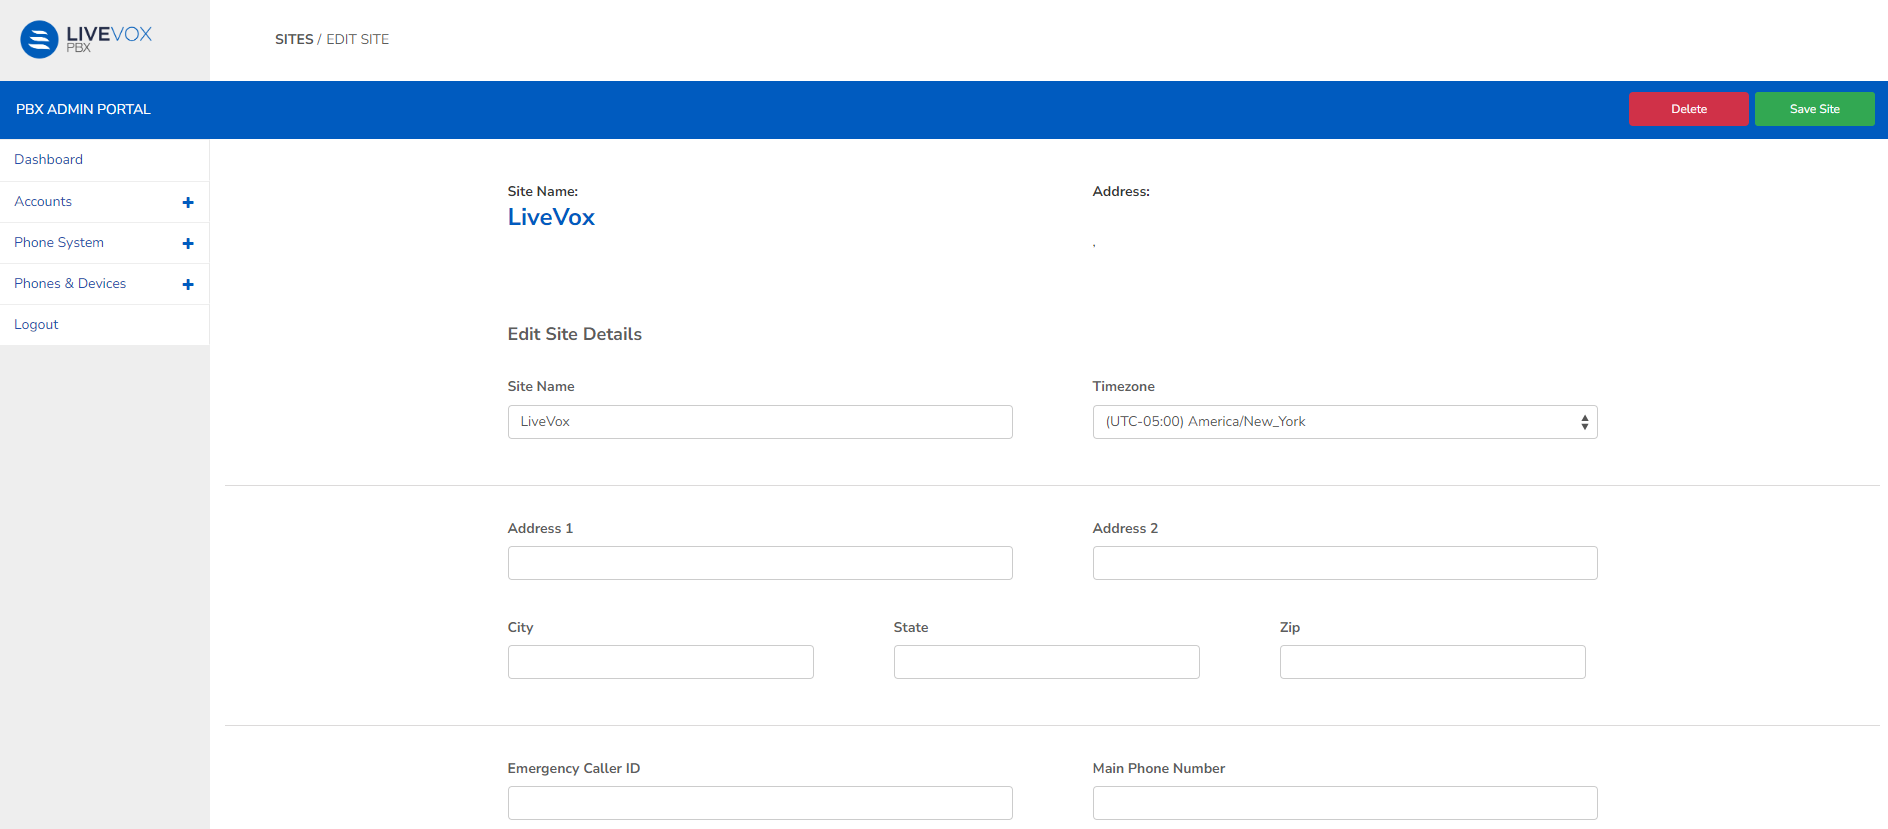
- Make the necessary changes.
- Click Save Site to save your edits and return to the Sites screen.
Deleting a Site
To delete a site:
- On the PBX Admin Portal Dashboard, click View all Sites in the Sites section. The Sites window with all the sites listed is displayed.
- Double-click the site you want to edit.
The Edit Site window appears. - Click Delete, and a confirmation popup window appears.
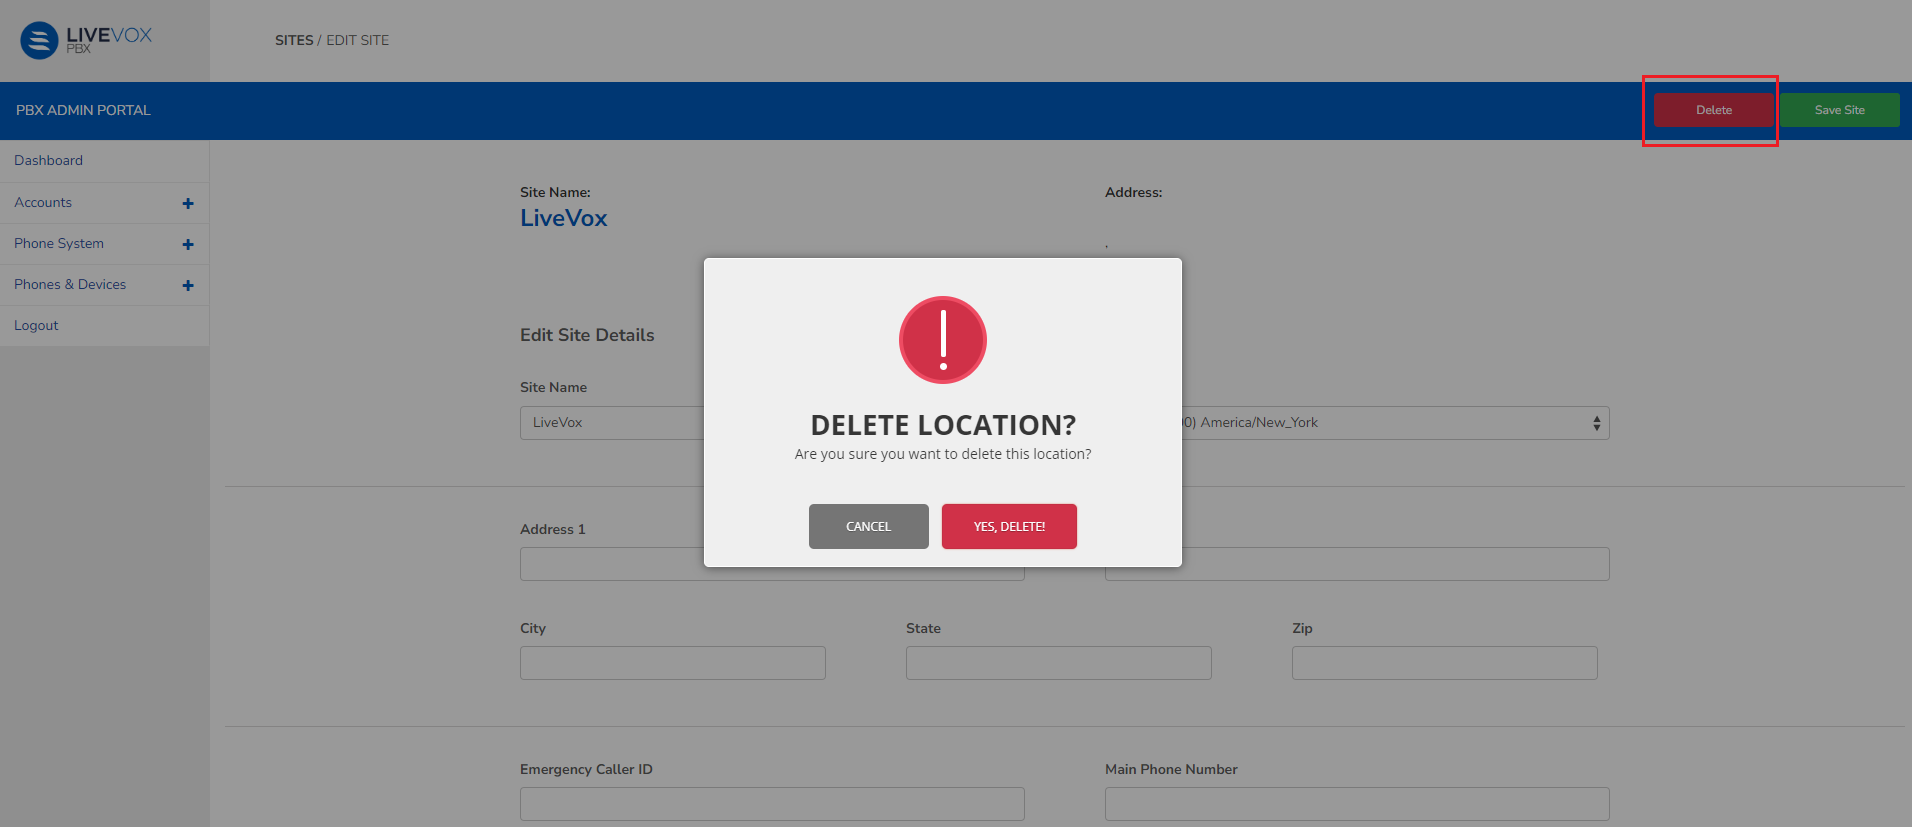
- Click Yes, Delete, the selected site is deleted and the page redirects to the Sites screen.