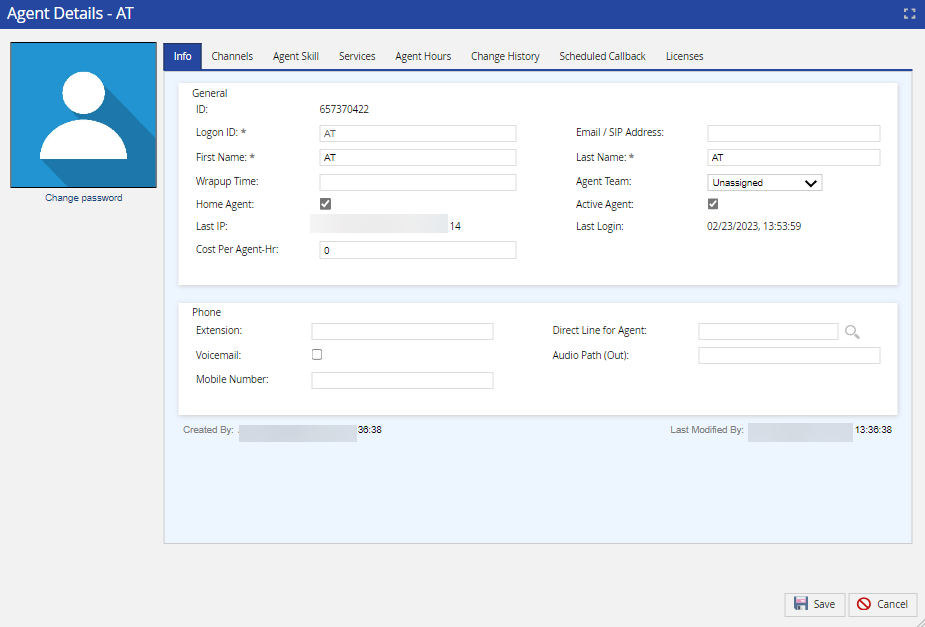
Double-click the required agent row in the Generaltab.
The Agent Details window appears and allows you to modify the agent's information.
For more information about adding a profile picture, Info, Agent Skill, Service, Change History, and Scheduled Callback, Licenses tabs, seeCreating Agents and Agent Profilessection for detailed information.
If you have associated the custom fields to the Agent entity from the Fields editor, you can view custom fields under theDetailstab of the Agent Details screen.
Changing an Agent's Password
To change the password of an agent:
Navigate to Configuration tab > Agents > Agents.
Double-click the required agent row in the Generaltab.
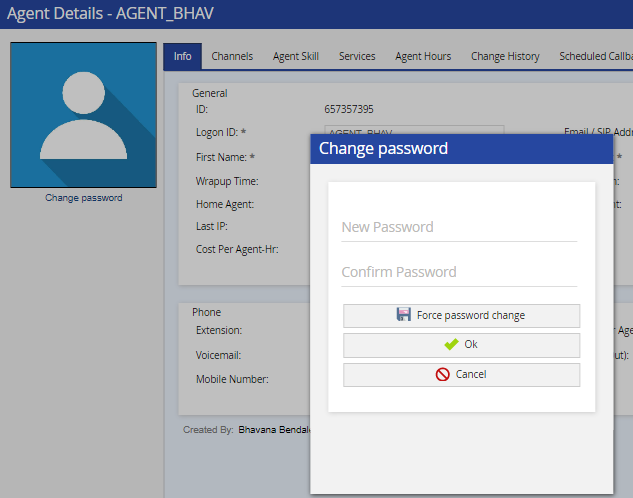
Click the Change Password option (below the profile picture). You are presented with the following screen.
Enter the Password and Confirm Password fields with your new password. Click the OK button.
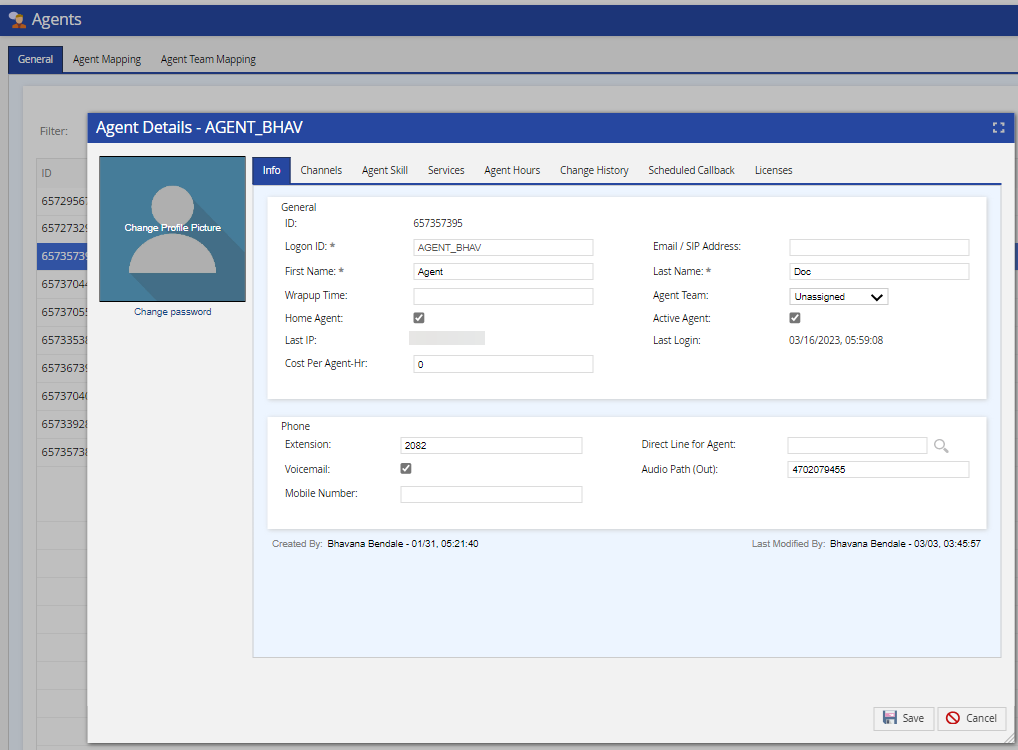
Adding or Updating an Agent's Profile Picture
TheProfile Picture option is available when you edit agent information. This option allows you to assign/update the agent profile with a default or custom picture.
Double-click the Agent row to add or update the profile picture.
Hover on the profile picture area, an option to change the profile picture is displayed.
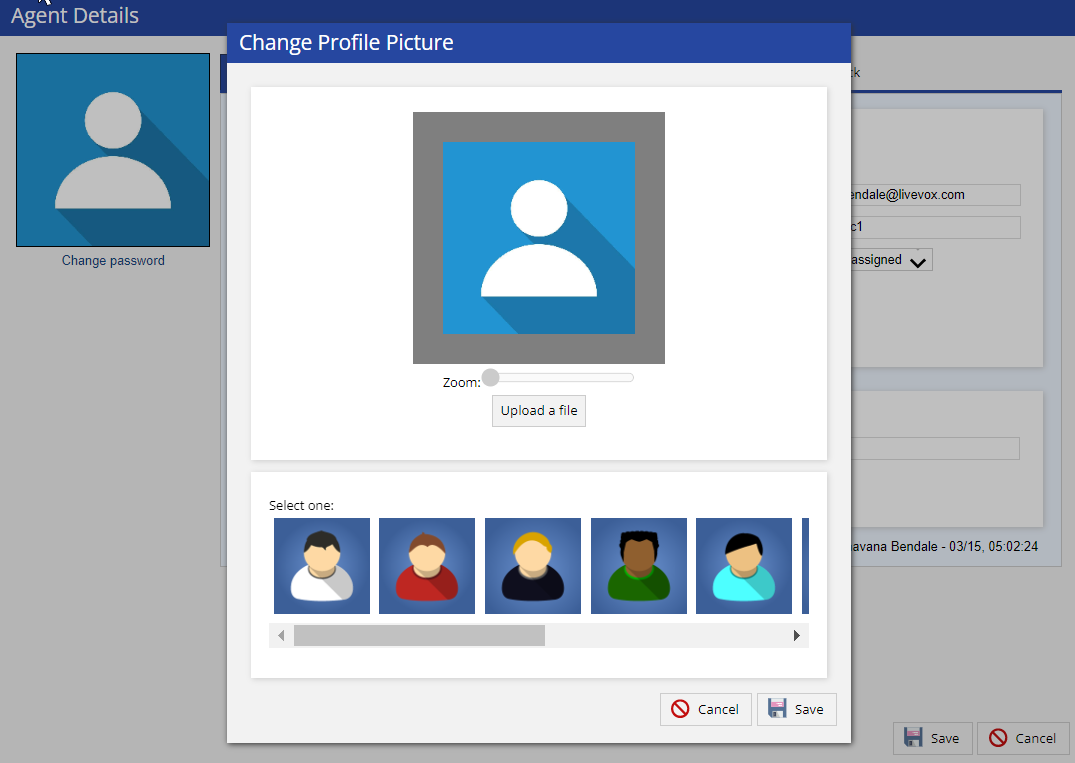
Click in the profile picture area, the Change Profile Picture pop-up appears.
You can add or update the agent profile with one of the default avatars or a custom picture.
Default Avatar: Select the required avatar from the Select one section.
Custom Picture
Click the Upload a file button.
Navigate to the desired file in your local directory and double-click on the file, or select the file and click Open.