Interactive Voice Response (IVR) technology allows customers to interact with LiveVox PBX without human intervention. When customers dial the number associated with an IVR, the call is answered automatically with prerecorded greetings and IVR menu options; callers can then enquire about services in real-time using only a keypad.
Add an IVR Menu
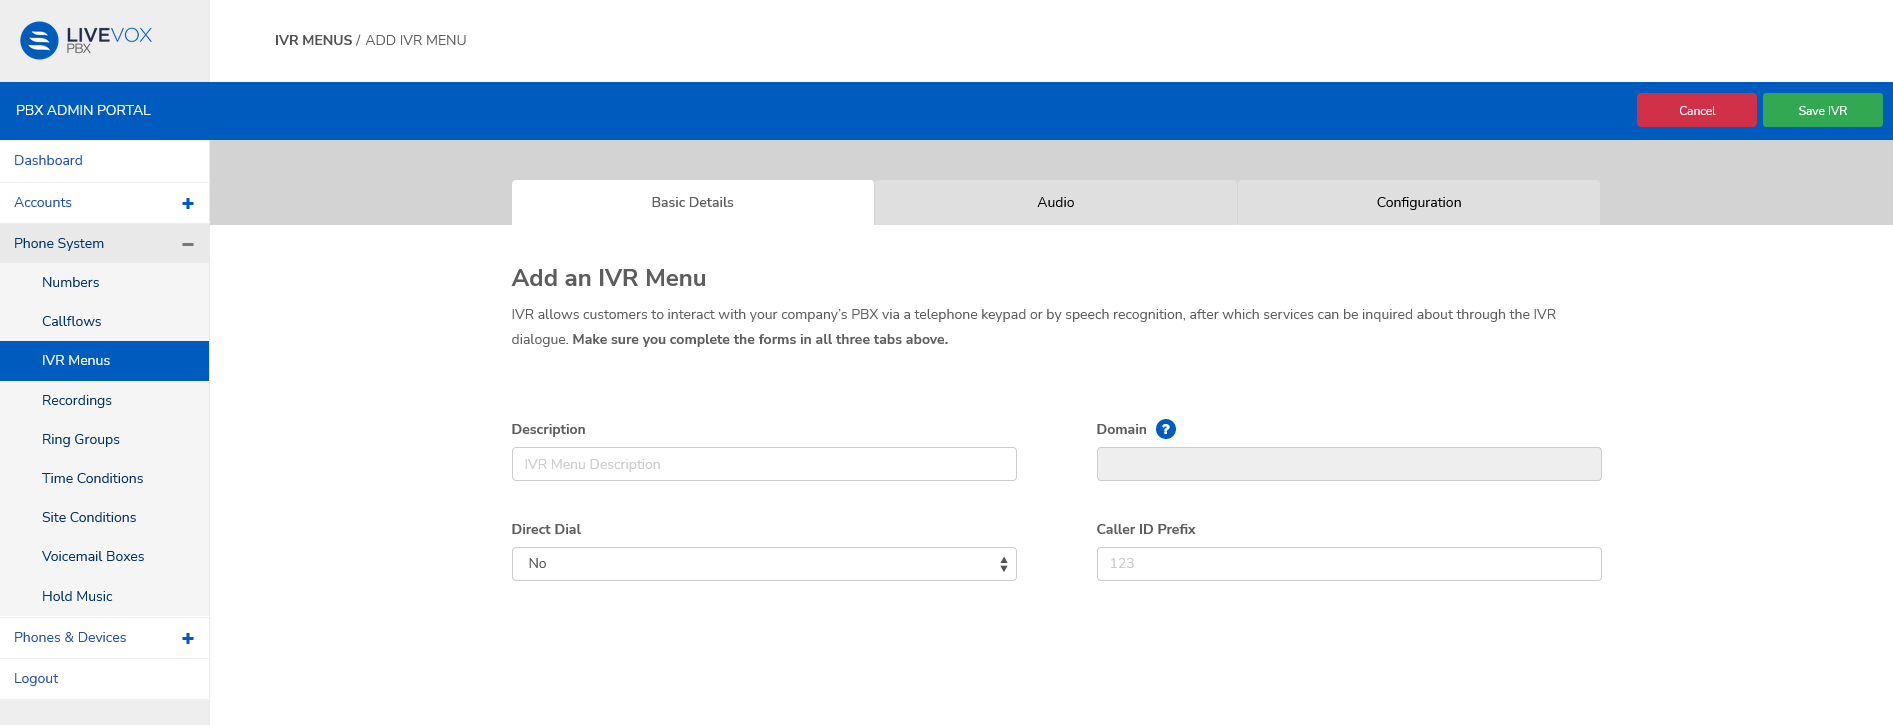
Navigate to Phone System > IVR Menus and click the Add IVR Menu button.
In the Add IVR Menu screen, enter the required details in each of the tabs.
Basic Details tab
Field
Description
Description
Describe the purpose of the IVR. This value is visible on the IVR Menus screen and helps identify the IVR.
Domain
Domain name
Direct Dial
Select Yes or No.
Caller ID Prefix
Enter a caller ID prefix.
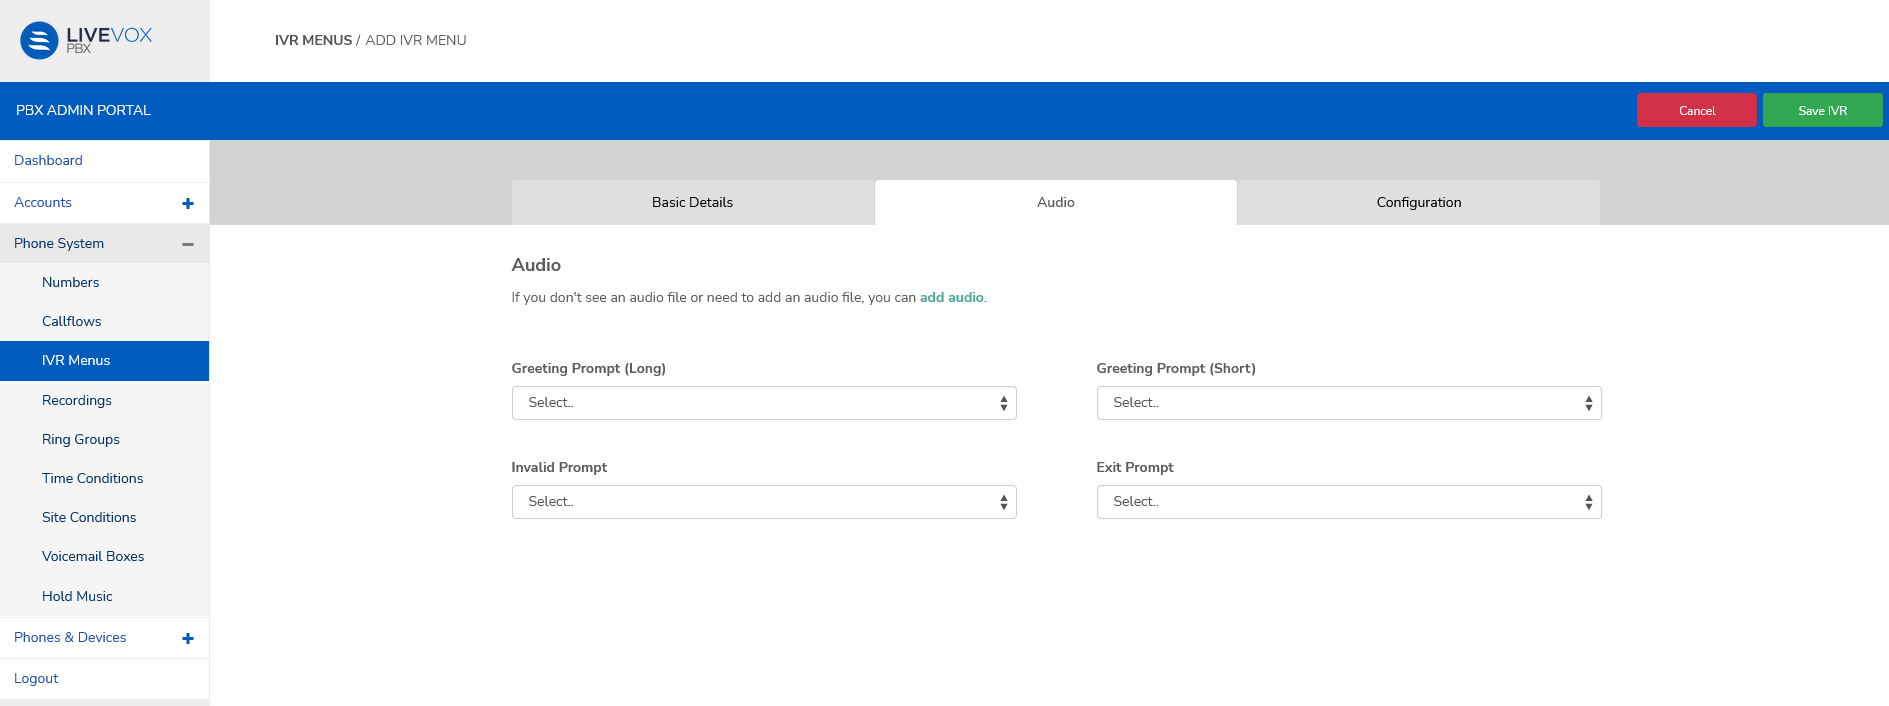
Audio Tab
In the PBX Admin Portal, navigate to Phone System > Recordings to add audio files that you can then select from the drop-down fields in this tab. For more information, see Recordings.
Field
Description
Greeting Prompt (Long)
Select the greeting to be played.
Greeting Prompt (Short)
Select the greeting to be played.
Invalid Prompt
Select the greeting to be played when the caller selects an incorrect option that is not on the IVR menu.
Exit Prompt
Select the greeting to be played when the caller chooses to exit the IVR menu.
Configuration Tab
In the Destinations section, select a destination from the dropdown menu, enter the digit to be associated with the destination, and click Add Destination. The destinations appear in the Destination table in the sequence that you add them.
To change the sequence of the destinations in the IVR menu, click and drag the rows to move them around.
Field
Description
Add a Destination
This is where the call will be directed when users enter the digits. Destinations can belong to the following categories:
Audio
Dialplan
SIP profile
User
Voicemail box
Digits
Enter the extension required to dial this destination
In the Timeouts section, configure the timeout duration and call behavior.
Field
Description
Timeout
Timeout value in milli seconds.
Inter-Digit Timeout
Inter-Digit timeout value in milli seconds.
Max Failures
maximum number of failures.
Max Timeouts
Maximum number of timeouts.
Confirm Attempts
Number of attempts allowed.
Exit Action
Select where the call goes after timeouts.
Click Save IVR to complete the process and return to the IVR Menus screen where the new IVR menu appears in the table.
Edit or Delete an IVR Menu
Click the required row in the table on the IVR Menus screen. The Edit IVR Menu screen appears.
Edit the fields if required. SeeAdd an IVR Menu for field descriptions.
The next actions you may take on this page are:
UI element
Description
Delete
Click to delete the IVR menu. In the confirmation popup window, clickYes, Delete!
On deletion, the page redirects to the IVR Menus screen.
Save IVR
Click to save your edits and return to theIVR Menus screen.