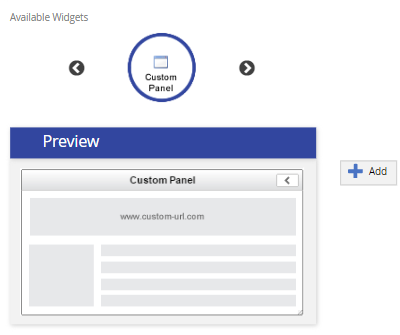
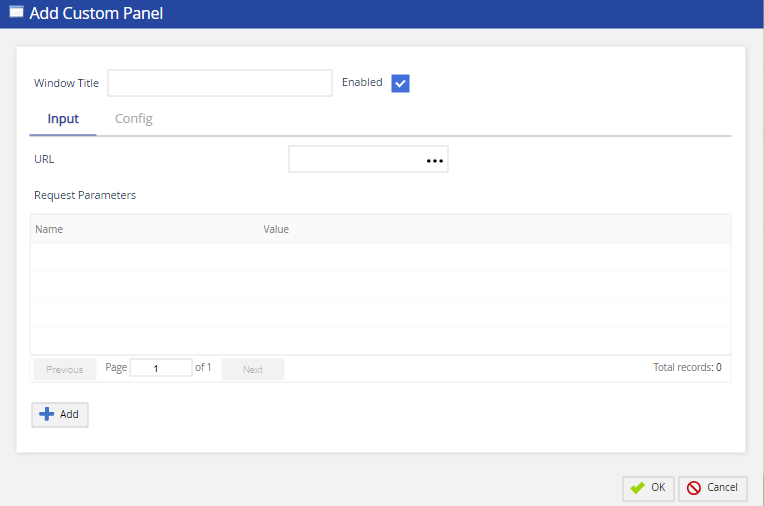
ClickAdd. The Add Custom Panel pop-up appears. The following table provides the field and their description/action you need to take.
Field
Action / Description
Window Title
Specify the widget name.
Enabled
Select the checkbox to enable the widget on Agent Desktop.
URL
Enter theURL for the website you want to display on the agent desktop.
If the website you are trying to display on the agent desktop has any embedded security/constraint in the opening in an iFrame, then you can open an external window with URL entered in the Request Parameters field.
Request Parameters
Displays the criteria from the agent desktop to push to the URL.
The Unified Agent Desktop supports two types of URLs:
Restful - Uses the expression builder.
Parameter - Does not require expression builder.
You need to know the key to the site you are using ( i.e. google [q#], amazon [s]). If your URL requires custom expression, you may use the expression builder.
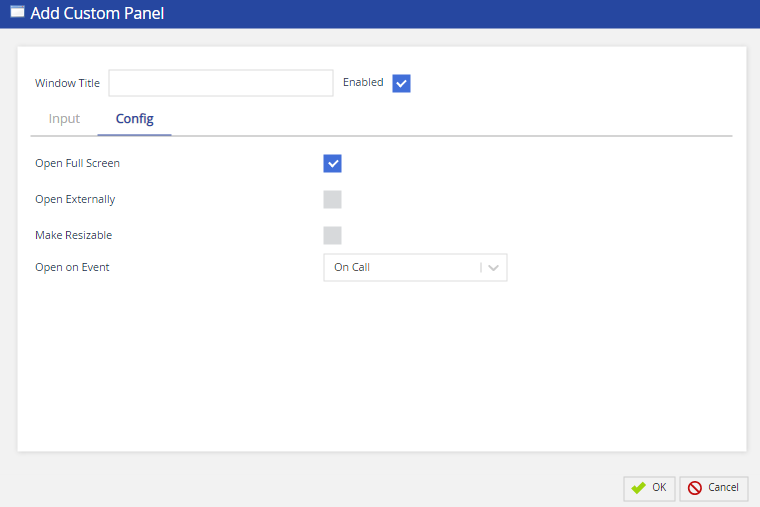
You can configure optional features from theConfigtab in theAdd Custom Panel pop-up. The following table provides the field and their description/action you need to take.
Field
Action / Description
Open Full Screen
Allows you to display the widget on a full window screen.
Open Externally
Allows you to open a specific widget as an external window.
Make Resizable
Allows you to resize the widget opened externally or on extended panel of Agent Desktop.
Open on Event
Select the event which will activate the widget. The available events are as given below:
On Login: Widget appears once the agent logs in.
On Ready: Widget appears when the agent switches to Ready state.
On Not Ready: Widget appears when the agent switches to Not Ready state.
On Call:Widget appears once the agent gets connected to the call.
On Save Disposition: Widget appears inan external window after selecting the term code.
On Start Secure Payment: Widget appears when the agent presses theStartbutton on the secure payment capture pop up window.
On Stop Secure payment: Widget appears when the agent presses theCancelbutton on the secure payment capture pop up or the caller disconnects from the call in the IVR.
On Pause Call Recording: Widget appears when the agent presses the pause button of call recording controls.
On Resume Call Recording:Widget appears when the agent presses the resume button of call recording controls.
On Stop Call Recording:Widget appears when the agent presses the stop button of call recording controls.
On Logoff: Widget appears in an external window once agent logs off.
Open on Event option is available if the Stateless Panel option is disabled.
ClickOKto save the changes.
ClickSave button from the bottom of the screen to save all the changes.