Download PDF
Download page Creating Sub-Campaigns Using Segmentation.
Creating Sub-Campaigns Using Segmentation
Segmentation allows you to filter the contacts within a campaign into separate sub-campaigns based on data provided in contact fields. You can define the segmentation templates by source and use them against Contact Manager or individual campaign uploads.
The following terminologies are used in the Segmentation tool:
- Segmentation - Segments used for segmenting campaigns into smaller sub-campaigns
- Segment - Grouping rules, attached to a Segmentation
- Rule - Parameters through which contact records are filtered into a Segment
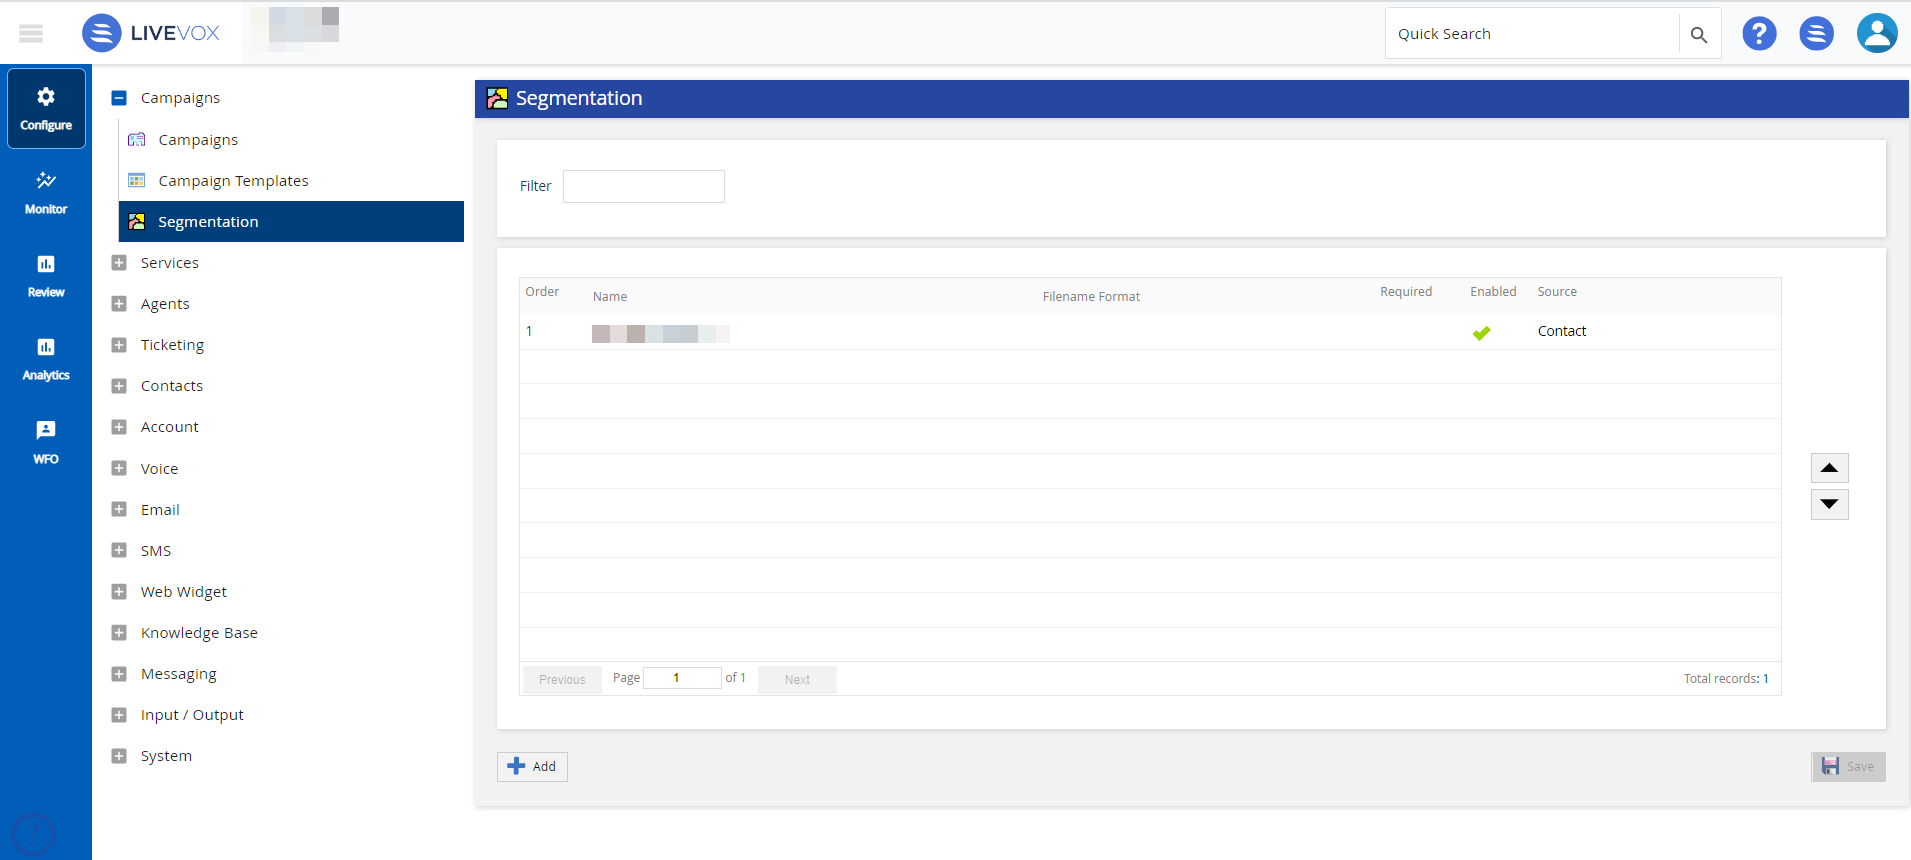
Navigate to the Segmentation tool by selecting Configure > Campaigns > Segmentation from the navigation panel.
Creating a New Segmentation
To set up a new Segmentation, follow the procedure:
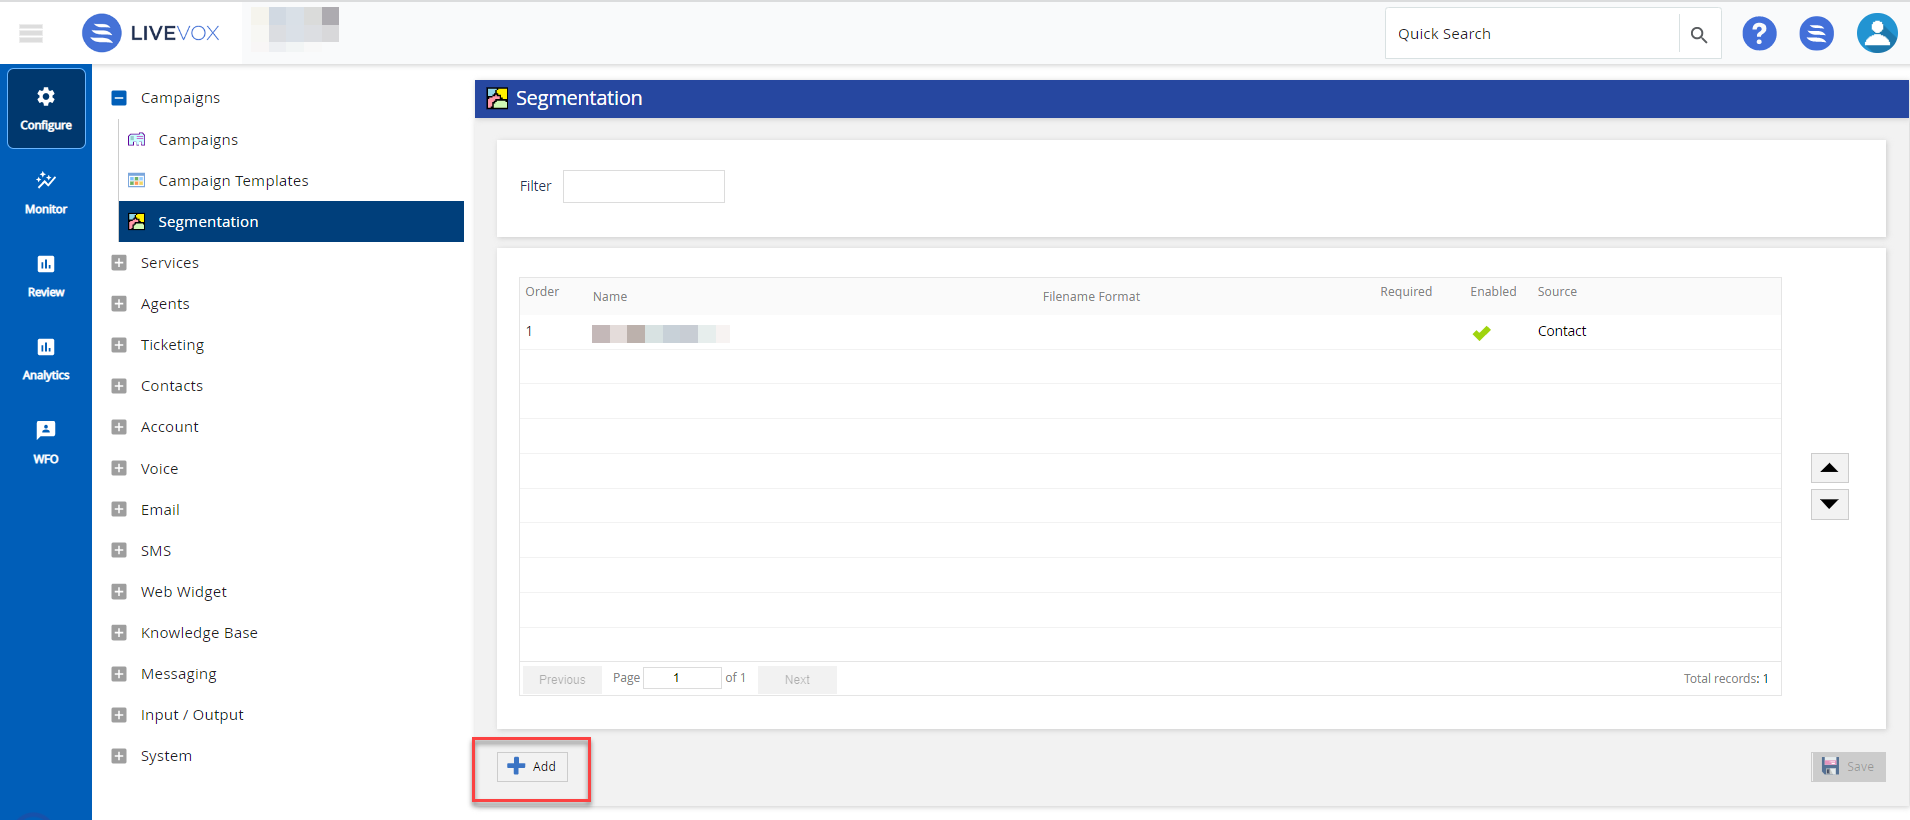
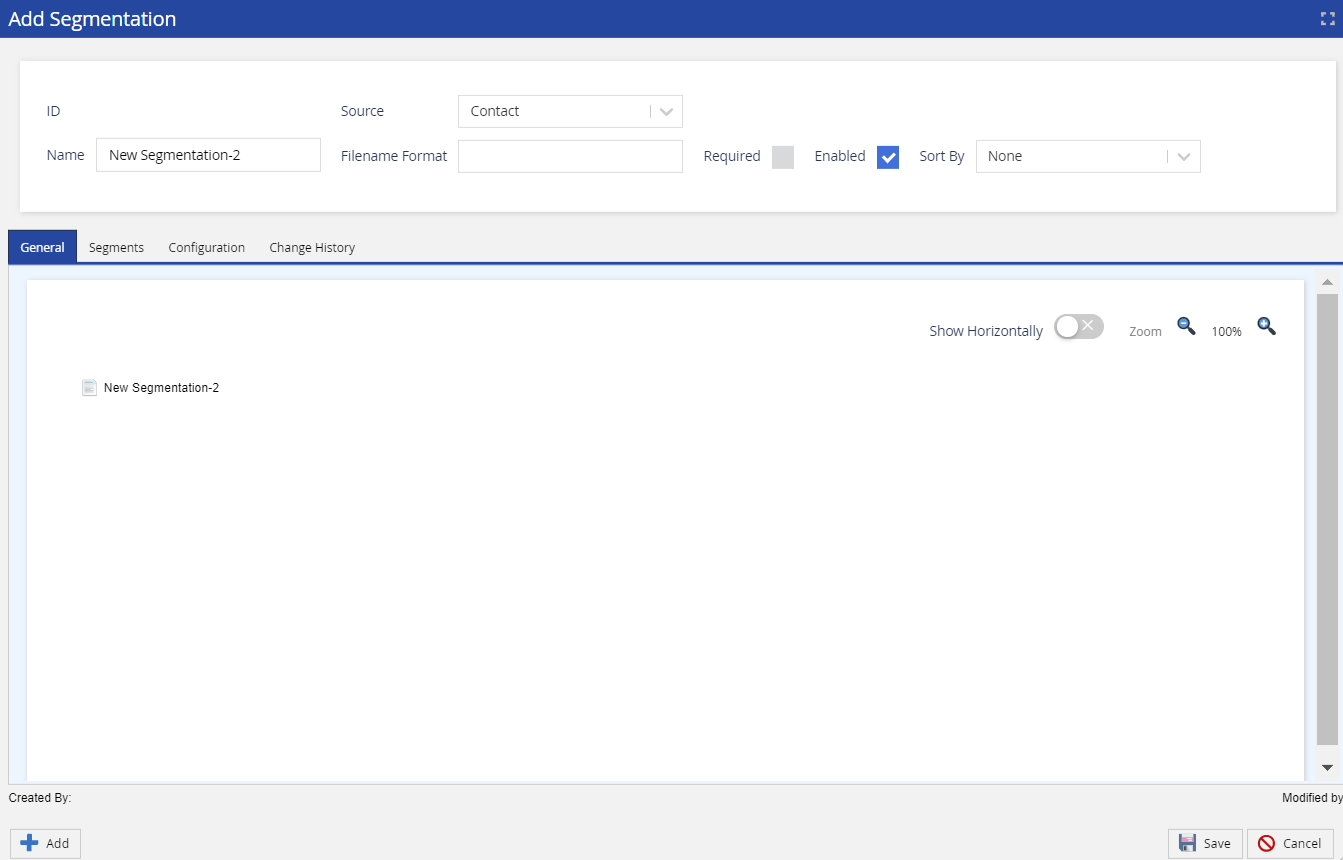
- Click Add in the bottom left corner of the Segmentation panel. The Add Segmentation screen appears.
- The Source field includes the values Transaction and Contact.
- Contact only works for if you are building out of Contact Manager
- Transaction only works for file-based campaigns
- Specify a Segmentation name in the Name field.
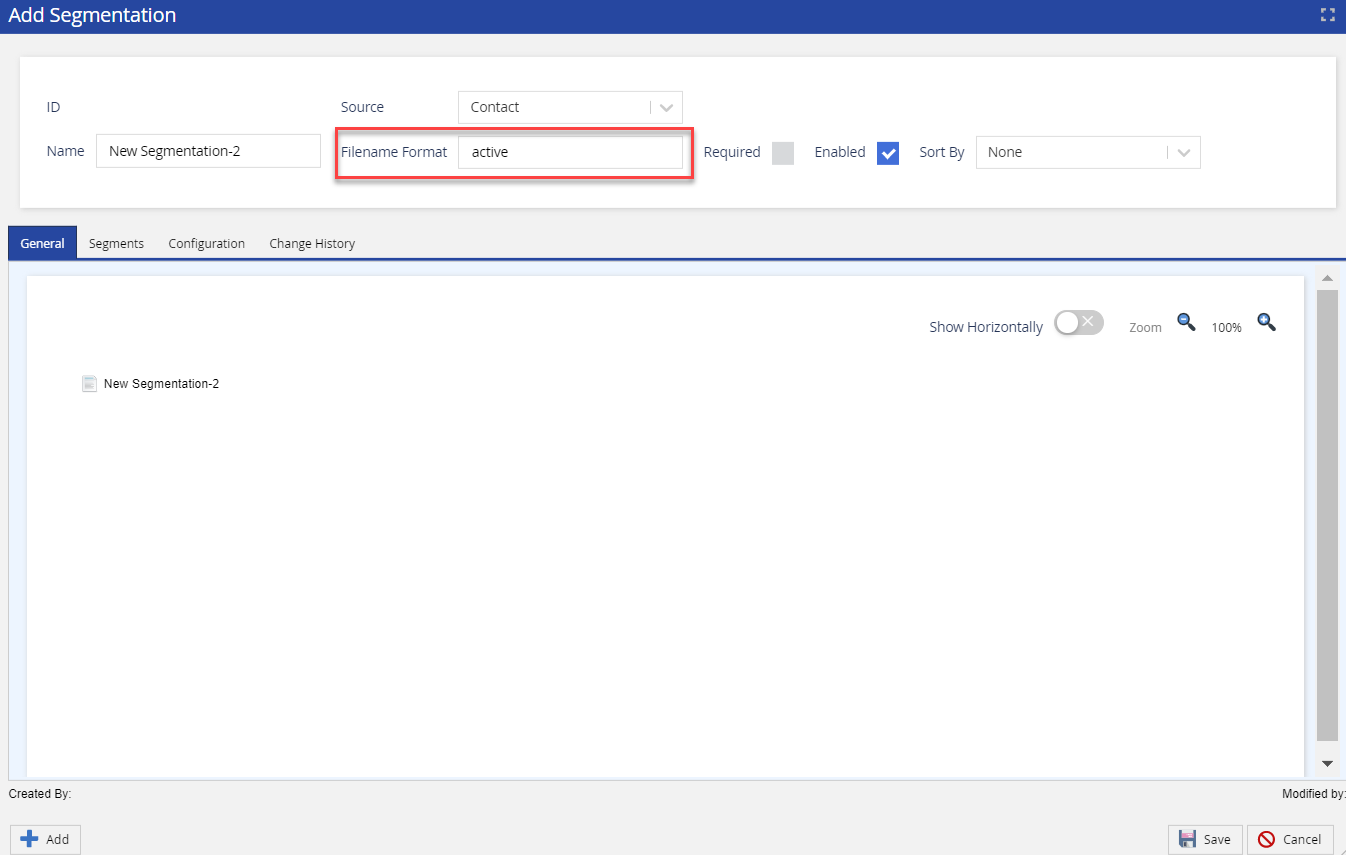
- Specify the filename to apply the Segmentation to a specific file in the Filename Format field. The asterisk character acts as a wildcard for a filename.
- For example, a filename format set as active* applies to any file uploaded with active at the beginning of the campaign's filename. During the upload process, you are notified if the campaign filename matches the Filename Format field and the Segmentation is automatically selected.
- For example, a filename format set as active* applies to any file uploaded with active at the beginning of the campaign's filename. During the upload process, you are notified if the campaign filename matches the Filename Format field and the Segmentation is automatically selected.
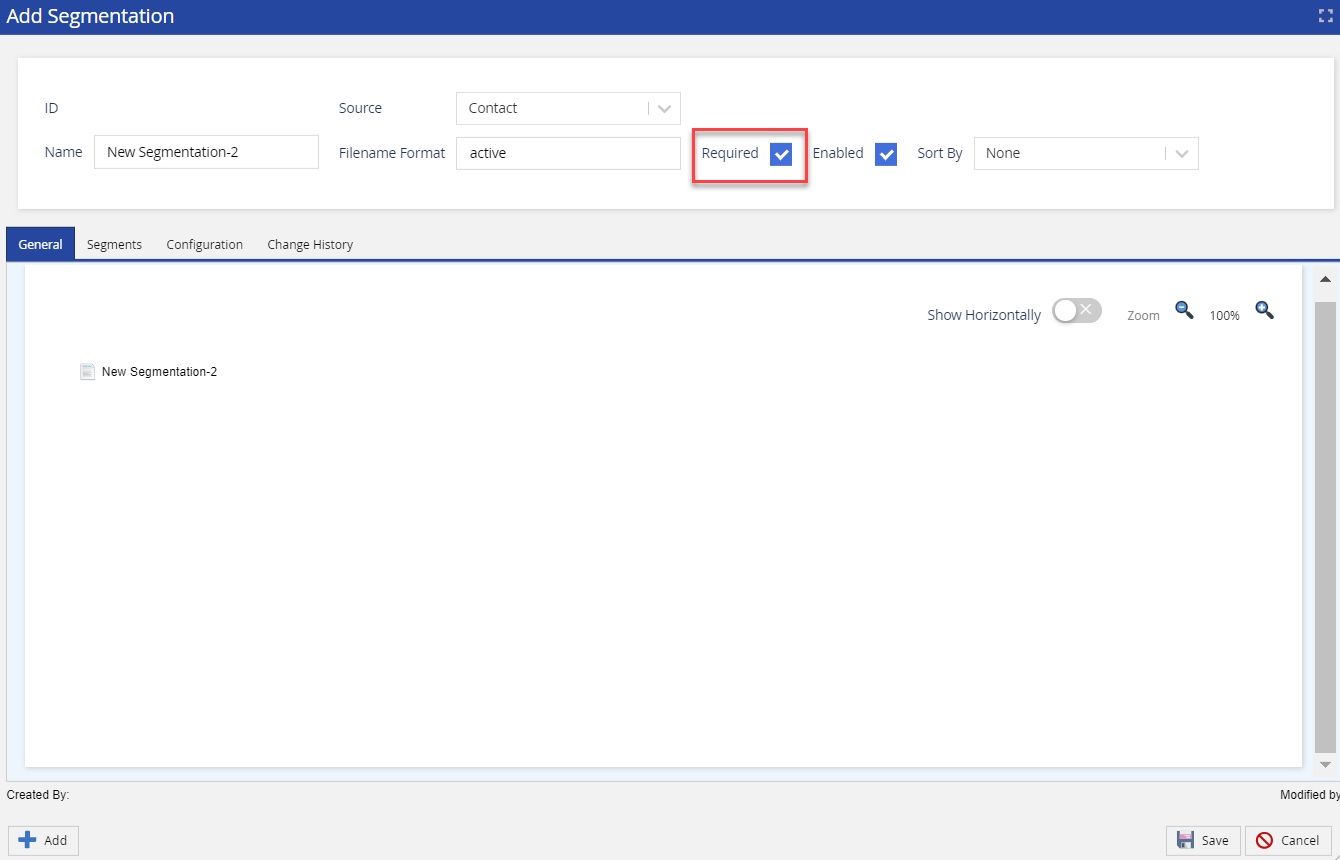
Click the Required checkbox to define whether the filename convention is required or not.
- If checked, the Segmentation only applies to campaigns uploaded with the matching filename format.
If unchecked, the Segmentation can be applied to any uploaded campaign.

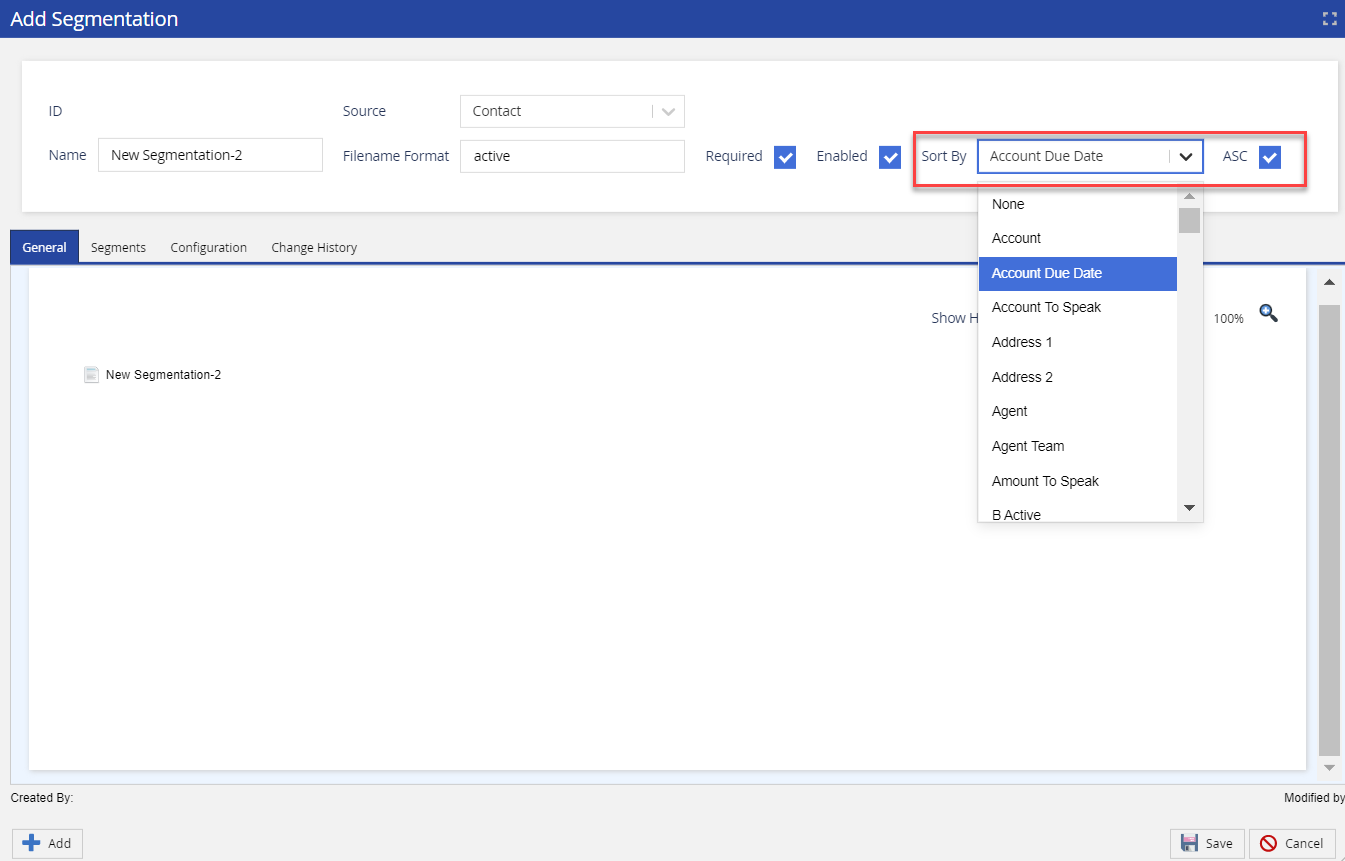
The Contact source type allows you to sort the Segmentation or Segment records in ascending or descending order.
- Select the required value in the Sort By drop-down list.
- Select the Asc checkbox to sort records in ascending order.
- Clear the Asc checkbox to sort records in descending order.
The records appear in ascending or descending order based on the selection.
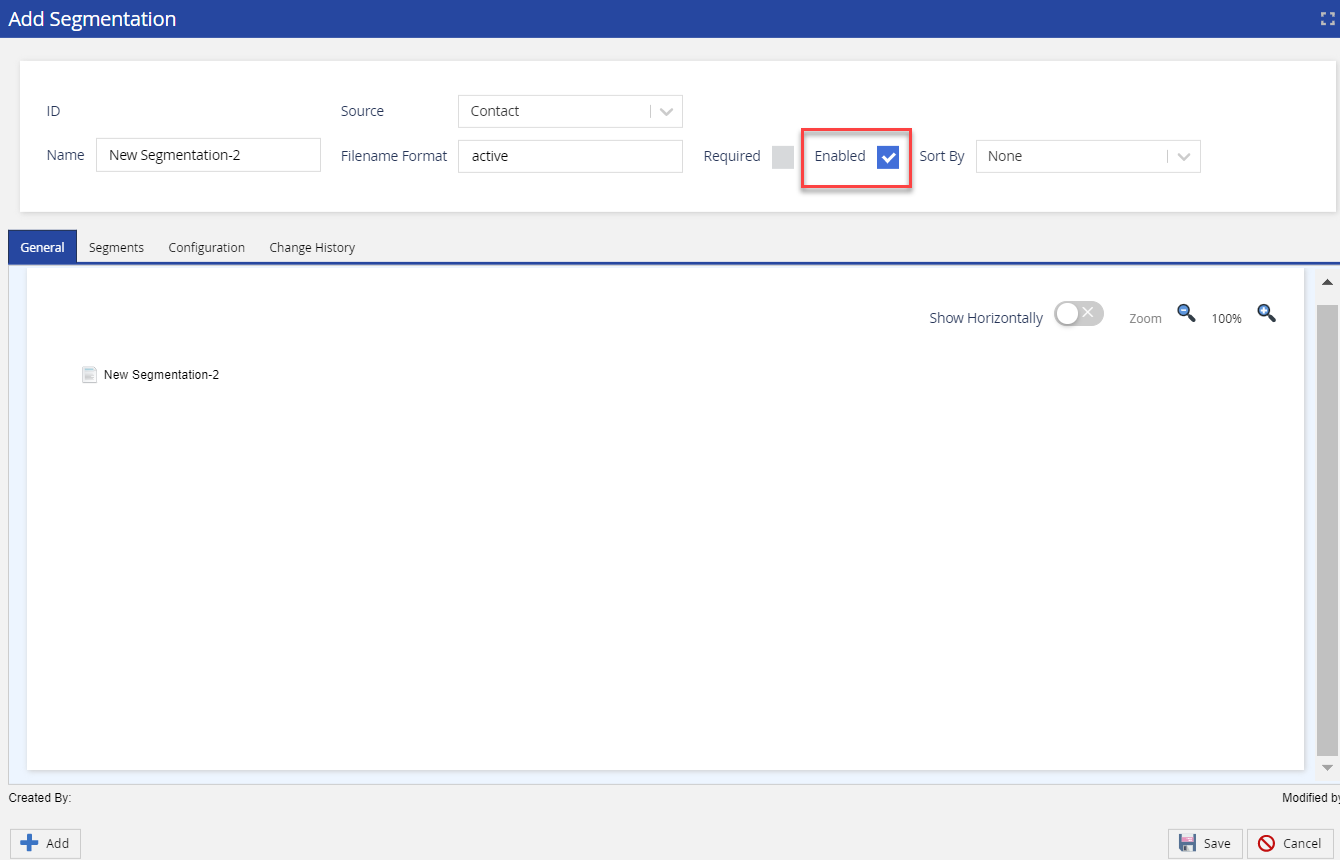
- Click the Enabled checkbox to define if the segmentation rule is applicable to a campaign or not.
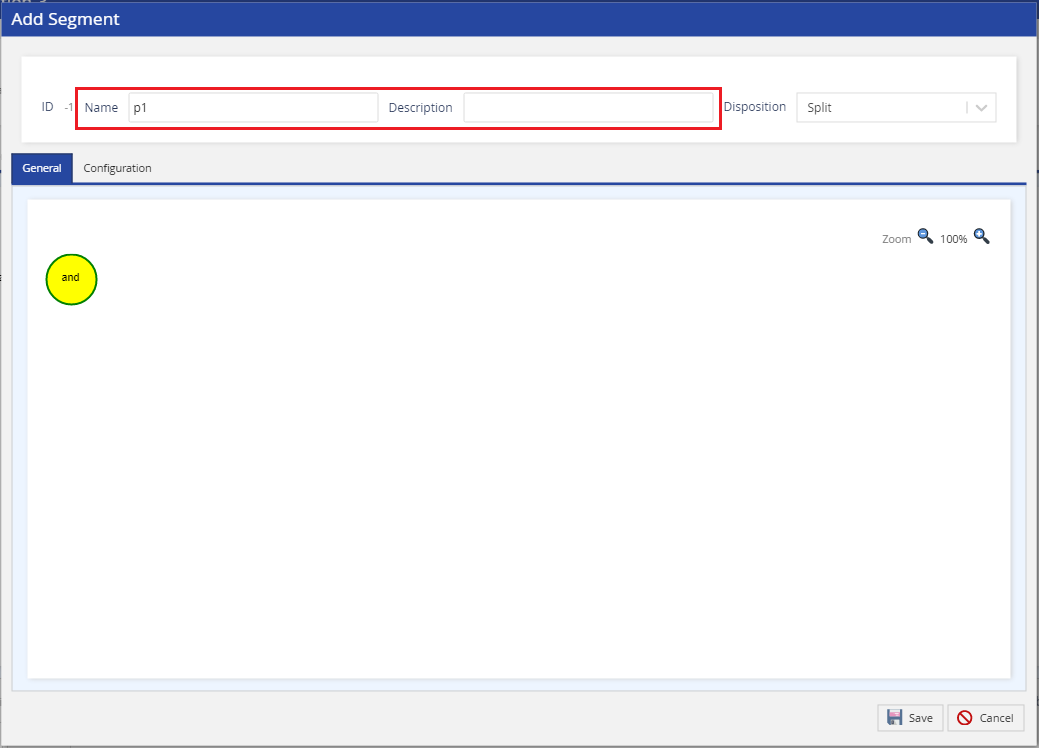
Click the Add button at the bottom left of the Add Segmentation screen to set up a Segmentation. The Add Segment screen appears.

Define the Name and Description of the Segment.

You can use the following variables in the Segment name:
- [FN] – file name without extension
- [EXT] – file name extension (ex:.txt)
- [YYYY] – 4 digit year
- [YY] – 2 digit year
- [MM] – 2 digit month
- [DD] – 2 digit day
For example, entries in the format [YYYY]_MyCampaign_[FN][EXT] could look like: 2021_MyCampaign_DailyUpload.txt
- Select the appropriate disposition from the Disposition drop-down menu to define whether records should be split or excluded. Excluded records remain with the original campaign.
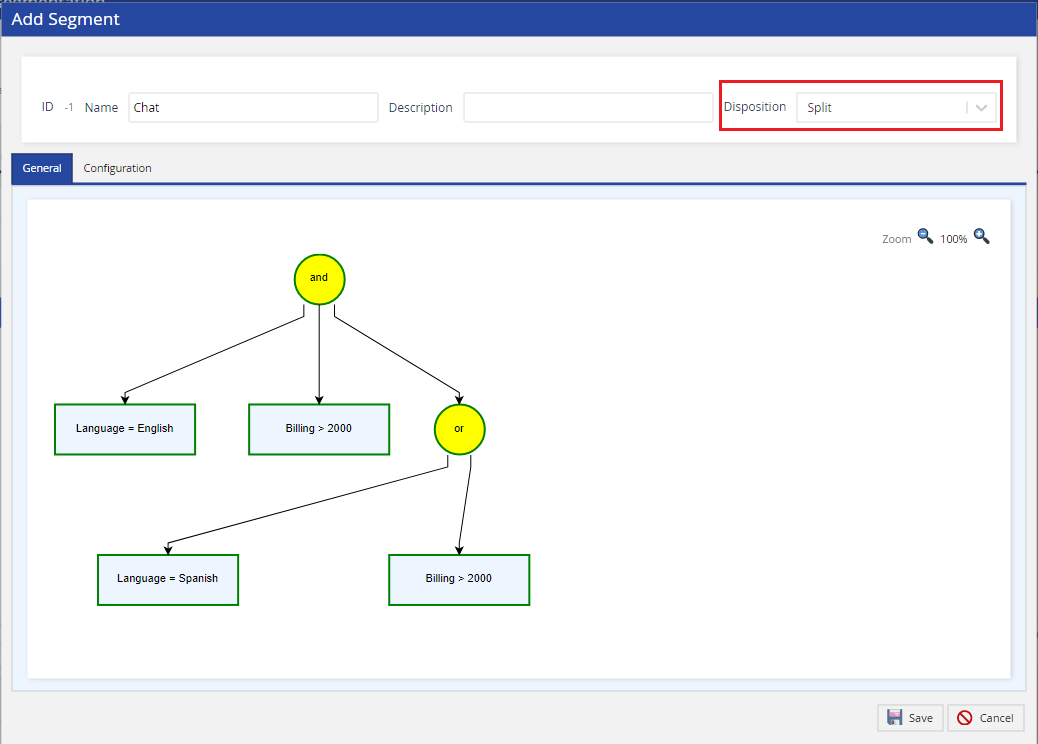
- To add a rule that defines the condition by which contacts are filtered, click and drag the and operator icon
 . The Add Rule screen appears.
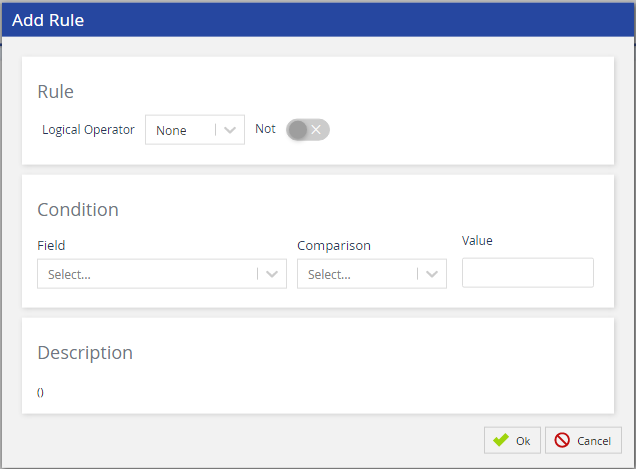
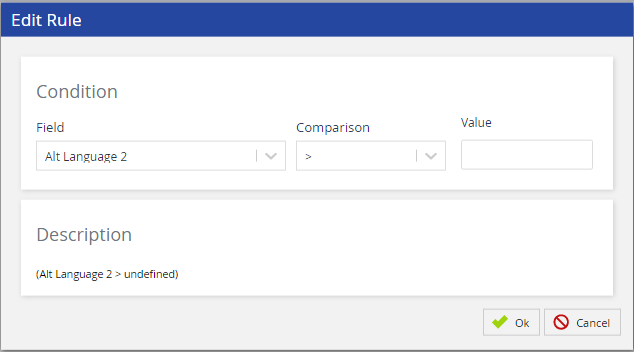
You can configure the following options to define the filter conditions in the Add Rule screen:
- Logical Operator - Select the logical operator (AND/OR).
- Not - This option negates the specified Logical Operator.
- Field - Select a contact field from the Field drop-down menu to define the condition. These fields are configured through the Fields editor.
- Comparison - Select the relational operator for the rule. The options depend on the data type specified for the field
- In
- Not In
- Starts With
- Contains
- Regex or Regular Expression
- When basic matches do not work, you can write a regular expression. Regular expressions (regex or regexp) are extremely useful in extracting information from any text by searching for one or more matches of a specific search pattern (i.e. a specific sequence of ASCII or Unicode characters).
- Equal to
- Ends With
- Is Null
- Is Not Null
- > Greater than
- < Less than
- = Equal
- >= Greater or equal
- <= Less or equal
- != Not equal
- Is Null
- Is Not Null
- Value - Corresponding values configured for the selected criteria.
- Description - Displays the logical description of the rule.
- Click OK to save the Rule.
- Setup schedules that are applied to the Segment within the Configuration tab of the Segment screen. The functionality of the Configuration tab closely mirrors that of Campaign Templates. For scheduling instructions, refer to Using Campaign Templates.
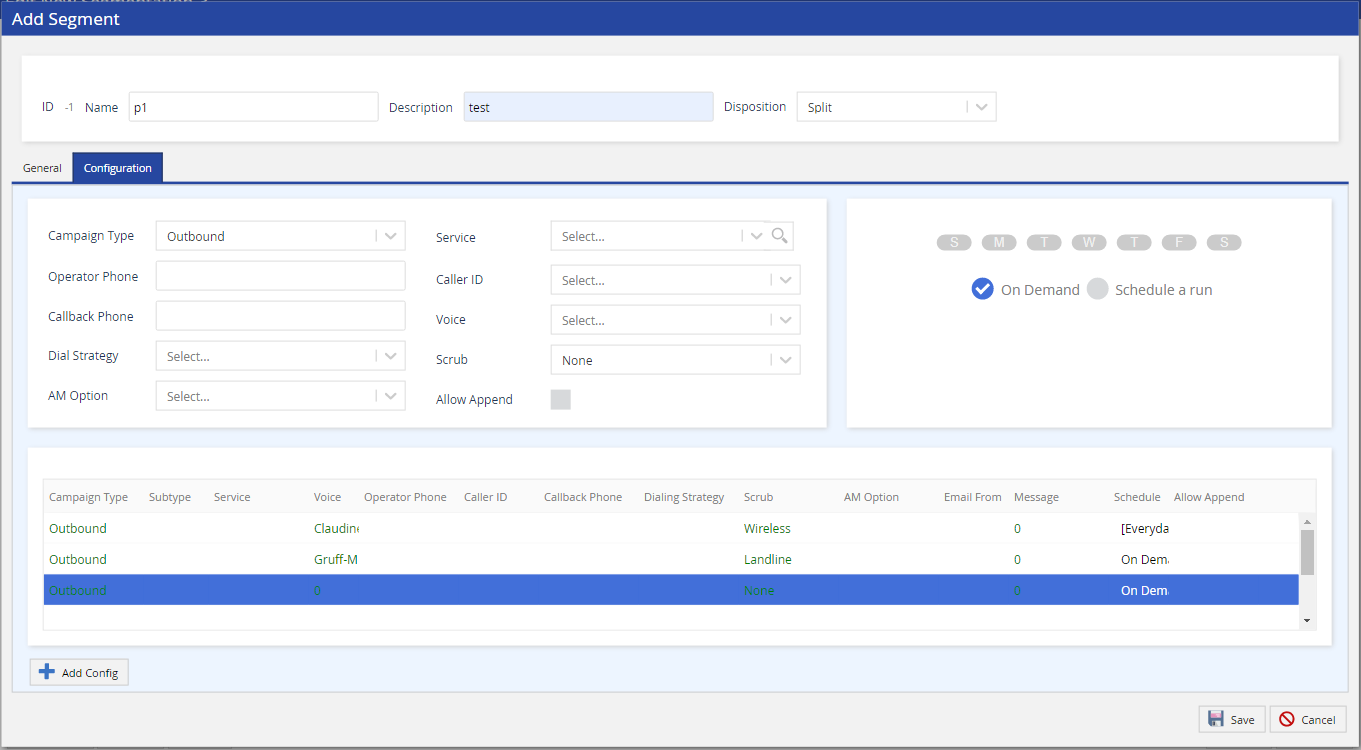
- Configure the schedule(s) for the Segment and click Save to complete the setup.
- After all the Segments are set up, click the Save button from the Segmentation tool to save the Segmentation.
Editing and Managing Segmentation
Segments are prioritized by the order they are listed in. You can change this order by selecting a row and using the vertical arrow buttons on the right side to move specific Segmentation up or down in the list. Click the Save button when the correct order is set.
After you add new Segmentation, you can update it by adding, deleting, or copying Segments.
- To edit an existing Segmentation, double-click its row within the Segmentation tool to bring up the Edit Segmentation window.
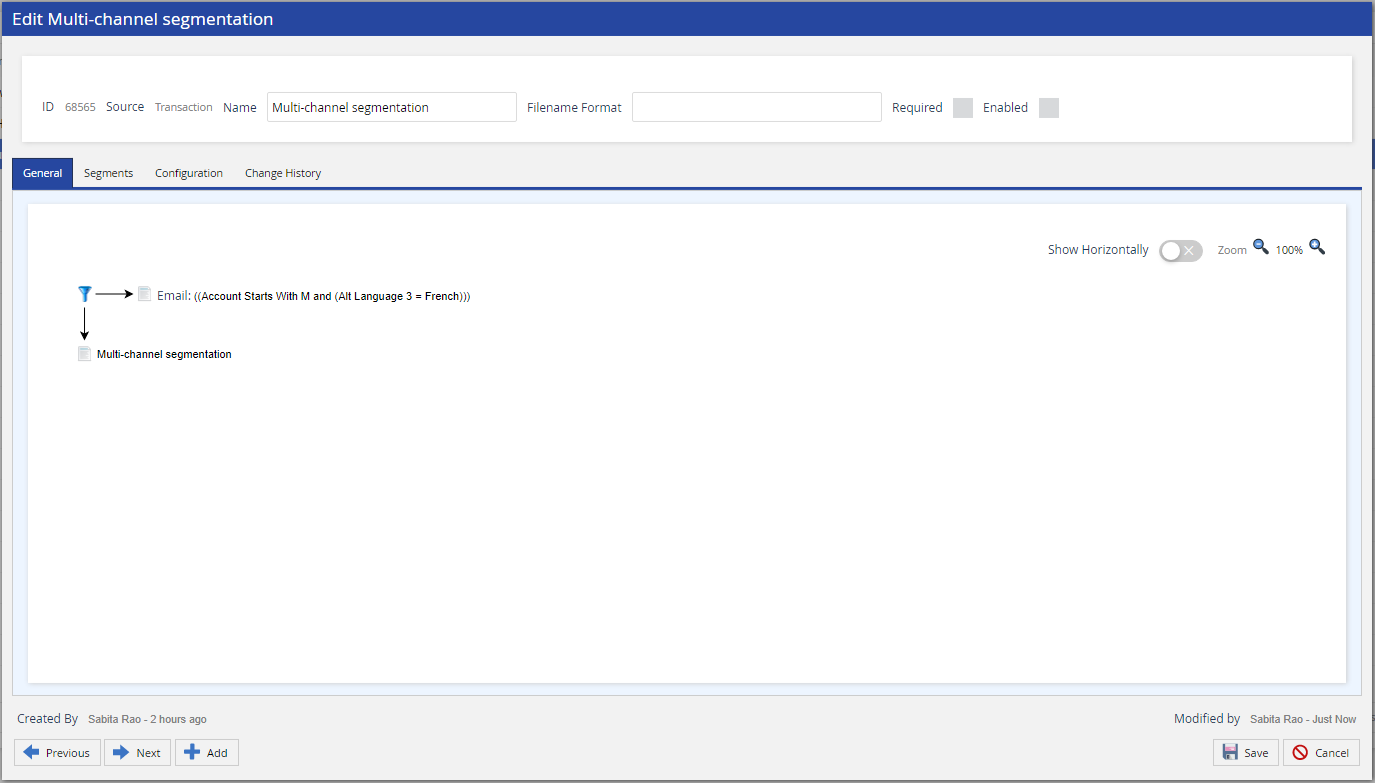
- Click the name of a Segment to highlight it with a dotted green line.
- Previous - Navigates to the previous Segment of the Segmentation.
- Next - Navigates to the next Segment of the Segmentation.
- Add - Opens the Segment editor where you can add your rule and configuration.
- Save - Save any edits or changes.
- Cancel - Cancel any edits or changes.
- To view the list of Segments within the Segmentation, their description, and applied rules, click the Segments tab.
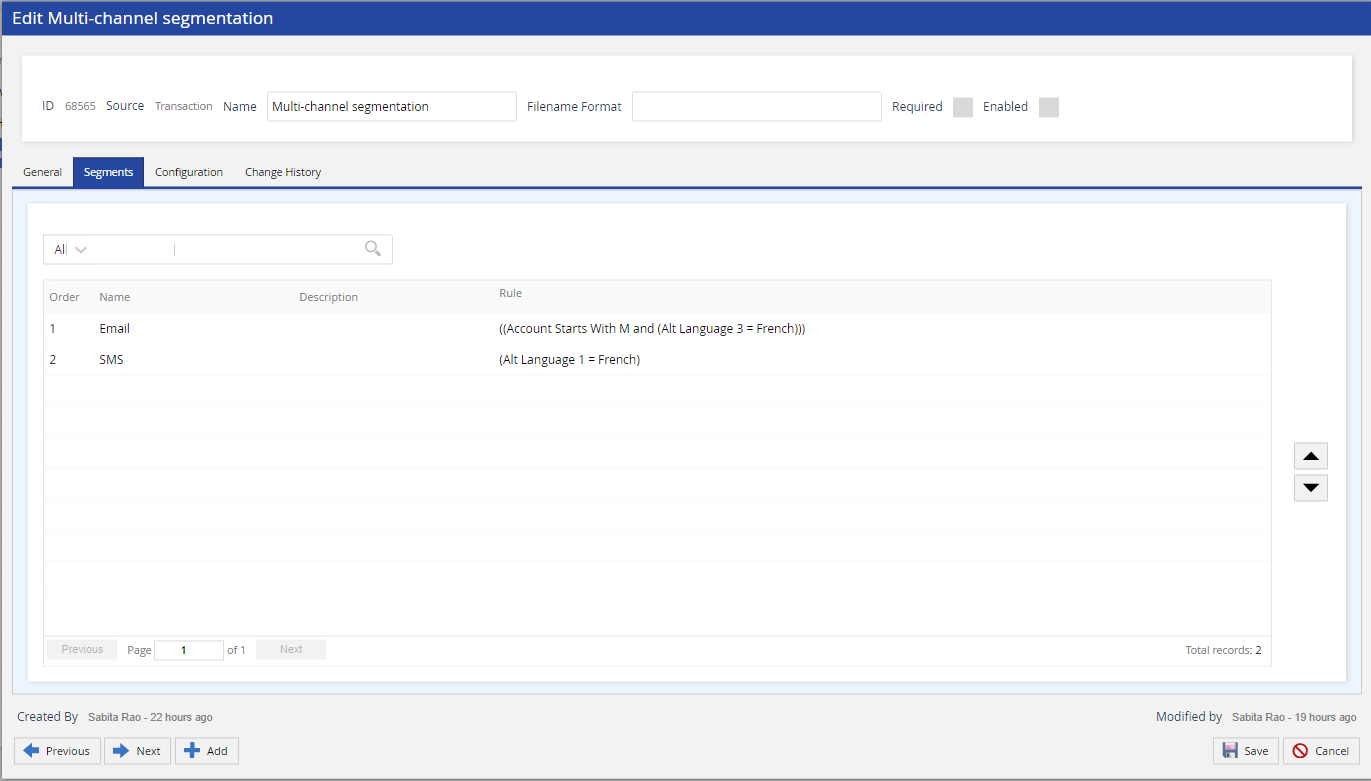
The Segments tab also allows you to search for specific Segments by name and by applying filters of Criteria, Voice, AM Option, Schedule or Scrub options.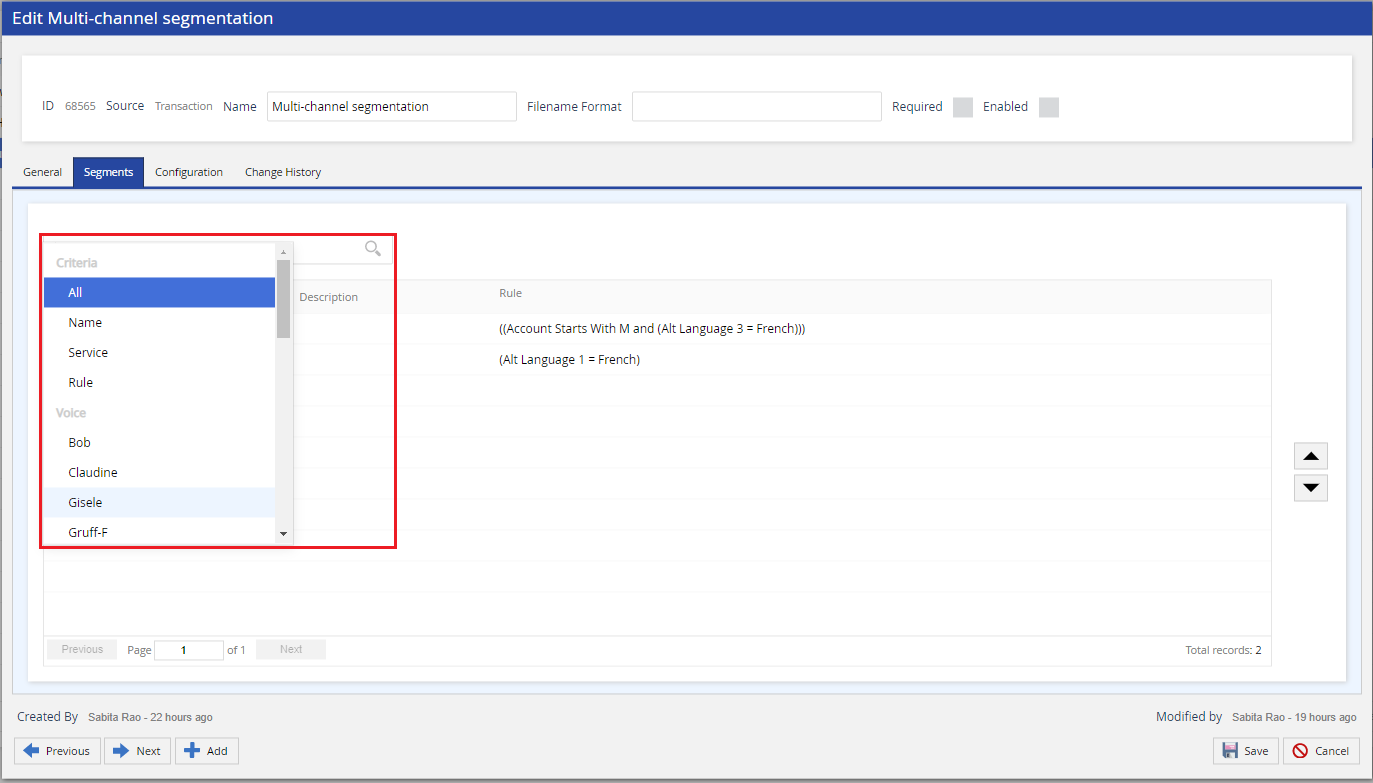
- Double-click a Segment row to access the Segment editor.
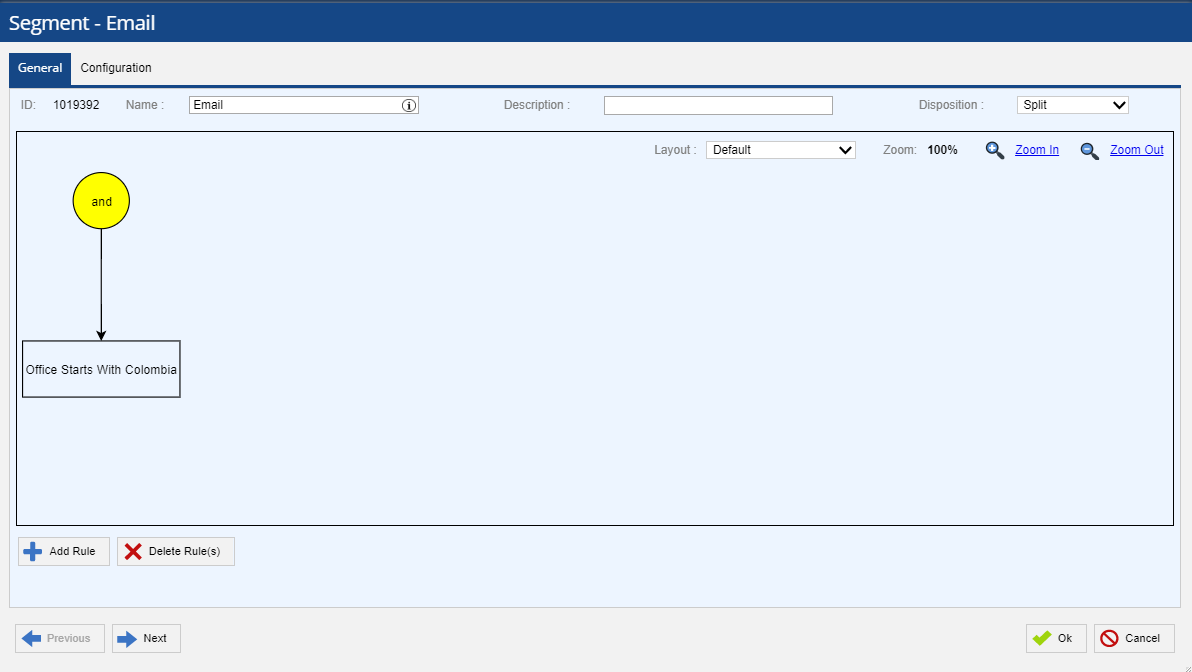
- To add a rule, click and drag the operator icon for the Add Rule screen. To edit a rule, double-click a node for the Edit Rule window.
- Navigate to the Configuration tab of the Segments window to view the configured campaign elements.
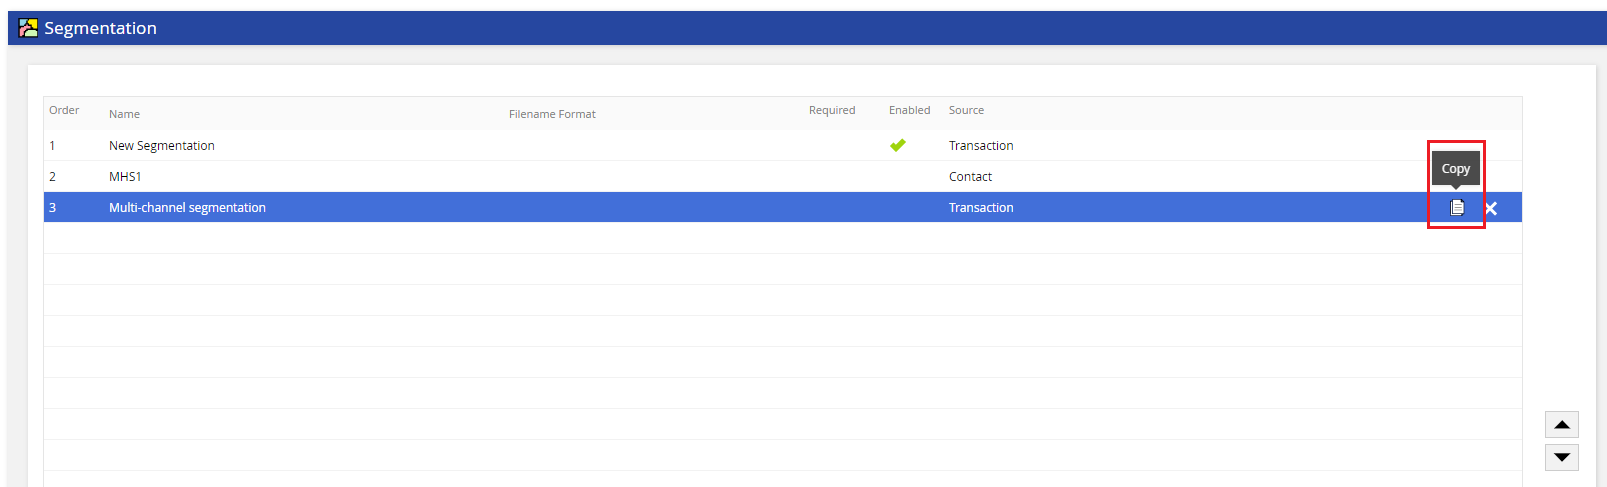
Copying Segmentation and Segments
- To copy a Segmentation, hover on the Segmentation row and click the Copy icon at the right end.
- In the Copy Segmentation To window that appears, enter a name for the new Segmentation and click Confirm.
- To copy Segments within a Segmentation, navigate to the Segments tab in the Segmentation tool, and click the Copy icon on the Segment row.
In the Copy Segment To window that appears, enter the new Segment name and click Confirm.
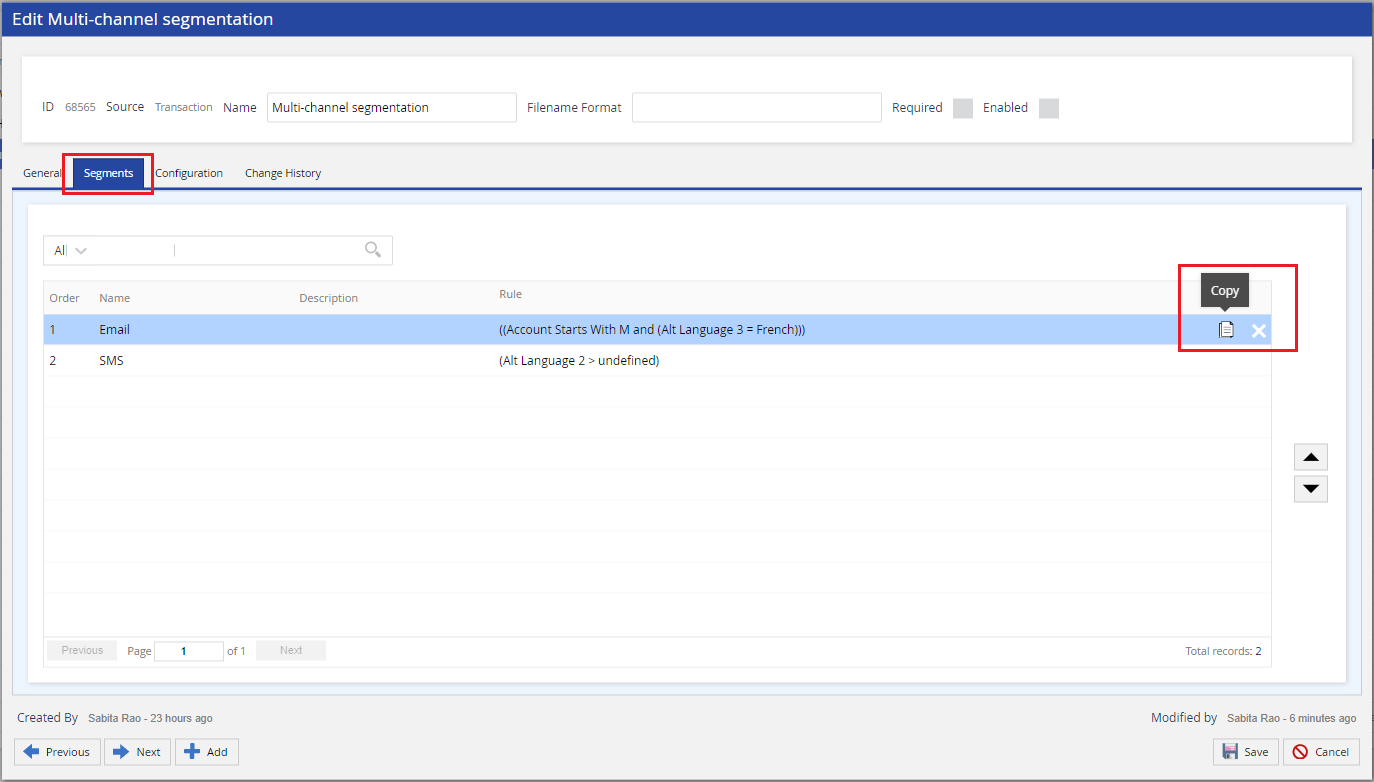
All the rules within the Segment are copied. This tool is useful when repeating similar Segments within a Segmentation.