Introduction

You can define the service-level agreement (SLAs) for tickets that are associated with accounts. The SLA of a ticket is defined by the SLA of the account with which the ticket is associated and is based on account classification and ticket priority.

Example

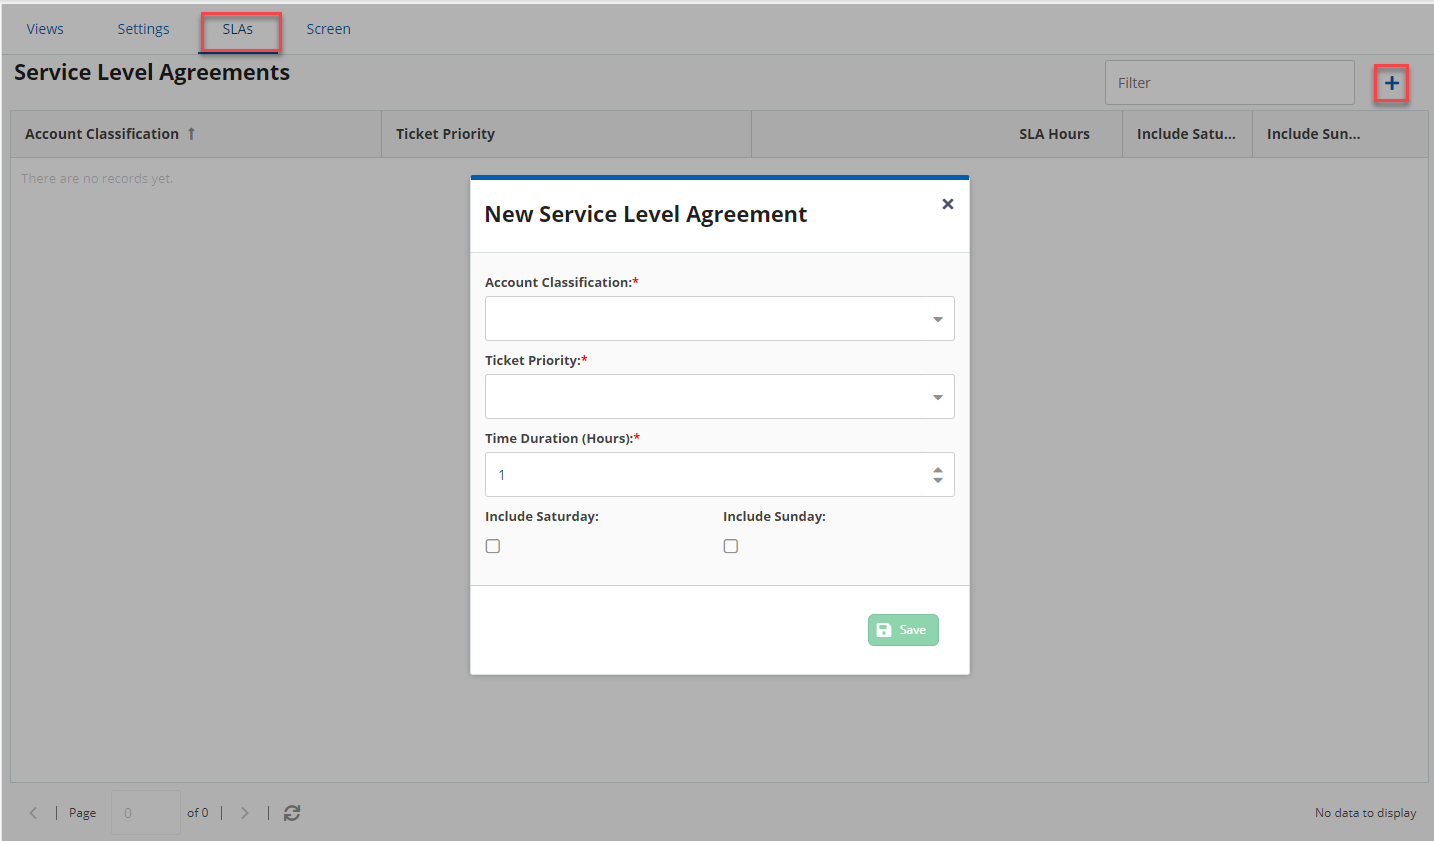
If a ticket whose priority is High is associated with an account whose classification is Platinum, the SLA of the ticket is defined by the account SLA for the respective ticket priority and account classification (as opposed to the ticket SLA for the respective ticket priority). 


SLAs for tickets that are not associated with accounts are defined on the Settings tab of the Tickets Config window (in the Priorities section).

Creating an Account SLA

To create an account SLA:

  1. On the Configure tab, click Account Accounts Config.
    The Accounts Config window appears.
  2. On the SLAs tab, click New.
    The Editor window appears.

  3. Specify values in the fields.

    FieldDescription
    Account ClassificationSelect the account classification for which you want the SLA to be applicable.
    Ticket Priority

    Select the ticket priority for which you want the SLA to be applicable.

    Time Duration (Hours)

    Enter the SLA duration (in hours).

    By default, this field displays the SLA duration (in hours) that is defined for the selected ticket priority. The SLA duration for ticket priorities is defined on the Settings tab of the Tickets Config window (in the Priorities section).

    Include Saturday

    If you want Saturdays to be included in the SLA, select this checkbox. Otherwise, clear the checkbox.

    By default, the checkbox displays the status (enabled or disabled) that is defined for the selected ticket priority. This status for ticket priorities is defined on the Settings tab of the Tickets Config window (in the Priorities section).

    Include Sunday

    If you want Sundays to be included in the SLA, select this checkbox. Otherwise, clear the checkbox.

    By default, the checkbox displays the status (enabled or disabled) that is defined for the selected ticket priority. This status for ticket priorities is defined on the Settings tab of the Tickets Config window (in the Priorities section).

  4. Click Save.
    The SLA is created, and it appears on the SLAs tab.

Modifying an Account SLA

To modify an account SLA: In the Accounts Config window, on the SLAs tab, click the cell containing the value you want to modify, and then specify the value you want.

Searching for an Account SLA

To search for an account SLA: In the Accounts Config window, on the SLAs tab, in the Filter box, enter the account classification, ticket priority, or SLA hours of the account SLA (at least two characters).

Deleting an Account SLA

To delete an account SLA: In the Accounts Config window, on the SLAs tab, hover over the row displaying the account SLA, and then click the delete icon.