Download PDF
Download page Segments.
Segments
A segment is a group of customers who meet the conditions that you define (for example, a group of customers who reside in California or a group of customers who have rated a service poorly during a bot conversation). The conditions can be based on your business needs to effectively use segments.
You can manage segments on the Segments tab of the Users window.
Creating a Segment
To create a segment:
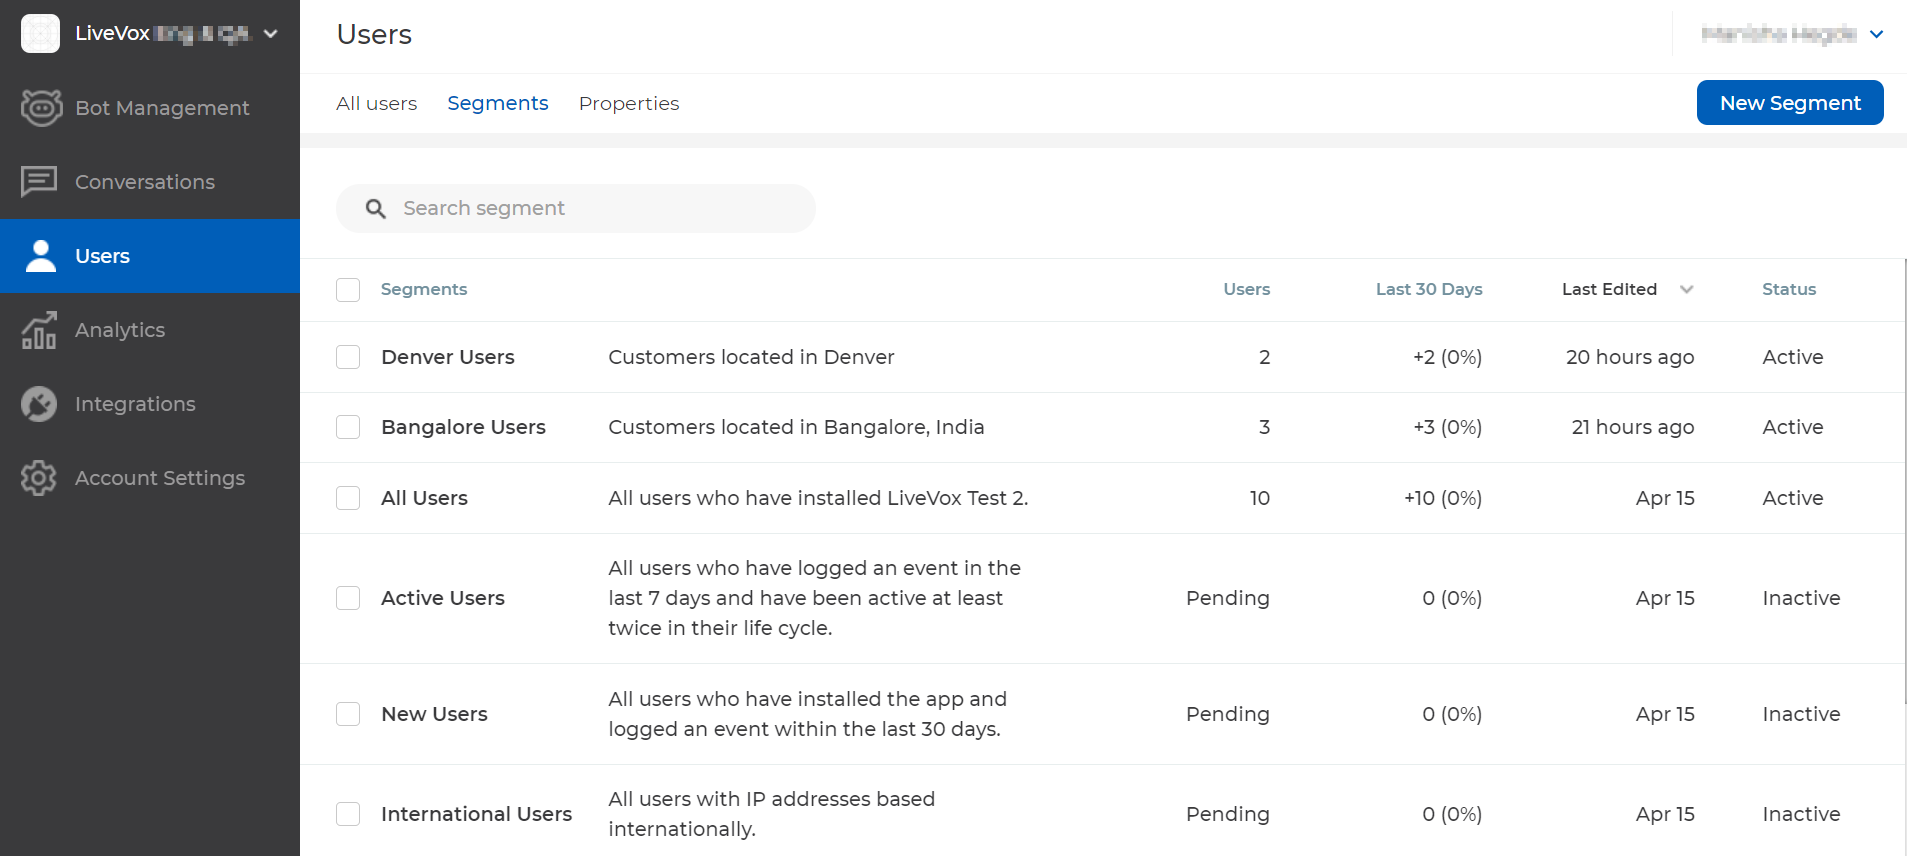
- On the left pane, hover over Users, and then click Segments.
The Users window displaying the Segments tab appears. - Click New Segment.
The Create New Segment window appears. Specify values in the following fields.
Field Description Segment name Name to identify the segment. Segment description Description of the segment. Use filter below to refine the list of users Conditions for the segment.
To add a condition:
- In the Conditions box, select one of the following options:
- Goal Completion: Enables you to specify a bot goal and its status (completed or not completed).
- User Property: Enables you to specify a user property (for example, City), along with its condition or its operator and value.
- Select Users: Enables you to add customers to the segment.
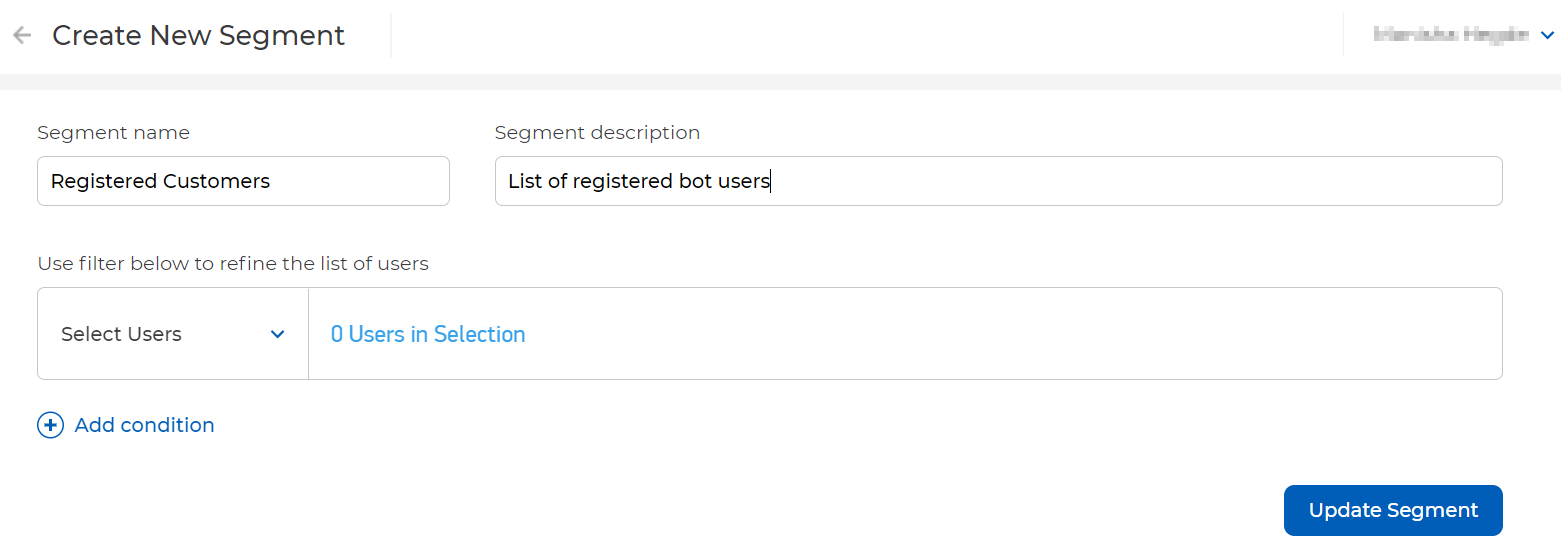
- If you have selected the Select Users option:
Click 0 Users in Selection.
The Select Users window appears.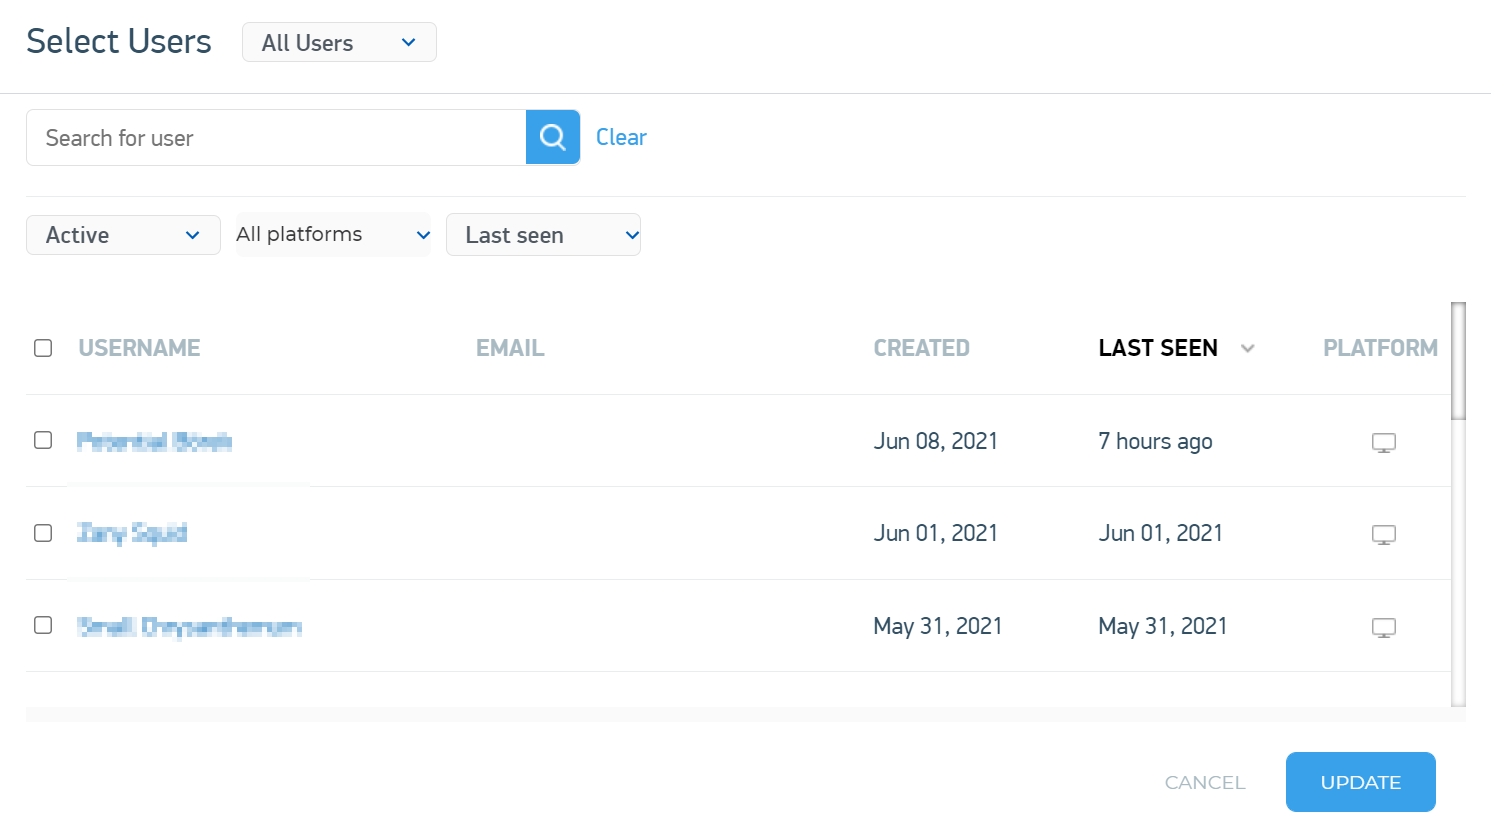
- You can use the menus to filter the names of the customers based on their type (for example, Registered or Anonymous), their status (Active or Archived), the platforms they used to engage with bots (for example, Web), or when they last engaged with a bot (for example, Today or Last 7 Days).
- You can sort the values in a column in ascending or descending order by clicking the name of the column.
- You can search for a customer by entering their partial or full name in the Search for user box and then pressing Enter.
- Select the checkboxes next to the names of the users whom you want to add to the segment, and then click UPDATE.
If you want to add more conditions, use Add condition.
You can delete a condition by clicking the close icon
 next to it.
- In the Conditions box, select one of the following options:
- Click Update Segment.
The segment is created. The names of the customers who meet the conditions specified in the segment appear in a table that contains the following columns:- Username: Name of the customer.
- Email: Email address of the customer.
- Goals: Bot goals that the customer completed.
Last Seen: Time stamp of when the customer last engaged with a bot, represented in the time zone specified on your profile.
- You can sort the values in a column in ascending or descending order by clicking the name of the column.
- You can search for a customer in the table by entering their partial or full name in the Search for user box and then pressing Enter.
- You can deactivate a segment by clicking the Active option. The segment is deactivated after at least five minutes.
- You can copy and delete a segment by clicking Duplicate and Delete, respectively.
Segments Table
The following table describes the columns that appear in the table on the Segments tab.
| Column | Description |
|---|---|
| Segments | Name and description of the segment. |
| Users | Number of customers who meet the conditions specified in the segment. The value Pending in this column indicates that there are no customers meeting the segment conditions. |
| Last 30 Days | Number of customers who meet the segment conditions and who engaged with bots in the last 30 days. This column also displays the value in percentage, within parentheses. Example The following image indicates that 25 customers belong to the All Users segment (that is, they have installed LiveVox App). 9 out of 25 customers engaged with bots in the last 30 days. The percentage of increase (that is, the percentage value in the Last 30 Days columns) is calculated as follows: (Last 30 Days / (Users - Last 30 Days)) / 100 That is: (9 / (25 - 9) ) * 100 = 56%
|
| Last Edited | Date when the segment was last modified. |
| Status | Status of the segment (Active or Inactive). |

- You can search for a segment in the table by entering its partial or full name in the Search segment box and then pressing Enter.
- You can sort the values in a column in ascending or descending order by clicking the name of the column.
- You can view or modify a segment by clicking its name in the Segments column.
Managing Multiple Segments
You can simultaneously deactivate or delete multiple segments. To do so:
- On the left pane, hover over Users, and then click Segments.
The Users window displaying the Segments tab appears. - In the table, select the checkboxes next to the segments that you want to manage.
The Deactivate and Delete buttons appear. As required, click Deactivate or Delete.
The segments are deactivated or deleted.If you clicked Deactivate, the value Inactive appears in the Status column of the segments. You can activate the segment by clicking its name in the Segments column and then clicking the Inactive option.