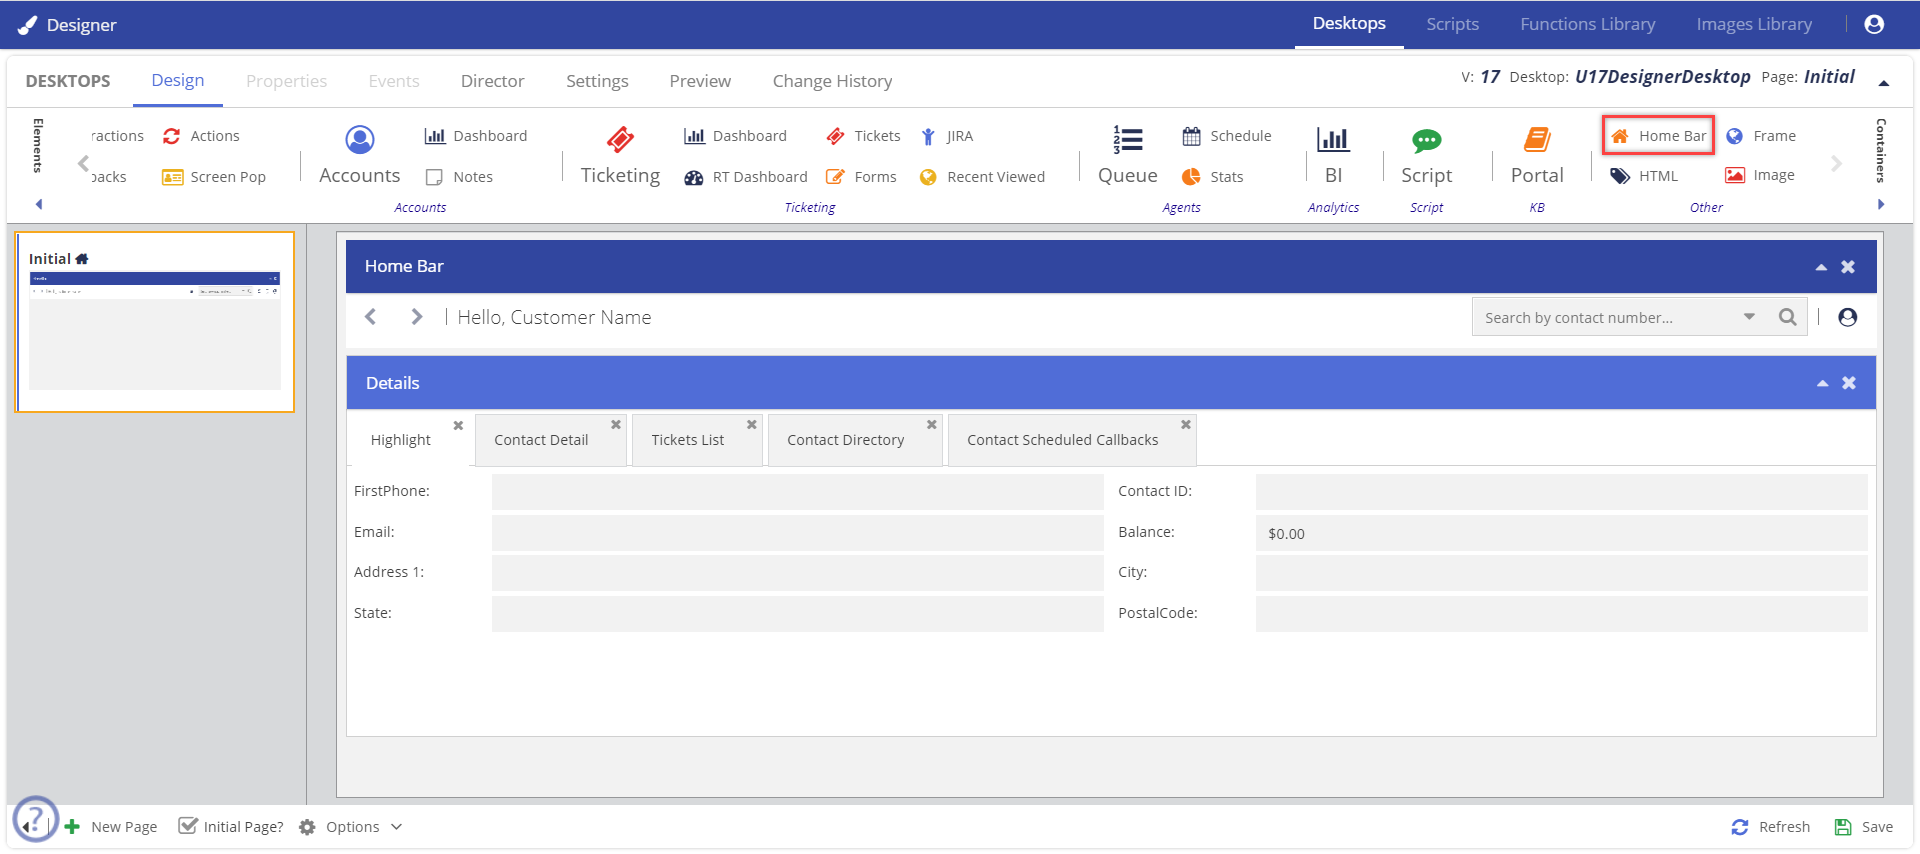
The Home Bar helps you navigate to different pages. You can add icons and other elements that will help the agent to use the desktop effectively.
You can create and design multiple pages. Ensure that you add theHome Barelement on each page for better navigation.
To add a home bar and icons to the page:
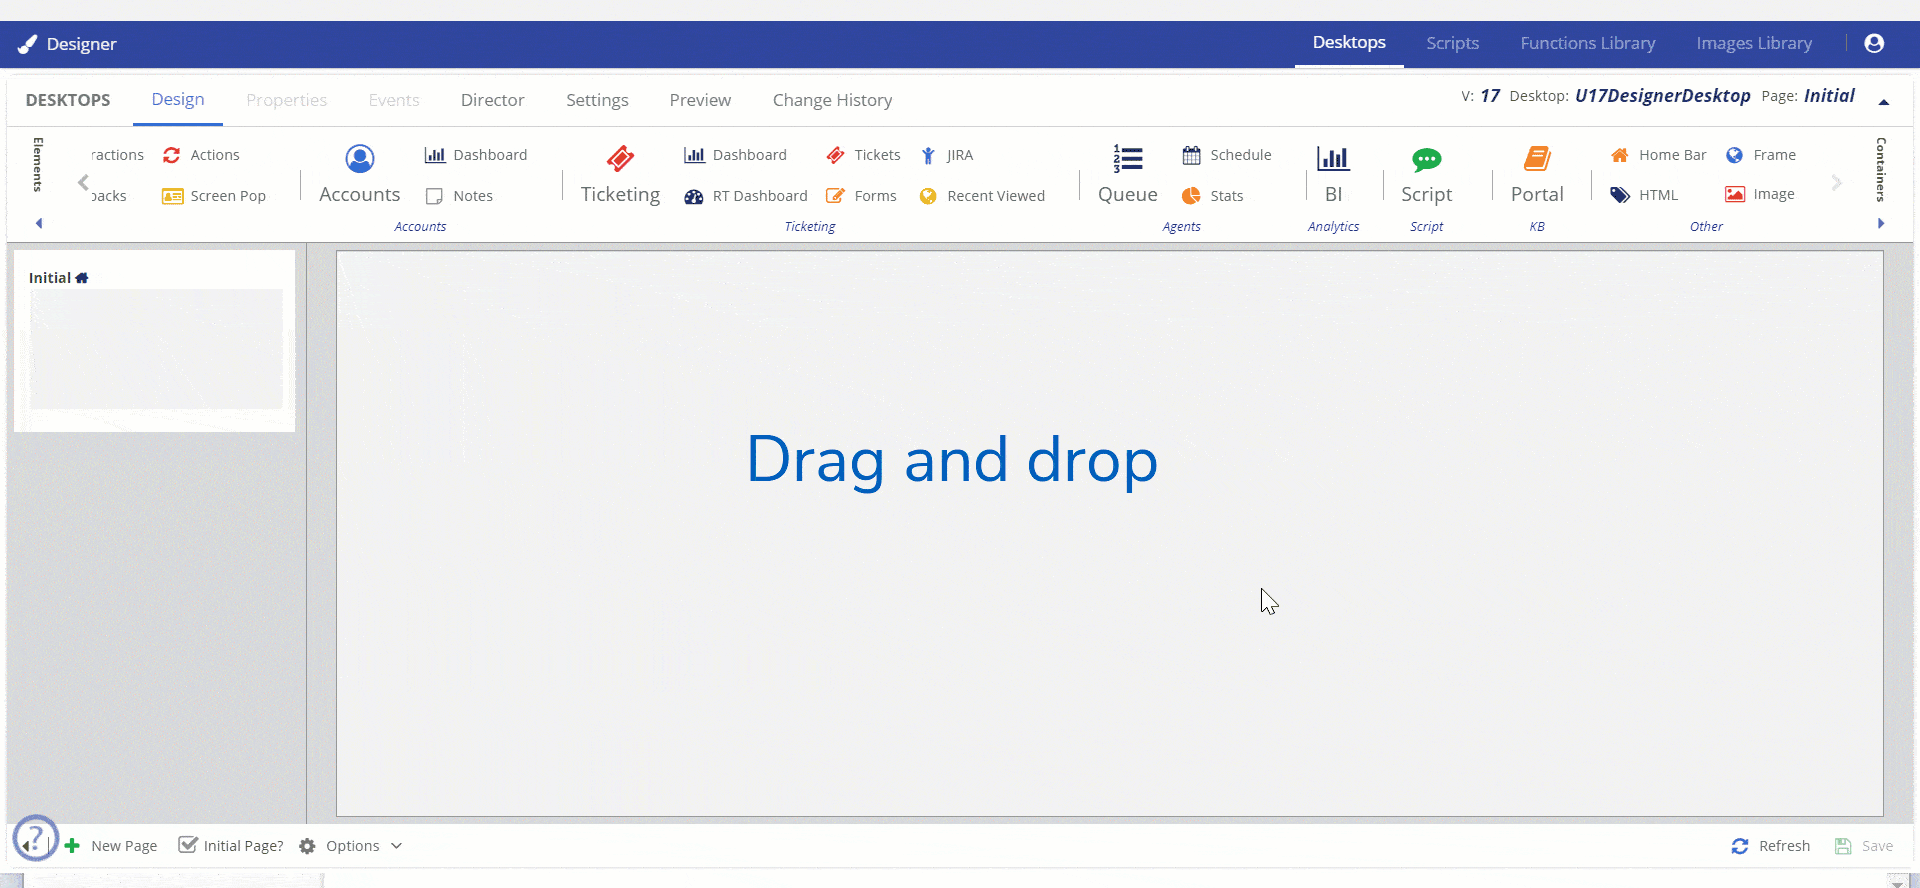
On the page, select the Elements section.
Drag and drop the Home Bar icon to the page.
Hold the Home Bar and drag it to the top of the page.
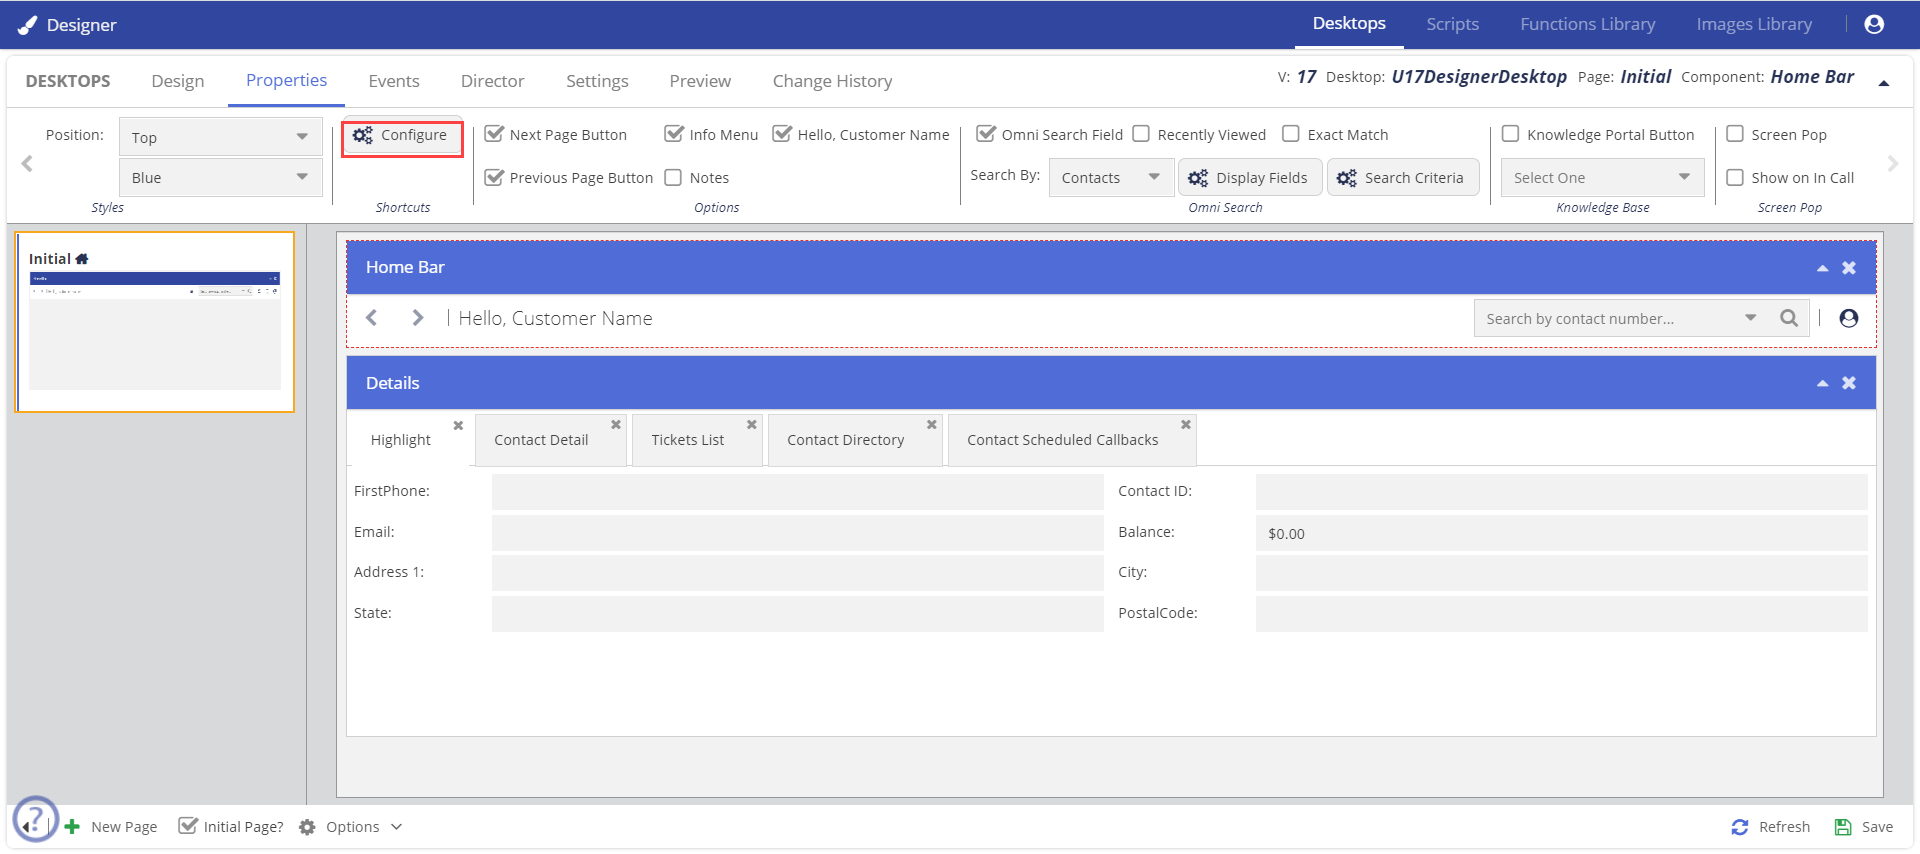
To add icons and change the properties of the Home Bar, click the Properties tab.
Enable the highlighted elements as shown in the image. The elements will appear on your Home Bar.
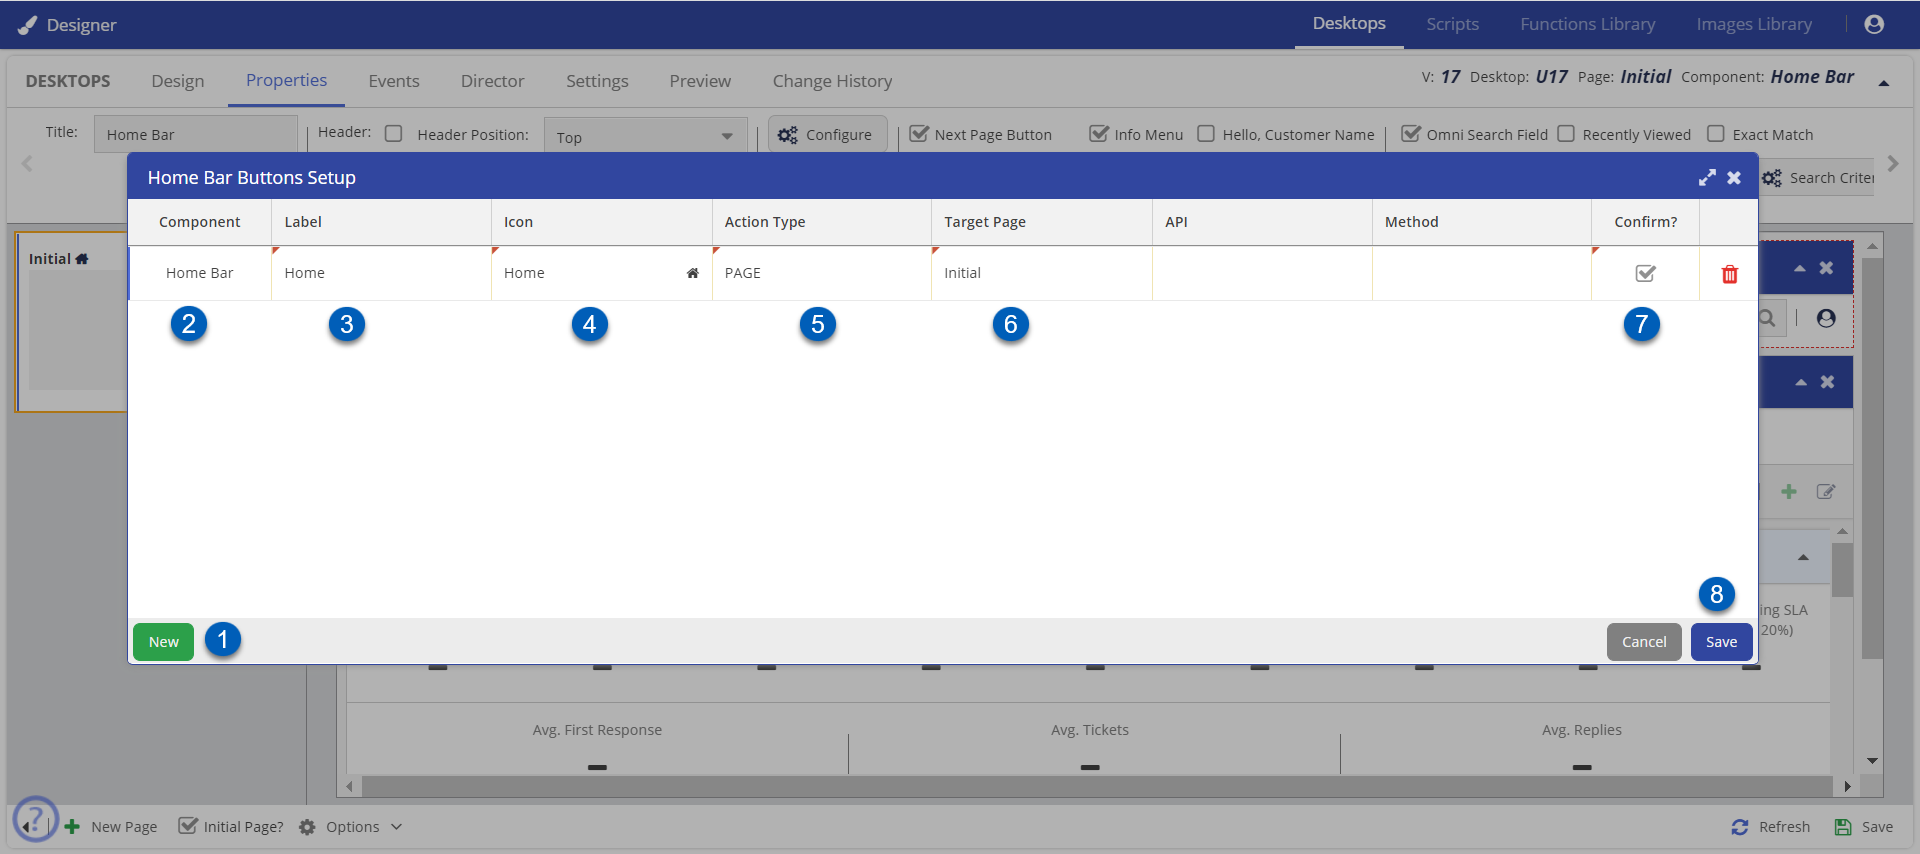
To add icons, click Configure button. The Home Bar Buttons Setup window appears.
In the Home Bar Buttons Setup window, perform the following steps.:
Number
Step
Click New.
By default, the Component is Home Bar.
Specify the Label as Home.
Since you want to add a Home button to the Home Bar, you must specify it as Home. To add any other icon, you must specify the relevant name accordingly.
Select the Home icon from the drop-down list.
Select the Action Type as Page.
The available Action Types are:
API: This field appears when the value in the Action Type field is FUNCTION CALL or POP URL.
Page: Displays all the created pages.
Pop URL: Displays an external webpage on a new browser tab.
Push URL: Displays an external webpage on an existing browser tab.
Select Initial from the drop-down list for the Target Page.
The initial page is the first or the landing page.
Enable the Confirm? option.
Click Save.
Show Me How
This video shows the steps involved in transitioning between pages.