An area is used to define different groups in an organization such as IT, sales, security, and support or different physical locations based on your organization's requirements.
Search for an existing area using  .
.
Creating an Area
You can create an area and specify a schedule to that area. To associate an area to a schedule, navigate to WFO > Workforce Management > Schedules. For more information, see Schedules.
To create an area:
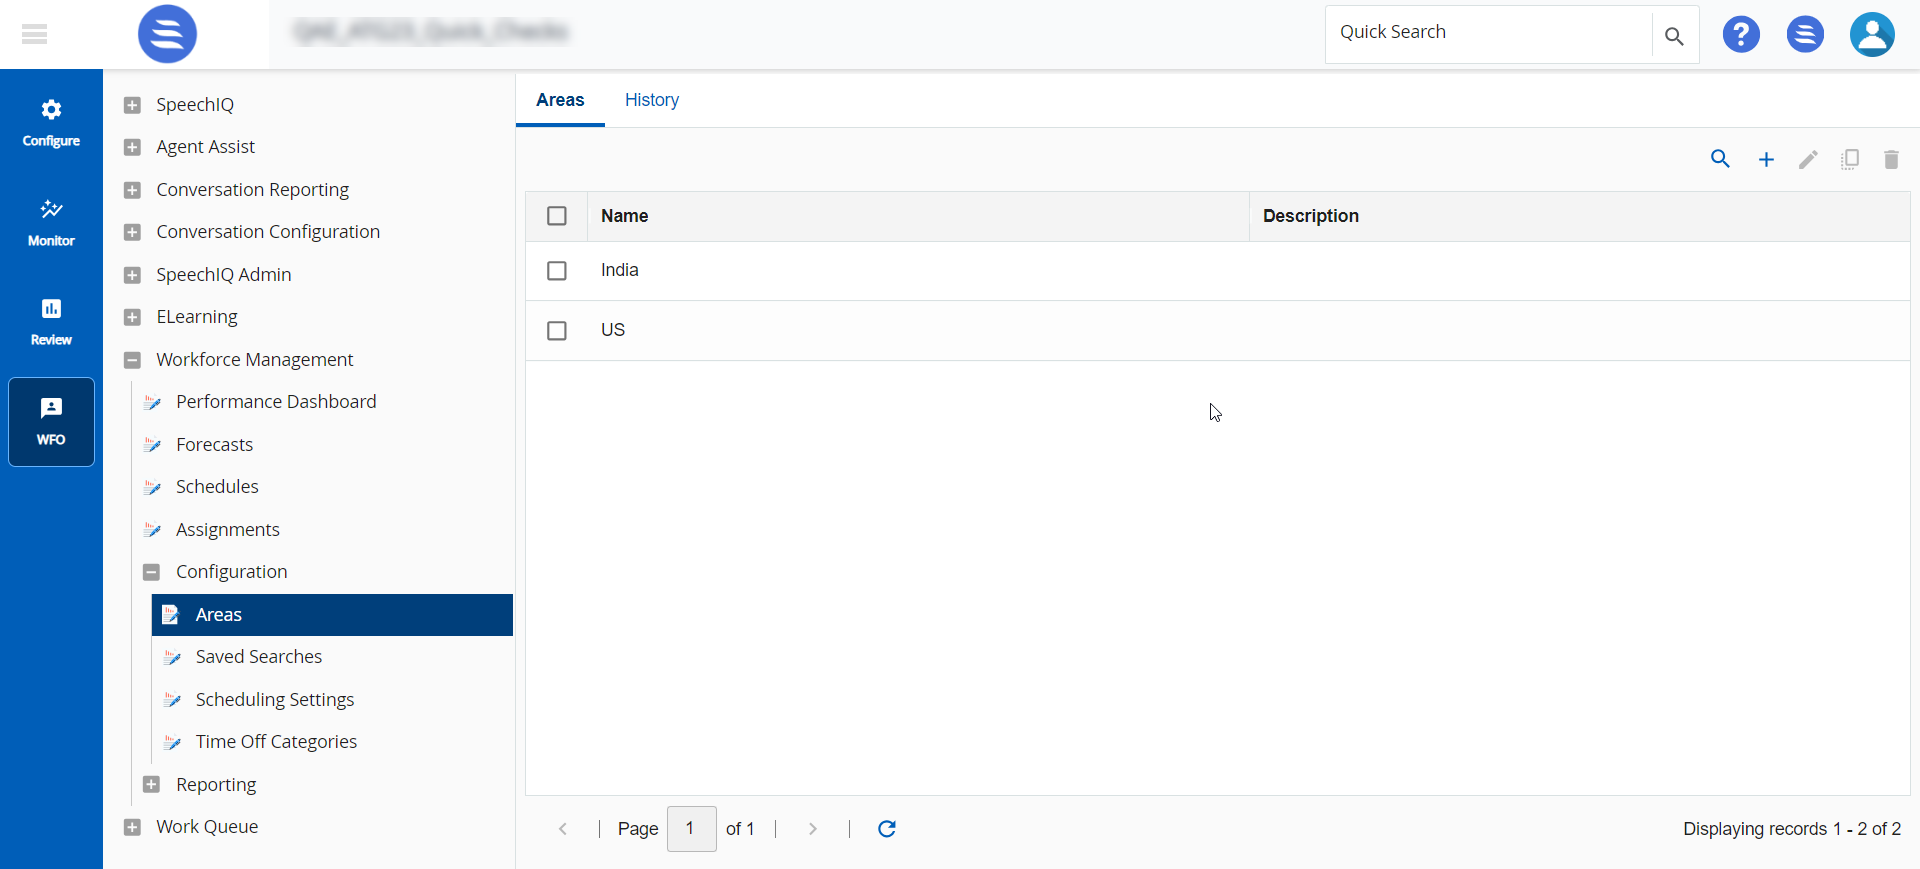
- On the WFO tab, go to Workforce Management > Configuration > Areas.
- Click

- The Create Area window appears.
- In the Name field, enter a name for the area.
- In the Description field, enter a description of the area.
- Click Create.
The area is created.
Editing an Area
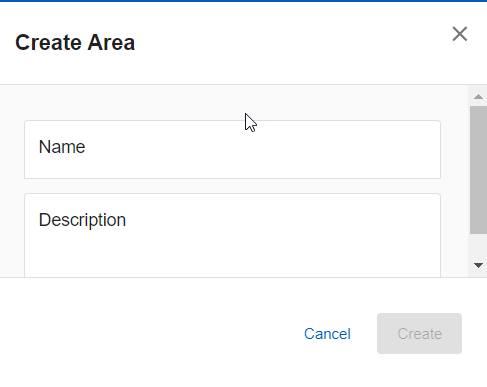
To create an area:
- On the WFO tab, go to Workforce Management > Configuration > Areas.
- Double-click the area you want to edit or select the area and click
 .
.
- The Edit Area window appears.
- Make the necessary changes.
- Click Update.
Copying an Area
To copy an area:
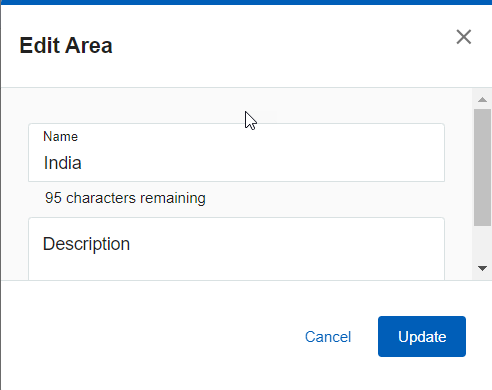
- On the WFO tab, go to Workforce Management > Configuration > Areas.
- Select the area you want to copy and click
 .
. - The Copy Area window appears.
- In the Name field, enter a new name for the area.
- In the Description field, enter a new description of the area.
- Click Copy.
The area is created.
Deleting an Area
To delete an area:
- On the WFO tab, go to Workforce Management > Configuration > Areas.
- Select the area you want to delete and click
 .
. - Click OK to confirm
The History tab provides details such as Name, Created By, Created Date, and Description for all the areas.