This section describes how you can manage the skills assigned to agents.  A skill influences routing priority to certain agents over others or completely limits routing to specific agents. These skills are assigned to exit points of an interactive voice response (IVR) through the Messages editor and represent the ability of agents to handle customer language, business line, value of account, or other factors.  

To access the Agent Skills editor, on the LiveVox Portal, navigate to Configure > Agents > Agent Skill.

Expand below to learn more:

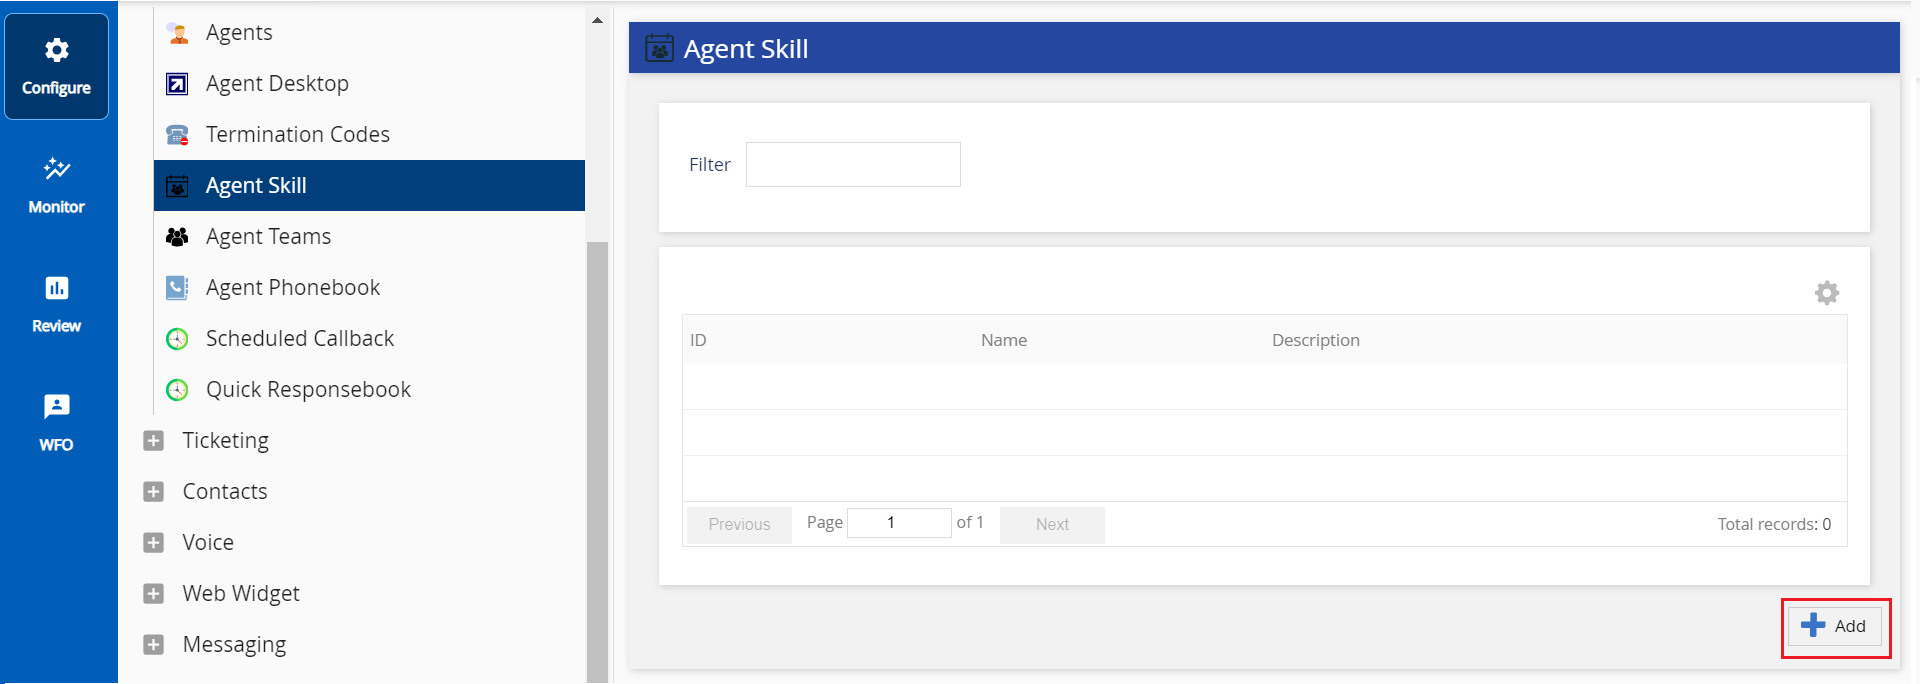
You can view all added agent skills in the Agent Skill editor. The basic settings are defined here.

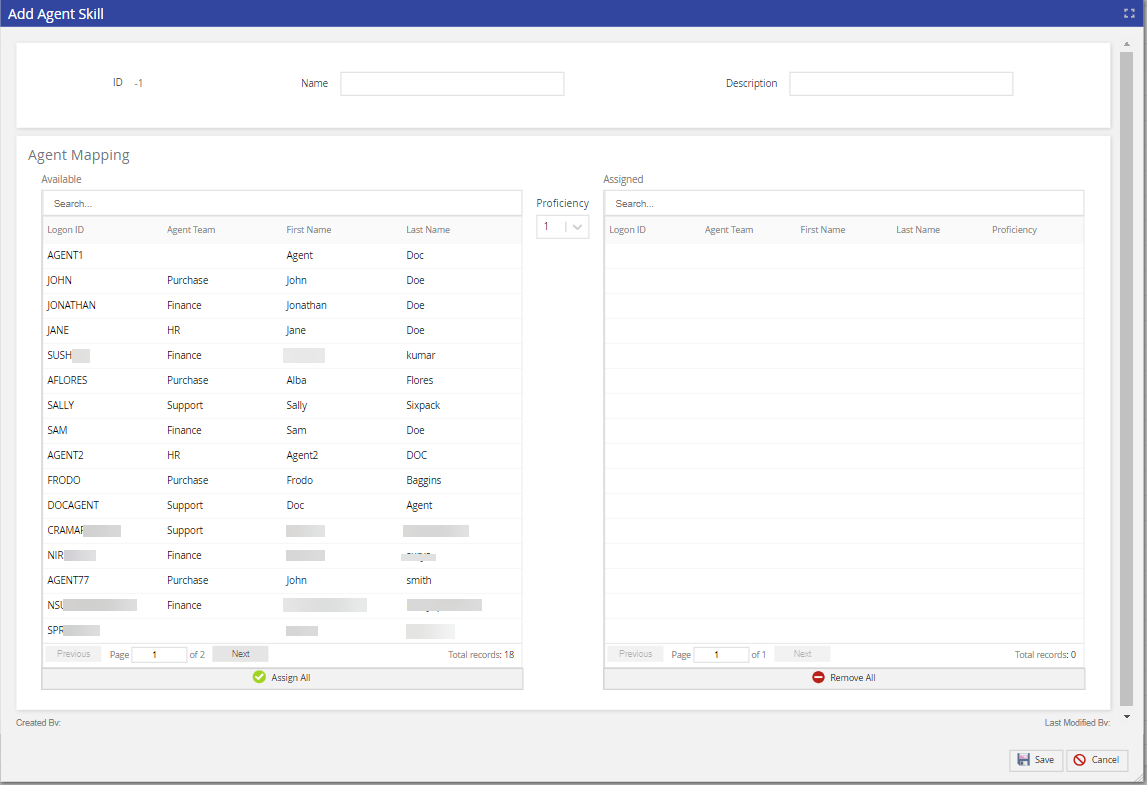
  • ID: System-assigned identifier. This setting cannot be changed. 
  • Name: Assigned by you to identify the skill.
  • Description: Description of the agent skill.

You can use the Filter option to search for specific skills. 

Filter options can include characters, numerical values, and special characters (such as _, -, *).


  1. On the LiveVox Portal, navigate to Configure > Agents > Agent Skill
  2. Click Add.
  3. Type a name to help you identify this skill.
  4. Optionally add a description to further understand the purpose of this skill.
  5. Assign agent(s) and their proficiency from the Agent Mapping section. See Assigning Agents to Skills below for more information.
  6. Click Save.

A skill without agents offers no preferential routing. Agents can be mapped while the skill is being created or by double-clicking an existing skill. Move eligible agents to the right column by:

  1. Choose the proficiency for the selected agent. 1 receives calls first, then 2, then 3, and so on.
  2. Select an agent from the Available column.
  3. Click Save.

A deleted skill cannot be restored and must be recreated along with all associated messaging and agent mappings. ONLY delete a skill that is not in use.

  1. On the LiveVox Portal, navigate to Configure > Agents > Agent Skill
  2. Select the agent skill to be deleted. You can view the Delete icon

  3. Click Delete.
  4. Confirm your deletion by clicking Yes.
  5. If successful, a notification message appears.