For a detailed view of available roles, please visit +https://docs.livevox.com/productdocumentation/roles-permissions/latest+_
To create a custom role, please visit +https://docs.livevox.com/productdocumentation/admin-guides/u17/introduction-to-livevox/managing-+_
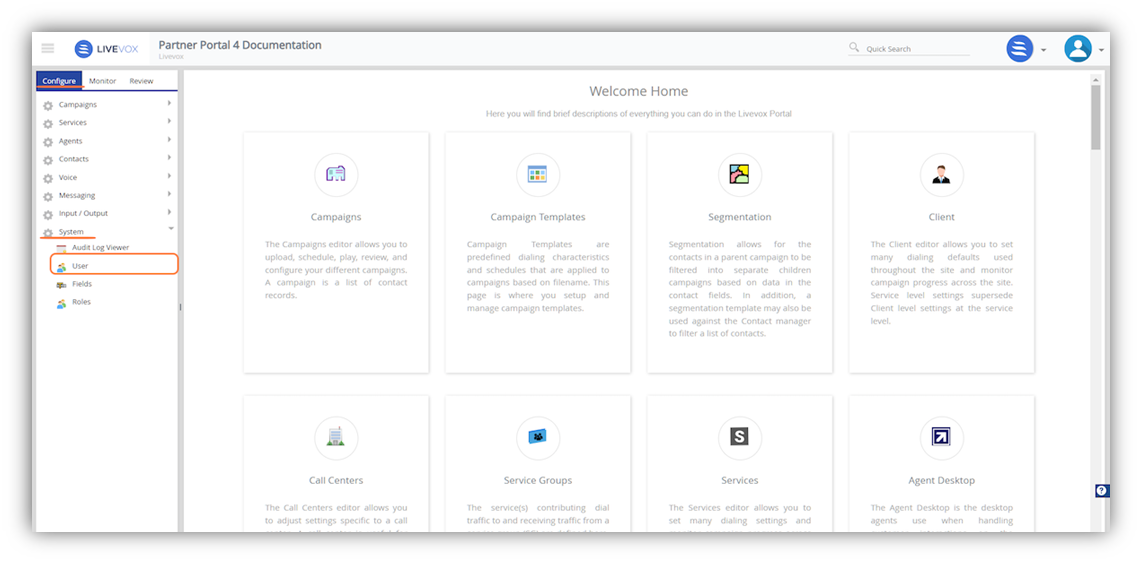
Navigate to Configure > System > User
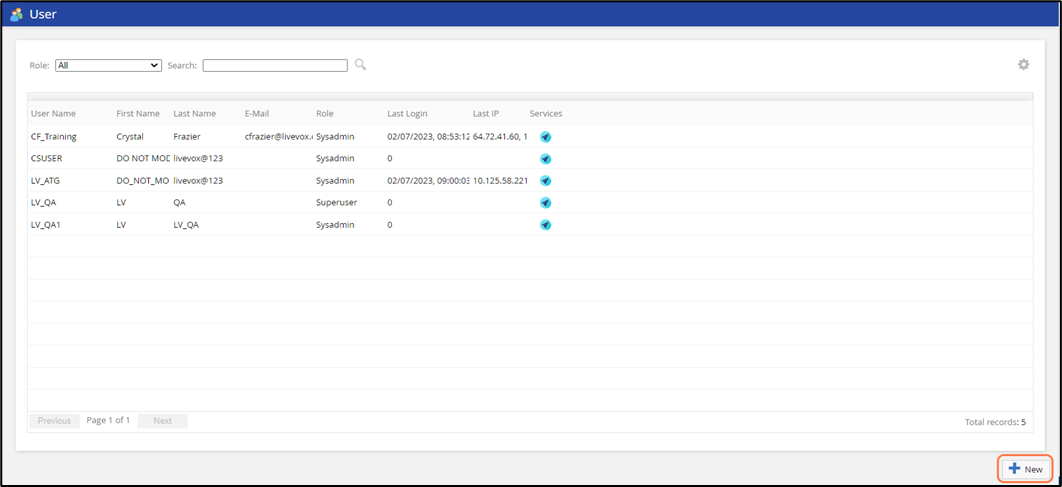
From the User window, click on New
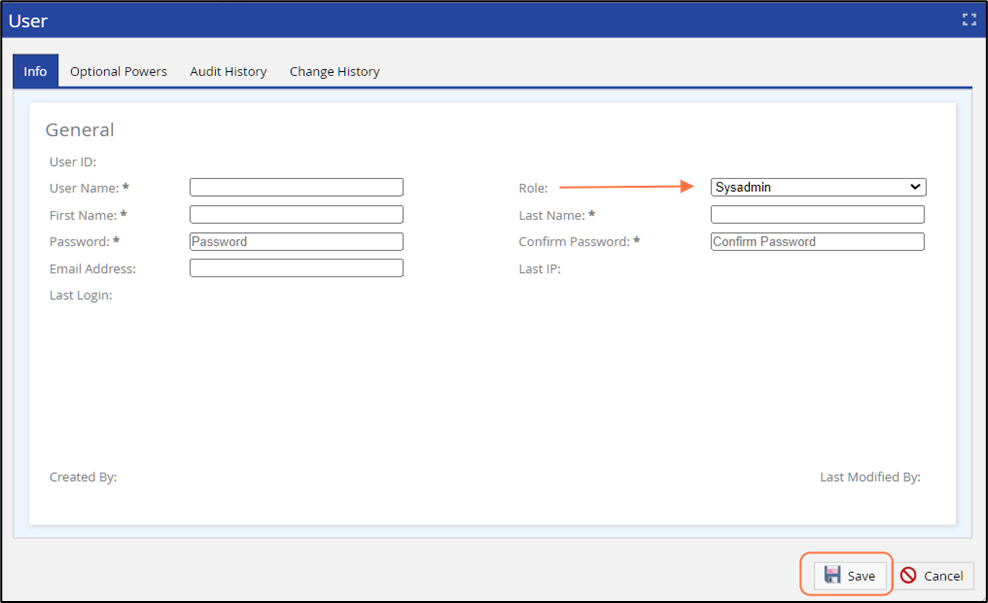
Fill out the required  fields, under the Info tab, choose the User Role and click Save
Standard password requirements: 8-character length with 1 digit and 1 letter
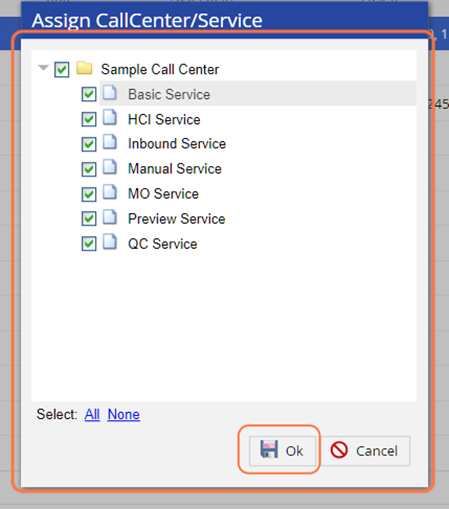
Limit the Users View to Specific Call Centers and/or Services
The default setting assigns the user access to all call centers and services, which is required for administrators. If an additional user should access only a specific call center or service, please follow the steps below:
Locate your newly created User, then double click on the blue circle arrow to open the Assign Call Center/Service box.
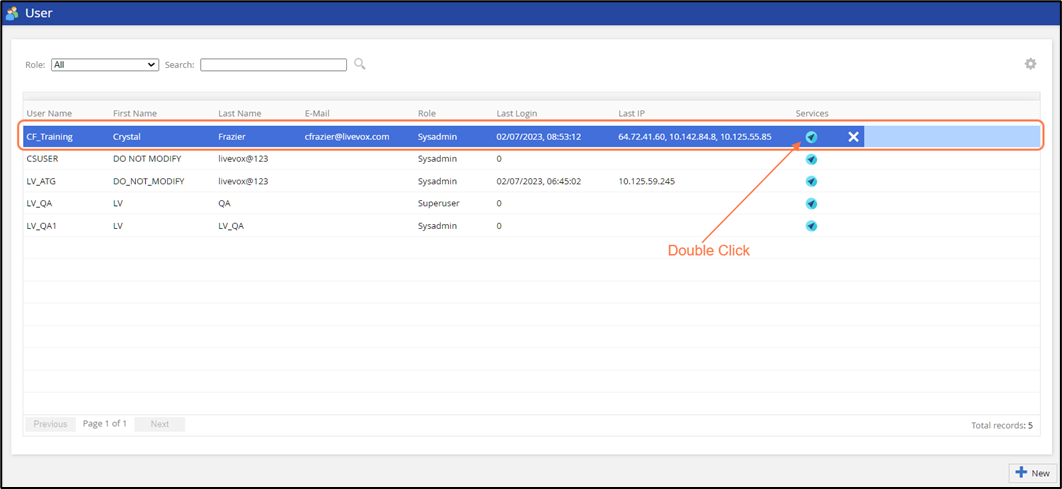
Check or uncheck the boxes next to the Call Center or Service you want to provide the new User access to. Click Ok.