Download PDF
Download page Add Contact Data into LiveVox (LVP).
Add Contact Data into LiveVox (LVP)
To view a list of all the standard contact fields, please visit: https://docs.livevox.com/productdocumentation/admin-guides/u17/contact-manager/contact-fields+_![]()
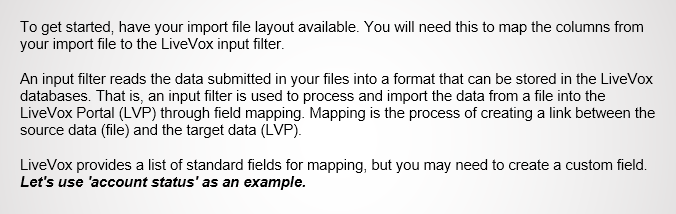
1. To add a custom contact field, navigate to Configure > System > Fields
If you are not creating a custom contact field, please skip to step 5 below.
2. Click on Add Field
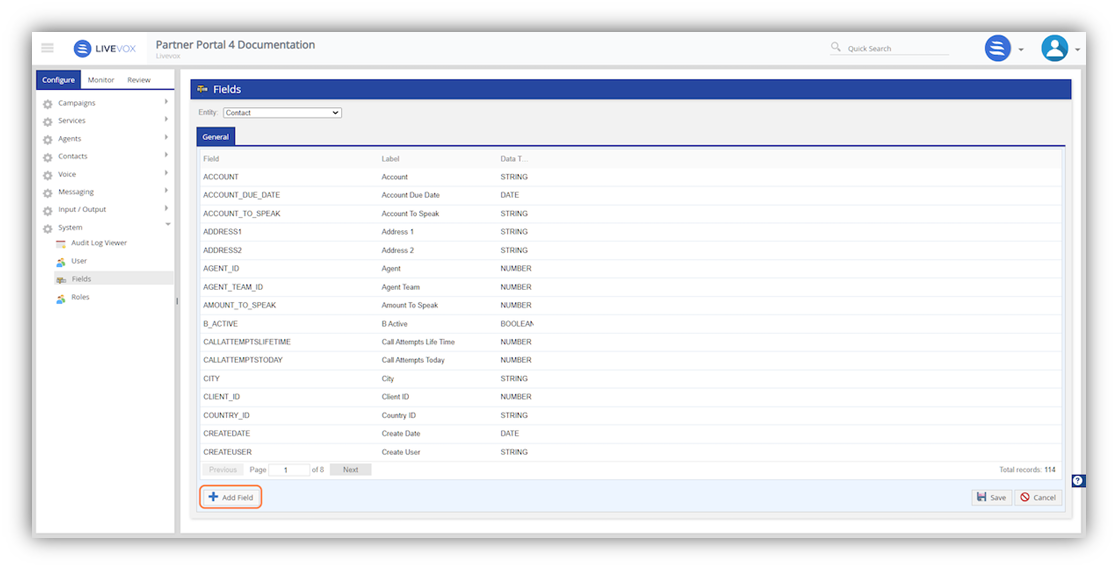
3. Add Custom Columns:
You are now creating the first of a hundred available custom fields, which is why you see 'Field' populated with COL1.
- You can create a custom Label name and we will use 'Status' as our example.
- Next you will choose the Data Type from the drop-down menu. For our example, we will choose 'STRING'.
- Click Ok.
For definitions of the Data Types, please visit: _+https://docs.livevox.com/productdocumentation/admin-guides/u15/introduction-to-livevox/managing-data/field-+_![]() settings/adding-and-modifying-custom-fields
settings/adding-and-modifying-custom-fields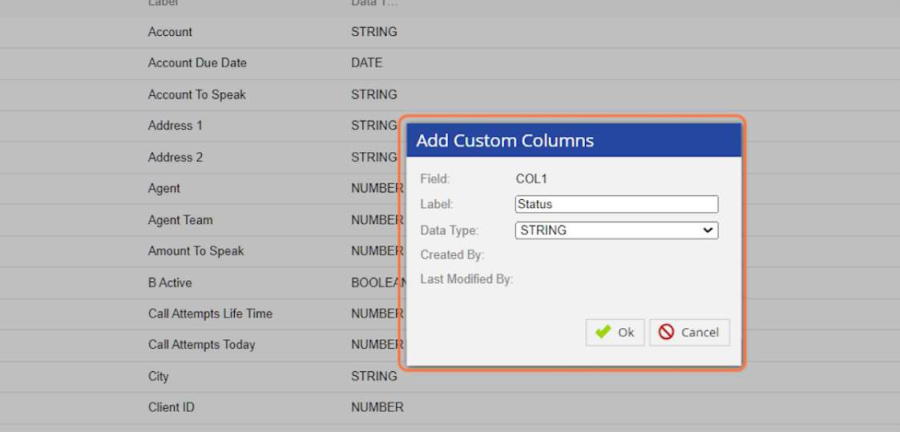
4. You will notice the newly created field in 'green' font color, indicating your addition. Click on Save.
5. Once your custom fields are created, navigate to Configure > Input/Output > Input

You may edit an existing input filter or create a new one, which we will show here:
6. To create a new Input Filter:
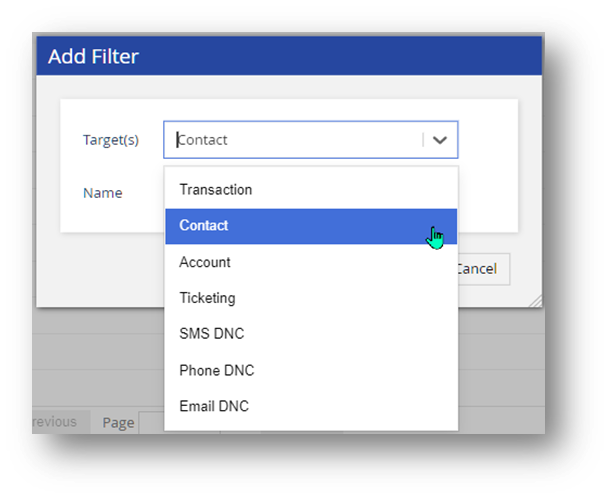
Click on Add Filter. 
- Target: select 'Contact'
- Name: add the name of your input filter
For definitions of the Input Filter types, please visit: _https://help.livevox.com/en_US/contact-management/working-with-input-filters_![]()
Next you will need to fill out the required fields:
- Description:
- Is there a special description you want to add, to help identify what this Input Filter is, other than the name?
- Header in file checkbox
- If the input file you want to import contains a heading, select this checkbox. If you select the checkbox, the first line in the file is ignored when the file is imported to LVP (LiveVox Platform).
- Allow Empty checkbox
- If you want the null values in the file to also be imported to LVP, select this checkbox.
- Description:
- Truncate checkbox
- If you want the values in the fields in the file to be shortened if the length of the values exceeds the predefined size limit of those fields, select this checkbox.
- File Format
- For examples of Custom file formats, please visit: _https://docs.livevox.com/productdocumentation/admin-guides/u17/introduction-to-livevox/configuring-data-input-and-_
 output-formats/input-filter/input-filter-fields
- For examples of Custom file formats, please visit: _https://docs.livevox.com/productdocumentation/admin-guides/u17/introduction-to-livevox/configuring-data-input-and-_
- Truncate checkbox
Lastly, click on Save Filter.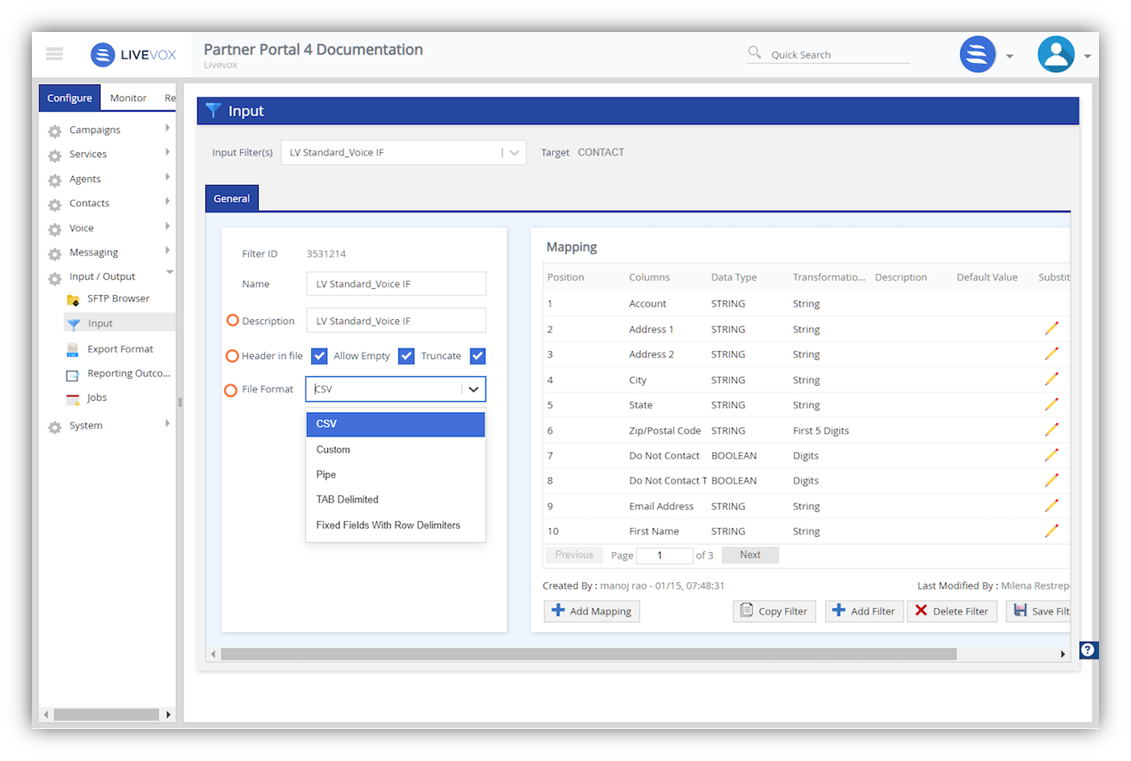
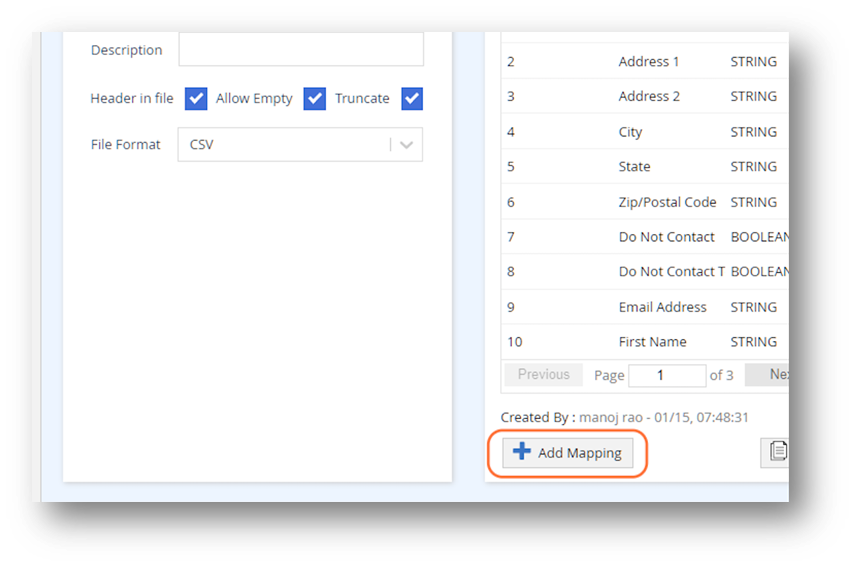
7. Once you have selected the Input Filter you want to update click on Add Mapping
8. Enter the Position value
In our example below, we already have 1 position (Account), so we will type "2", to indicate the next chosen field.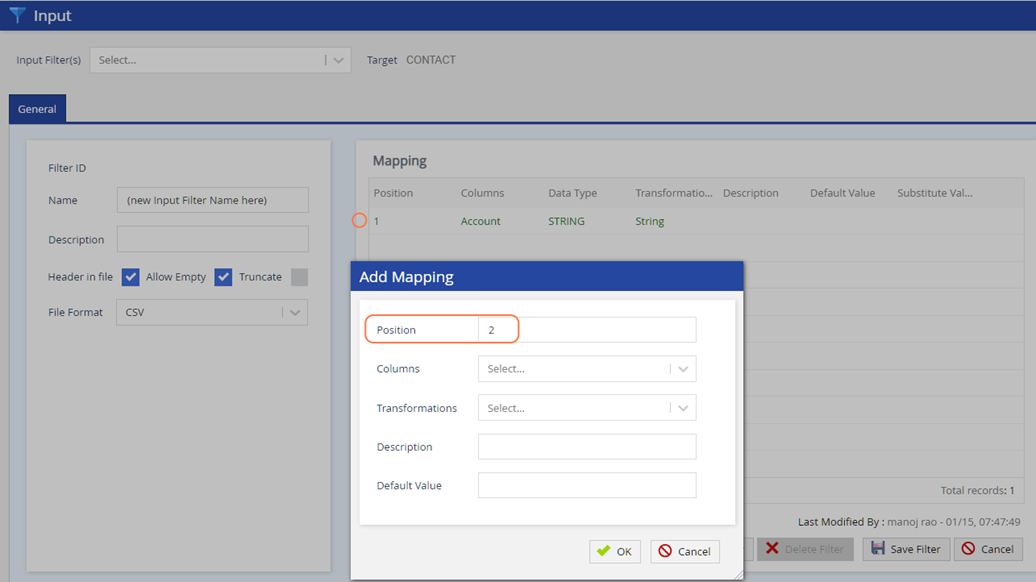
9. Choose the Column (field) you want to add.
For our example we will choose 'Status,' which is the custom field we created in steps 1-4.
10. Next, choose your Transformation. We will choose "String" as our 'Status' field contains alpha-numeric characters.
An example of an alpha-numeric string is 'ACT04'. 
11. Add a Description of the column field you are adding
For this example, we will enter 'Account Status' to further define what the field 'Status' is. Then click OK.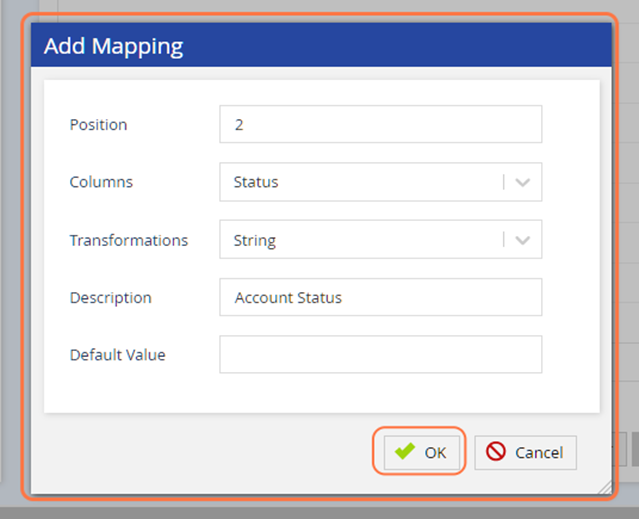
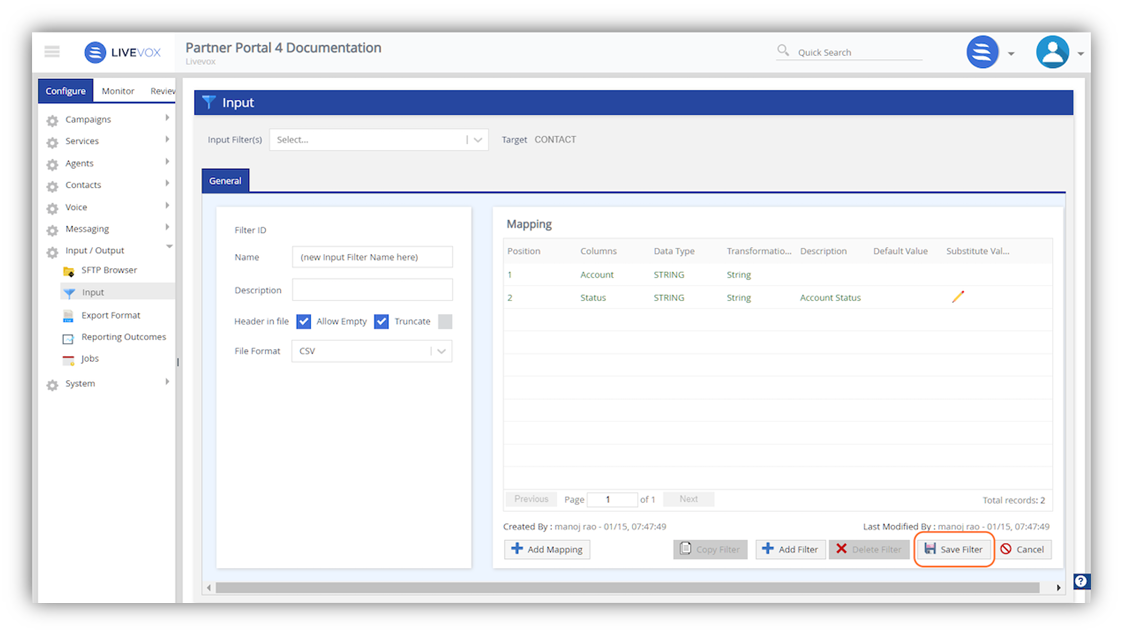
12. Click on Save Filter
Substituting Field Values
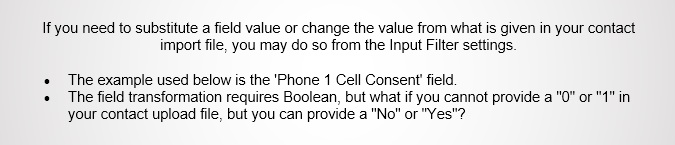
1. Follow the steps below to change your "Yes" and "No" values to the required "1" and "0" values:
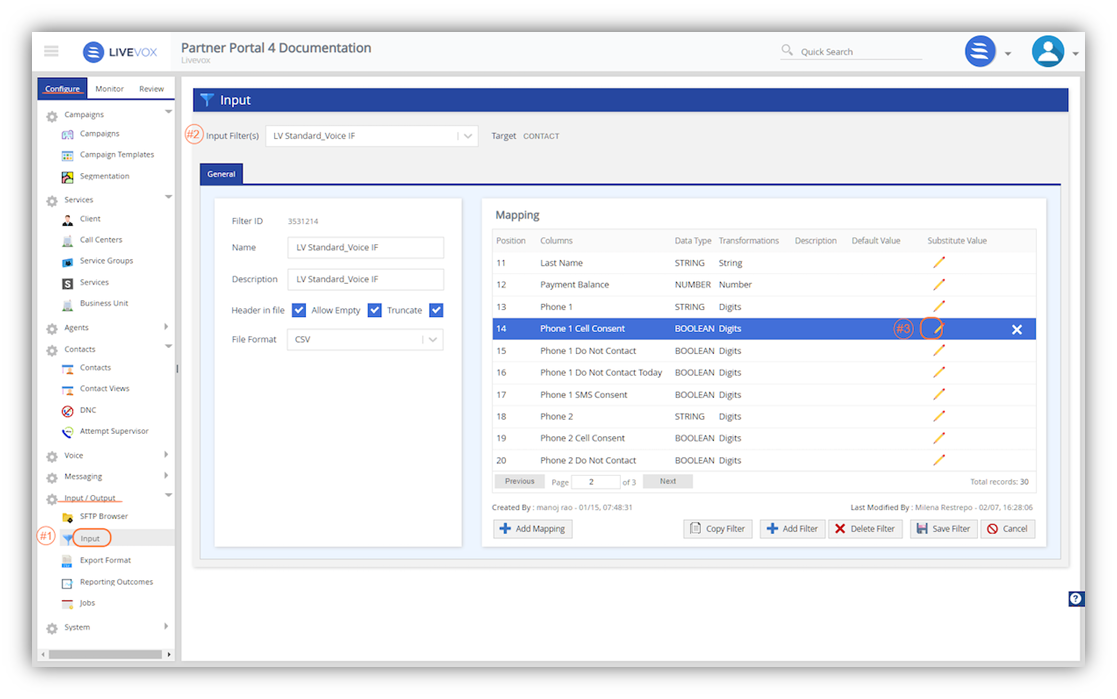
- Navigate to Configure > Input/Output > Input
- Choose the Input Filter from the drop-down window
- Find the field 'Phone 1 Cell Consent' and click the pencil icon
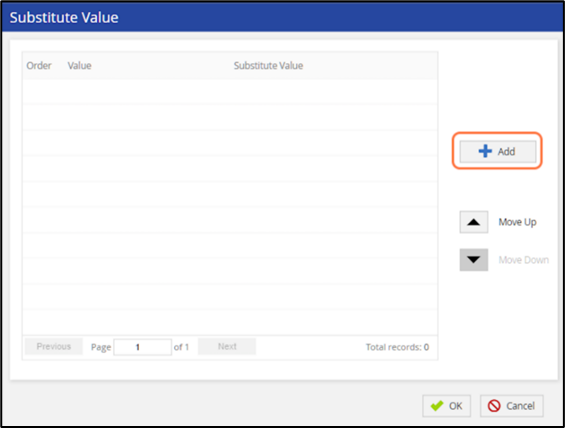
2. From the Substitute Value window, click on Add
3. In the Substitute Value pop-up box:
- Enter the Value you will provide in your contact import file
- Enter the Substitute Value the field will transform into
- Click OK
In this example, we will change the import file's value "Yes" to "1" in the LiveVox Platform's contact record.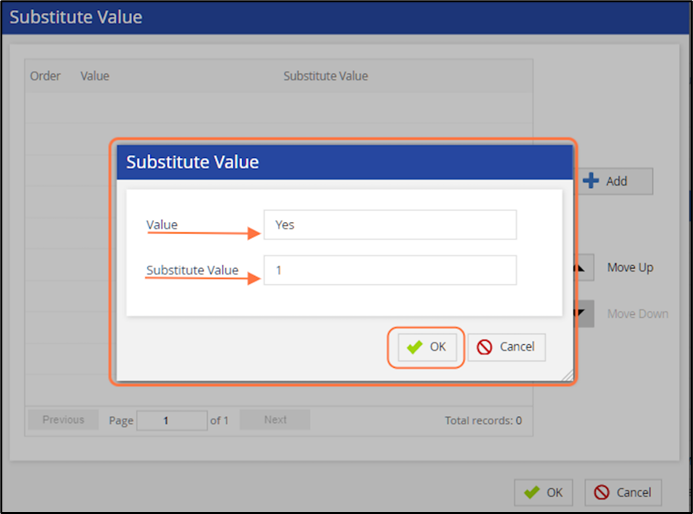
4. Click on Add again to add the second value, "No"
5. In the Substitute Value pop-up box:
- Enter the Value you will provide in your contact import file
- Enter the Substitute Value the field will transform into
- Click OK
In this example, we will change the import file's value "No" to "0" in the LiveVox Platform's contact record.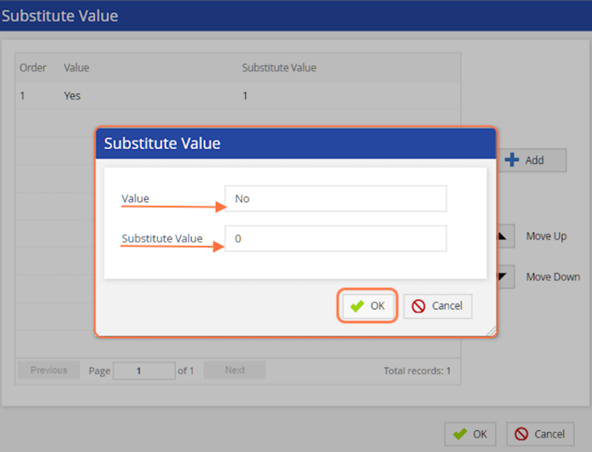
6. Now that both values have been created, click on OK
Before clicking OK to save your entry, you may also
- Click the 'X' to delete a line item or
- Re-order the values using the navigational arrows to move the line item up or down

7. To save your Substitute Value changes, click the Save Filter button
- You will see a green checkmark next to the Substitute Value icon
- Click the Save Filter button to save your changes
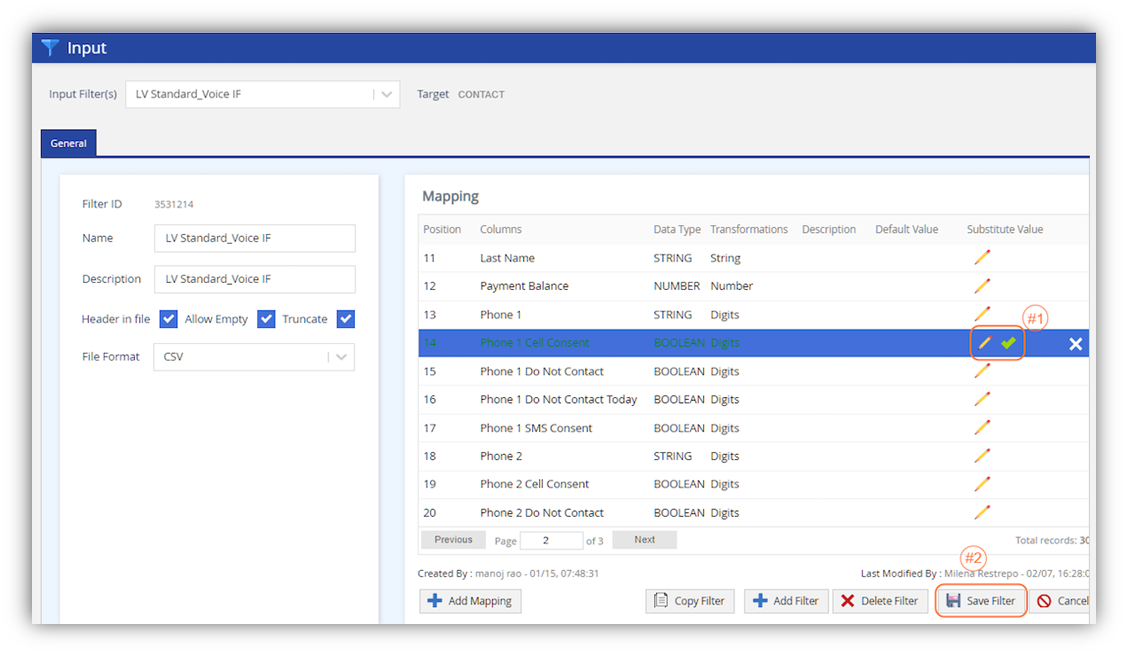
Your input filter has successfully been updated to include a value substitution and is ready for use.