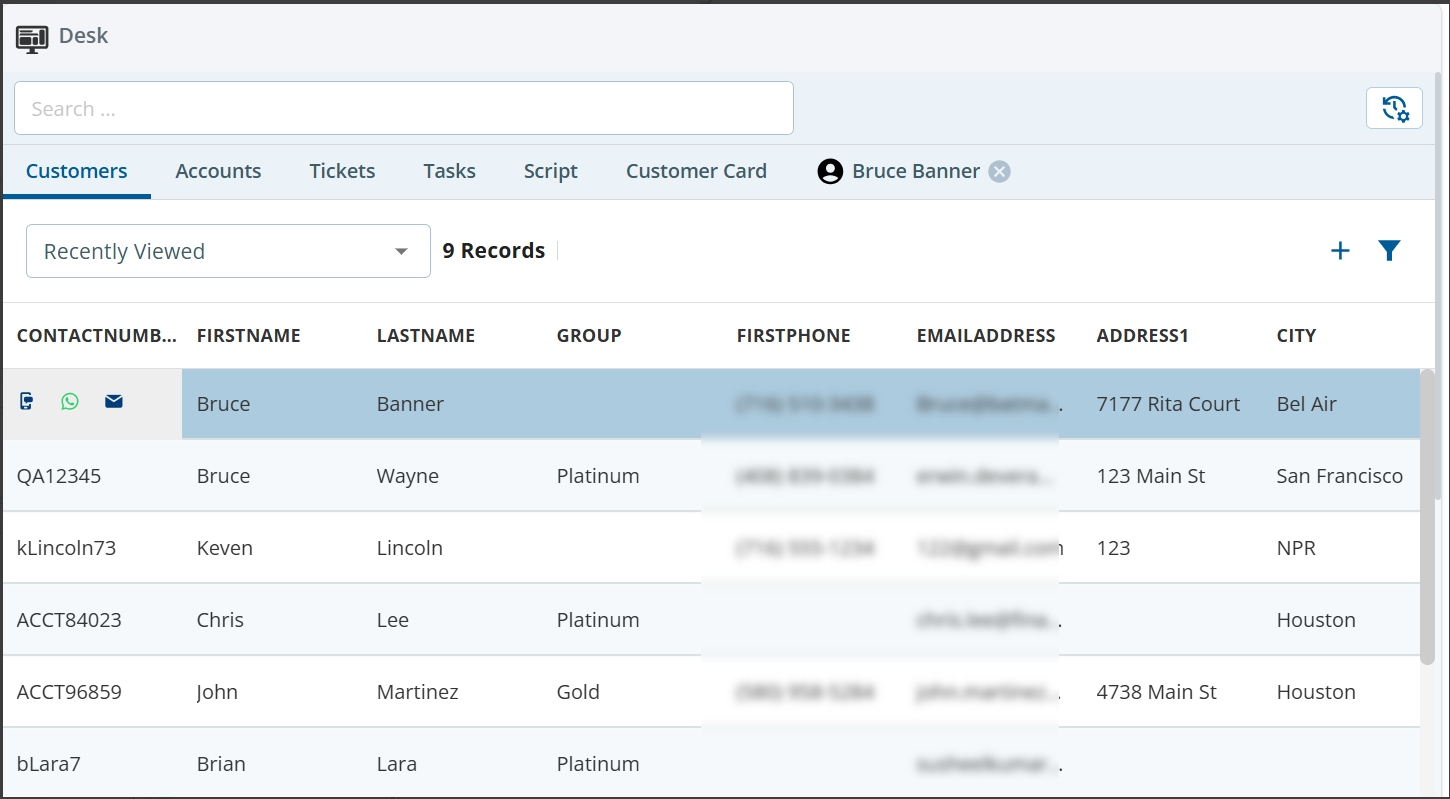
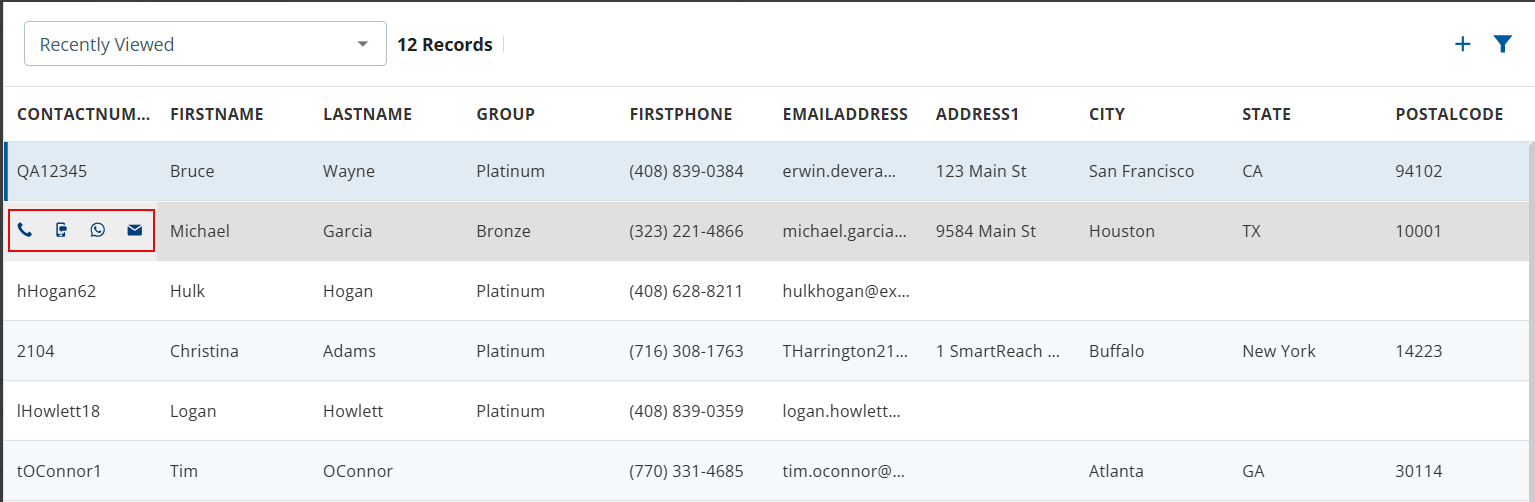
Customers are listed in a table where you cancreate new customer records, filter the existing customer records, view customers based on predefined lists, contact customers through click-to-contact, and manage the information displayed in the table columns.
Creating a Customer Record
To create a customer record:
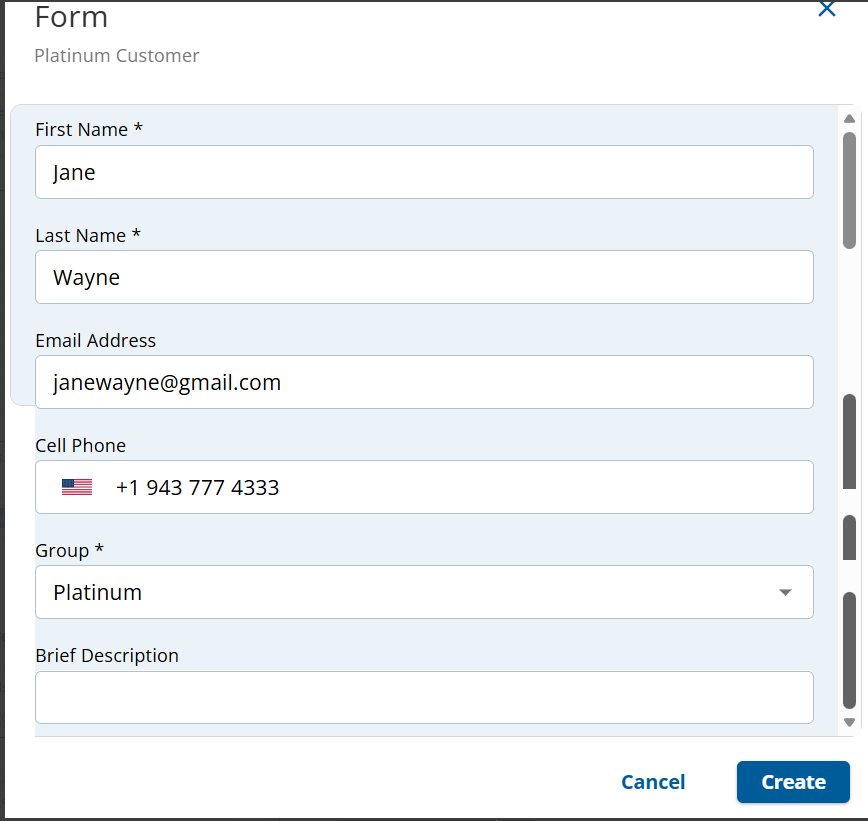
In theCustomerssection, click the addicon. The New Customerwindow appears.
If theSelect Formwindow appears instead of theNew Customerwindow, select the web formthat is applicable to the customer record you want to create.
The fields in theNew Customerwindow might look different based on the Forms assigned to you.
Specify the field values. For more information about the fields, see Contact Fields.
Click Create
Viewing the List of Customers
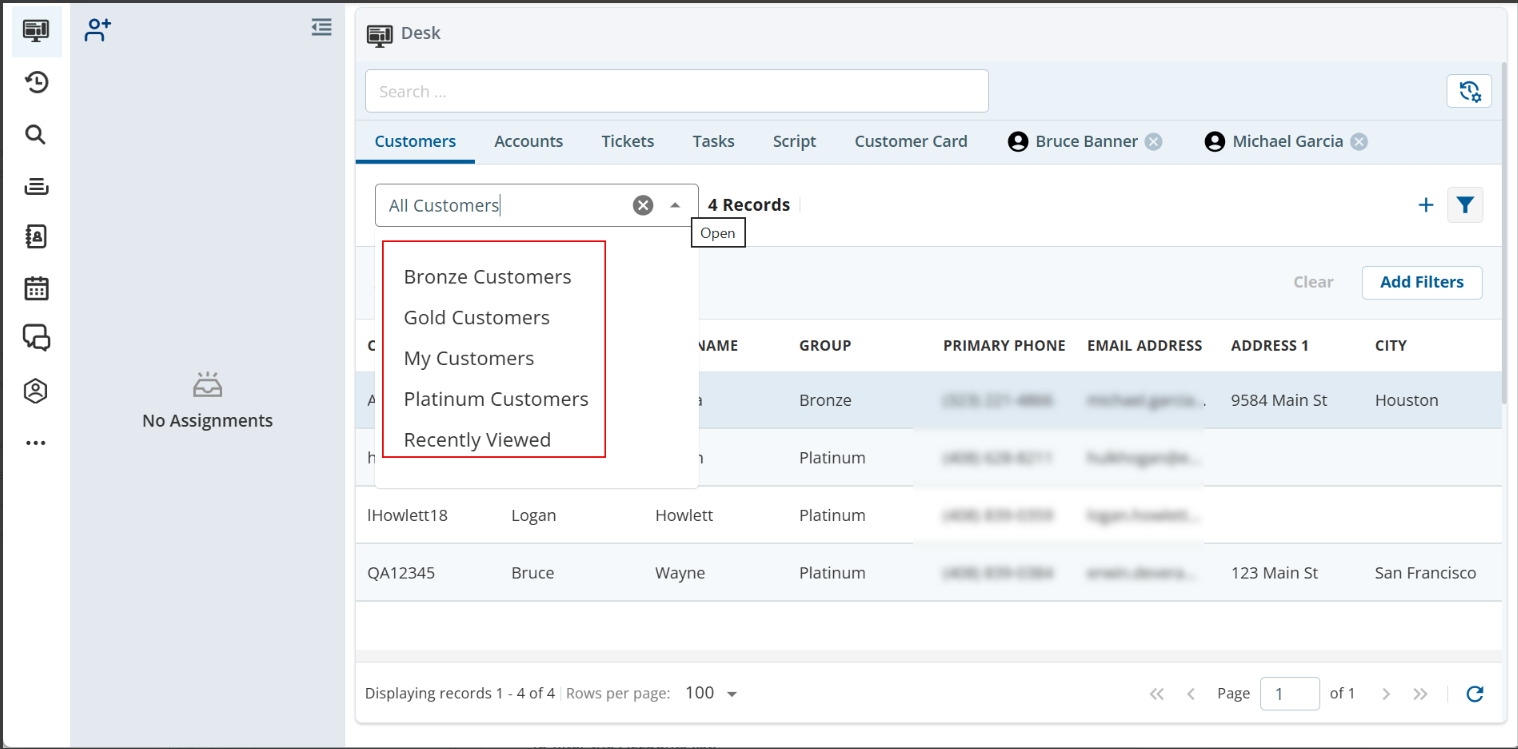
A view is a predefined list that is assigned to you. Depending on the view assigned to you, the Customers section displays different options. For example, you can view all the customer records, customers assigned to you, specific customer groups, or recently viewed customer records.
To select a view, click the drop-down list in the Search View field, and then select the option based on your requirement.
Filtering the List of Customers
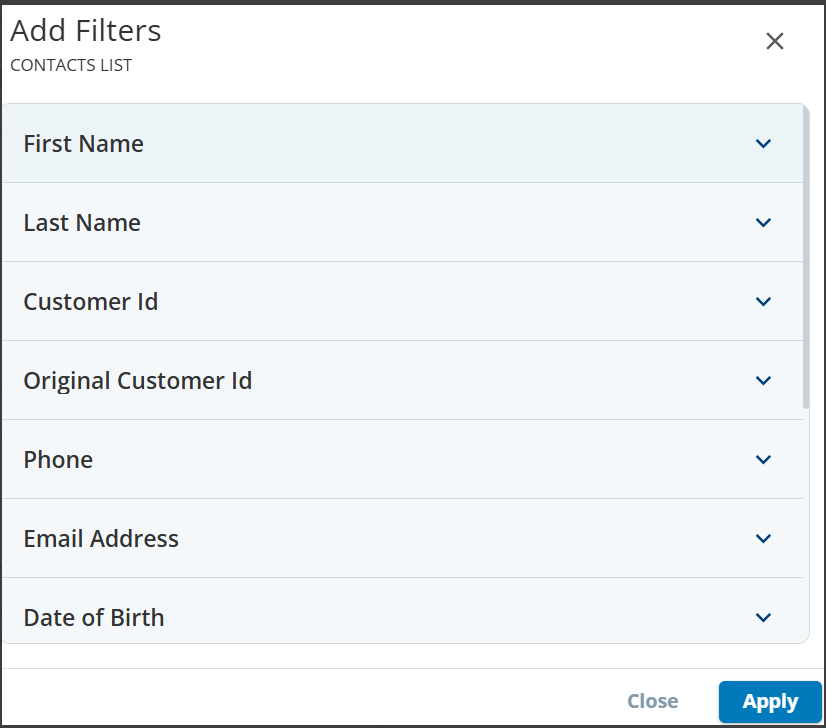
You can filter the Customers list basedon the available filter options, such as customer first name, last name, customer ID, and so on.
To filter the Customers list:
In the Customers list section, click theAdd Filter ()button. TheAdd Filters window appears.
Fields in the Filter window might be different depending on what is configured on Desk.
Expand the required sections, and then specify the filter criteria.
ClickApply. The records that meet your filter criteria appear in the Customers list section.
Contacting Customers
Asan agent, you can dial the phone number of a customer, send emails, WhatsApp messages, or SMS messages. Click-to-Contact functions are always associated with a customer.
You can view these options only if the CXone skills along with the appropriate media types are assigned to you.
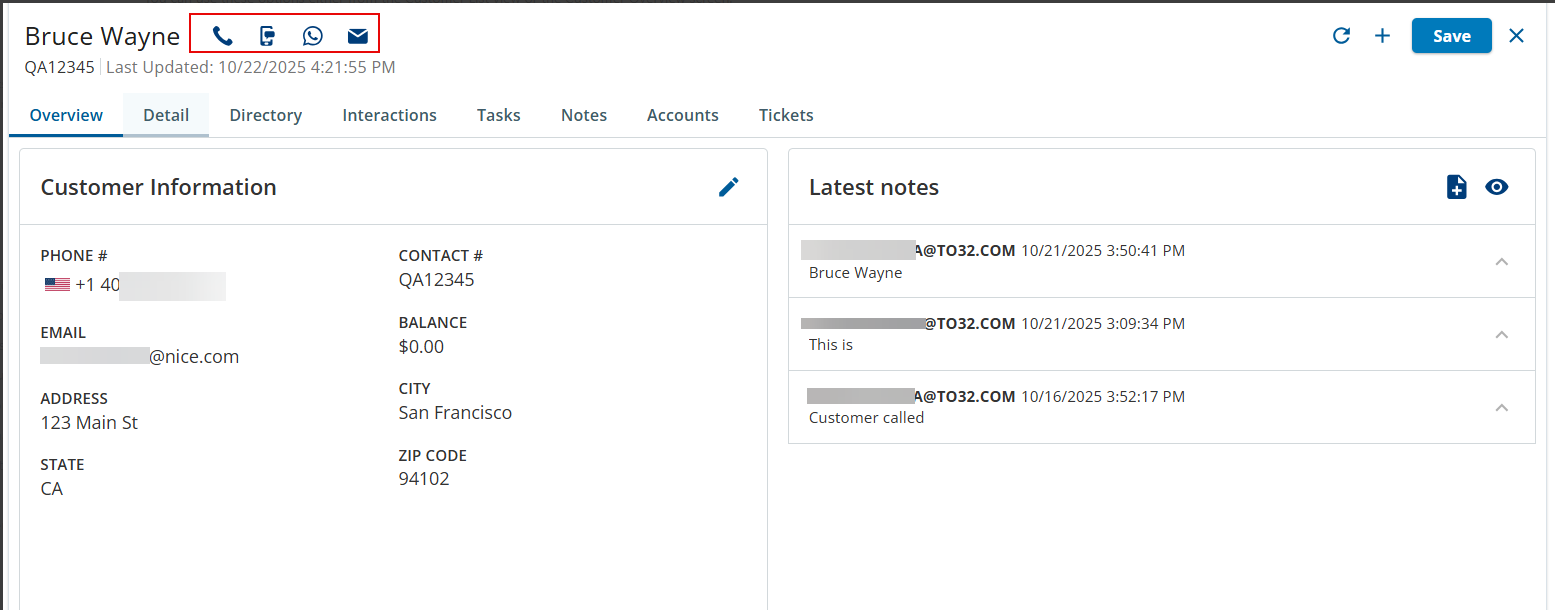
To contact a customer, hover the mouse over that customer record. From the options displayed, select the option applicable for you.
You can use these options either from the Customer List view or the Customer Overview screen.
Customer List View
Customer Overview
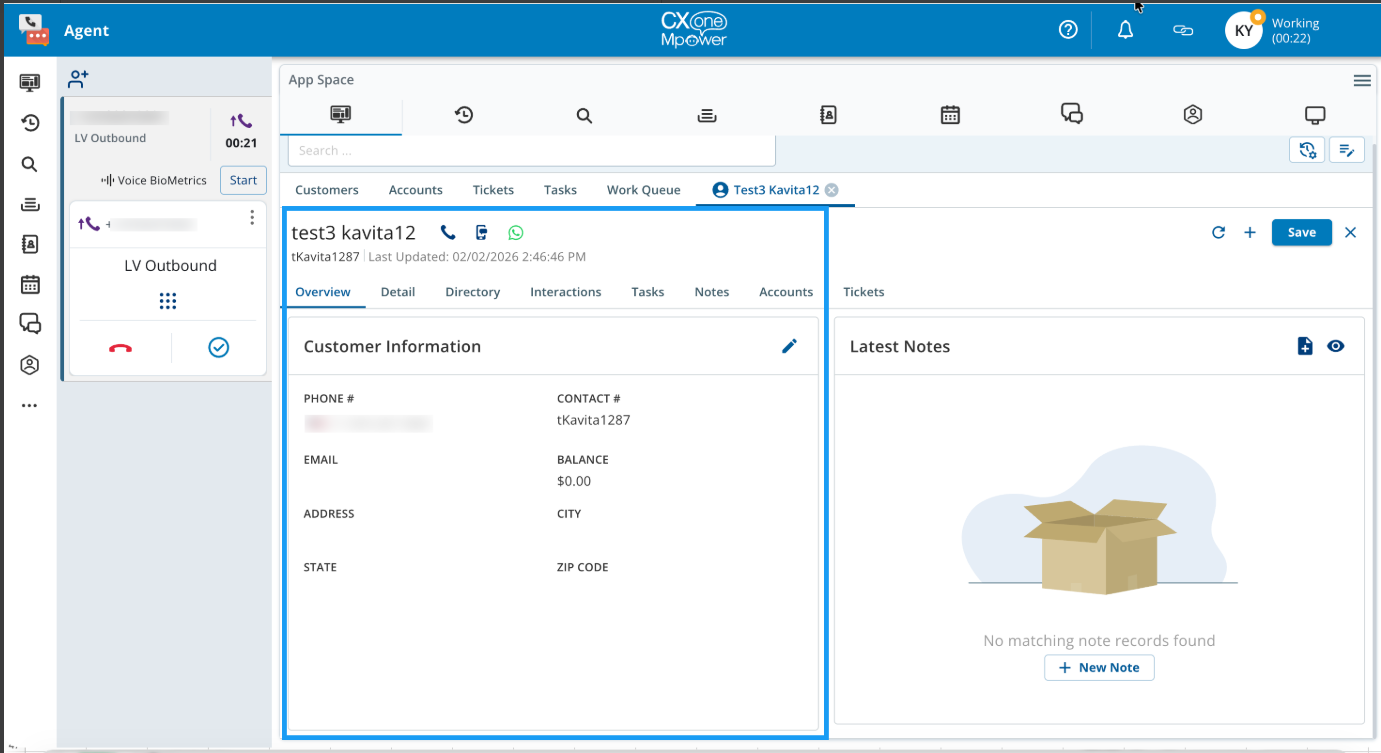
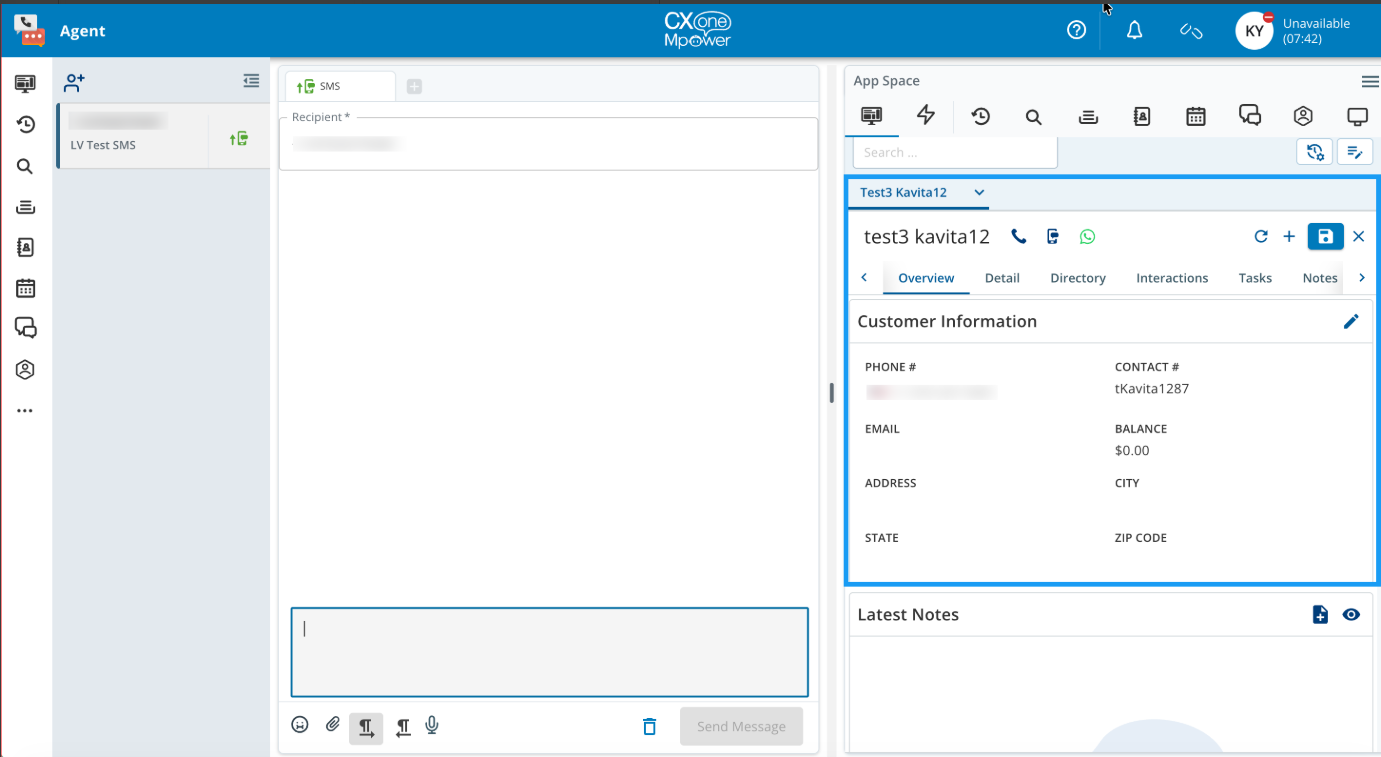
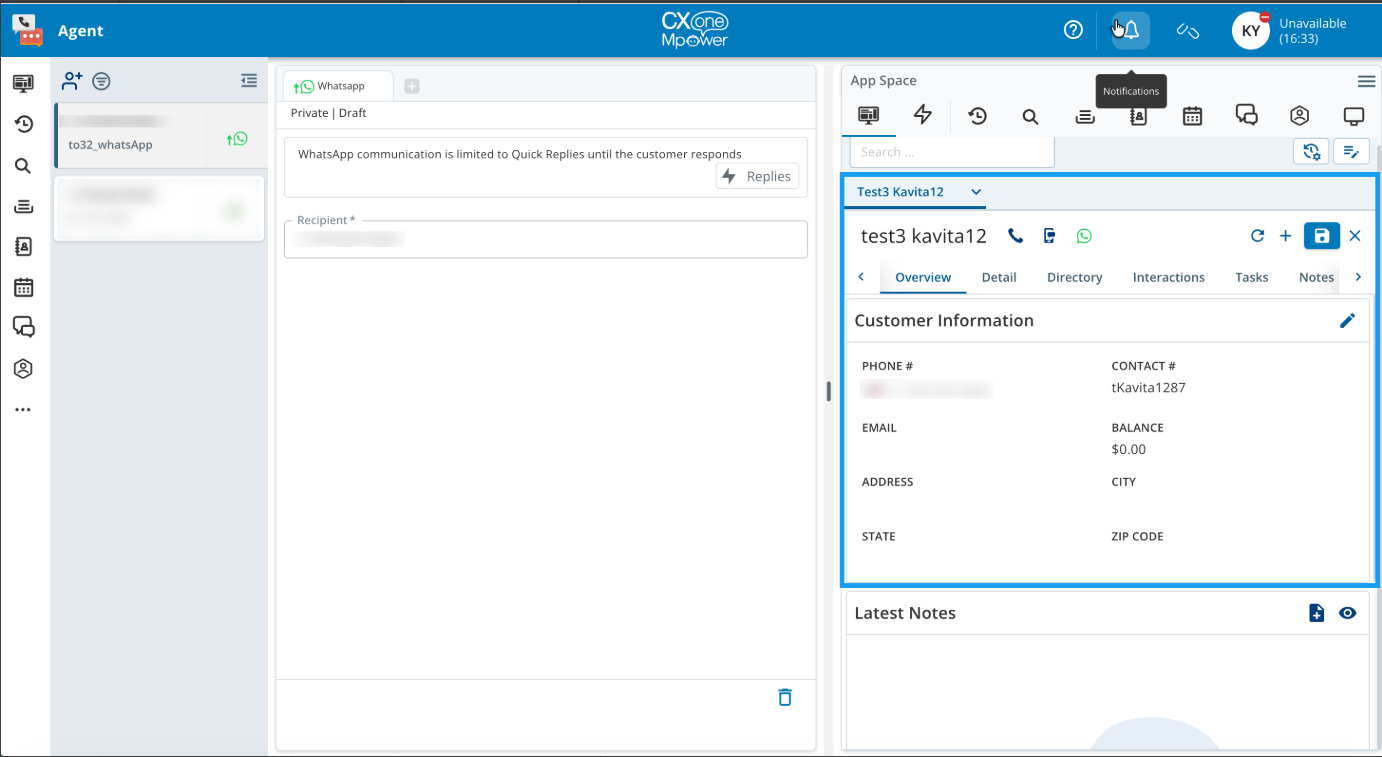
To contact the customer from the Contact list, depending on your requirement, click the applicable icon. This opens up a tab that displays the selected customer’s details. When you contact a customer by using the Click-to-Connect button, the associated customer profile is always visible to the you.
If you click theicon, the following window appears.
If you click the icon, the following window appears.
If you click theicon, following window appears.
Customizing the List of Customers
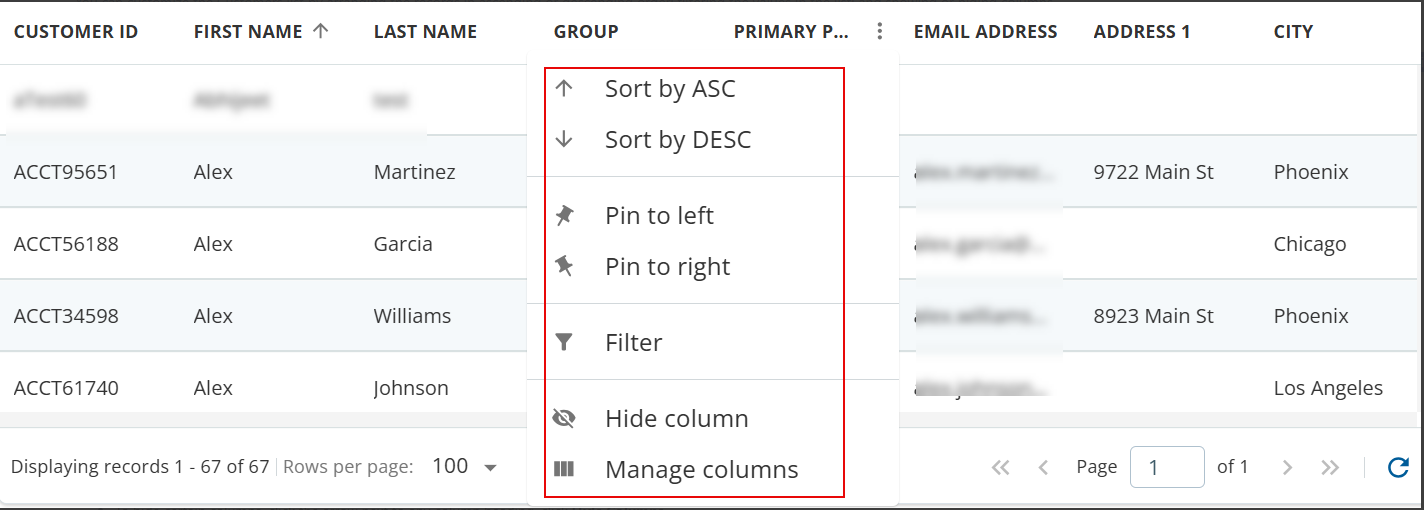
You can customize the Customers list by arranging the records in ascending or descending order; filtering the values in the list; and showing or hiding columns.
To customize the list of customers:
To sort the values in a column in ascending or descending order, click the arrow next to the column heading, and then clickSort AscendingorSort Descending. The sorting applies to the entire custom fields available in the list.
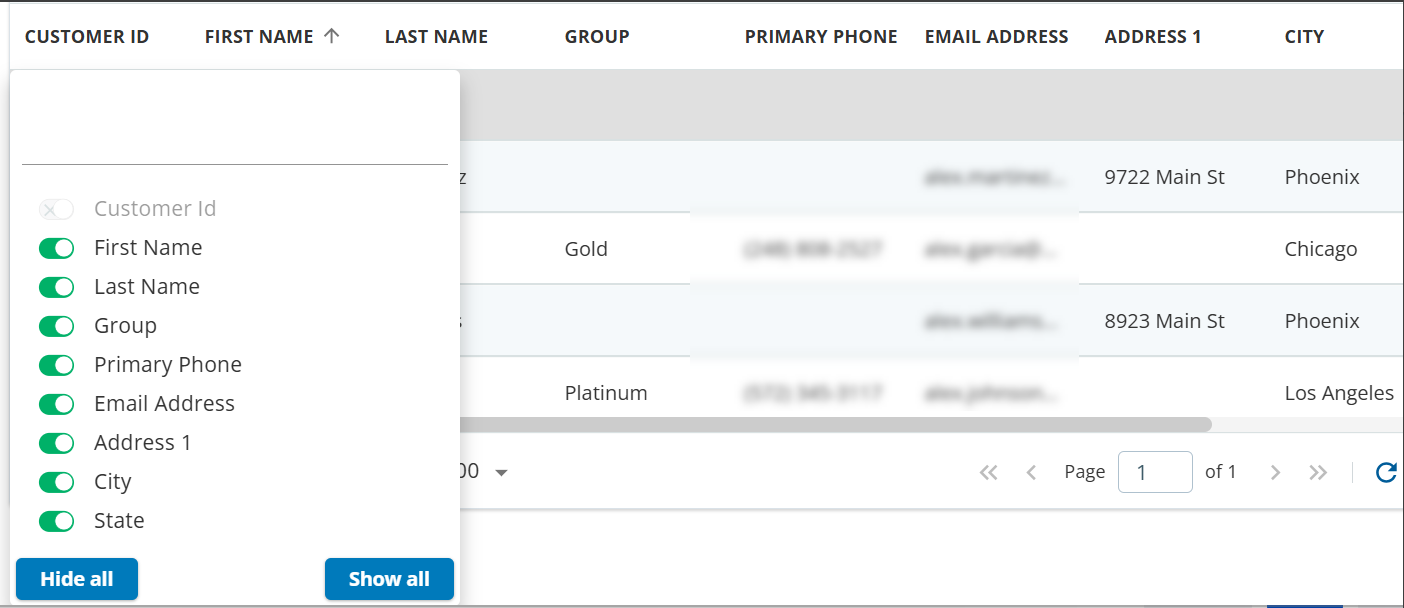
To display certain columns, click the arrow next to any column heading, click ManageColumns. Use the toggle buttons next to the names of the columns that you want to display in the table.
To hide certain columns, click the arrow next to any column heading, clickHideColumns.
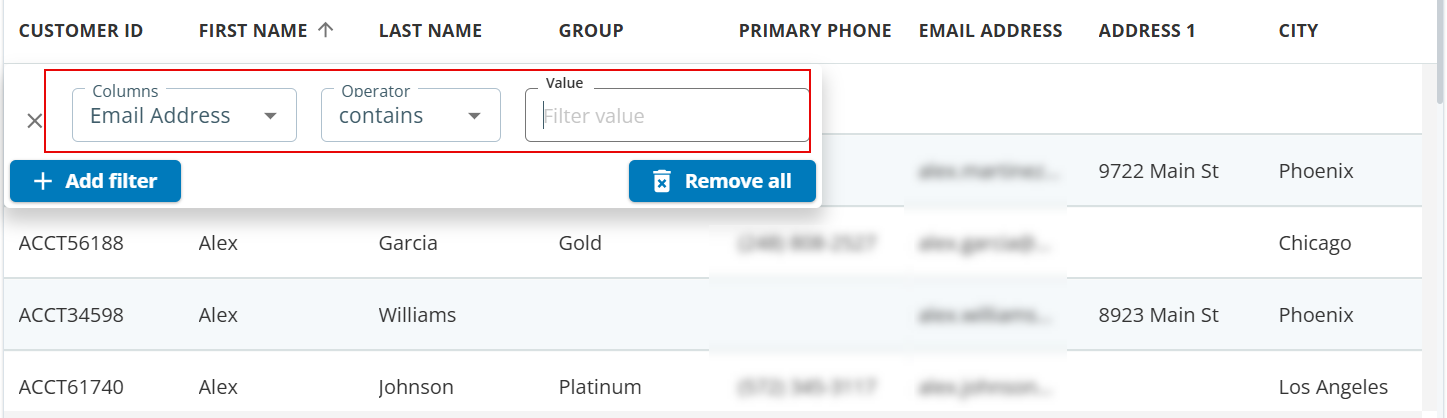
To filter records based on a column, click the arrow next to the column heading, clickFilter, and then select the column values or specify the text based on how you want to filter the records.