From the list of accounts, when you click on an individual Account record, the record displays all the information for that account. You can view and modify information, such as account details, notes, tickets, and so on.
An Account record displays the following tabs:
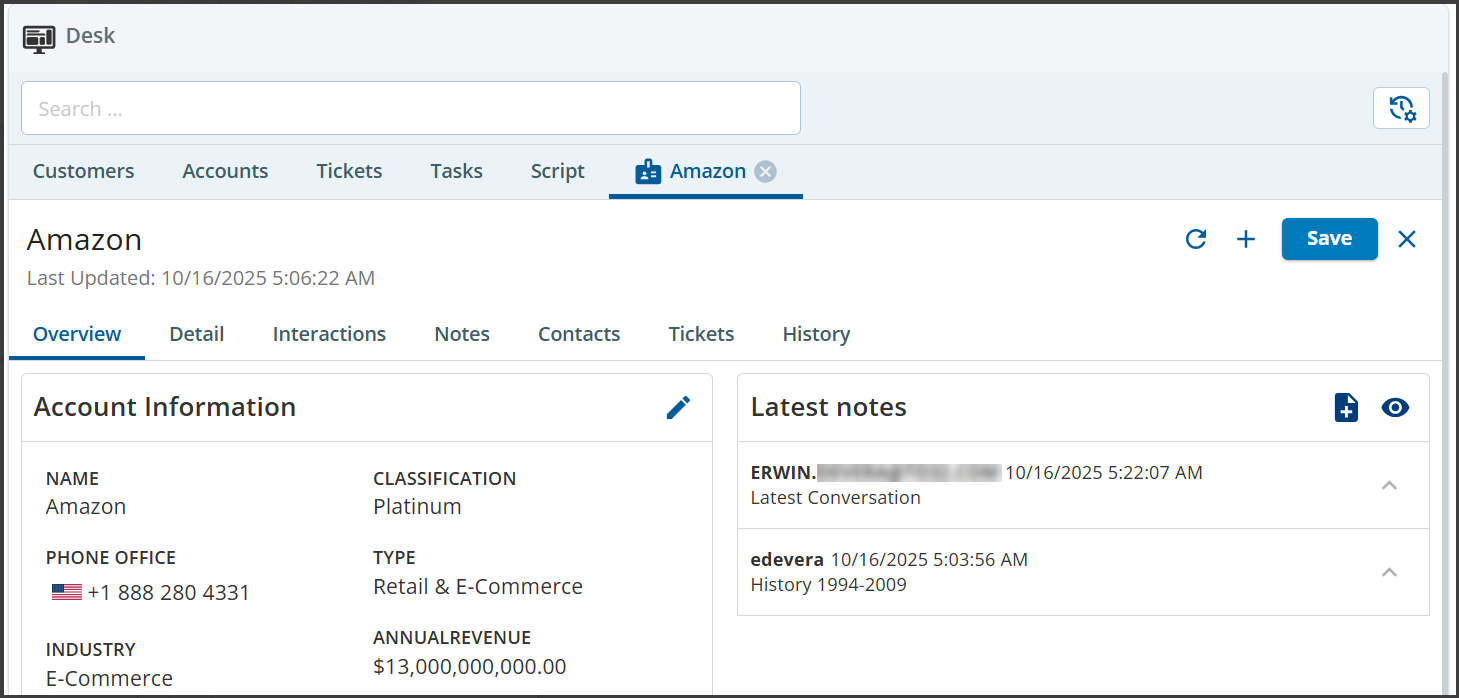
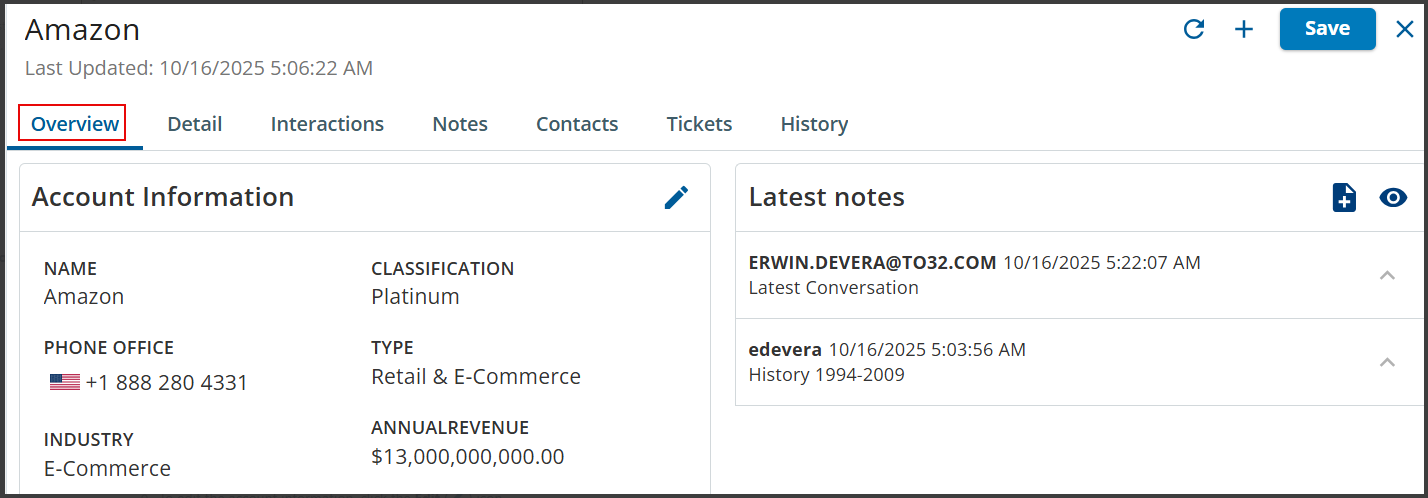
Overview: When you click an Account record, the record opens in the Overview tab where you can view and edit the account information, view the latest notes, and add notes.
To edit the account information, click theEdit() icon.
To add notes, click theNew Notes() icon.
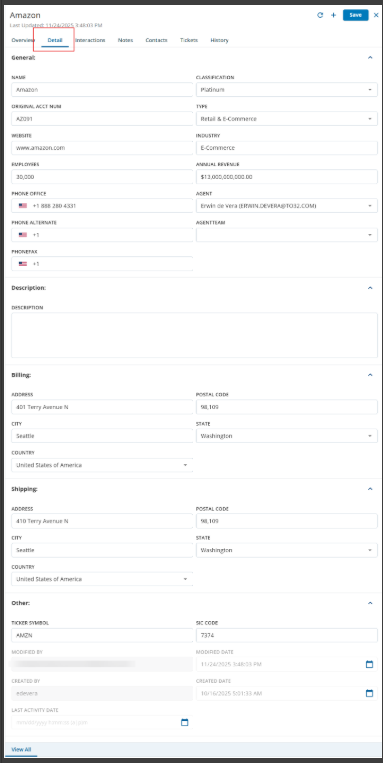
Detail: The Detail tab displays all the information about an account. This tab also allows you to update the accountinformation.
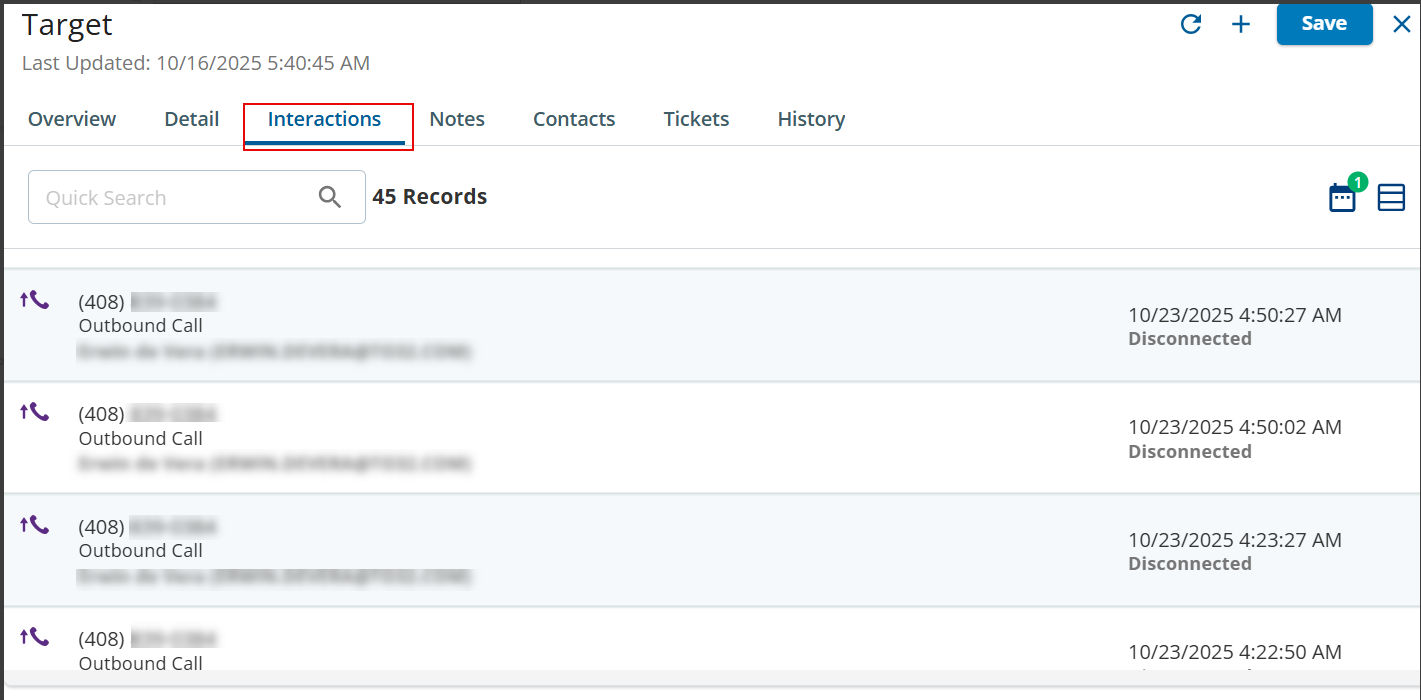
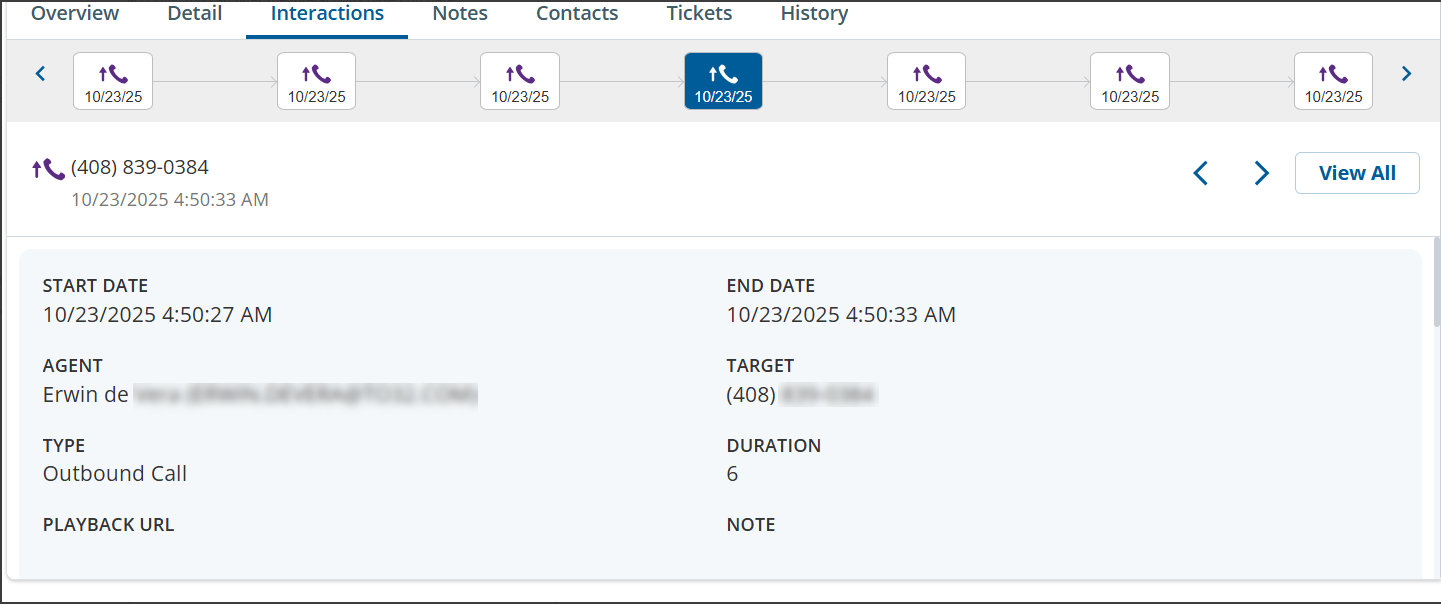
Interactions: The Interactions tab displays interactions from customers that are associated with an account. For example, if Bruce is a customer associated with an account, interactions done by Bruce are displayed in the Interactions tab of that account.You can filter the interactions based on date.
You can also click a specific interaction to view additional information about that interaction.
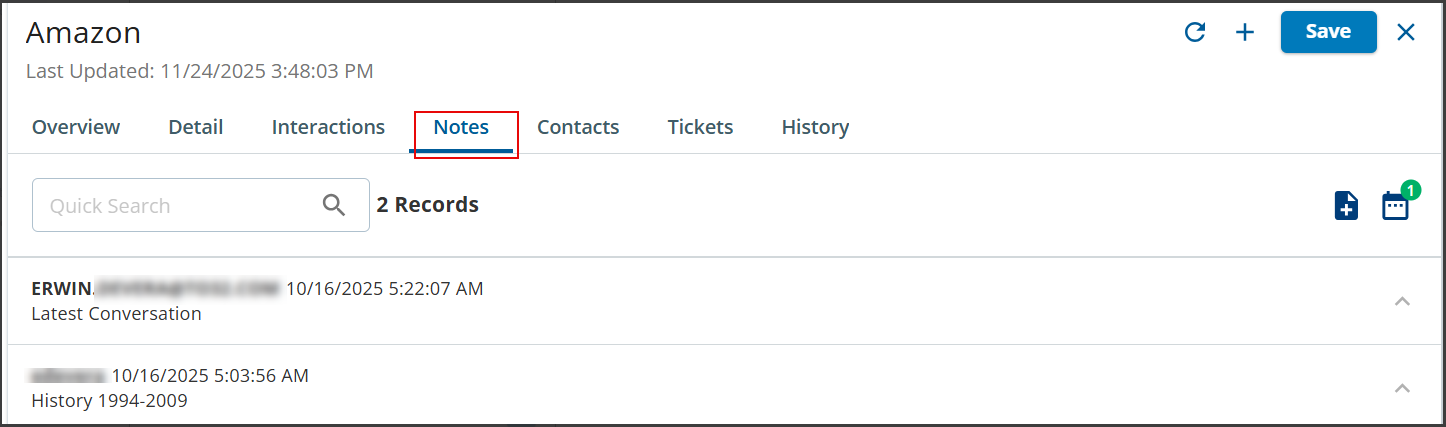
Notes: The Notes tab lists all the notes associated with a specific account. You can add notes, filter notes based on the date, and add attachments to notes.
To add notes, click theNew Notes() icon.
To upload an attachment, expand the note, and then click theUpload() icon at the end of the note.
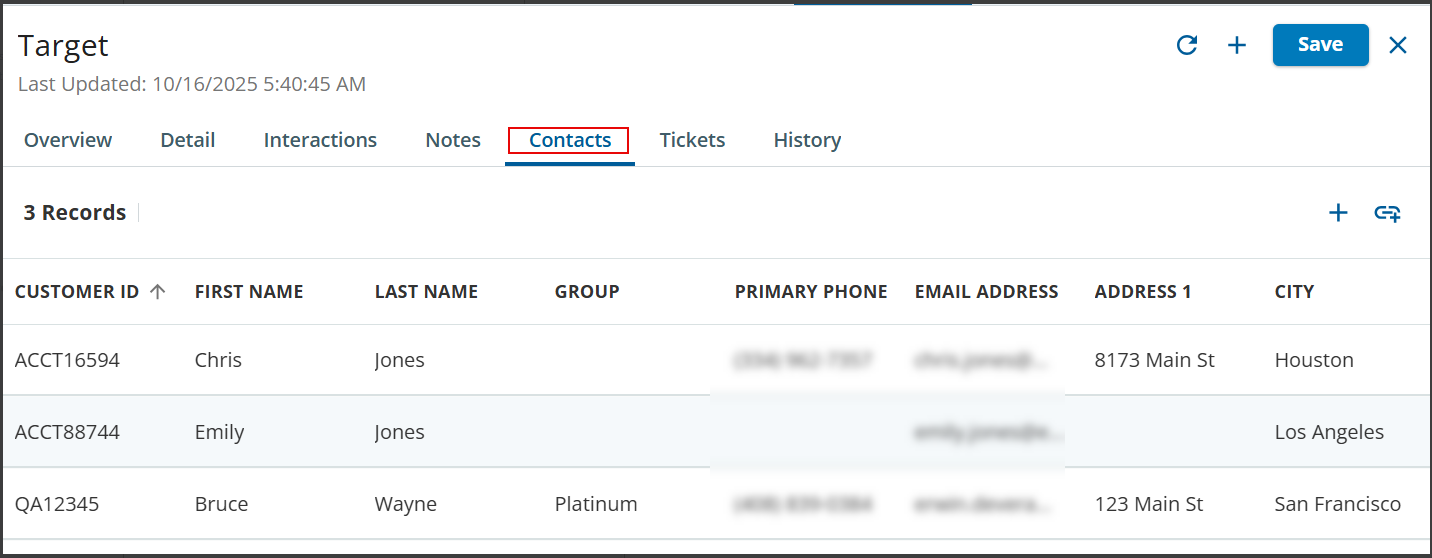
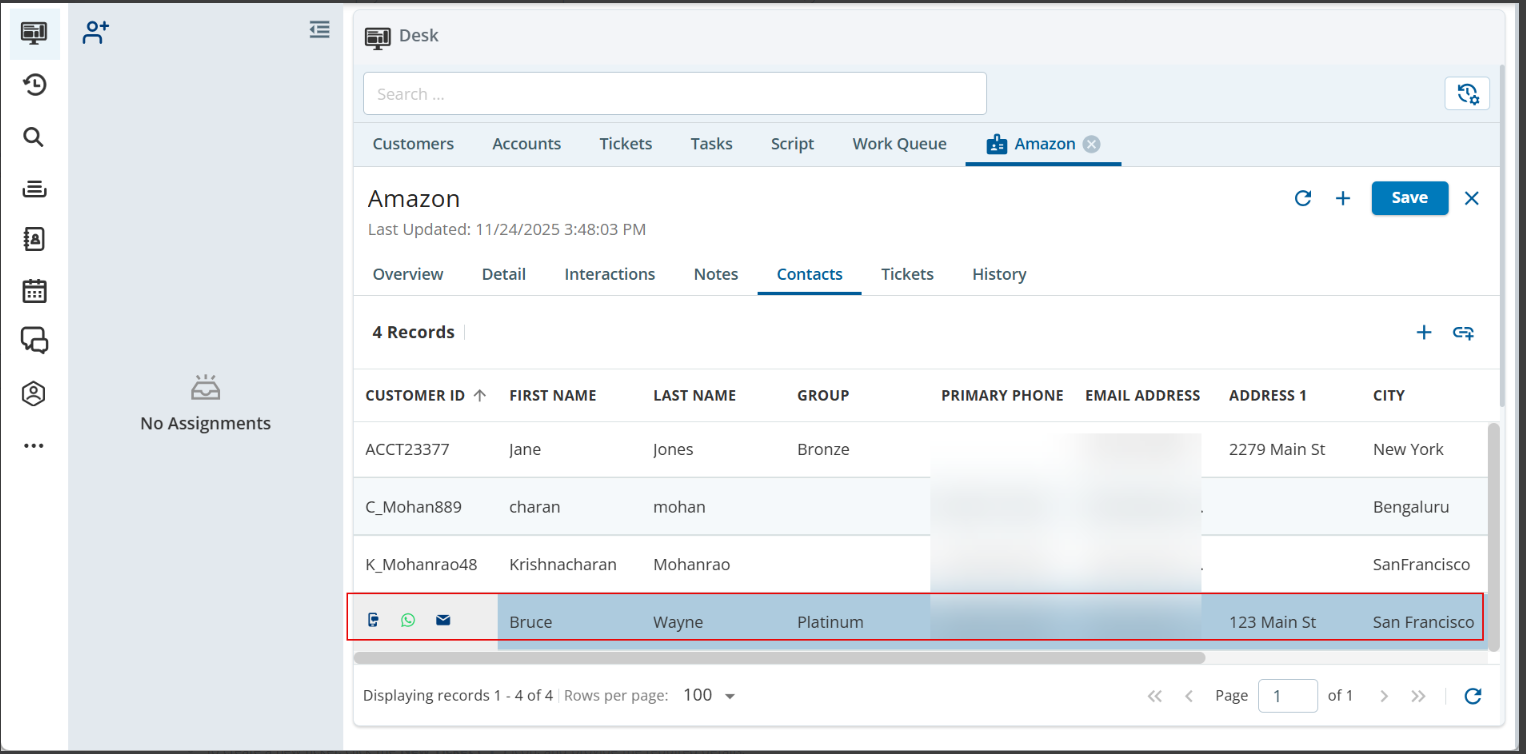
Contacts: The Contacts tab displays customers associated with specific accounts. From the Contacts tab, you can add customers, link customers to accounts, and use the click-to-contact buttons to contactcustomers. To view details about a customer, click the customer record. The record opens in a new tab. For details about all the Customer tabs, seeWorking with a Customer Record.
To create a new customer, click theNew Customer () icon. and provide the required details.
To link an account to a customer, click theLink() icon, and then select a customer from the list of existing customers. You can link multiple customers to an account.
To contact a customer, hover the mouse over that customer record. From the options, select the option applicable foryou.
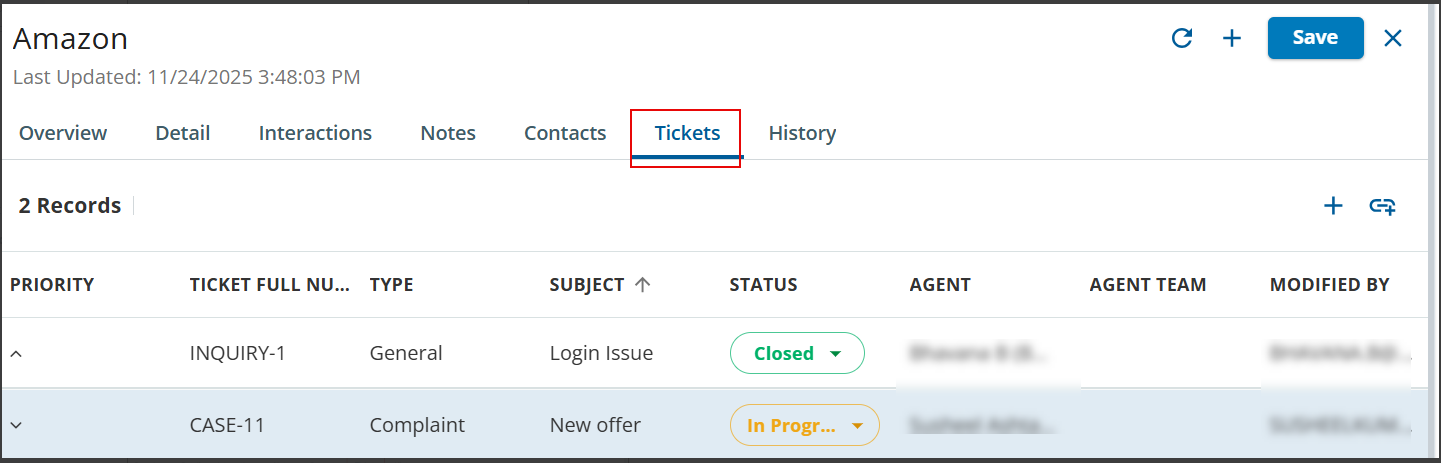
Tickets: The Tickets tab displays the tickets associated with the account. From the Tickets tab, you can create new tickets, link tickets to accounts and unlink existing tickets from accounts.
To create a new ticket, click theNew Ticket () icon. and provide the required details.
To link a ticket to an account, click the Link() icon, and then select a ticket from the list of existing tickets. You can link multiple tickets to an account.
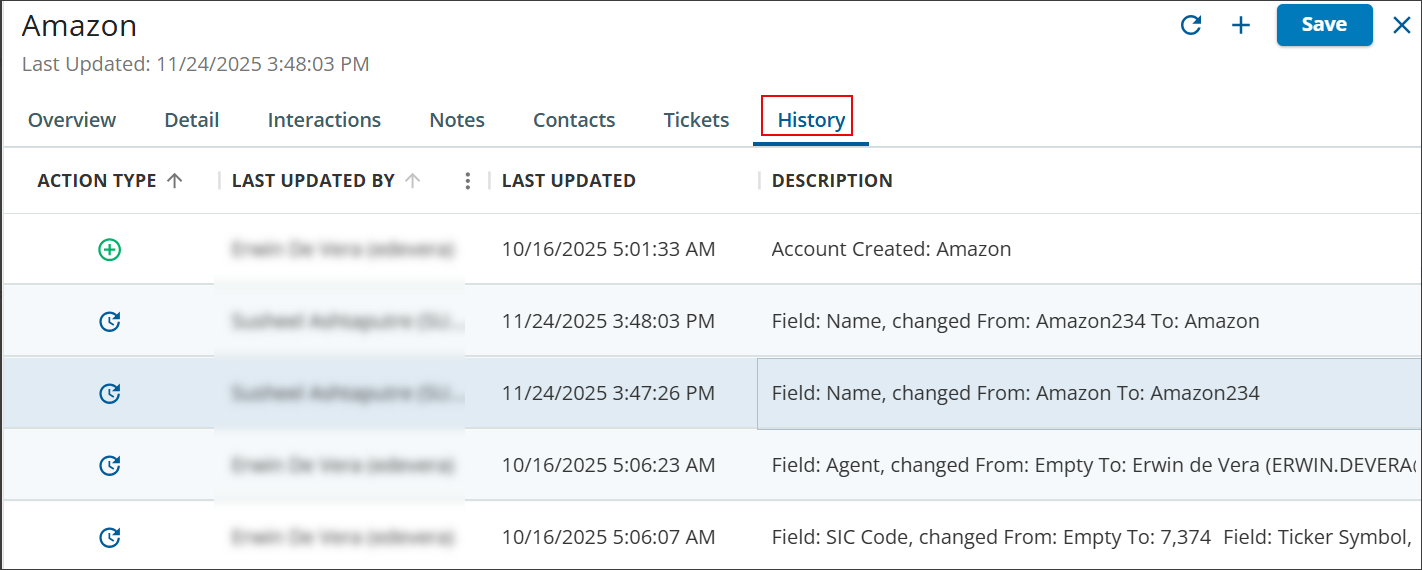
History: The History tab provides information about the account activity. The Description column in this tab provides information about the changes made. For example, if you change the name an account from Amazon to Amazon UK, the update gets reflected in the Description column.