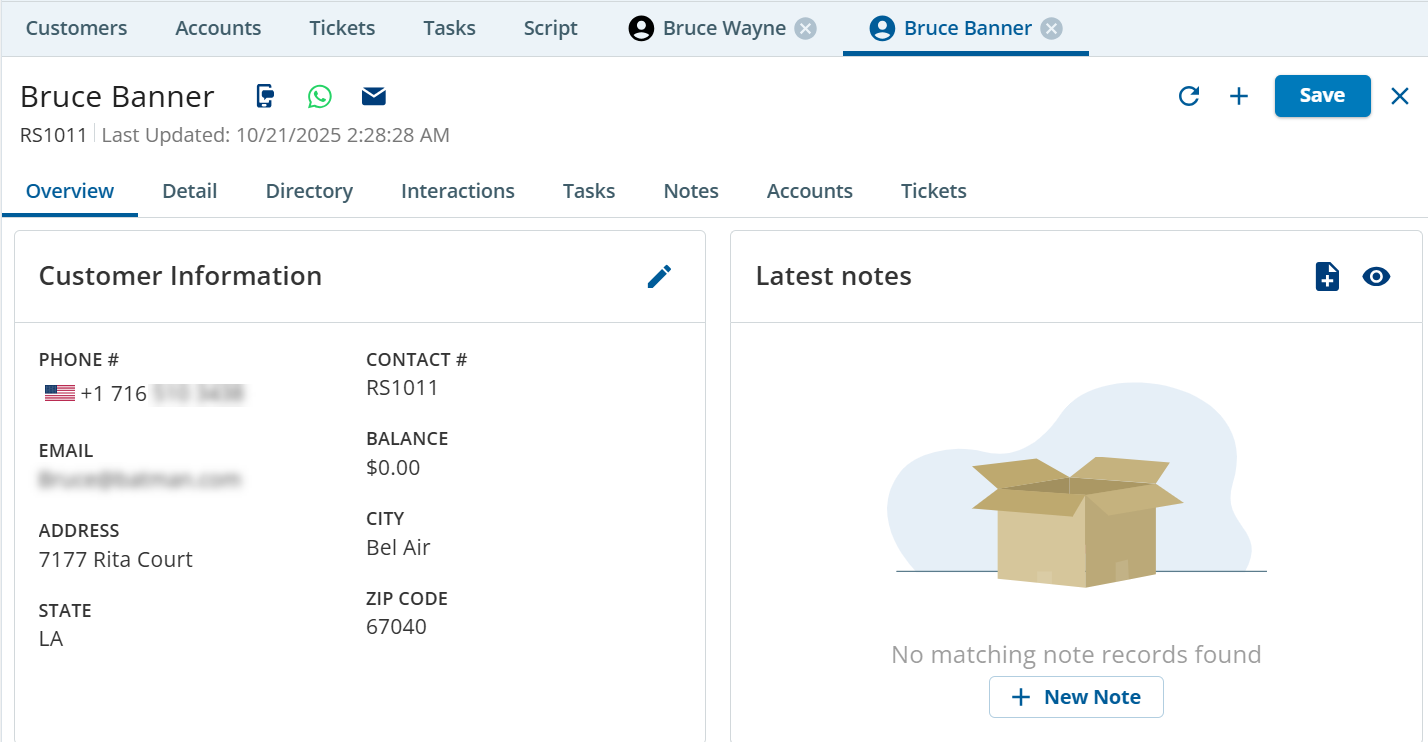
From the list of customers, when you click on an individual Customer record, the record displays all the information for that customer. You can view information, such as customer name, email address, notes, tickets, and so on.
A Customer record displays the following tabs:
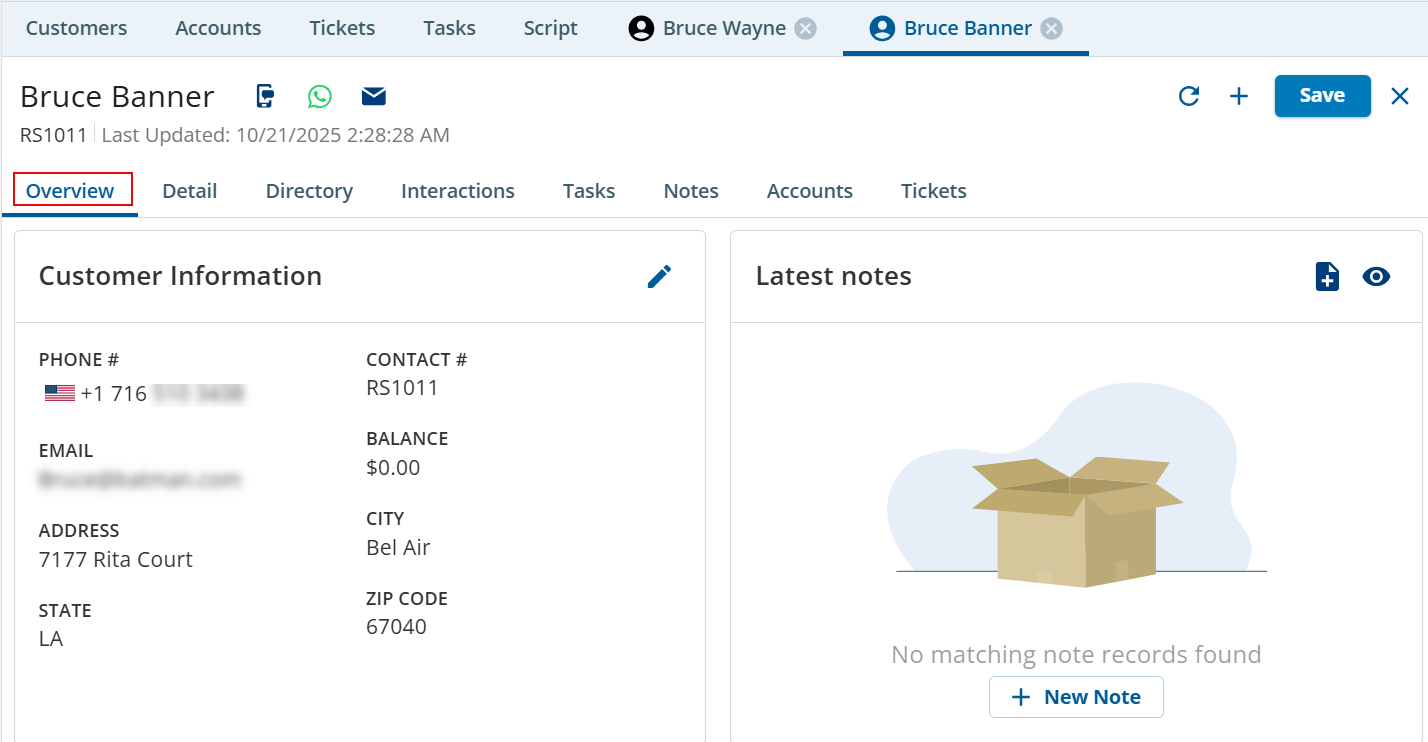
Overview: When you click on a Customer record, the record opens in the Overview tab where you can see the customer information, view the latest notes, and add notes.
The information in the Overview tab changes depending on theCustomer group assigned to a customer. Customer groupis a group of contacts that admins create touse for segmentation.
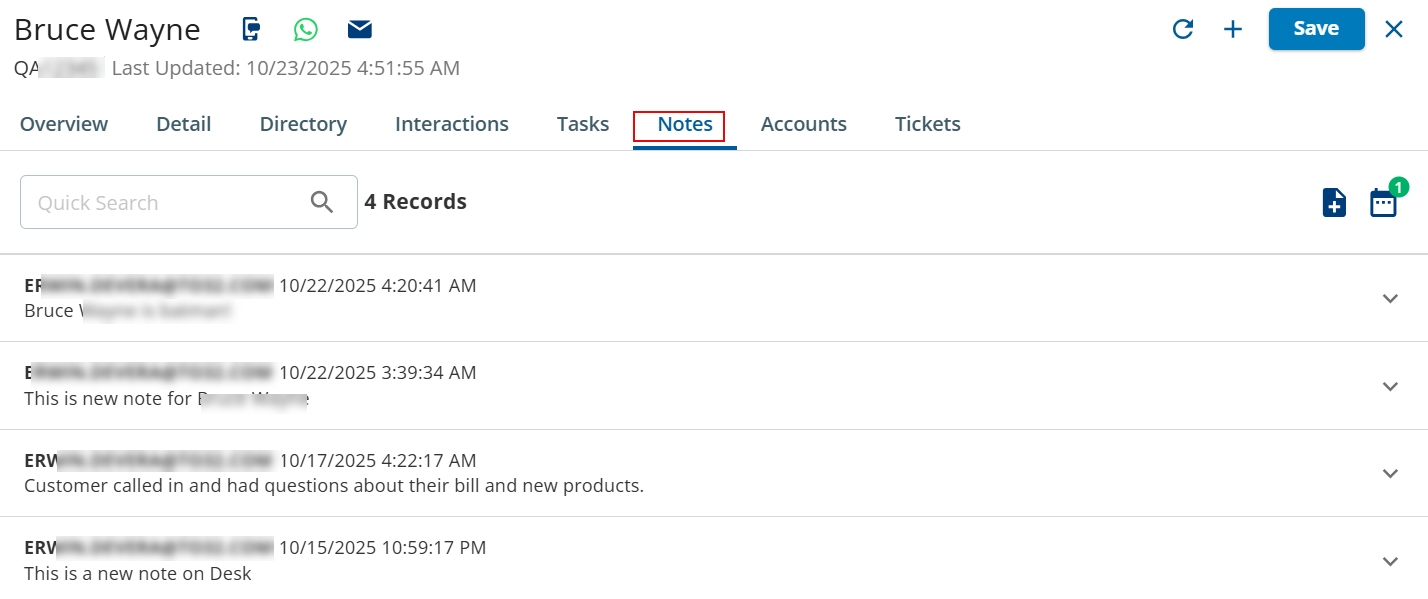
To add notes, click theNew Notes() icon.
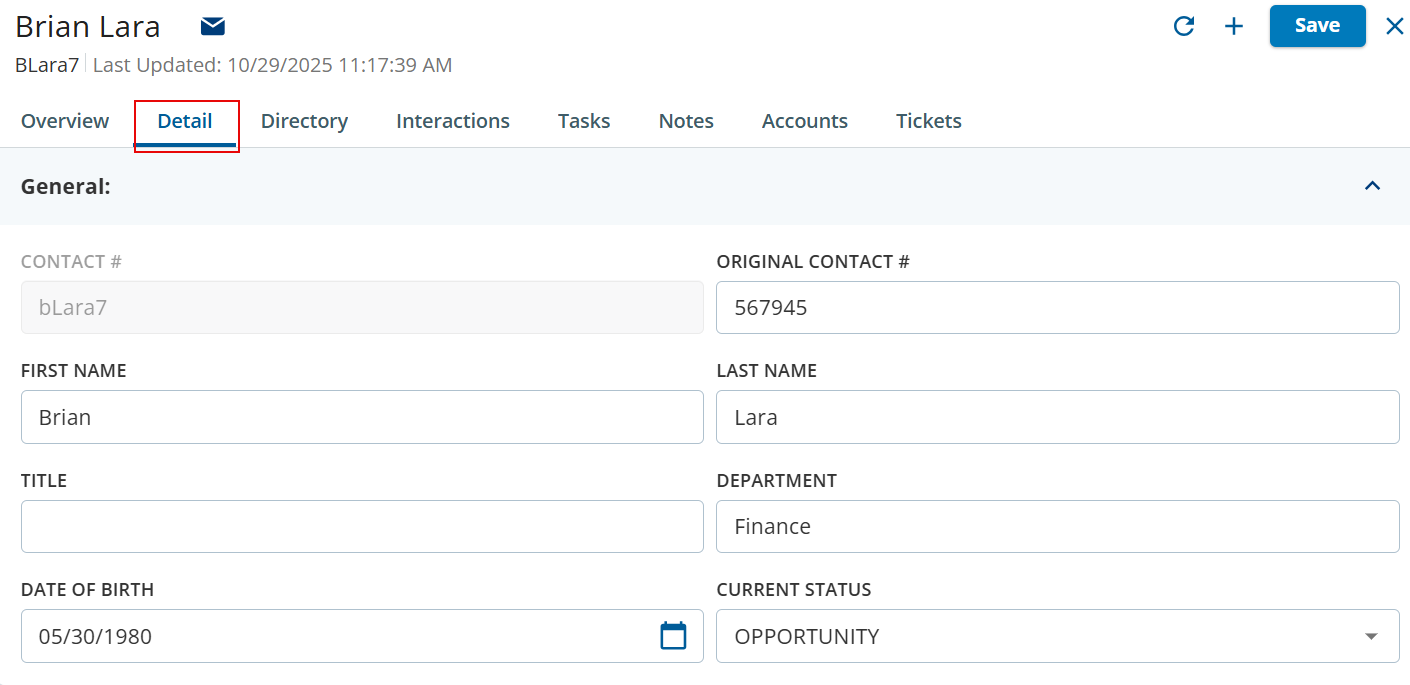
Detail: TheCustomers Detail section enables you to view the values in the fields of a customer record. Depending on the configuration of your desktop, the displayed fields and ability to edit the displayed fields might differ.
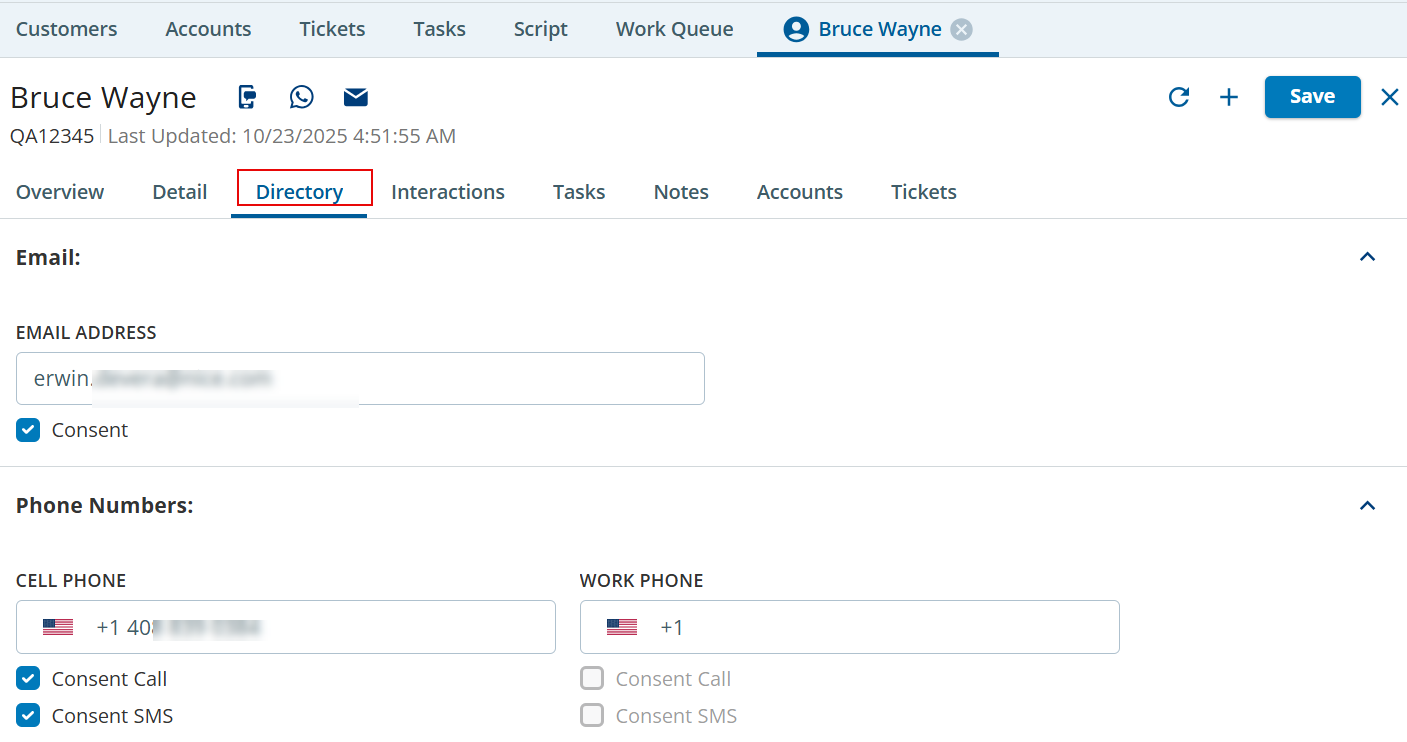
Directory: The Customers Directory section enables you to view the phone numbers and email address associated with a customer.
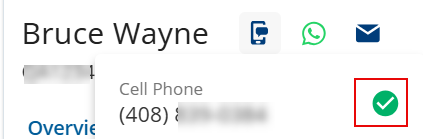
The Consent checkbox indicates whether a customer has given consent to be contacted via call or SMS. If the Consent Call or Consent SMS checkboxes are selected, when you hover the mouse over the phone or email icons, a green checkmark appears indicating that the customer has accepted to be contacted.
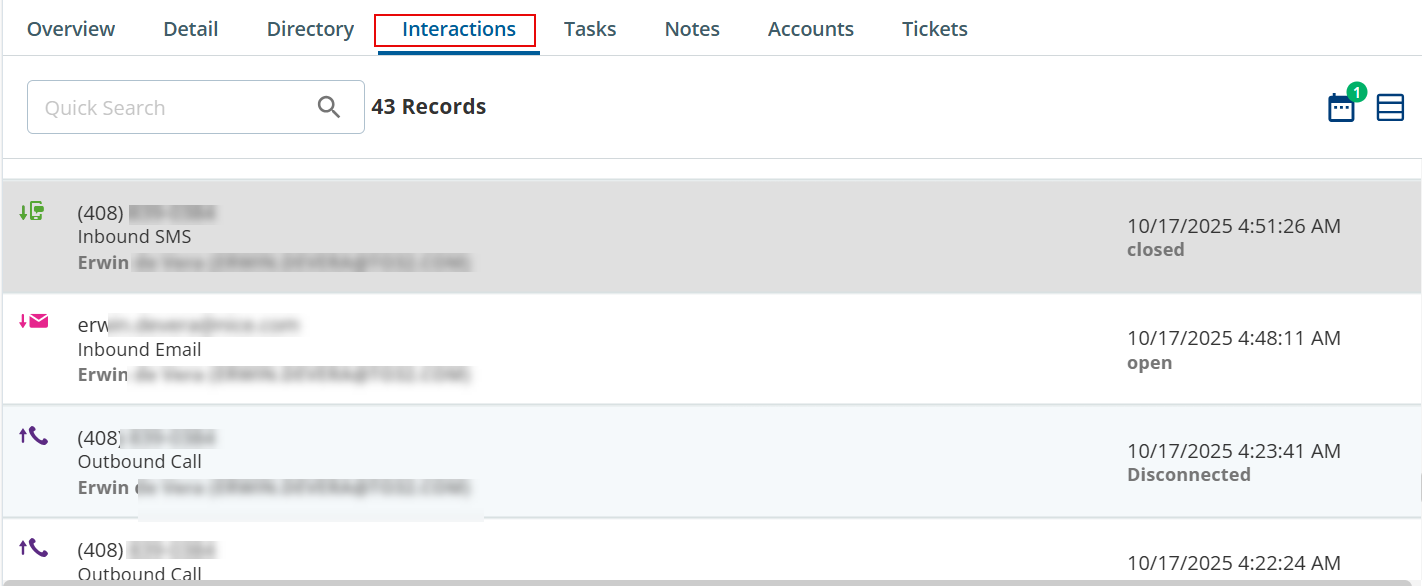
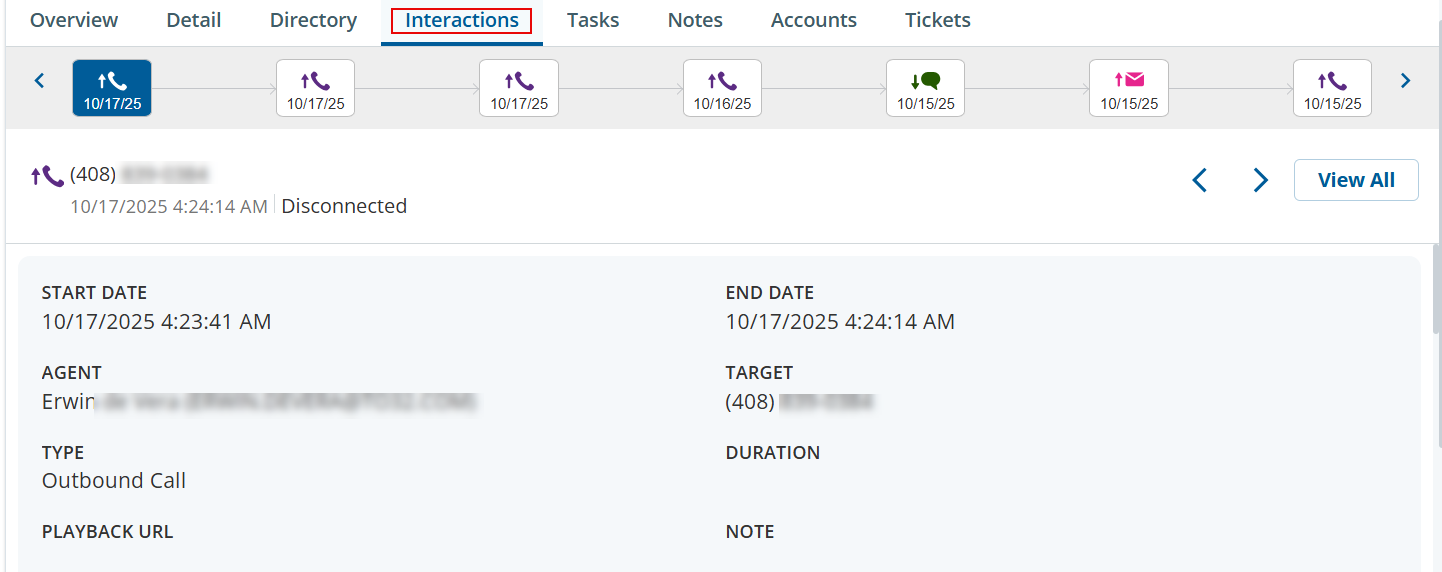
Interactions: Customer interactions that are offered to an agent appear on the Interactions tab only if Enhanced Customer Card (Card) or Desk is enabled for that agent. Interactions are linked to customer profiles. This gives you additional context about the interactions. You can view the Interaction table in Grid or List view by using the View ( ) icon. You can also click a specific interaction to view additional information about that interaction.
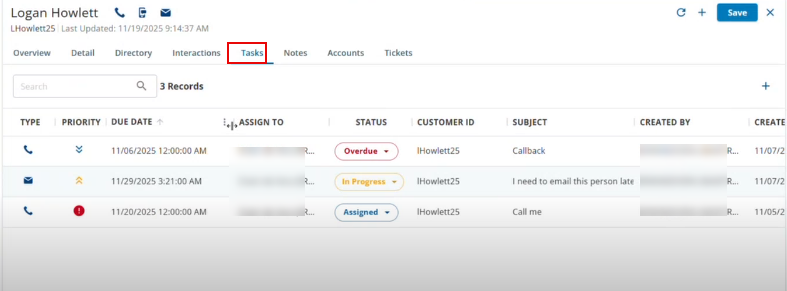
Tasks: Displays the tasks that are added by agents and assigned to customers. You can view the tasks only if the tasks are assigned to you. From the Tasks tab you can:
Contact a customer by clicking the dial icon or email icon from the Type column.
Create a new task by clicking the New Task () button.
Notes: The Notes tab displays the notes added by a customer or an agent. From the Notes tab, you can add notes and filter the existing notes by date.
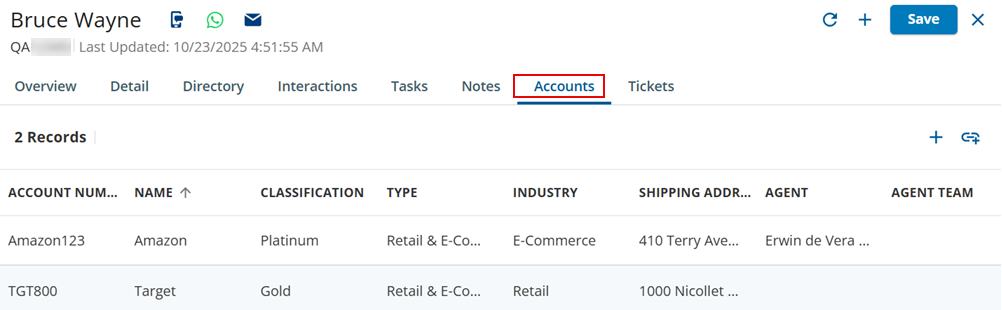
Accounts: The Accounts tab displays a list of accounts that are associated with customers.
You can add new customers by using the Add Customer () icon.
You can link a customer to an account by using the Link () icon.
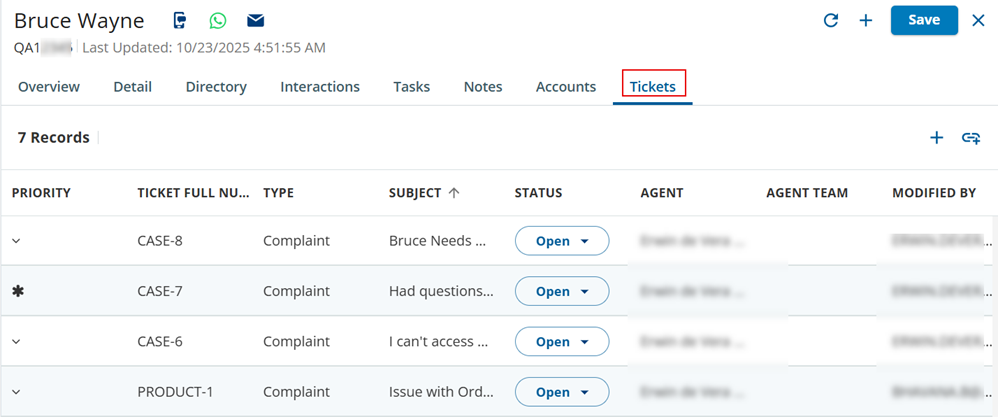
Tickets: The Tickets tab displays the tickets associated with a specific customer. You can also view information such as status, priority, type of the ticket, and so on.