Download PDF
Download page Contact Details.
Contact Details
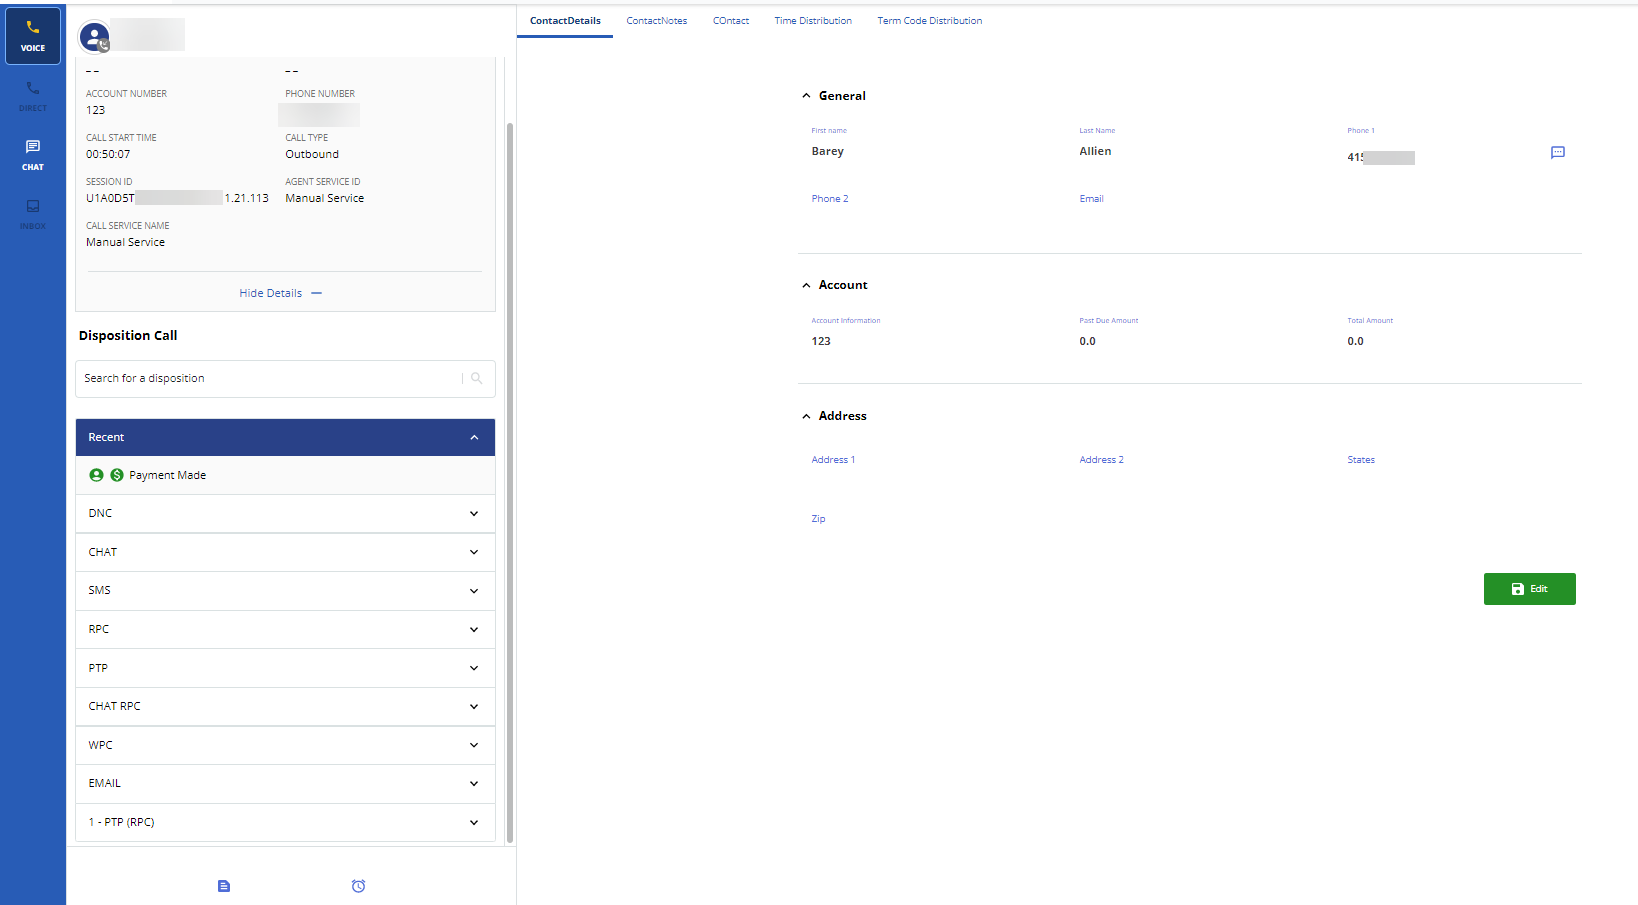
The Contact Details section of your Agent Desktop enables you to view information about a customer and send emails and SMSes to the customer during or after a phone conversation. While you are on a call, you can send payment receipts, reminders, and survey links. In addition, by using the Edit button in the section, you can modify the customer information (except the Account and Phone 1 fields).

Sending an Email
To send an email to a customer:
- Click
 next to the email address of the customer.
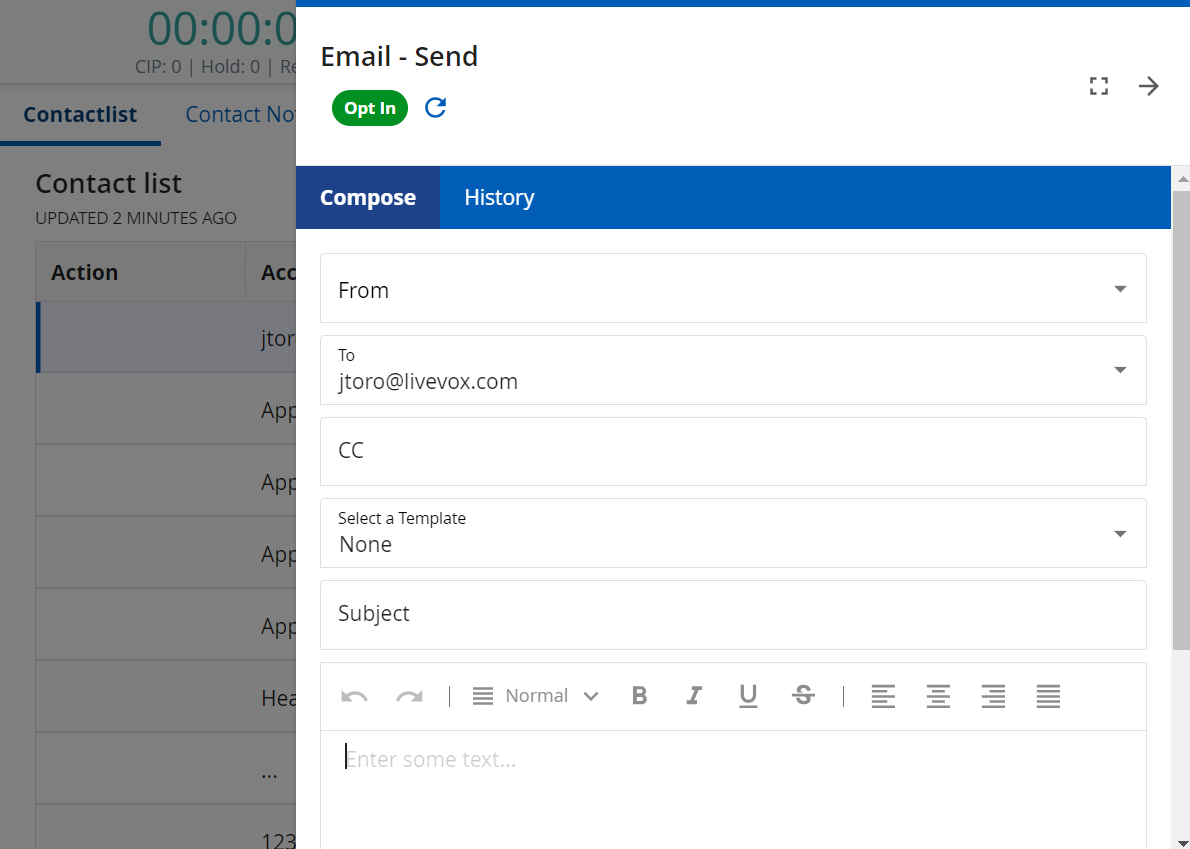
The Email window appears.
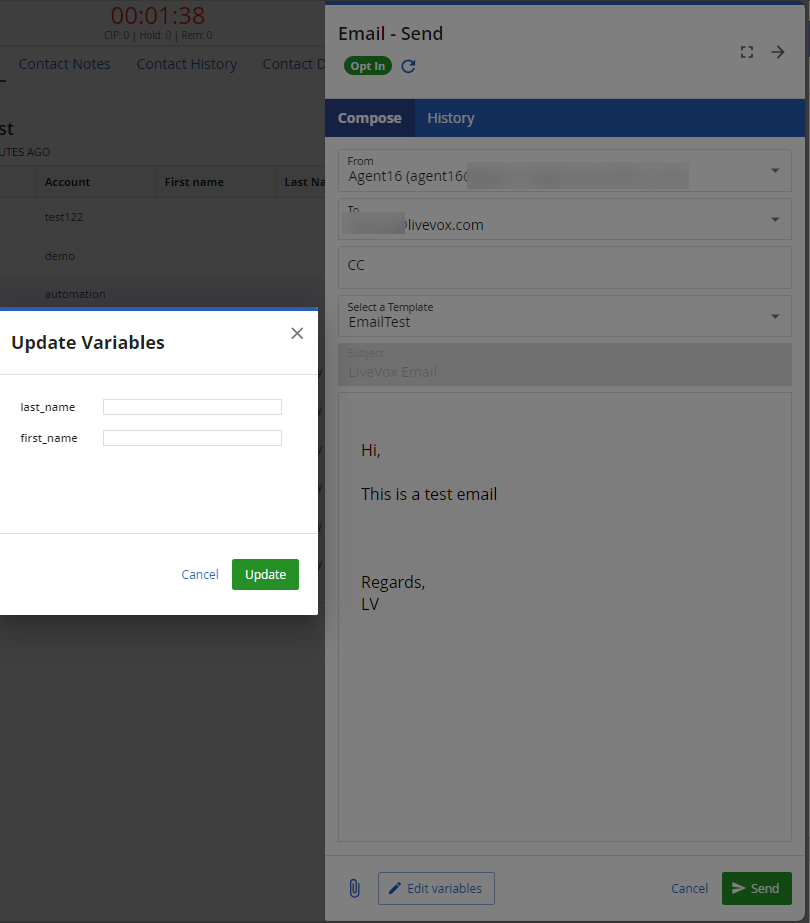
- In the Template field, select a template for your email. If you do not want to use any template, select None. If a template is selected, the Edit Variable field is enabled. Make changes and click Update.

If you selected None in the Template field:
In the From field, select the email address from which you want to send the email.
In the Subject field, enter the subject of the email.
In the text box, enter the message that you want to send to the customer.
- Depending on the email configuration, you can add attachments to an email by using
 next to the Send button.
 - You can preview the attachments before sending the email by using
 below the Subject field.
 - You can delete an attachment by using
 next to the attachment.
 - If the template-based email contains an attachment by default, you cannot delete the attachment.
- You can use the following buttons as specified:
- Clear: Clear the email message.
- Refresh: Refreshes the Email window.
- You can add up to five attachments to an email.
- The total maximum size of the attachments that you can add is 25 MB.
- The Unsubscribe link does not appear in a transactional email.
- The History tab displays any previous emails exchanged between you and the customer.
- Depending on the email configuration, you can add attachments to an email by using
If required, in the Cc field, enter the email address of the person to whom you want to send a copy of the email.
- Click Send. The email is sent to the customer.
Sending an SMS
To send an SMS:
Click
 next to the phone number of the customer.
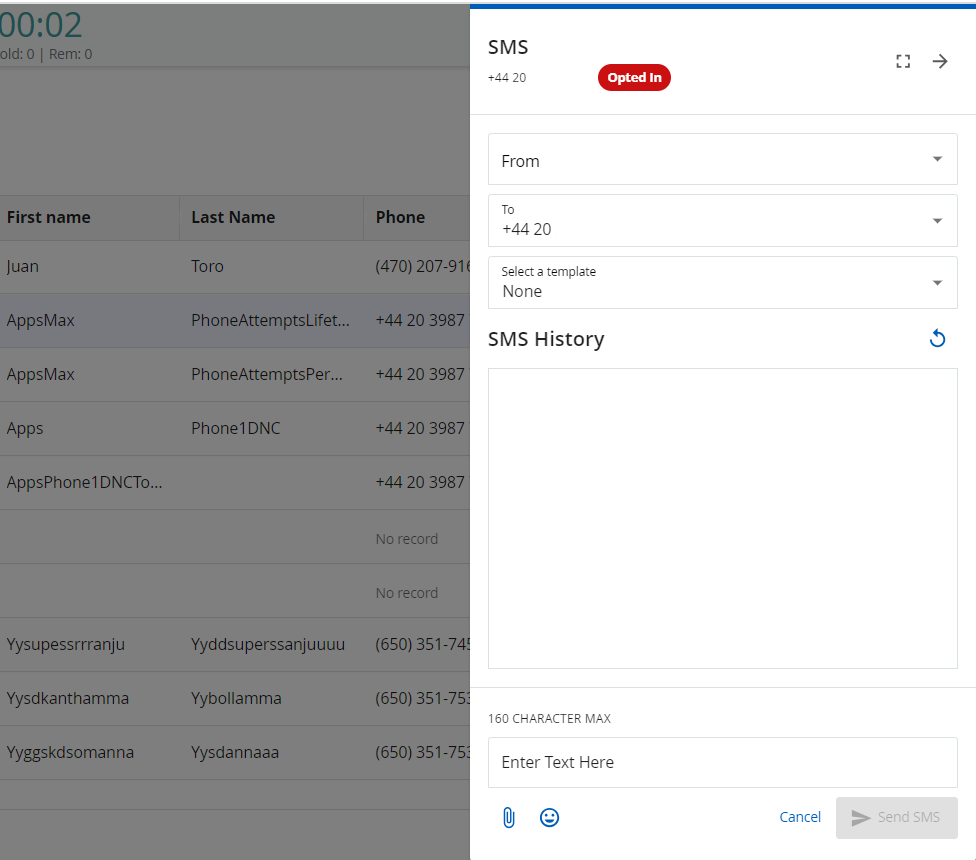
The SMS window appears.
The SMS History section displays any previous SMSes exchanged between you and the customer.
In the Template field, select a template for your SMS. If you do not want to use any template, select None.
If you selected None in the Template field:
In the From field, select the number from which you want to send the SMS.
In the Reply field, enter the message that you want to send to the customer.
- Depending on the SMS configuration, you can add attachments (multimedia content) to an SMS (mass and transactional) by using use
 , and you can also receive SMSes with attachments.
 - You can delete an attachment by using
 next to the file.
 - You can use the following buttons as specified:
- Clear: Clears the SMS message.
- Refresh: Refreshes the SMS window.
- The number of characters that you can enter in the Reply field is 160.
- An SMS (Short Messaging Service) message with an attachment is called an MMS (Multimedia Messaging Service) message.
- The maximum size of an MMS message that you can send (including both text and files) is 5 MB.
- Types of files that can be sent are GIF, JPEG/JPG, PNG, and VCF.
- Your manager can view or download the shared files.
- Depending on the SMS configuration, you can add attachments (multimedia content) to an SMS (mass and transactional) by using use
- Click Send. The SMS is sent to the customer.
The customer contact window for SMS services is based on compliance policies and configured on the LiveVox Portal (LVP) by your manager. If you attempt to send an SMS outside the contact window, an error message appears. For more information, see the Profiles section of the LiveVox Administrative User Guide.