Download page Customizing Account, Contact, and Ticket Tables.
Customizing Account, Contact, and Ticket Tables
You can customize the account, contact, and ticket tables.
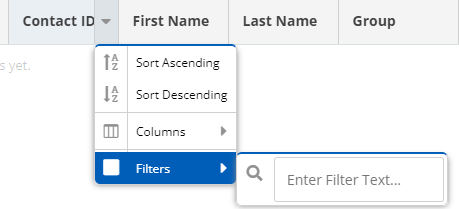
To sort the values in a column in ascending or descending order, click the column heading once or twice as required. Alternatively, you can click the arrow next to the column heading, and then click Sort AscendingorSort Descending. The sorting applies to the entire custom fields available in the list.
To display certain columns, click the arrow next to any column heading, clickColumns, and then select the checkboxes next to the names of the columns that you want to display in the table.
To hide certain columns, click the arrow next to any column heading, clickColumns, and then clear the checkboxes next to the names of the columns that you want to hide in the table.
To filter records based on a column, click the arrow next to the column heading, clickFilters, and then select the required checkboxes (column values) or specify the text based on how you want to filter the records.
When filtering contacts based on the Balance column, to view the contacts whose balance is less than a certain number, enter the number in the field next to the left arrow icon. Similarly, to view the contacts whose balance is more than a certain number, enter the number in the field next to the right arrow icon. To view the contacts that have a certain balance, enter the balance in the field next to the horizontal bar icon .
Steps to Sort Fields
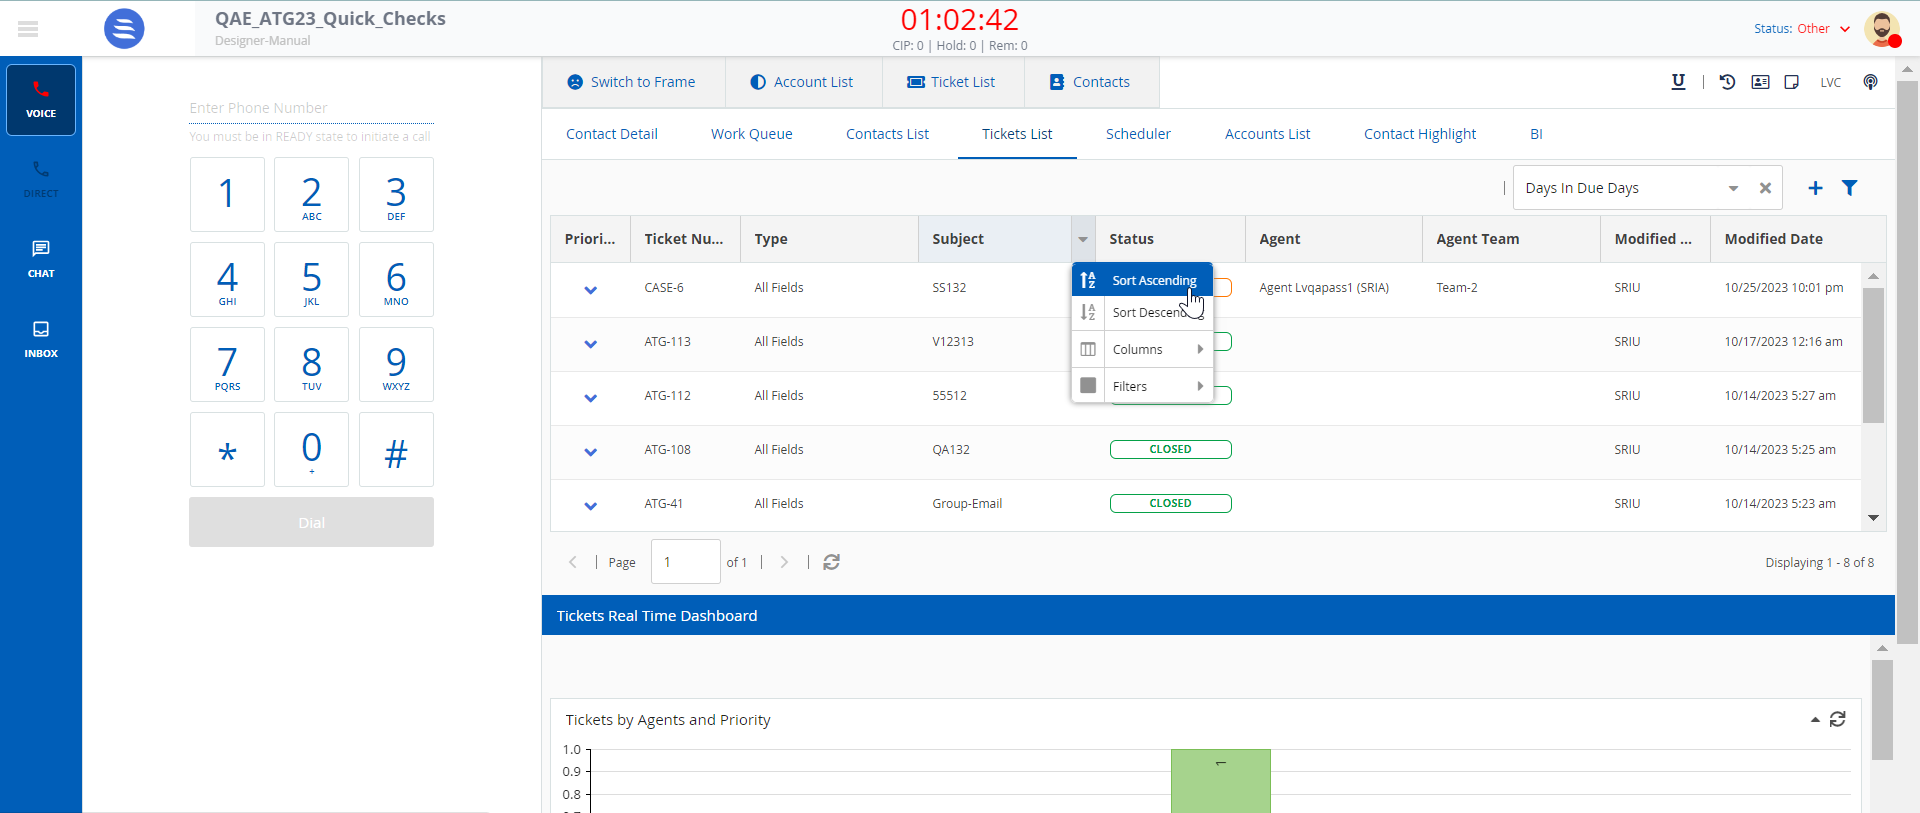
You can quickly sort and search all enabled fields fromAscendingtoDescendingor vice versa.
To sort fields in a ticket List:
In the Ticket List, select any fields you want to sort and click the arrow
Click the Sort Ascending or Sort Descending options. The fields are sorted based on the selected option.