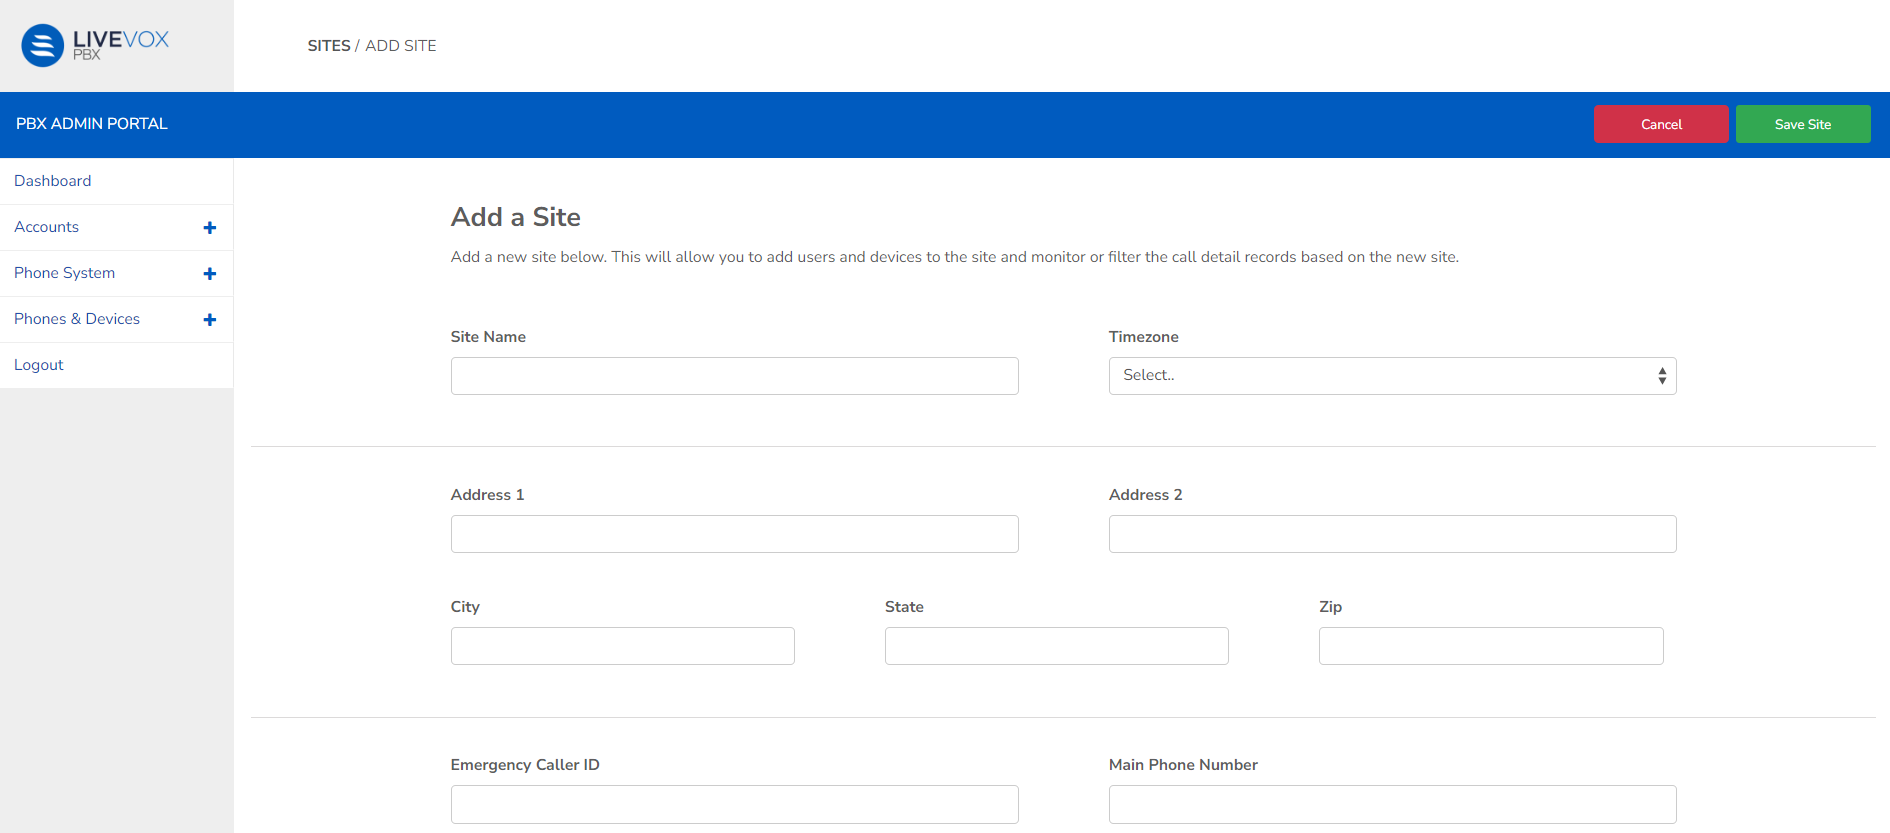
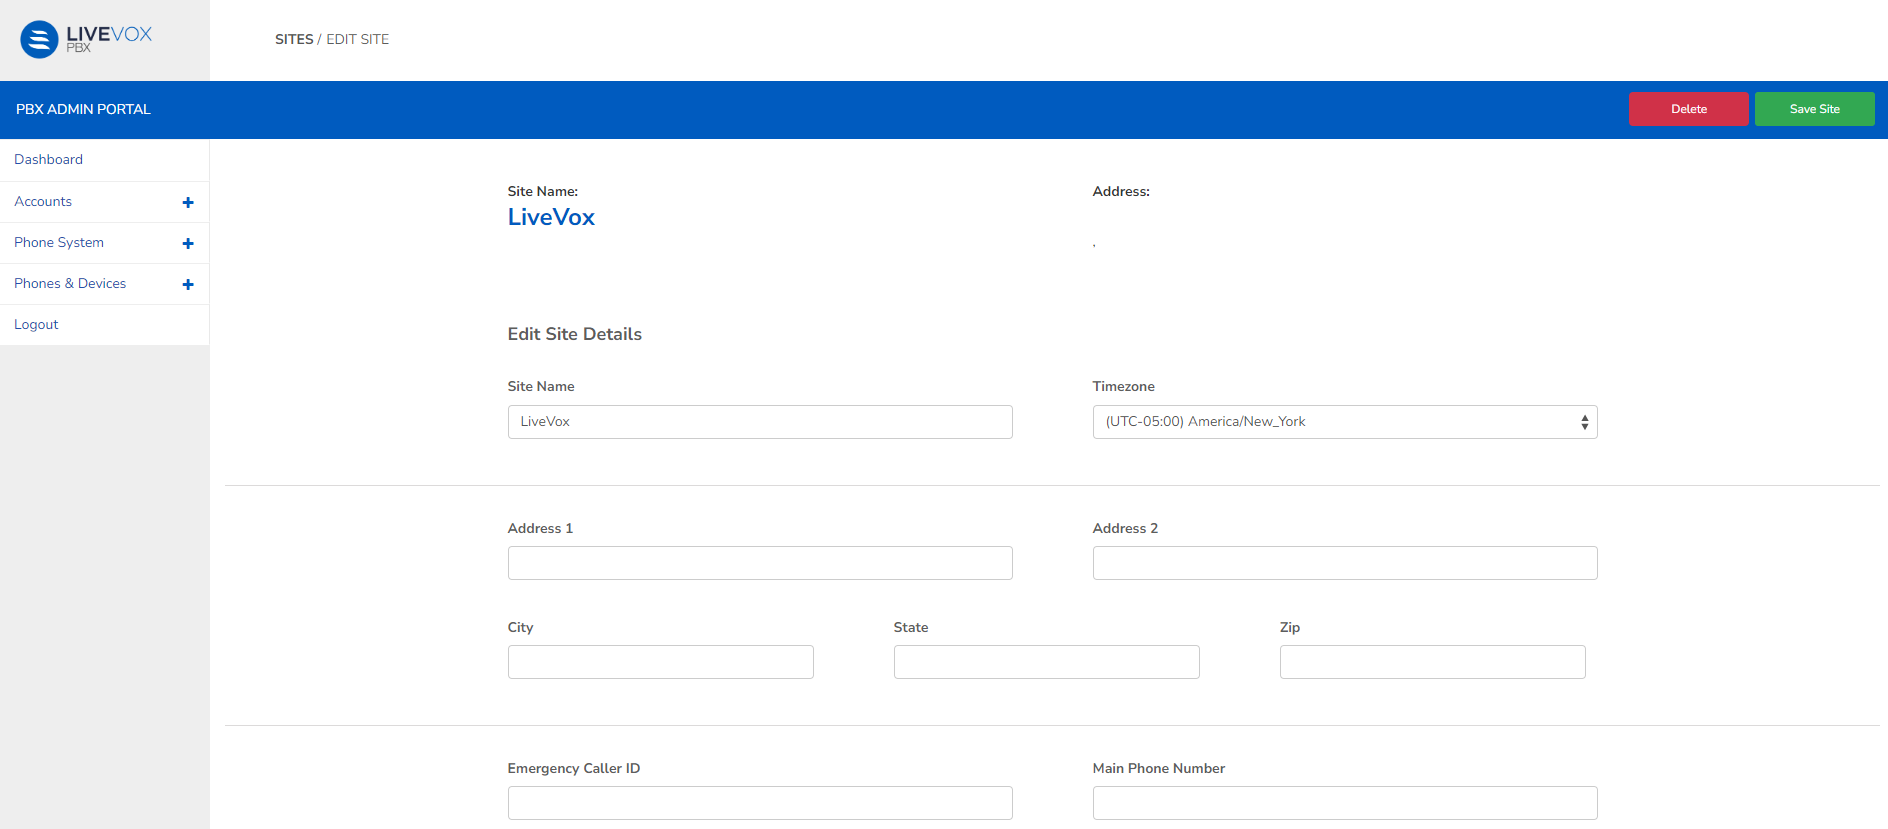
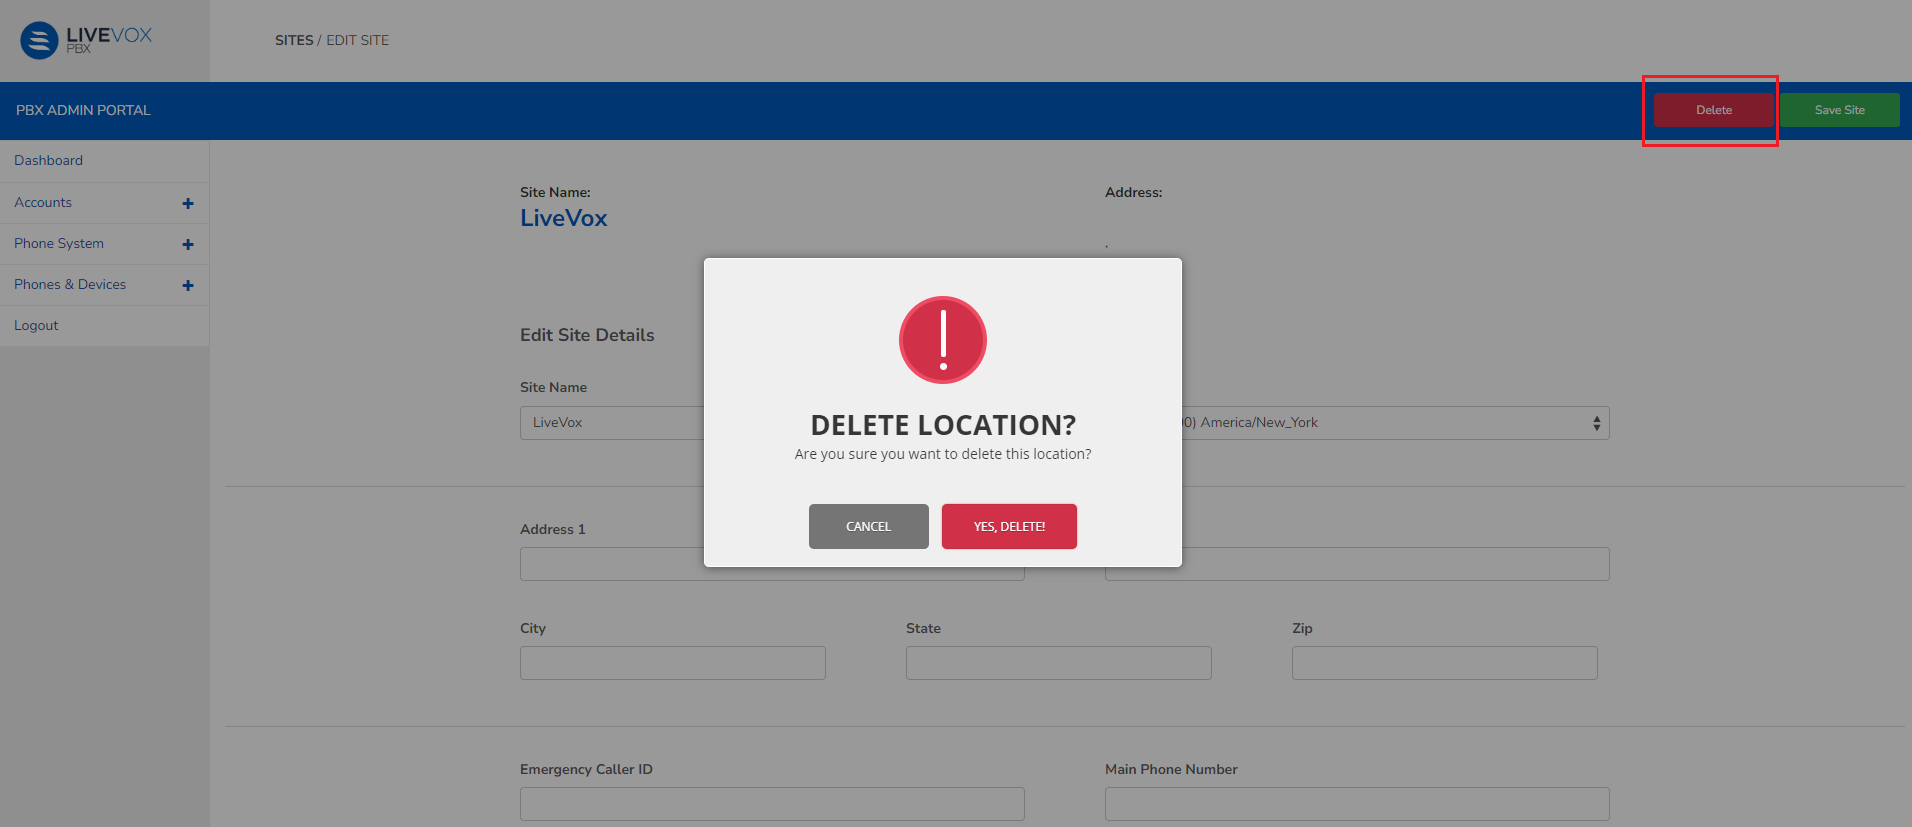
Outbound Engagement (SmartReach) Admin Guide Private Branch Exchange Configuring Phones on PBX Current: Manage Sites PDF Download PDF Download page Manage Sites. Current page All pages Manage Sites The Sites window enables you to add, modify, or delete a site.Adding a SiteTo add a new site:On the PBX Admin Portal Dashboard, click View all Sites in the Sites section. The Sites window with all the sites listed is displayed.Click the Add Site button. The Add Site screen is displayed.Enter the required details in each field. FieldDescriptionSite NameName of the site that you will group users or devices by.TimezoneThe timezone that the site operates in.Address 1The site's physical location where emergency response personnel will be dispatched when the E911 number is dialed.Address 2CityStateZipEmergency Caller IDThe number that reroutes to 911 when dialed.Main Phone NumberContact number for inbound calls to the site.Click Save Site to complete the process and return to the Sites screen. The site appears as a new row in the Site table.Editing a SiteTo edit a site:On the PBX Admin Portal Dashboard, click View all Sites in the Sites section. The Sites window with all the sites listed is displayed.Double-click the site you want to edit. The Edit Site window appears.Make the necessary changes.Click Save Site to save your edits and return to the Sites screen.Deleting a SiteTo delete a site:On the PBX Admin Portal Dashboard, click View all Sites in the Sites section. The Sites window with all the sites listed is displayed.Double-click the site you want to edit. The Edit Site window appears.Click Delete, and a confirmation popup window appears. Click Yes, Delete, the selected site is deleted and the page redirects to the Sites screen. ×