Working with Ticket Views
A ticket view is a customized table containing tickets that is intended to help you and your agents easily segment, find, track, prioritize, or manage tickets without the need for a manual search. You can define a ticket view based on the properties of a ticket and provide access permissions to the users to view and modify the ticket.
Types of Ticket Views
The following describes the types of ticket views:
- Dashboard: Ticket views of this type appear in a ticket dashboard window.
- List: Ticket views of this type appear on the Tickets tab when you click TICKETING > TICKETS on the Config tab.
For agents and agent teams, ticket views appear in the ticket list section on their Agent Desktops.
Creating and Designing a Ticket View
To create and design a ticket view:
- On the Config tab, navigate to TICKETING > Tickets Config > Views.
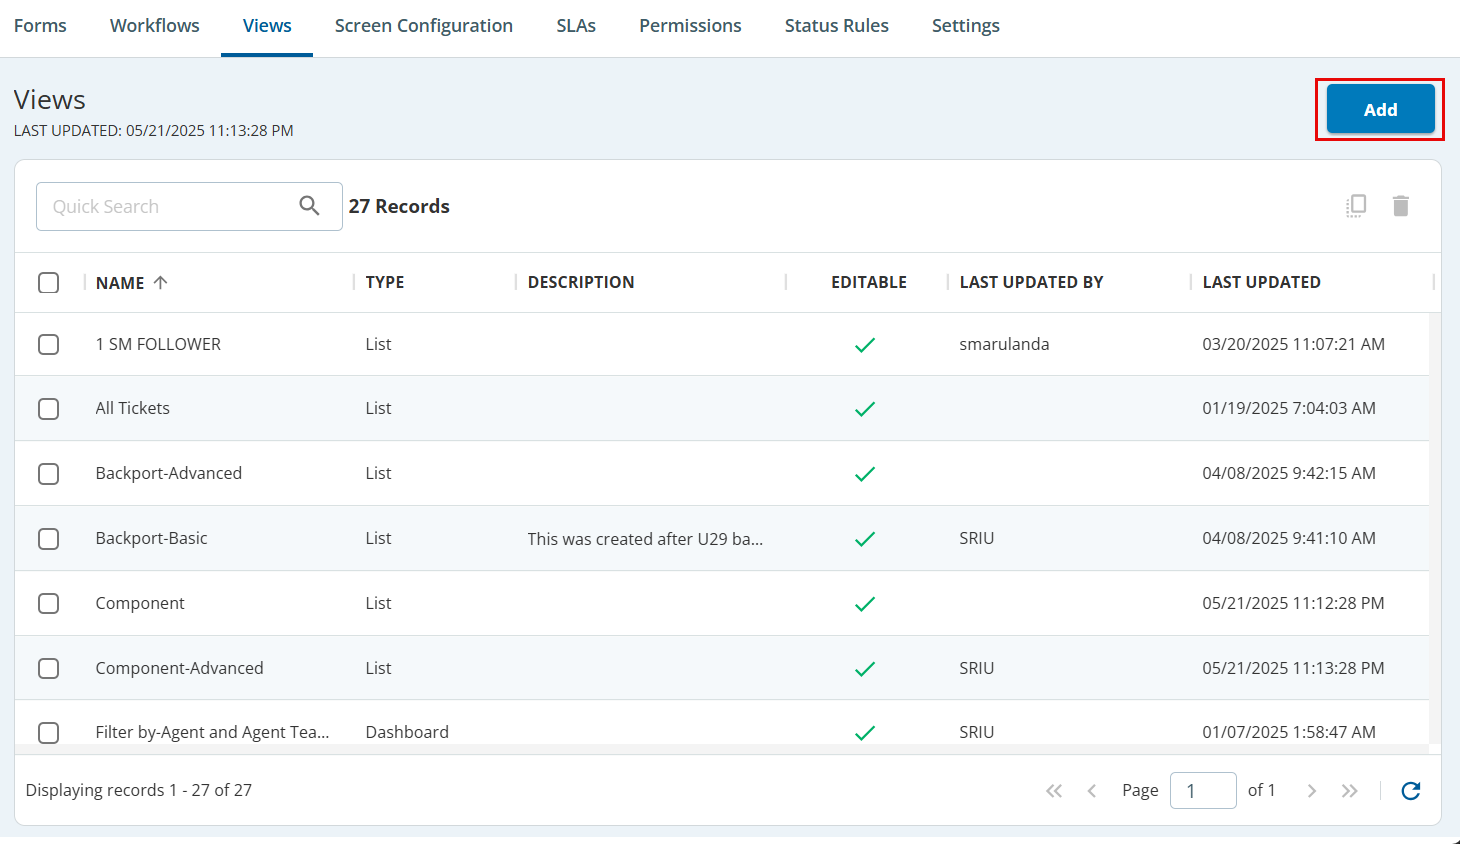
- Click Add.
The Settings tab appears.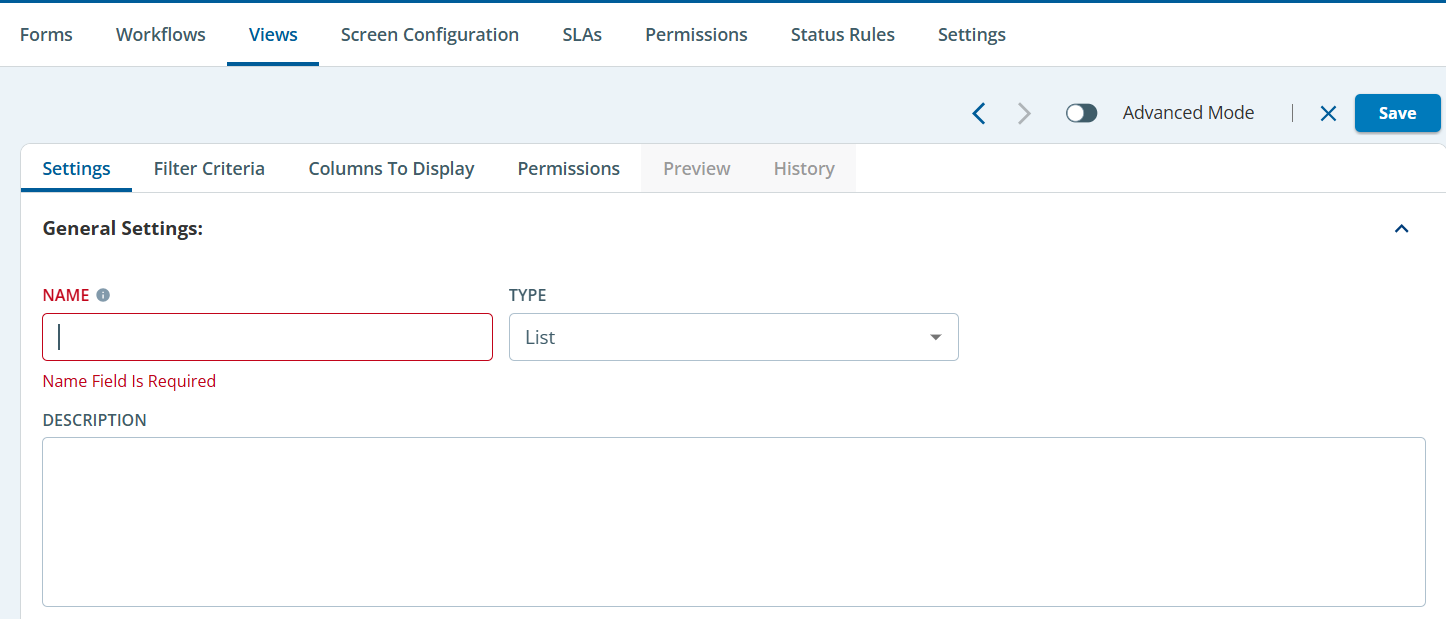
Specify values in the following fields, and then click Save:
- NAME: Identifies the view.
- TYPE: Select the display type. Available options are: List and Dashboard.
- DESCRIPTION: Provides a description of the view. This field is optional.
- NAME: Identifies the view.
- Click Save. The view gets created.
On the Filter Criteria, Column to Display, and Permissions tabs, specify values in the fields.

For information about the fields, see the Subtabs Used When Designing a View topic in the Product Documentation Library.
Click Save.
The design of the ticket view is saved.
In the Ticketing Config window, on the Views tab, you can:
- Preview a ticket view by double-clicking the row displaying the view and then clicking the Preview tab.
- Modify, copy, or delete a ticket view by selecting the row displaying the view and then using Edit, Copy, or Delete, respectively.
- Modify the design of a ticket view by double-clicking the row displaying the view.
- View a summary of all changes made to a ticket view by double-clicking the row displaying the view and then clicking the History tab.
- Filter the ticket views by entering the text in a search box to filter the views.
Managing a View
You can view your tickets by specifying the criteria in the Filter Criteria tab. By default, the Filter Criteria tab consists of a few fields. You can specify your choices in the fields and save the changes. For more information on managing a view, see Managing a View and for additional information on using the Filter Criteria, see Advanced Filter Criteria.
The Summary section displays the following:
- Filter Criteria: All the selected criteria appear.
- Fields to Display: All the fields that are present in the Filter Criteria tab will appear.
- Restrict Editors: If the ticket contains any restricted editors, then the name will appear.
- Restrict Visibility: If the ticket contains any restricted visibility, then the name will appear.