Configuring WhatsApp
WhatsApp Business Account Requirements
Before configuring WhatsApp as a business channel for communication with your customers, your must have the following:
1. A valid phone number
2. A verified and approved WhatsApp business account
WhatsApp requires that you use an Approved Message Template when you send a business-initiated message to the customer. You should review the WhatsApp Business Messaging Policy to understand the latest requirements for communicating over the WhatsApp channel. You should ensure that you understand the rules around the 24-hour customer service window, because it provides the necessary context for subsequent text within this document.
WhatsApp Channel Configuration
You can use the WhatsApp channel for inbound and outbound communication with your customers. SmartReach customer service assists you in setting up the WhatsApp channel for your client portal, as part of the implementation. After the implementation team configures WhatsApp at the client level, you can configure WhatsApp at the service level. You must have a CXone Tenant and be a CXone admin.
Using WhatsApp for Outbound Communication
To use the WhatsApp channel for an outbound campaign, you must have an Approved Message Template. An Approved Message Template is a message template that has been reviewed and approved by WhatsApp. You may submit message templates for approval and manage approved message templates through your CXone Tenant.
Once you have an Approved Message Template, note the Message Template Name. For more information see the WhatsApp Message Template Guidelines.
Next, configure the WhatsApp message within your SmartReach portal.
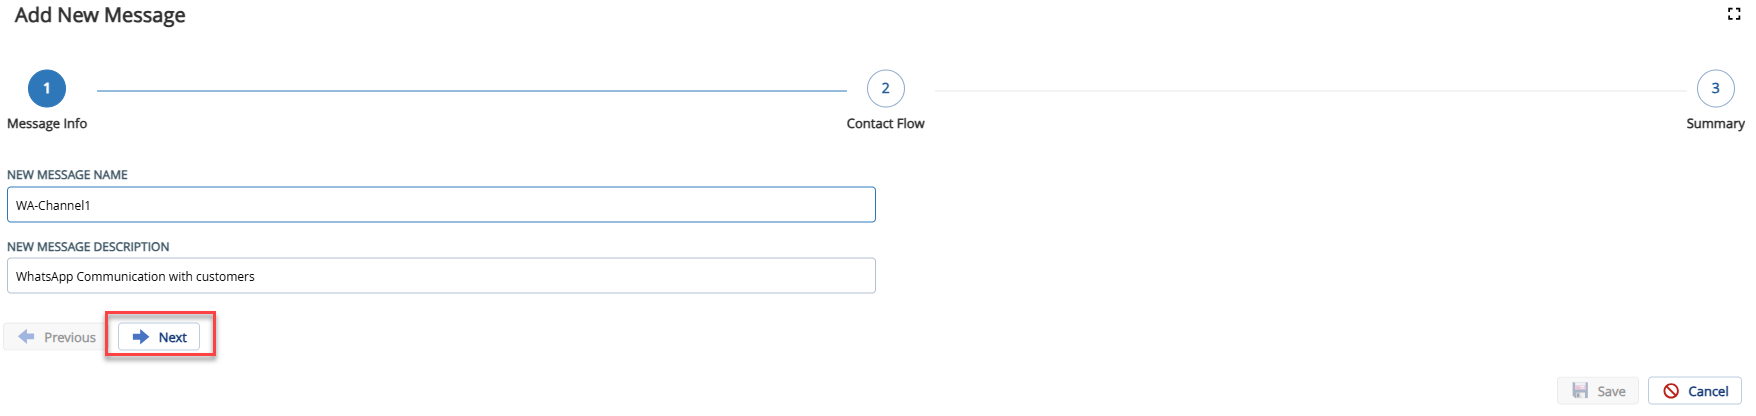
- Navigate to Configure > Messaging and click Add. Specify a name and description and click Next.
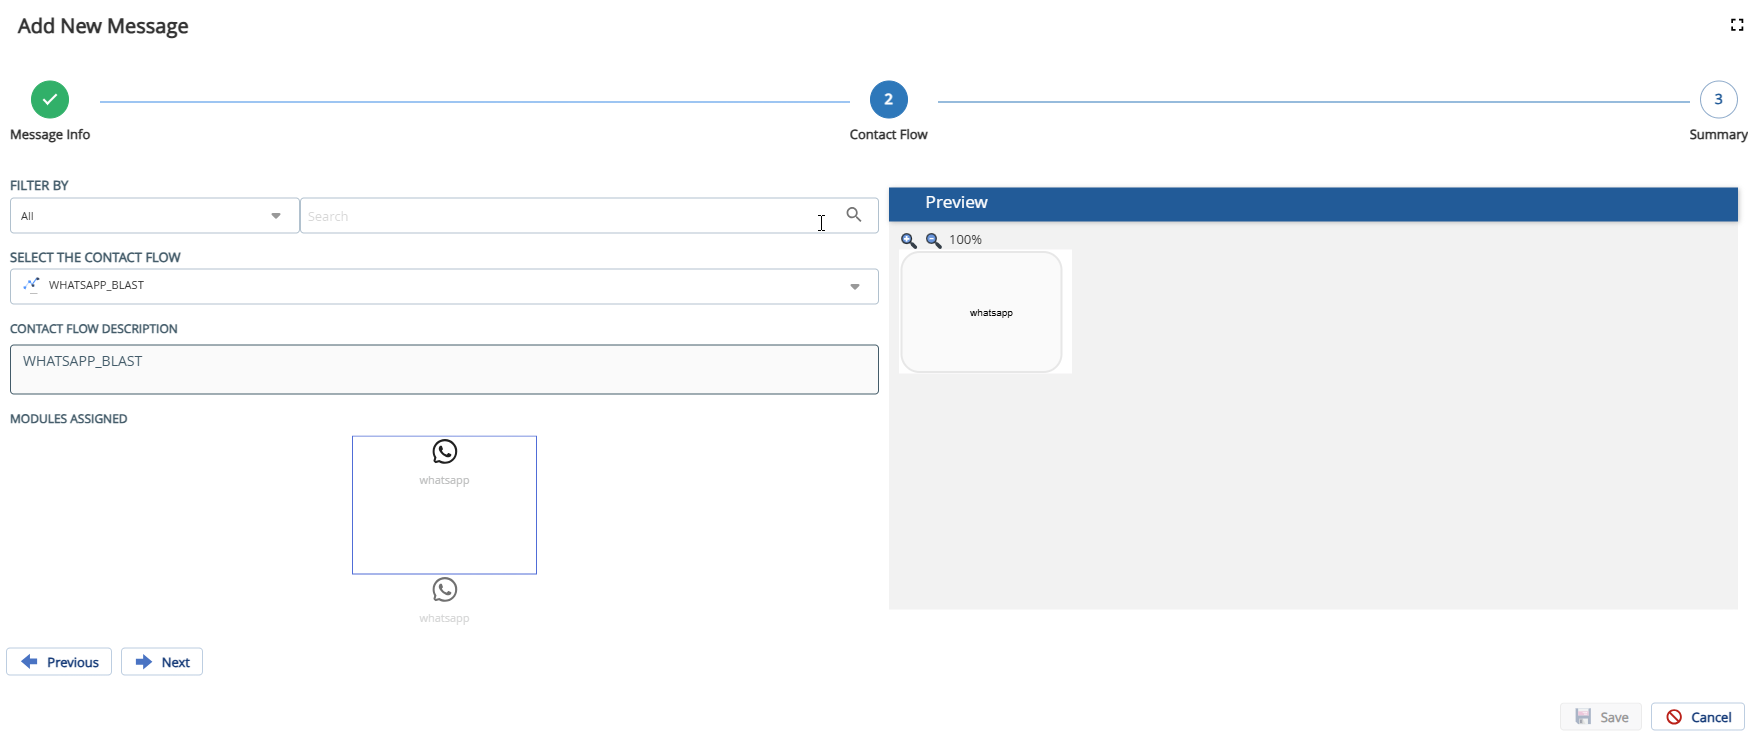
- Select the WhatsApp_Blast_U27 contact flow and click Next.
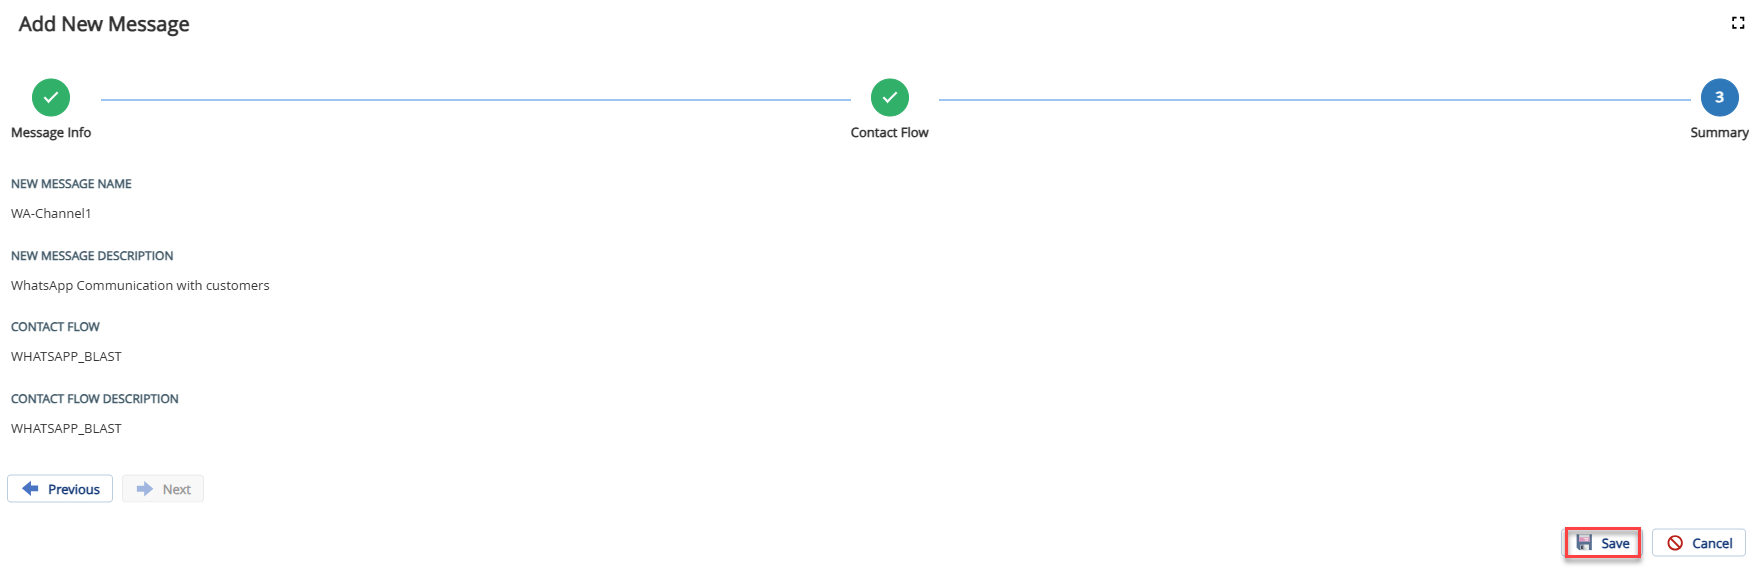
- Click Save.
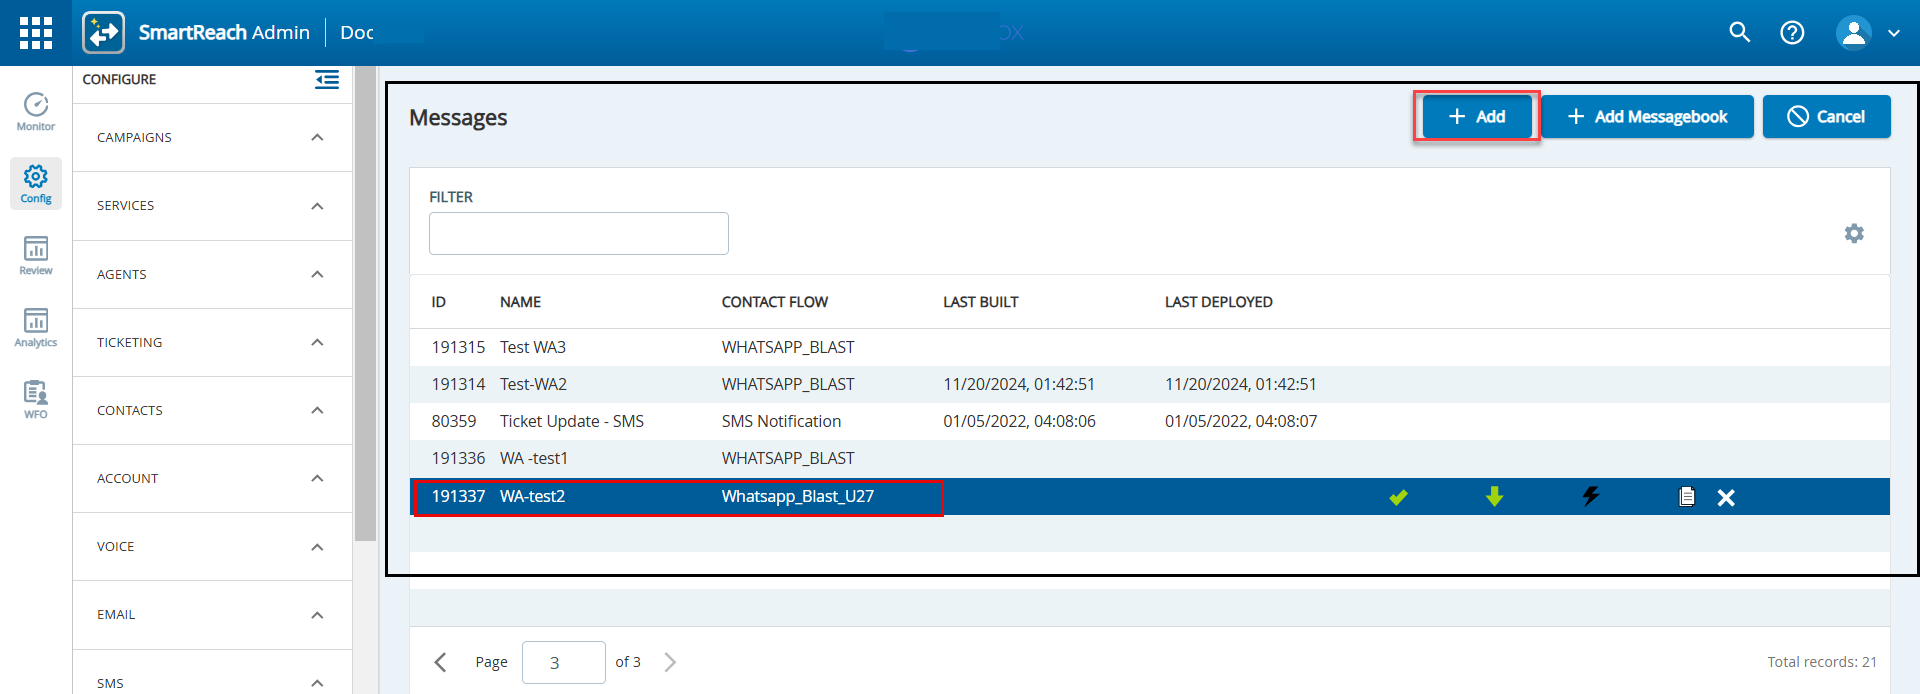
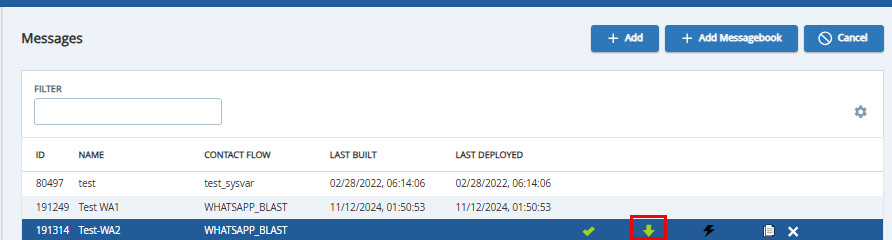
- On the Messages screen double click the WhatsApp message.
- Complete the properties within the following screen:
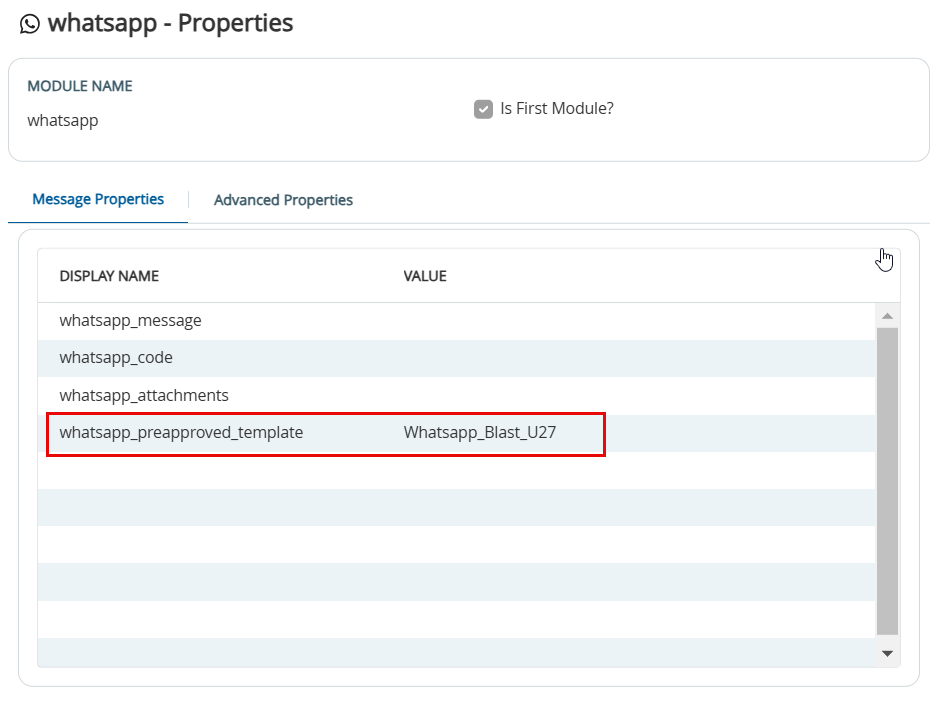
- For a whatsapp_preapproved_template, enter the Message Template Name exactly as it was approved by WhatsApp.
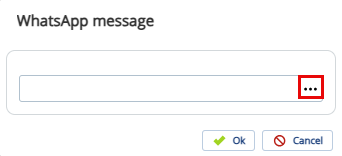
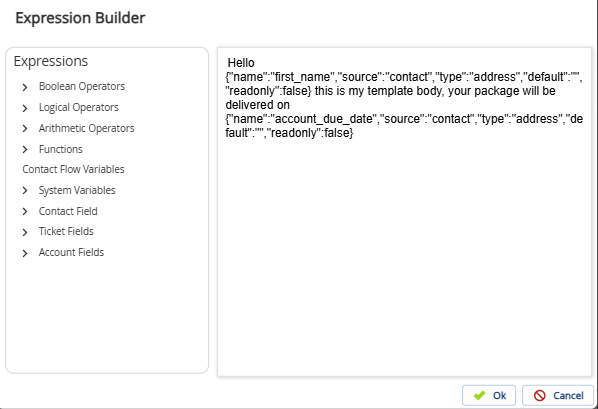
- For a whatsapp_message, enter the message verbiage exactly as it was approved by WhatsApp. You can use the Expression Builder to populate variables within the message, such as name, account number and sends that message to your customer.
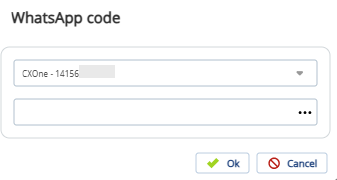
- Specify the WhatsApp code, which is the business number registered on your WhatsApp Business Account.
- For whatsapp_attachments, upload the same file attachments that were approved by WhatsApp. This is an optional field. You can leave this field blank if your Approved Message Template does not include attachments.
- On the Message screen, select the message and click Deploy. You can now use the message in your campaign.

Note
To avoid delivery failures and reporting discrepancies, you must configure the whatsapp_preapproved_template, whatsapp_message, and whatsapp_attachments using the exact same information that was approved by WhatsApp.
Configuring a WhatsApp Outbound Campaign
- Navigate to Configure > Contacts > Filter the contacts. For example, filter all contacts with a zip code 80010.
- Click the Make A Campaign button for the filtered contacts.
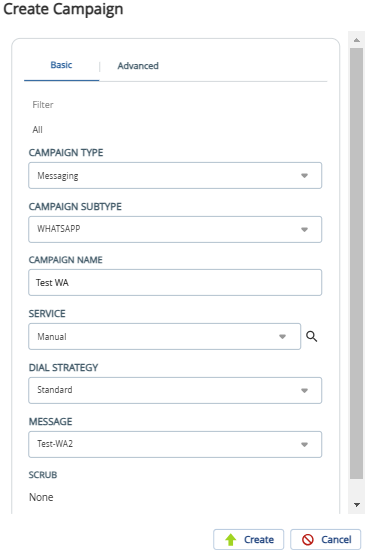
- Under the Basic tab, specify the Campaign Type as Messaging, Campaign Subtype as WHATSAPP, and select the service for the campaign.
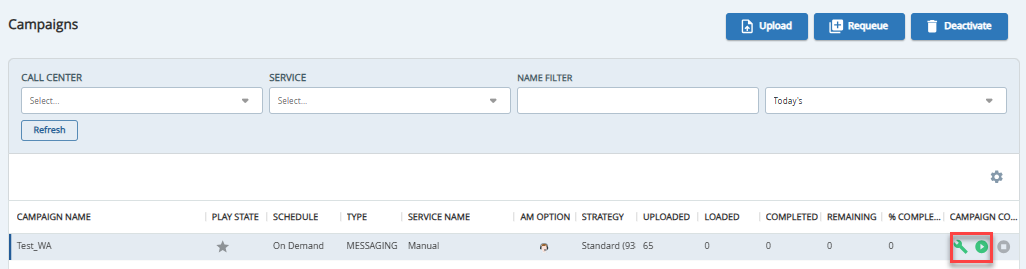
- Navigate to Configure > Campaigns> Select the campaign and click
 Build.
- Click
 Play to run the campaign.
Using WhatsApp for Inbound Communications
You can configure a WhatsApp inbound template to transfer inbound messages to agents or auto-reply to inbound messages.
You must not configure an inbound message if you are handling inbound and two-way WhatsApp messages through CXone.
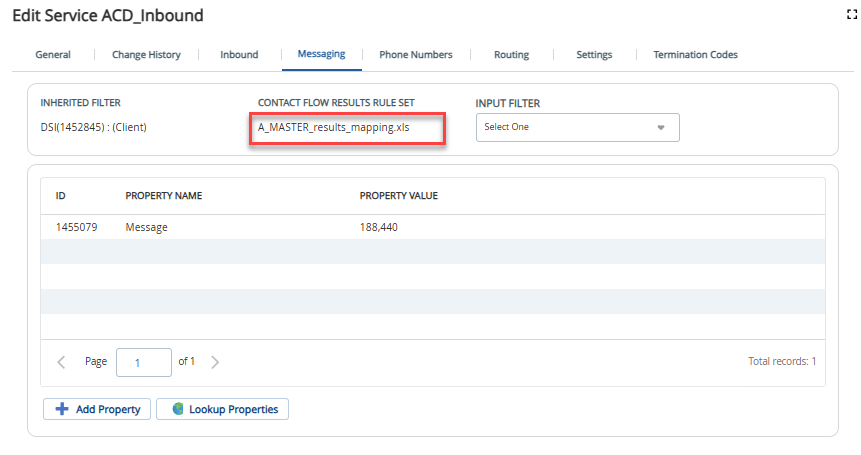
- Navigate to the service for which you have added WhatsApp as a channel of communication - Configure > Services > Service Name. Double click the service row to open the Service Editor.
- Under the Messaging tab, ensure that the WhatsApp channel uses the "A_Master_results_mapping.xls" rule set. The A_Master_results_mapping.xls ruleset contains all the MESSAGING results. The contact flow results rule set is the results that the platform assigns to each of the messages.
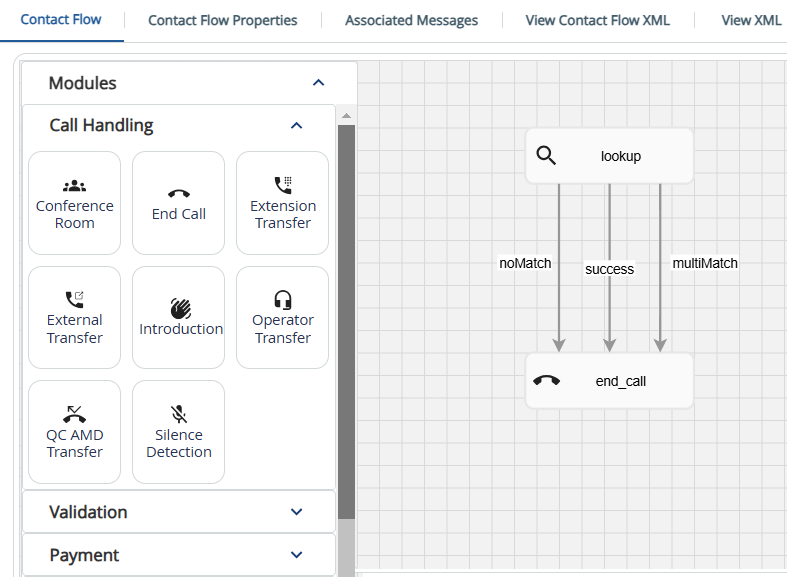
- Create a contact flow for the WhatsApp inbound message. For a basic transfer to the agents, you can use the following template. Ensure to add the "Operator Transfer" result to all connectors.
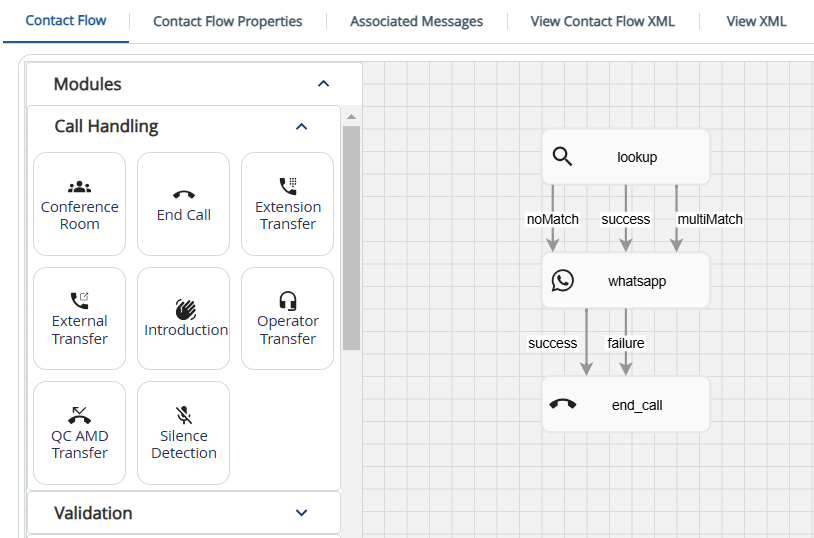
- If you require an Autoreply, use a WhatsApp module in between the other modules. Below is a sample on how the Contact Flow can work. However, you can customize the Contact Flow as needed.
- Specify the WhatsApp message, WhatsApp code (the phone number used for WhatsApp channel), and Files to be Attached in the WhatsApp module properties.
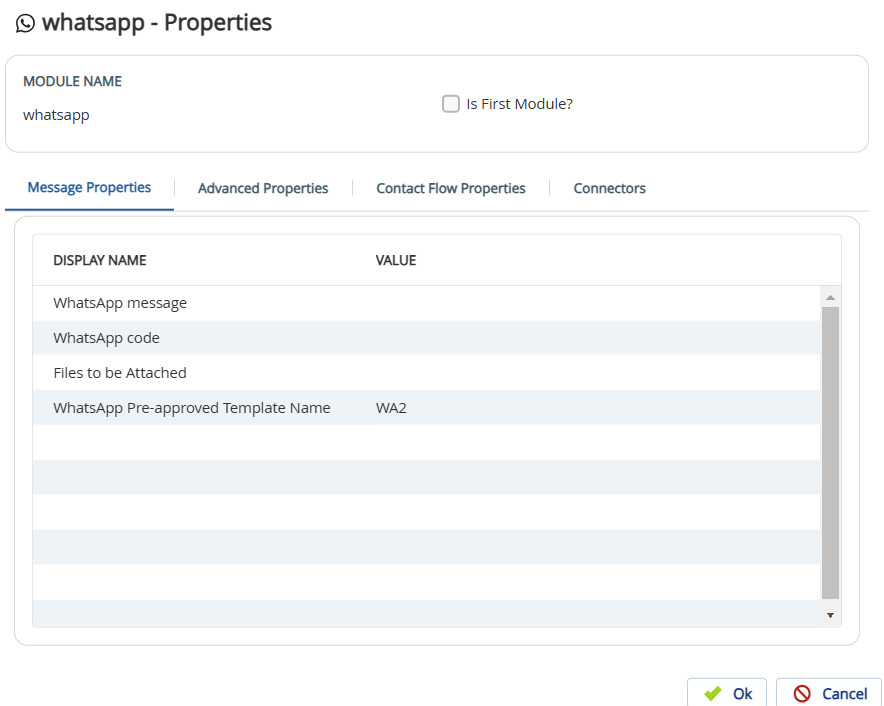
- Specify the Advanced Properties- WhatsApp phone position as 1 and the WhatsApp Survey ID.
- Specify the WhatsApp message, WhatsApp code (the phone number used for WhatsApp channel), and Files to be Attached in the WhatsApp module properties.
- Under the Settings tab, choose the appropriate WhatsApp Inbound template under the Inbound Messaging Message option.

Example Scenario:
- Customer receives a WhatsApp message from an outbound campaign.
- Customer replies by sending an inbound WhatsApp message.
- Agent sees the inbound WhatsApp message in their inbox.
- When the agent replies to the message, agent see the conversation history in the inbox.