Navigate to the Message editor by selecting Config > Messaging > Messages.

The Messages editor main screen offers the following tabs and buttons:
- Tabs
- Visual - A visual representation of the message.
- General – Displays a list of all the messages available in the LVP.
- Associated Services – Displays a list of the associated services to the selected message.
- Change History – View all recent adjustments made using the Message Editor.
- Raw Format – Displays the raw format on all of the messages available.
- Buttons
- Add Message: Creates a completely new message. For more information, please see Create Messages section.
- Add Messagebook: Creates a new Messagebook entry by specifying the message name and description. For more information, please see Adding and Associating Messagebook Entry section.
- Copy Message: Copies the selected message.
- Delete: Deletes the selected message.
- Listen: Allows you to listen to the selected message using any one of the voices available.
- Validate: Confirms that all of the prompt files being used with the selected voice are available.
- Deploy: Builds the template to be set for deployment and deploys the message for the LVP to be able to use it.
- Test Call / Email: Launches a test call widget. The test call widget allows users to select a service and add a contact number to generate a test call.
- Save: Saves all updates to the selected message.
- Cancel: Discards any changes made to the selected message.
- Visualize this message: The multi-color button in the upper-right of the screen that allows you to see the messaging put into a Contact Flow (this is a reflection of the verbiage in the Contact Flow message after the last save).
You can view the properties of a selected module on the right side.
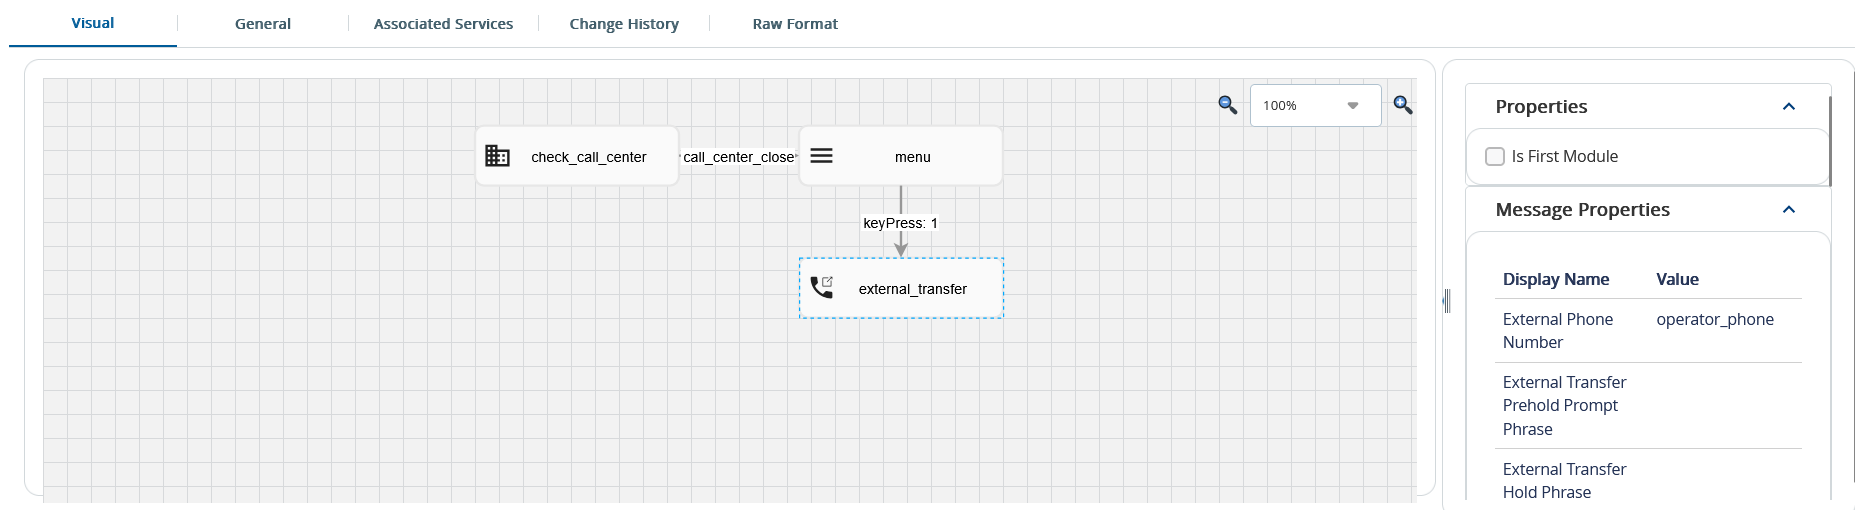
- For more information on confirmation of the current messaging using Listen, Validate and Visualize buttons, see Confirm Current Messaging section.
- For more information on editing existing messages, see the Edit Messages section.
