Tags are labels created by users (during an interaction review) to group the related interactions together for quick filtering. There can be multiple tags per call or multiple calls per tag.
If the tag name was previously created, the name appears when you start typing the name. Select this tag to help eliminate multiple variations of the same tag due to misspellings, inconsistent capitalization, punctuation, and so on.
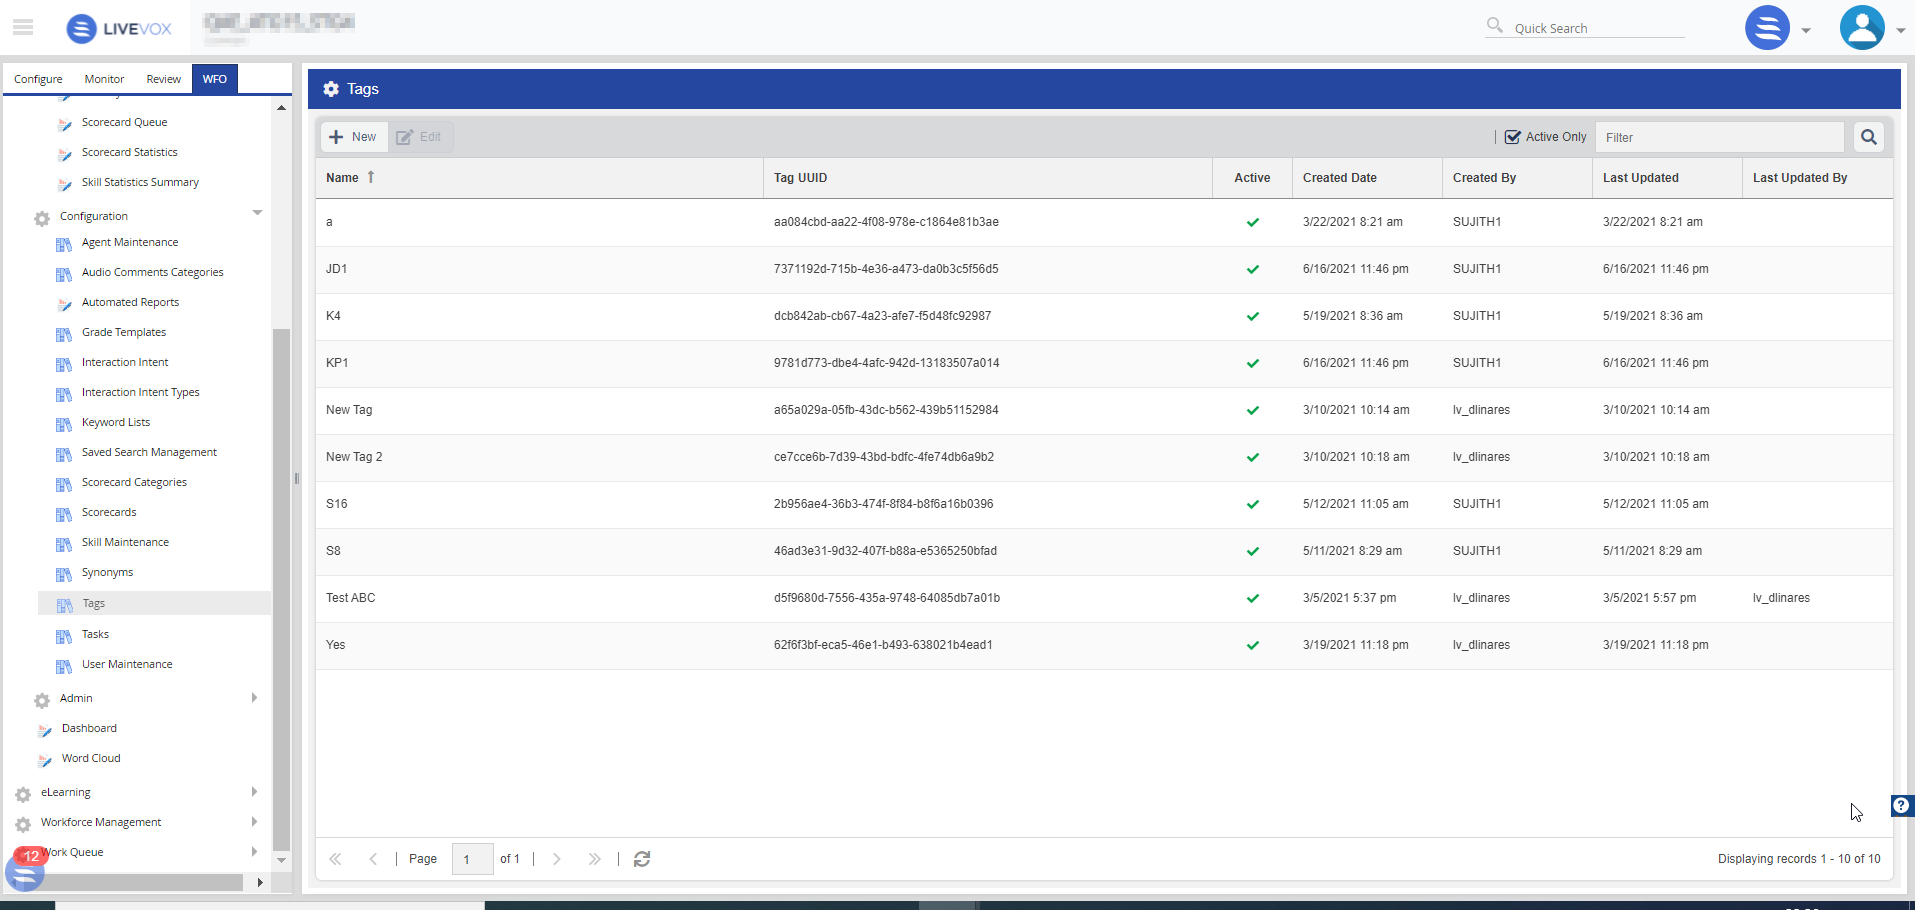
Accessing the Tags
To access the Tags window on the WFO tab, click SpeechIQ > Configuration >Tags. The Tags window that contains all the configured tags is displayed.
To search for a specific tag, use the Filter field or the Advanced Searchicon ().
To view information about active tags, select the Active Only checkbox.
To customize the table columns view, see the instructions in the Customizing a Table section in Reporting.
To refresh the list, click theRefreshicon ().
Adding a New Tag
To create a new tag:
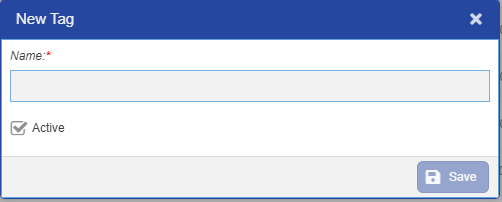
In the Tags window, click New. The New Tag popup window appears.
Specify a name for the tag.
Select the Active checkbox to make the tag active for scoring.
Click Save.
To modify a tag, in the Tags window, select the tag that you want to modify and click Edit or double-click the tag. You can modify the details in the Edit Tag popup window.