TheFilter Namefield displays the run filter. If you did not run a filter, the All value appears in the field.
In theExport Formatfield, select the format in which you want the contacts to be exported to a file.
This field contains the contact export formats created in theExport Formatwindow. For more information, seeExport Format.
Optional: To customize the file format:
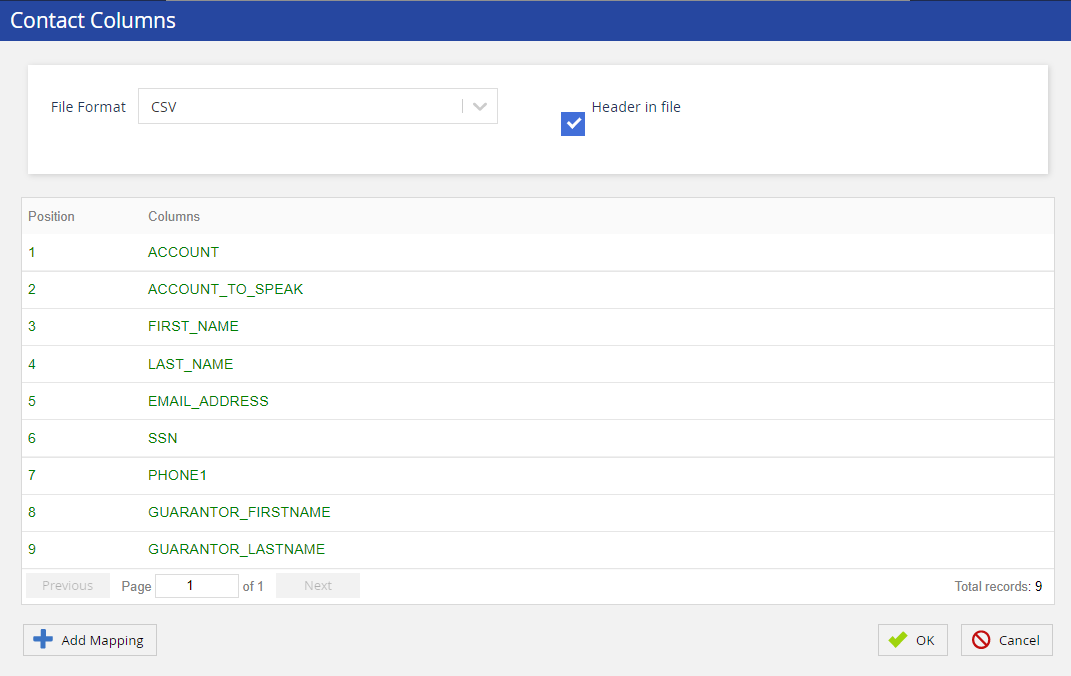
ClickCustomize Format. TheContact Columnswindow appears. The table in the window displays the names of the columns that will appear in the exported file, in addition to the position of those columns in the file (for example, the position 1 indicates the first column in the file).
You can modify the position of a column by double-clicking the row displaying the name of the column.
In theFile Formatfield, specify a format for the file to which you want to export the contacts.
The field contains the following options:
CSV: Comma-separated values (CSV) file.
Custom:Customized file. When you select this option, the following fields appear for you to specify characters:
Field Delimiter
Row Delimiter
Quote
Escape Character
Pipe: .pipe file.
TAB Delimited:Tab-separated values (TSV) file.
If you do not want a header to be included in the file, clear theHeader in filecheckbox.
If you want to add more columns in the file:
ClickAdd Mapping. TheAdd Mappingwindow appears.
Specify values in the following fields, and then clickOK:
Columns: Column that you want to be exported in the file.
Position:Position of the column in the file.
If you do not want to export a column, in theContact Columnswindow, hover over the row displaying the name of the column, and then click the close icon.
In theContact Columnswindow, clickOK. TheExport Contactswindow displaying theData Formatsection appears. This section displays the columns that will appear in the exported file.
ClickExport. All the contacts are exported to a file on your computer.