Download PDF
Download page Create Staffing Forecasts.
Create Staffing Forecasts
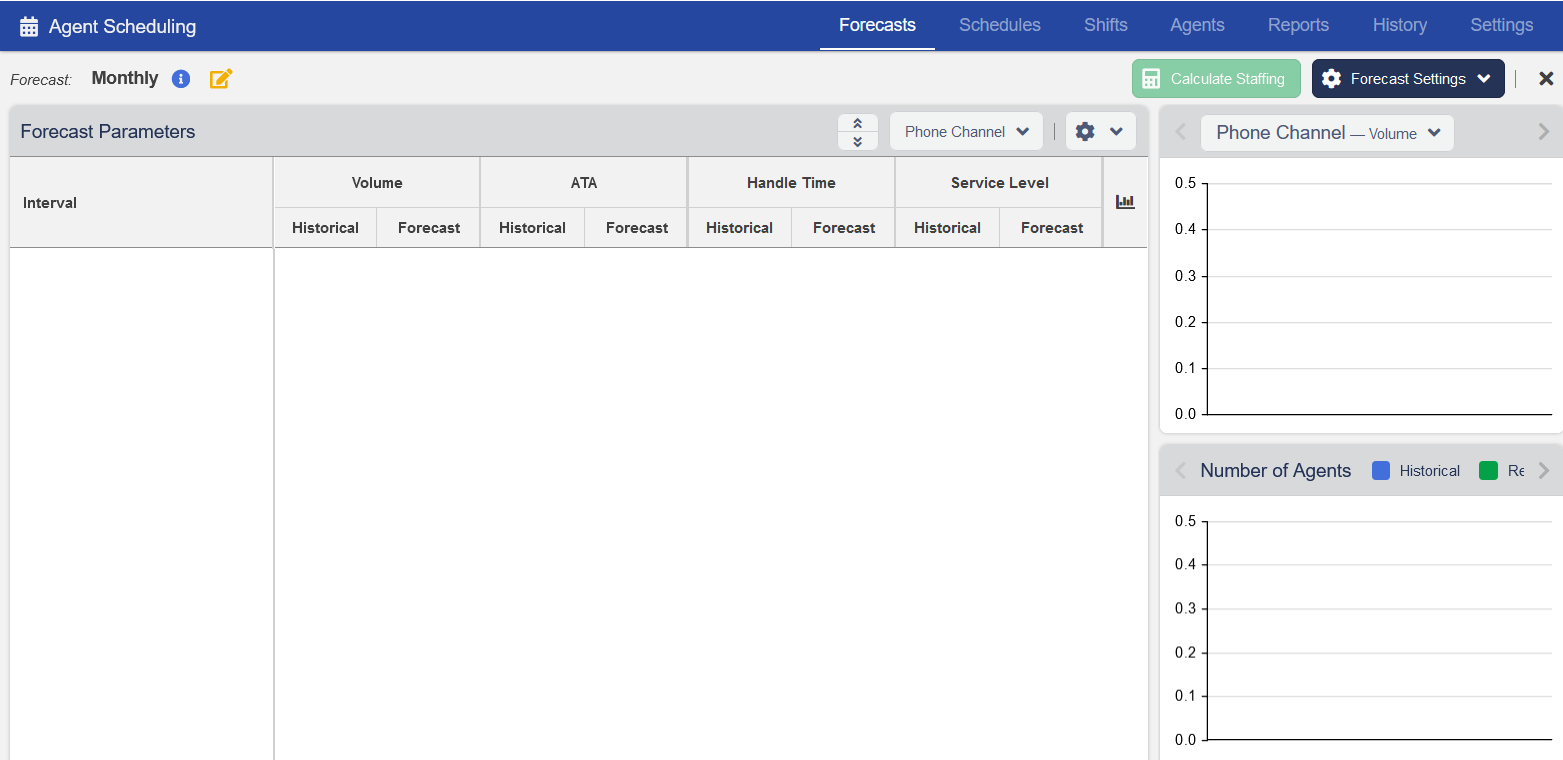
You can use the Forecasts tab to create staffing forecasts based on historical data or anticipated workload. You can create historical forecast for a day, week, or month. Based on the forecasts created, you can schedule shifts for agents and assign the workload to agents. You can create forecasts from WFO >Workforce Management >Agent Scheduling (alternatively, go to Configure > Agents > Agent Scheduling ). Click the Forecasts tab.
Times displayed are in Eastern Time Zone.
To create forecasts:
- On the WFO tab, go to Workforce Management > Agent Scheduling. You can also access the Forecasts tab from Configure > Agents > Agent Scheduling.
- On the Forecasts tab, click New.
The Create Forecast window appears. - In the Name field, enter a name for your forecast.
- (Optional). In the Description field, enter the forecast description.
- Click Save. The forecast screen appears.
- Click the Forecast Settings drop-down list. The Forecast Settings window appears.
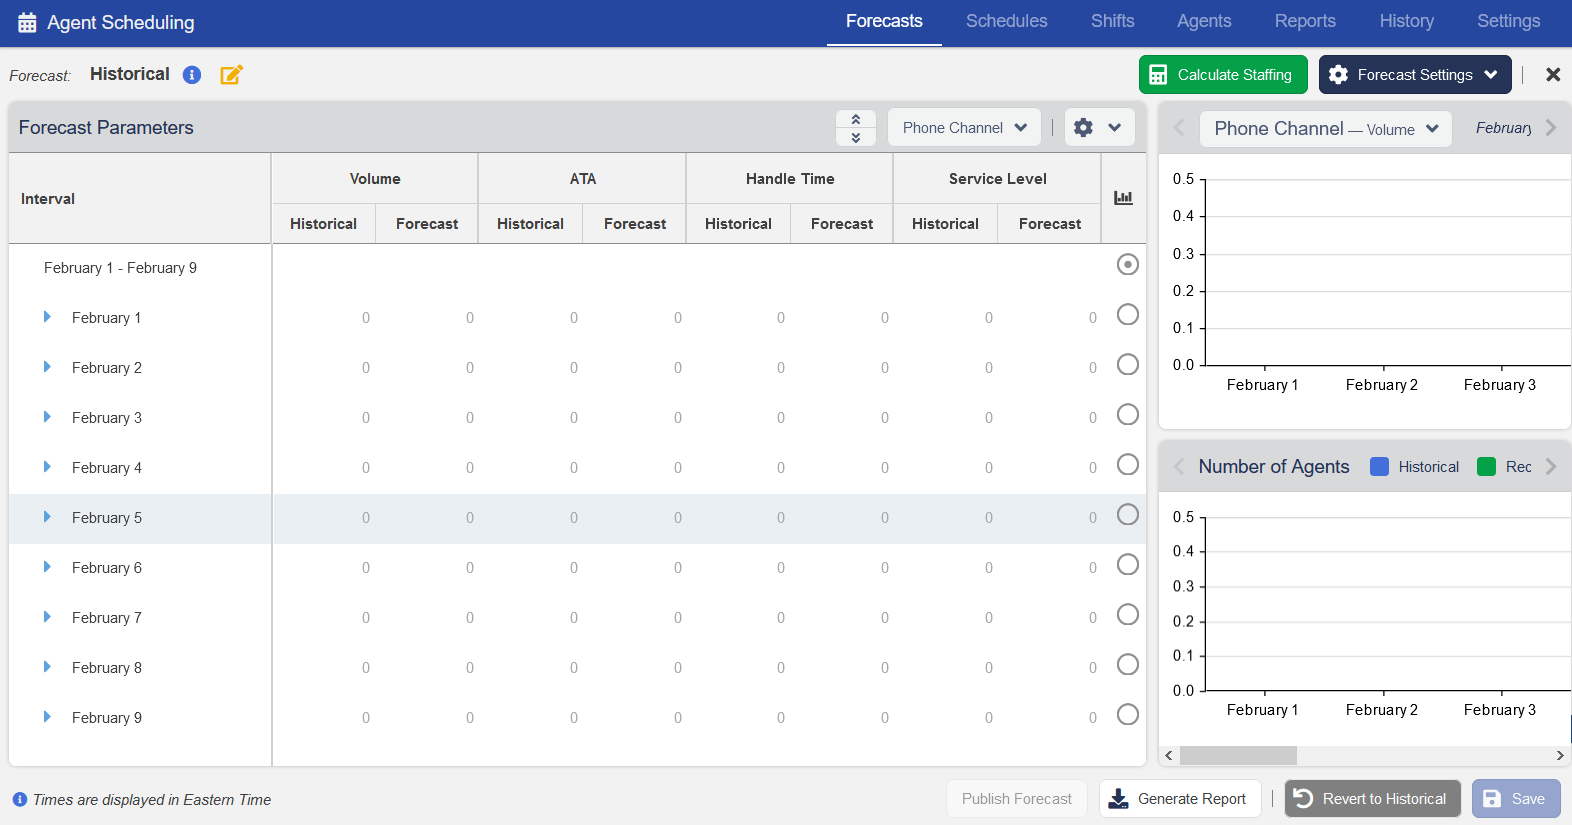
- In the Forecast Type field, select either Historical to create the forecast based on historical data or Manual to create the forecast based on the anticipated workload.
- If you select Historical, create the forecast by updating the following fields:
- From the Time Interval option, select a time interval for the report. For example, if you select 1 hour, the forecast report contains details for every one hour.
- From the Date Range option, select a date range for the forecast.
- From the Hour Range option, select begin and end time for the forecast.
- From the Call Center drop-down, select the call center for which you want to generate the forecast.
- From the Service drop-down, select a service associated with the call center.
- From the Shrinkage option, provide a value for the shrinkage in the workload. By default, it's 30%.
- From the Channels option, select the channels you are using. Also, from the Concurrent option, select the number of allowed concurrent emails, SMSes, and chats.
- Click Apply. The forecast is created.
- If you want to calculate staffing based on the forecast, click the Calculate Staffing button. Historical data and recommended number of agents are displayed in a bar chart at the bottom-right corner.
- Click Save to save the forecast details.
- If you select Manual, create the forecast by updating the following fields:
- From the Time Interval option, select a time interval for the report. For example, if you select 1 hour, the forecast report contains details for every one hour.
- From the Date Range option, select a date range for the forecast.
- From the Hour Range option, select begin and end time for the forecast.
- From the Call Center drop-down, select the call center for which you want to generate the forecast.
- From the Service drop-down, select a service associated with the call center.
- From the Shrinkage option, provide a value for the shrinkage in the workload. By default, it's 30%.
- From the Channels option, select the channels you are using. Also, from the Concurrent option, select the number of allowed concurrent emails, SMSes, and chats.
From the Baseline Settings pane, add baseline parameters for the channels you are using.
Parameter Baseline Phone #Phone The number of expected phone calls. ATA Average Time to Answer one call. Handle Time Expected handle time for each call. Service Level Defined service level. Email #Email The number of expected emails. ATA Average Time to Answer one email. Handle Time Expected handle time for each email. Service Level Defined service level. SMS #SMS The number of expected SMSes. ATA Average Time to Answer one SMS. Handle Time Expected handle time for each SMS. Service Level Defined service level. Chat #Chat The number of expected chats. ATA Average Time to Answer one chat. Handle Time Expected handle time for each chat. Service Level Defined service level.
- From the Channels option, select the channels you are using. Also, from the Concurrent option, select the number of allowed concurrent emails, SMSes, and chats.
From the Baseline Settings pane, add baseline parameters for the channels you are using.
- Click Apply. The forecast is created.
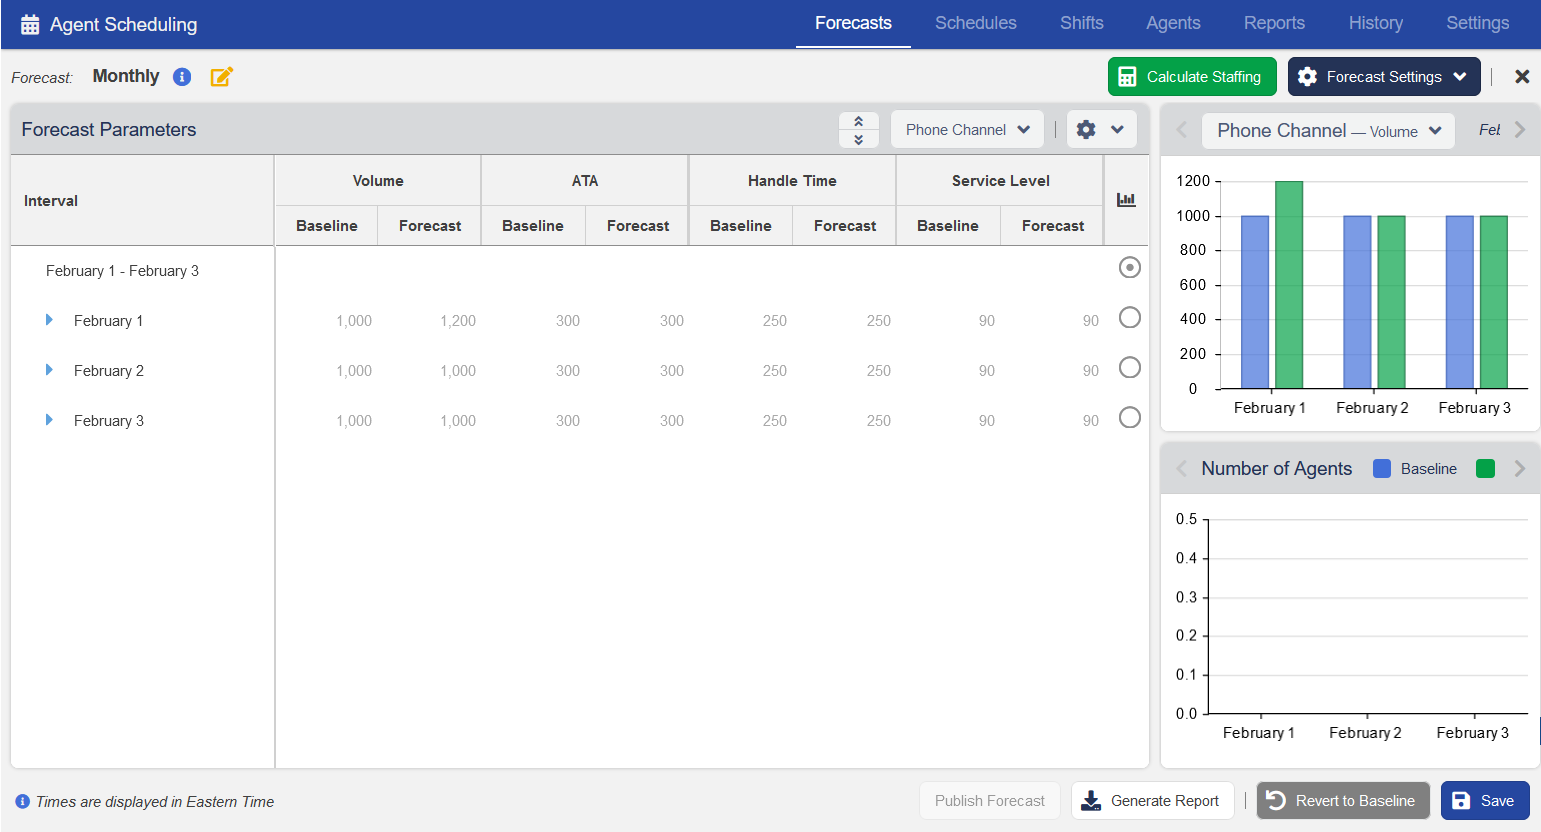
- If you want to calculate staffing based on the forecast, click the Calculate Staffing button. The baseline and recommended number of agents are displayed in a bar chart.
- Click Save to save the forecast details.
- The forecast appears on the Agent Scheduling window.
Generating the Forecast Report
You can generate the forecast report that you have created and download it in CSV format to your local drive. To generate the report:
- On the WFO tab, go to Workforce Management > Agent Scheduling. You can also access the Forecasts tab from Configure > Agents > Agent Scheduling.
- Double-click the name of the forecast for which you want to generate the report. The Forecast Parameters window appears.
- Click the Generate Report button.
- Open the CSV file to view the details or save the file to your desktop.
Publishing the Forecast
You can publish the forecast so that you can use it while auto-scheduling work for your agents. To publish a forecast:
- On the WFO tab, go to Workforce Management > Agent Scheduling. You can also access the Forecasts tab from Configure > Agents > Agent Scheduling.
- Double-click the name of the forecast that you want to publish. The Forecast Parameters window appears.
- Click the Publish Forecast button.
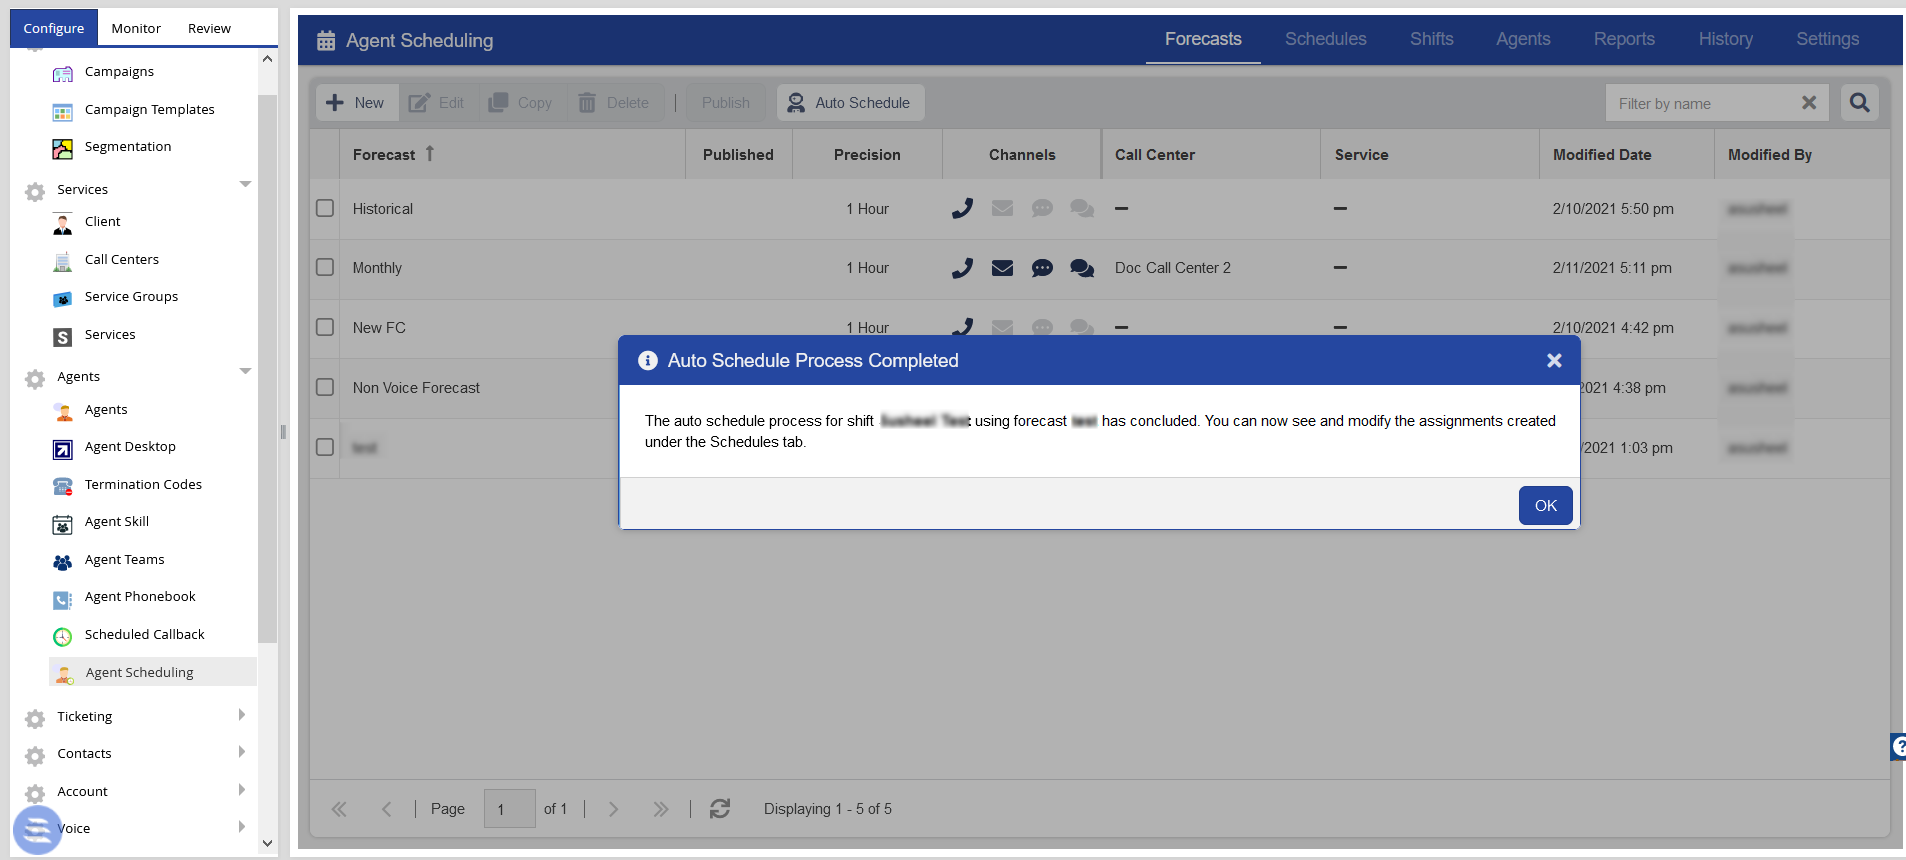
Auto Scheduling Agents
Based on the forecast you have created, you can assign agents to shifts by using the Auto Schedule option. Before you auto-schedule work, ensure that the forecast that you have created is published.
To auto-schedule work:
- On the WFO tab, go to Workforce Management > Agent Scheduling. You can also access the Forecasts tab from Configure > Agents > Agent Scheduling.
- In the Agent Scheduling window, click Auto Schedule. The Auto Schedule window appears.
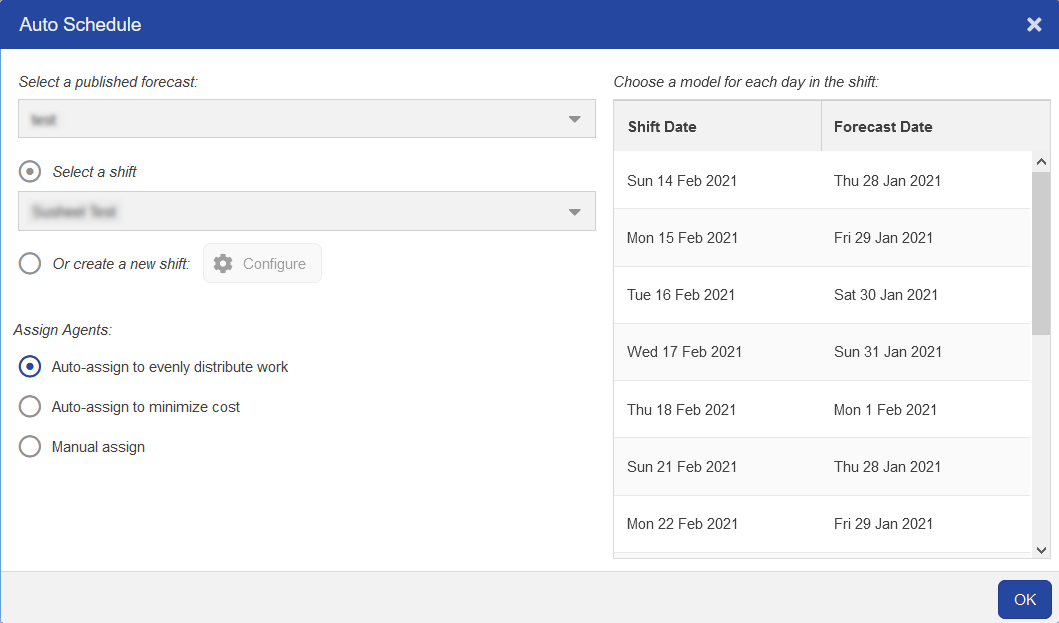
- From the Select a published forecast drop-down list, select a published forecast.
- From the Select a shift drop-down list, select a shift.
After you select a shift, from the Choose a model for each day in the shift pane, you can edit the forecast date for a specific shift date. - If you want to create a new shift, select the Or create a new shift option, and then click Configure. See Shift Details for information about the shift properties.
- Click OK.
- From the Assign Agents section, select one of the options to assign work to your agents.
- Click OK. A message is displayed to show that the request is in progress.
- After the process is complete, the process complete message is displayed.