Introduction
The Agent Desktop Native (ADN) application, supported by LiveVox U10 and above versions, is an installable application designed to enhance the agent experience by offering the following features:
- Browser-independent access to the Agent Desktop
- Integrated voice through WebRTC
- Access to screen recording
- Desktop Native commands enablement
This document provides a summary of changes across different releases and instructions to download, install, configure, and use the Agent Desktop Native application.
This document is intended for individuals responsible for the setup and training of contact center agents, and individuals who have access to the Agent Desktop configurations.
Summary of Changes
The below table summarizes the changes to the Agent Desktop Native application across different releases.
| Version | Changes | Release Date |
|---|---|---|
| 7.2.0 |
| December 13, 2019 |
| 7.3.0 |
Contact your internal IT team for the MSI installer package required to install the Agent Desktop Native application. | January 28, 2020 |
Downloading and Installing the Agent Desktop Native Application
You can download the Agent Desktop Native application v7.3.0 on the agent’s station either through the LiveVox portal, Agent Sign In page, or by contacting the LiveVox Customer Care.
Downloading the Agent Desktop Native Application
LiveVox Portal
To download the Agent Desktop Native application through the LiveVox portal:
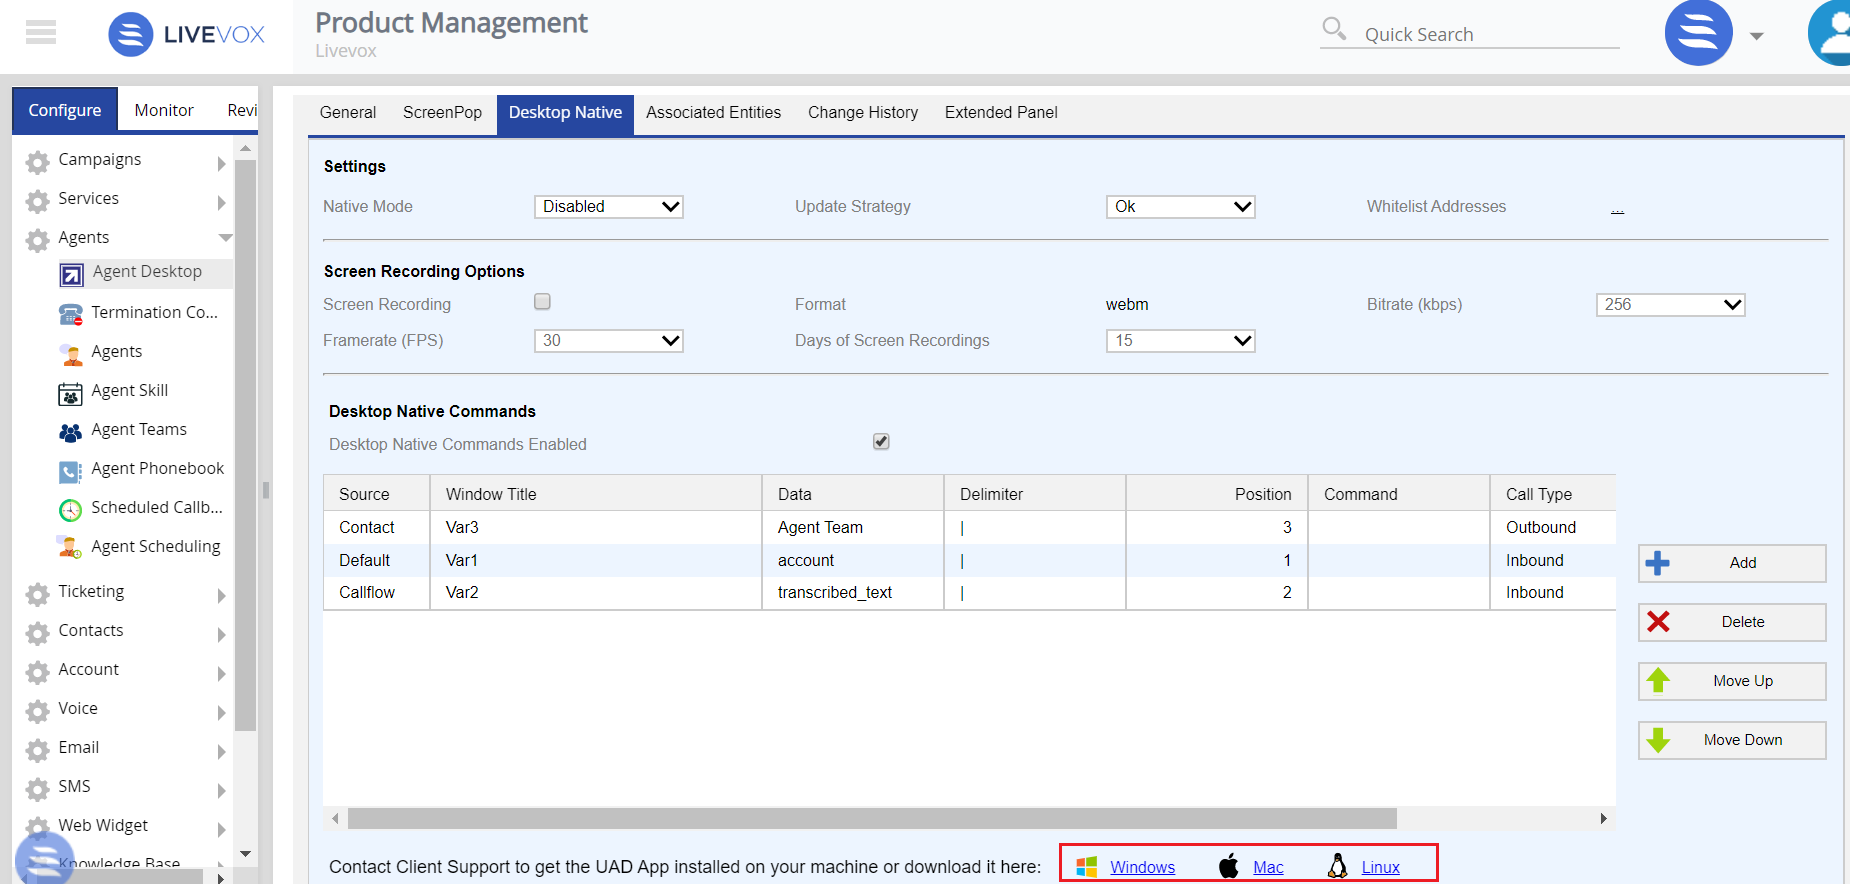
- Login to the LiveVox portal with an account that has administrator privileges and navigate to Configure > Agents > Agent Desktop > Desktop Native tab.
- Scroll down to the Desktop Native Commands section and choose a platform (Windows, Mac, or Linux) for which you want to download the Agent Desktop Native application.
Agent Sign In Page
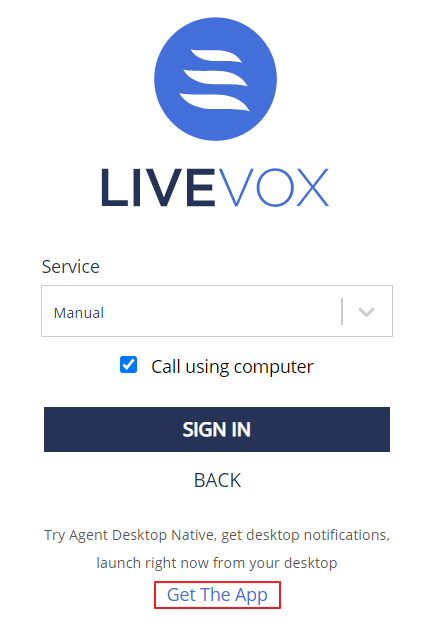
To download the Agent Desktop Native application through the Agent Sign In page, navigate to the Agent Sign In page, sign in with your credentials, and then click the Get The App link.
Your browser automatically detects your operating system’s correct download file.
Installing the Agent Desktop Native Application on Windows
To install the Agent Desktop Native application on a Windows system, follow the procedure below:
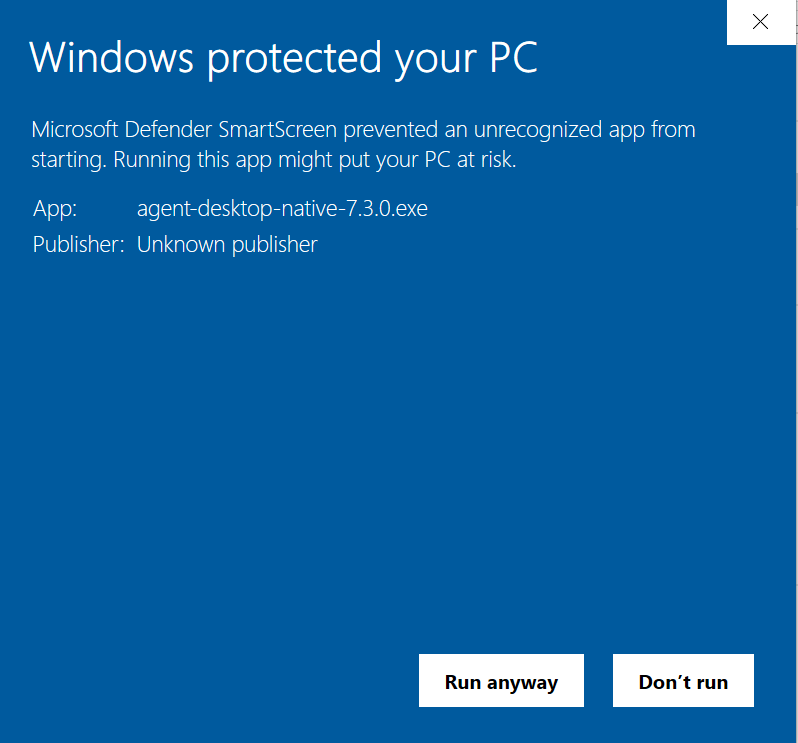
- Run the agent-desktop-native-<version>.exe file to launch the installer. A security warning message appears.
- Click the Run anyway button to begin the installation process.
The application installs on the local machine without further prompts. You can launch the Agent Desktop Native application from the applications folder, or the icon placed on the desktop.
Installing the Agent Desktop Native Application on Mac
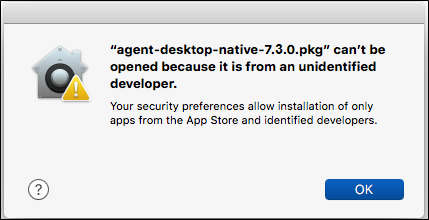
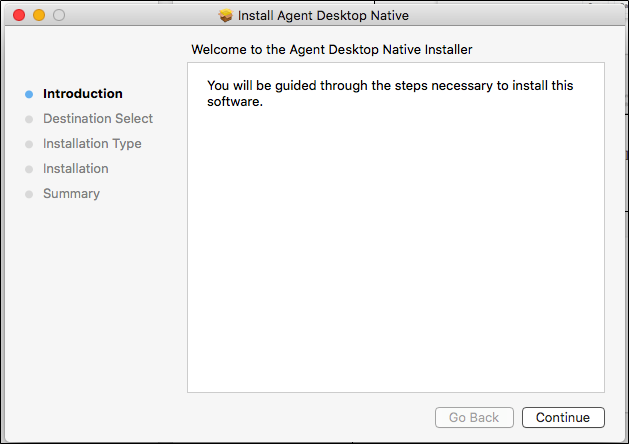
- After downloading the Agent Desktop Native application, run the .pkg file to launch the installer.
- Click the OK button to begin the installation process.
Follow the installation on-screen instructions to complete the installation process.
After the installation process is complete, launch the Agent Desktop Native application from the applications folder.
Configuring the Agent Desktop Native Application
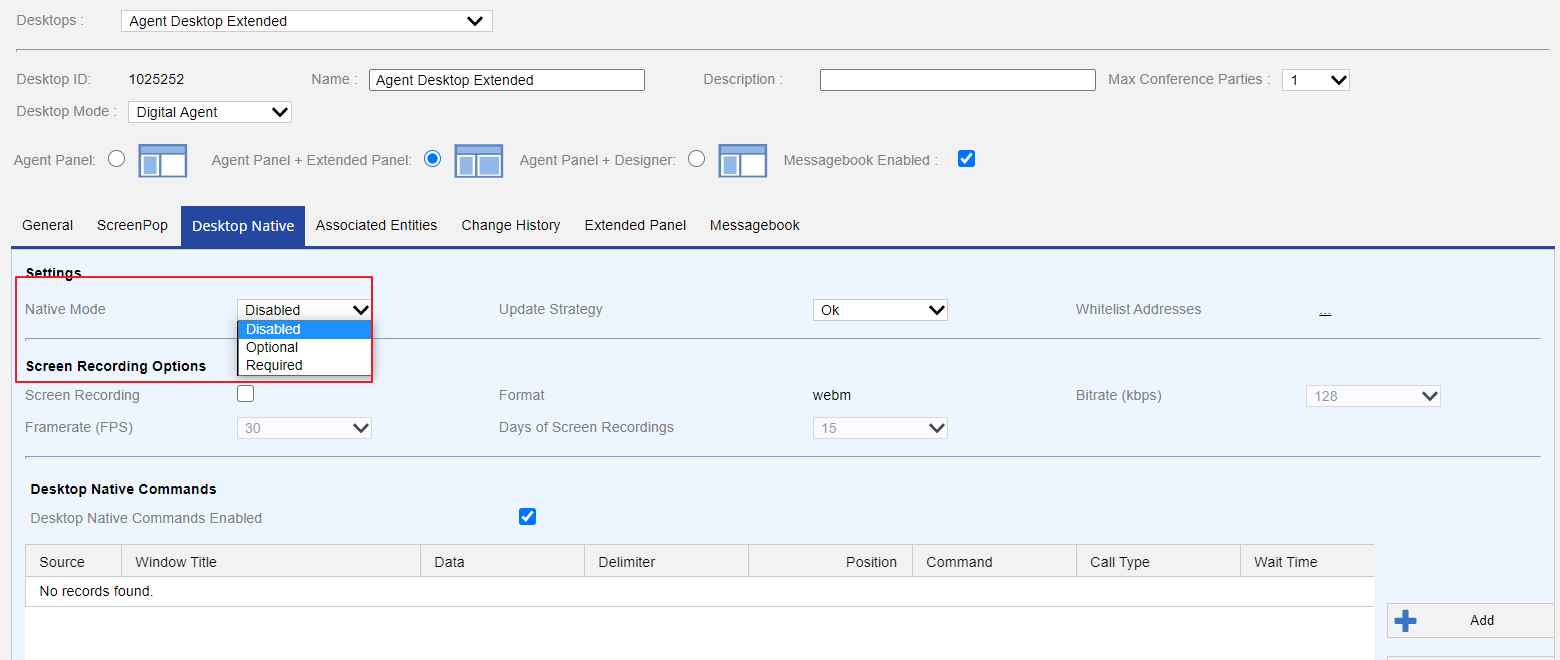
You can configure the Agent Desktop Native settings on the Configure tab of the LiveVox portal. Login to the LiveVox portal with an account that has administrator privileges and navigate to Configure > Agents > Agent Desktop > Desktop Native.
On the LiveVox 7 platform and above versions, the Desktop Native tab is available by default in the Agent Desktop screen of the voice portal.
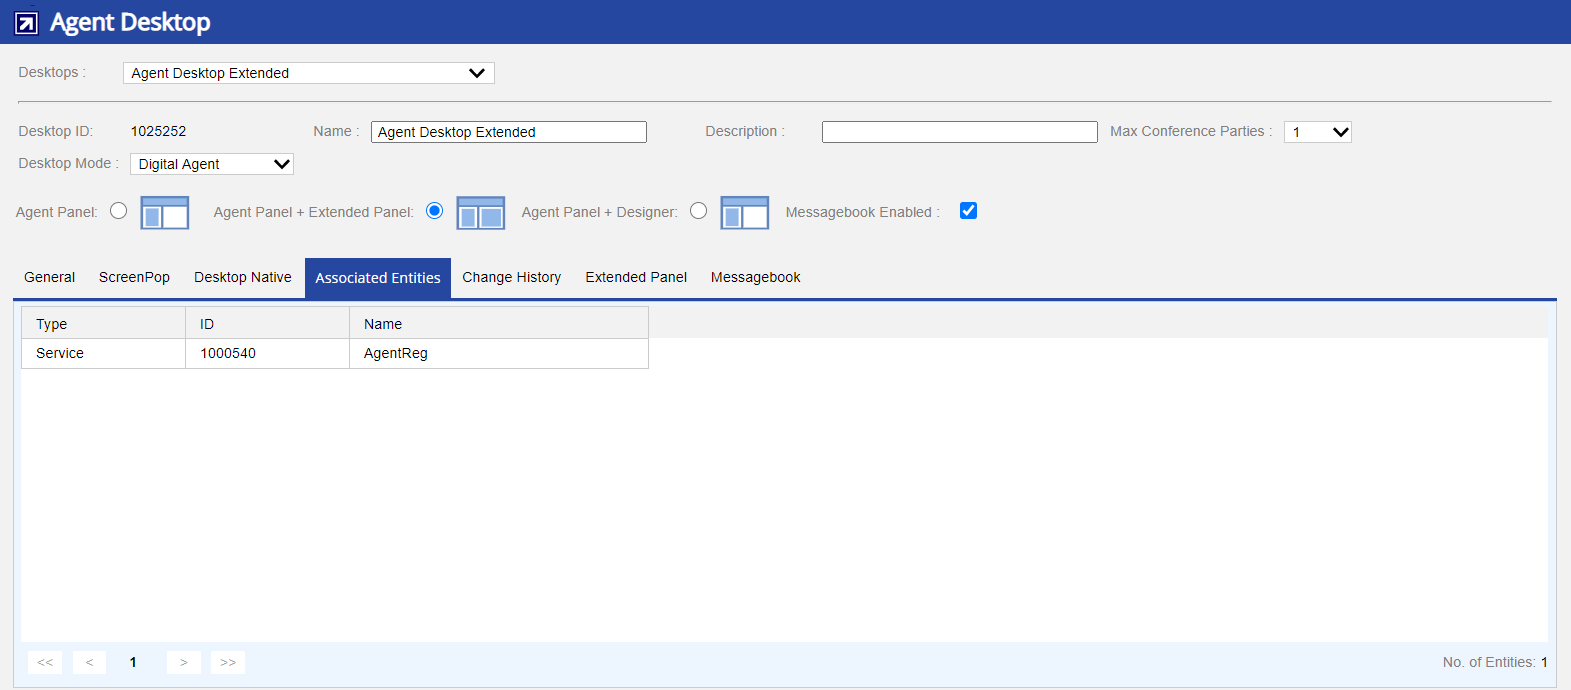
- Click the Associated Entities tab and ensure that the selected desktop is associated with the service to which the agent must log in. You can configure the association in the Client or Service editor.
- On the Desktop Native tab, ensure that the Native Mode is set to Optional or Required. The Native Mode drop-down menu has the following options:
- Disabled - Agent cannot log in using ADN
- Optional - Agent can use the browser or ADN to log in
- Required - Agent can log in only using ADN
- Choose an Update Strategy to define the version of the Agent Desktop Native application:
- Ok - No restriction to use any version of ADN
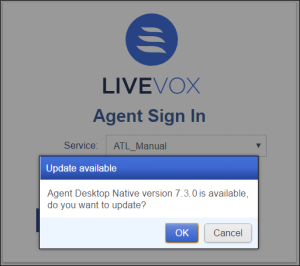
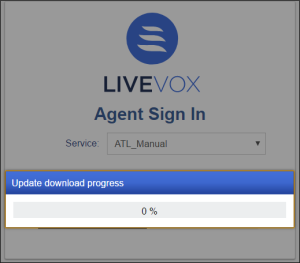
- Ask - If an agent has a different version installed than the one configured for the site, a pop-up prompting an update appears. An update notification appears after the agent logs in to the Agent Desktop Native application and selects a service.
- Force - After login, the update process installs and starts the new version without intervention. The update automatically launches when an agent logs in to the Agent Desktop Native application and selects a service.
4. Set Whitelist Addresses to define trusted domains.
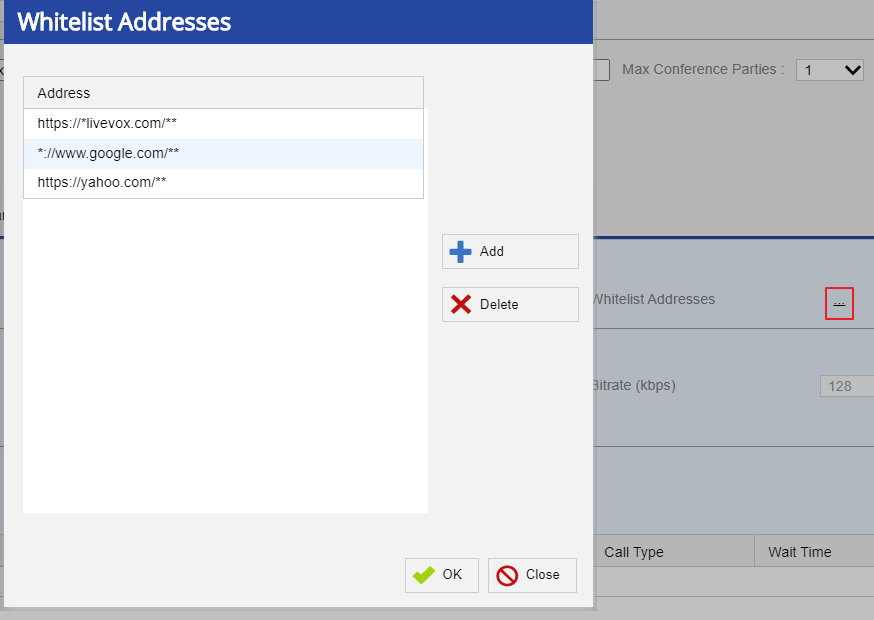
- By default, only the trusted LiveVox domains are listed. This mechanism allows blocking of all loading resources which do not match the whitelists. Click the ellipsis next to the Whitelist Addresses to open the Whitelist Addresses popup window that allows you to view and manage the list of all the approved addresses for the Desktop Native application.
- Add - Adds new entry. Enter the address to be added as a whitelisted address in the address field.
- Delete - Deletes an entry. Select the address and click the Delete button to delete an entry.
- Ok - Click Ok to save the changes.
- Close - Click Close to discard the changes.
- Typically, when enabling access, you will want to create a specific top-level-domain entry, and a wildcard-subdomain entry like this: *://yahoo.com/** , *://*.yahoo.com/**
- If you have a single-sign-on provider, you need to allow access to them as well. For example, *://yourcorp.okta.com/**
- You can discover what URLs need to be whitelisted is to check the details in any "BLOCKED" errors appearing in the app window or the ADN logs. For detailed information on ADN logs, see the ADN Logs section of this document.
Configuring Agent Desktop Native on the Agent Workstation
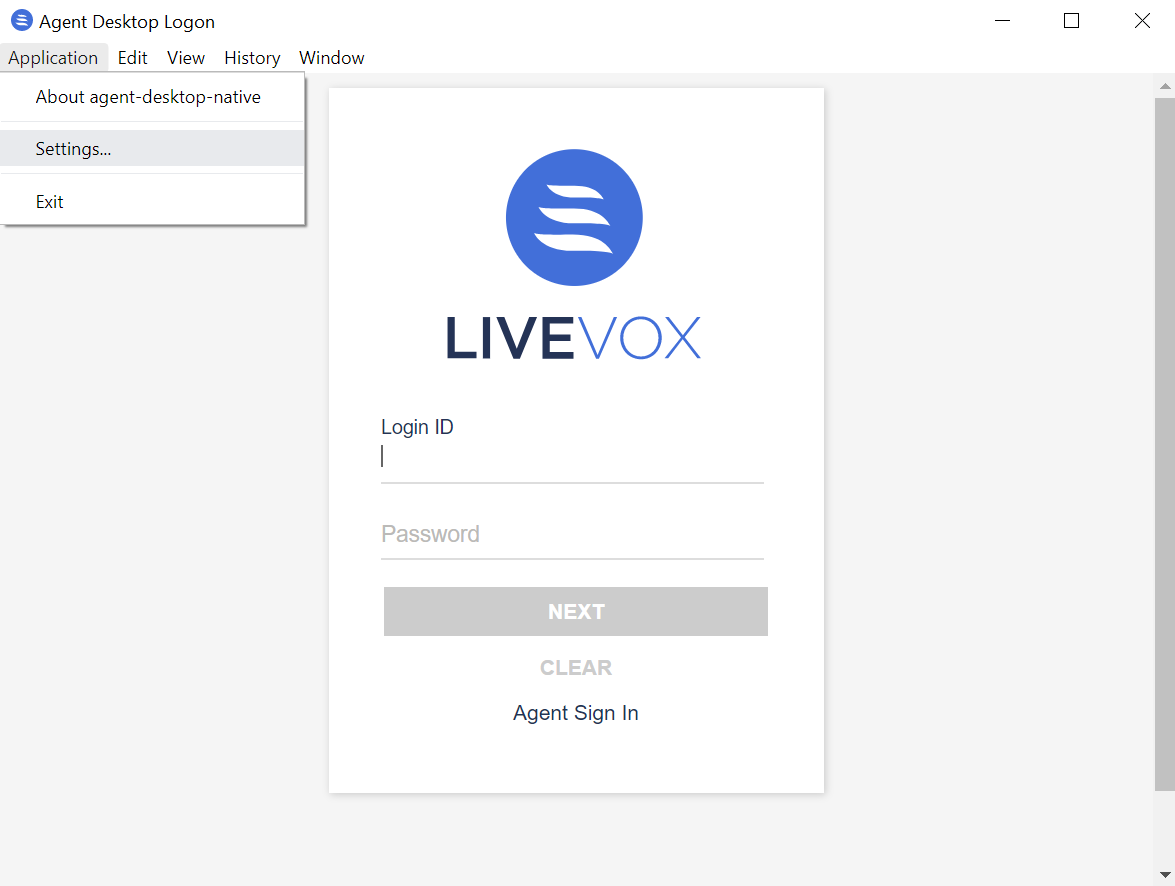
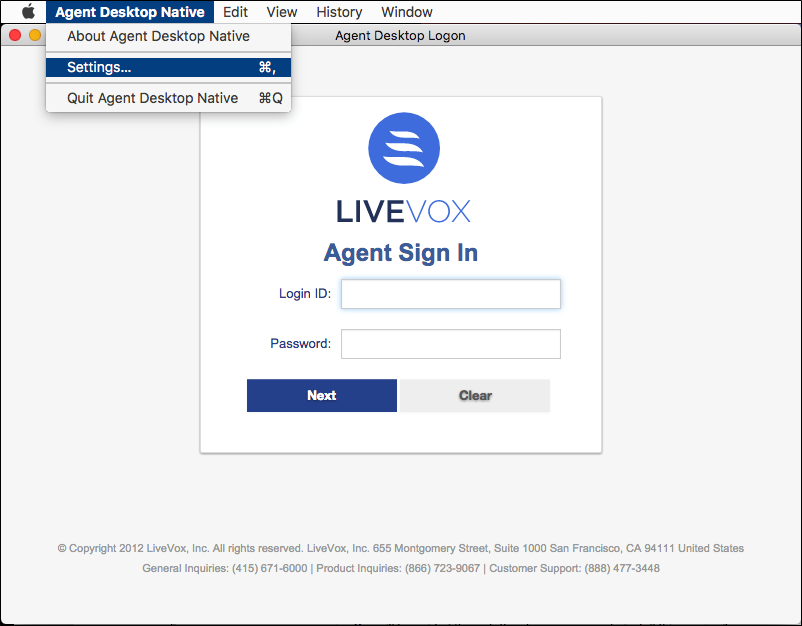
- Launch the Agent Desktop Native application and navigate to the Settings page.
- On a Windows system, go to Application > Settings.
- On a Mac system, go to Agent Desktop Native > Settings.
- On a Windows system, go to Application > Settings.
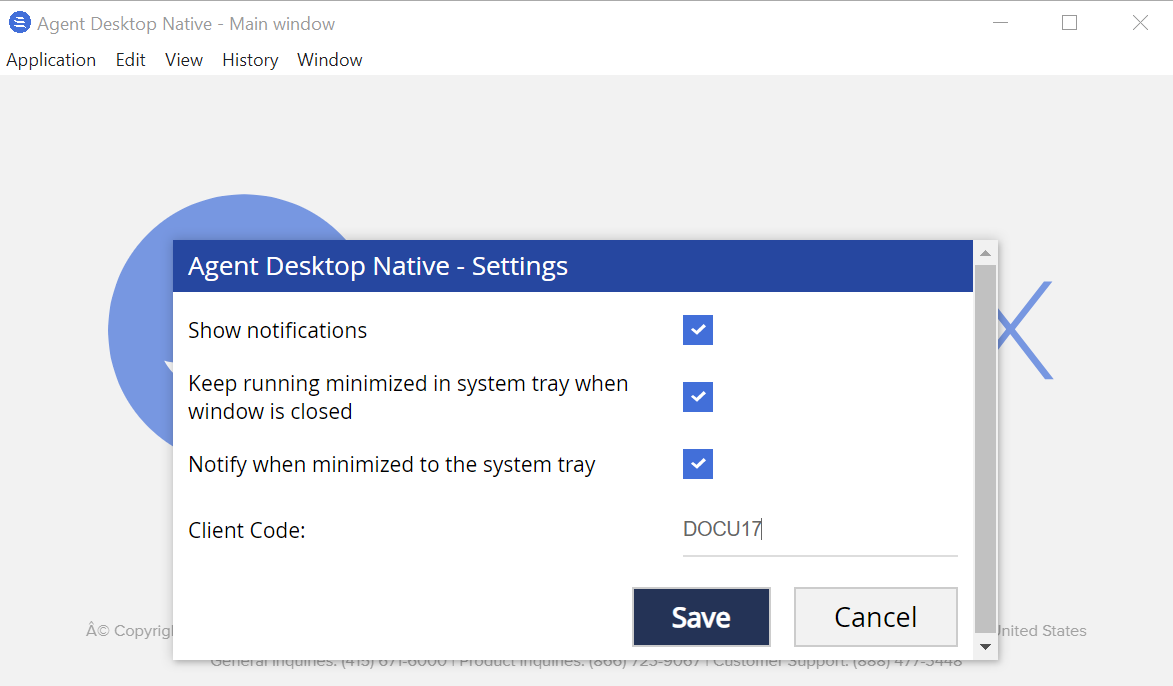
- Enter your Client Code. The Client Code is available on the General tab of the Client editor.
- Enter your Client Code on the Agent Desktop Native settings page, and click the Save button
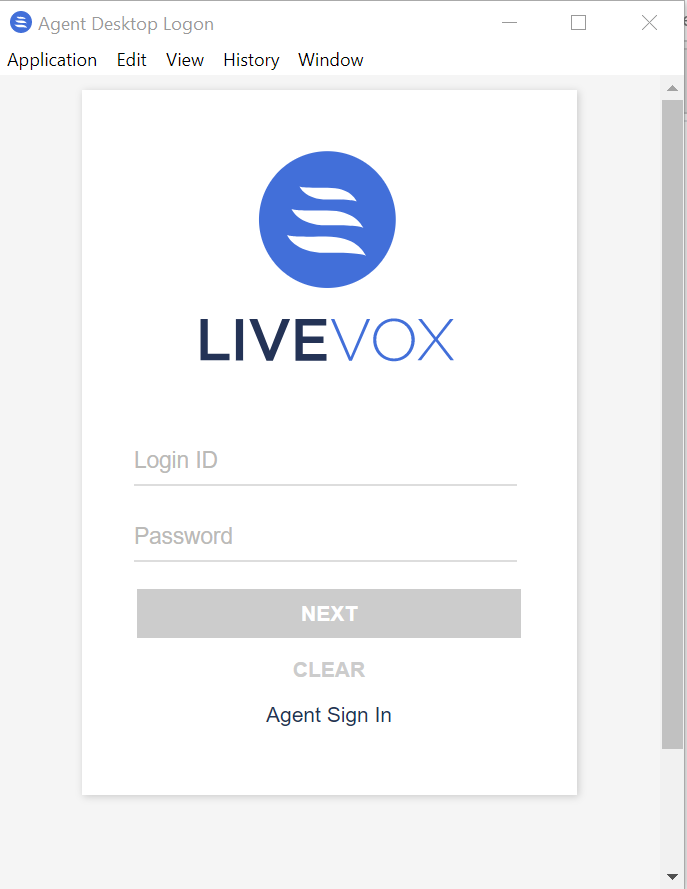
- Specify your login credentials and click the Next button.
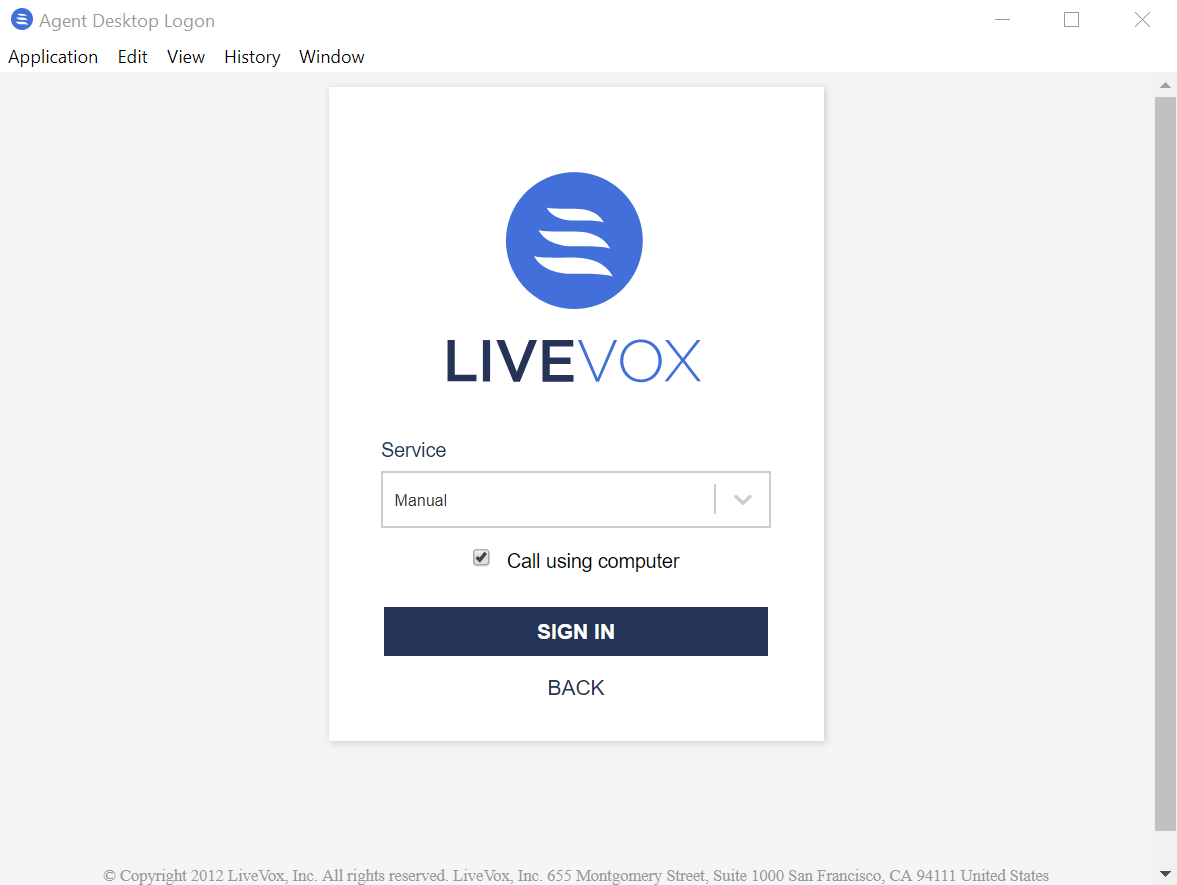
- In the Service drop-down menu, select a service to which you want to log in, and then click Sign In.
Depending on the selected service, the agent desktop prompts you to either dial in or connect using your computer audio via WebRTC. After you are connected, you can make and receive calls by using the voice portal.
Agent Desktop Native Functionality
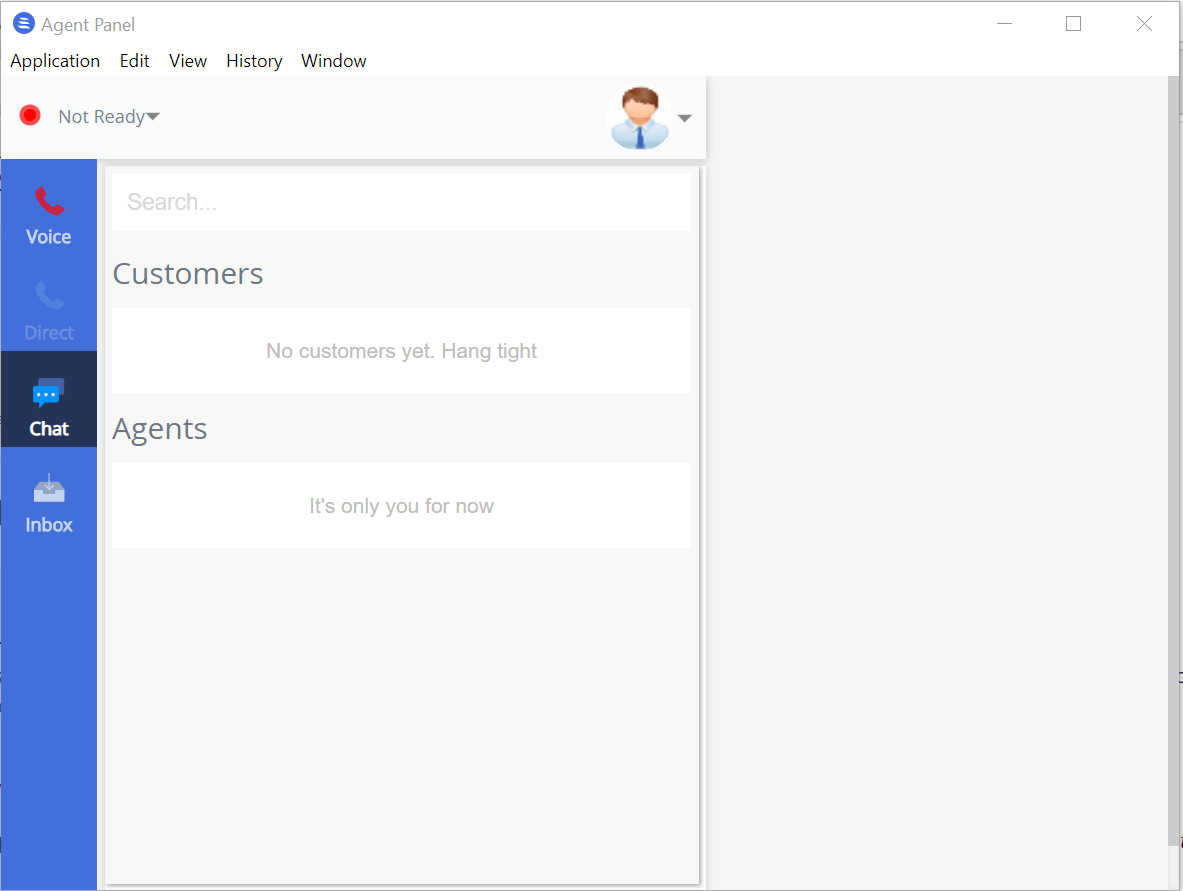
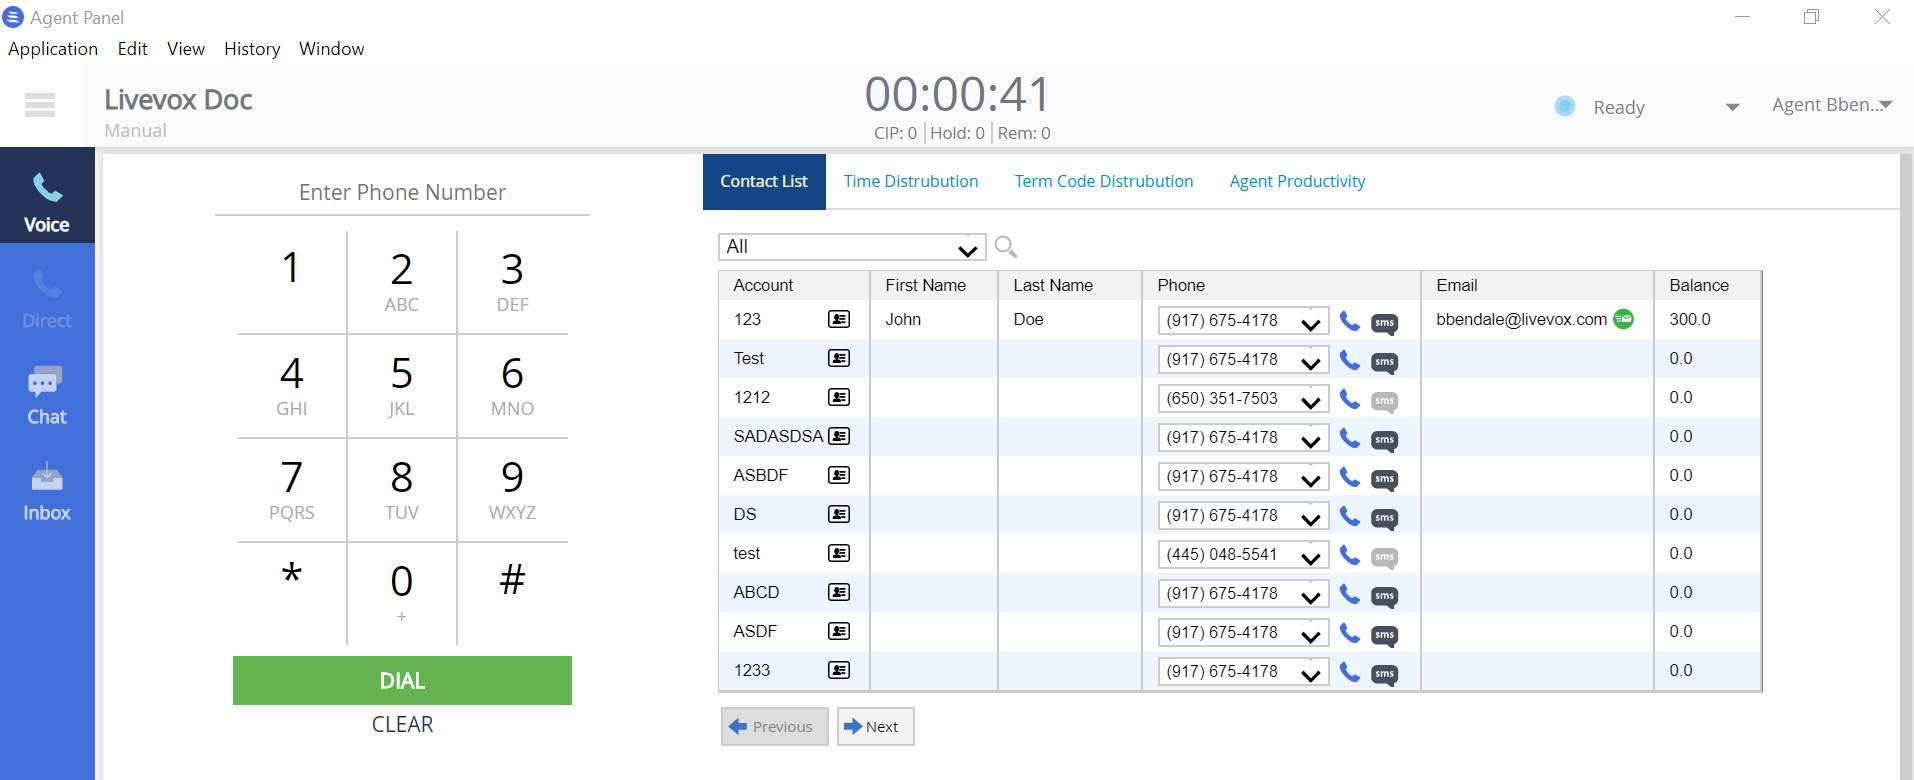
The Agent Desktop Native application contains the same functionality as the Agent Desktop application on the browser. For more information, see the Agent User Guide on User Hub.
ADN Logs
You can view errors reported when performing the ADN operations at the following locations on the respective OS versions:
- Windows: %USERPROFILE%\AppData\Roaming\Agent Desktop Native\logs\
- macOS: ~/Library/Logs/Agent Desktop Native/
- Linux: ~/.config/Agent Desktop Native/logs/

