OverviewThe Agent Desktop Native (ADN) application, supported by LiveVox U10 and later versions, is an installable application designed to enhance the agent experience by offering the following features: - Browser-independent access to the Agent Desktop
- Integrated voice through WebRTC
- Access to screen recording
- Desktop Native commands enablement
This document provides a summary of changes across different releases and instructions to download, install, configure, and use the Agent Desktop Native application. This document is intended for individuals responsible for the setup and training of contact center agents, and individuals who have access to the Agent Desktop configurations. | Note |
|---|
| The ADN application supports Windows 8.1+, Mac OS 10.9+, and Linux Debian 8. This document provides instructions for installation on Windows and Mac systems. |
Summary of ChangesThe following table summarizes the changes to the Agent Desktop Native application across different releases. | Scroll Table Layout |
|---|
| orientation | portrait |
|---|
| sortDirection | ASC |
|---|
| repeatTableHeaders | default |
|---|
| widths | 15%,15%,55%,15% |
|---|
| sortByColumn | 1 |
|---|
| tableStyling | confluence |
|---|
| sortEnabled | false |
|---|
| cellHighlighting | true |
|---|
|
| ADN Version | Platform Release | Changes | Release Date |
|---|
| 7.2 | U10 | - Supports the Copy to Clipboard feature which enables you to copy the Contact manager fields and Call Flow variables and paste them to the destination.
- Enhanced keystroke emulation sequence support.
| December 13, 2019 | | 7.3 | U12 | - Supports installation of the ADN application using Group Policies (GPO) on the standard the standard windows installer path.
| Note |
|---|
| Contact your internal IT team for the Microsoft installer (MSI) package required to install the Agent Desktop Native application. |
| January 28, 2020 | | 7.4 | U15 | - For ADN mass installation, MSI package can be used which supports provisioning using config.mst and config.json files. For For more information, See Installing the Agent Desktop Native Application using MSI Package section.
| Note |
|---|
| Contact the LiveVox Customer Care Team for the MSI installer package required to install the Agent Desktop Native application. |
- ADN icon is now available in the System Tray.
- ADN can be configured for incoming call pop-up notifications with the U15 platform.
| December 22, 2020 | | 7.5 | U16 | - Ensures ADN adheres to Whitelist IP settings as configured in the LiveVox Portal's Security tab.
- Enables to view PDF files from links shared on the agent chat or email through ADN.
| February 10, 2021 |
| Note |
|---|
| LiveVox U10 to U15 releases work with ADN 7.3. Before upgrading to these releases, please ensure your Agent Desktop Native version is upgraded to ADN 7.3. |
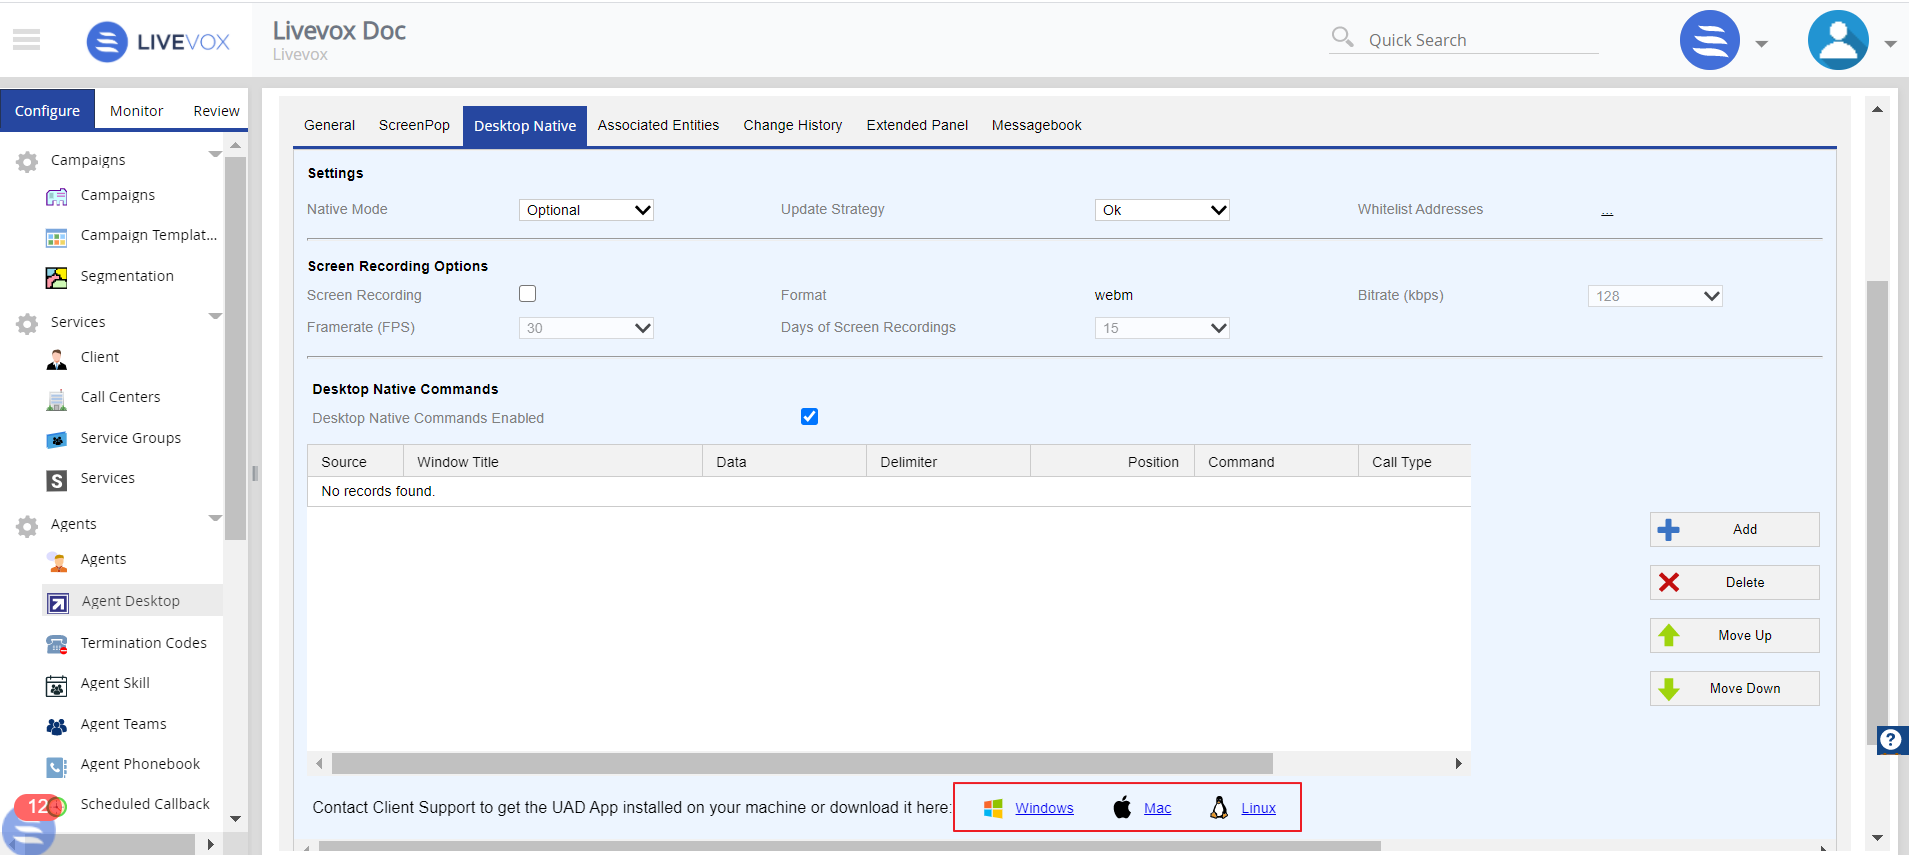
Downloading and Installing the ADN Application You can download the ADN application v7.5 on the agent’s station either through the LiveVox portal, Agent Sign In page, or by contacting the LiveVox Customer Care. Team Downloading ADN ApplicationLiveVox Portal To download the Agent Desktop Native application through the LiveVox portal: - Login to the LiveVox portal with an account that has administrator privileges and navigate to Configure > Agents > Agent Desktop > Desktop Native tab.
- Scroll down to the Desktop Native Commands section and choose a platform (Windows, Mac, or Linux) for which you want to download the Agent Desktop Native application.
Agent Sign In PageTo download the Agent Desktop Native application through the Agent Sign In page, navigate to the Agent Sign In page, sign in with your credentials, and then click the Get The App link.
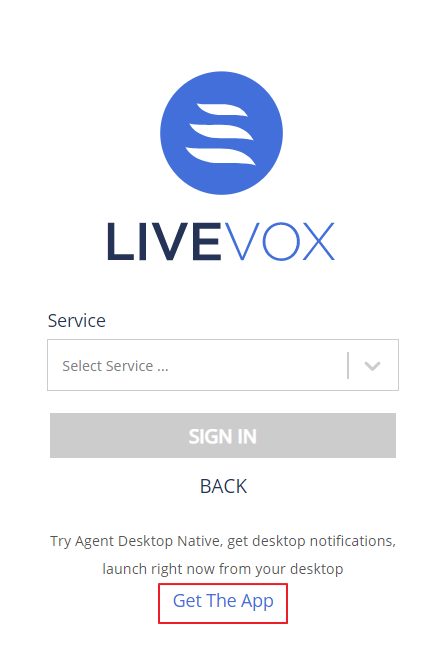 | Note |
|---|
| Your browser automatically detects the correct download file for your operating system. |
Installing ADN Application on WindowsTo install the ADN application on a Windows system, follow the procedure below:- Run the agent-desktop-native-<version>.exe file to launch the installer. The following message appears.
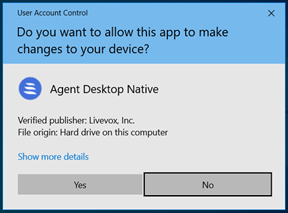 - Click the Yes button to begin the installation process. An An Agent Desktop Native Setup window appears.
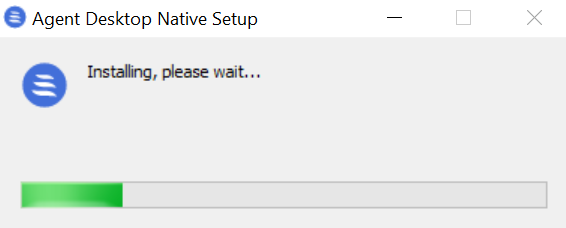 - The application installs on the local machine. You can launch the Agent Desktop Native application from the applications folder, or the icon placed on the desktop.

Installing ADN Application Using MSI PackageFor ADN mass installation, MSI installer package can be used which supports provisioning using config.mst and config.json files. | Note |
|---|
- This is applicable only to the Windows platform.
- Contact the Customer Care Team for the MSI installer package required to install the Agent Desktop Native application.
|
- Copy the Microsoft installer package ADN 7.5.msi and config.mst file to the specific folder. For Example, C:\temp\ADNInstall\
- Create the config.json file using the Notepad in the same folder with the same folder with the below contents. Update the Value with your appropriate Client code.
{"clientCode":"Value"} - Open the windows cmd prompt and go the MSI package directory. For Example, cd C:\temp\ADNInstall\
- Execute the following command:
msiexec /i agent-desktop-native-7.5.0.msi TRANSFORMS=config.mst
Installing ADN Application on Mac - After downloading the ADN application, run the .pkg file to launch the installer.
- Follow the installation on-screen instructions to complete the installation process.
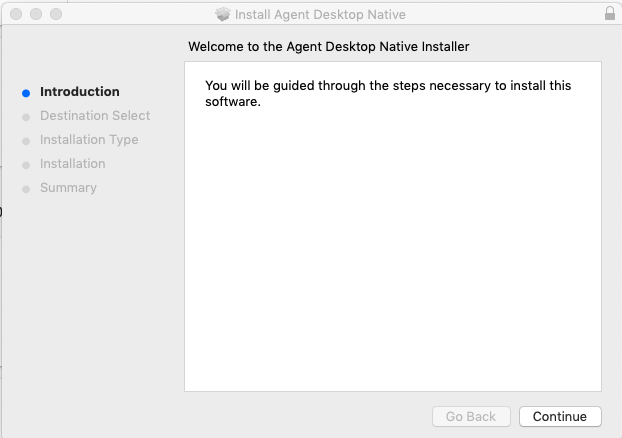
After the installation process is complete, launch the ADN application from the applications folder.
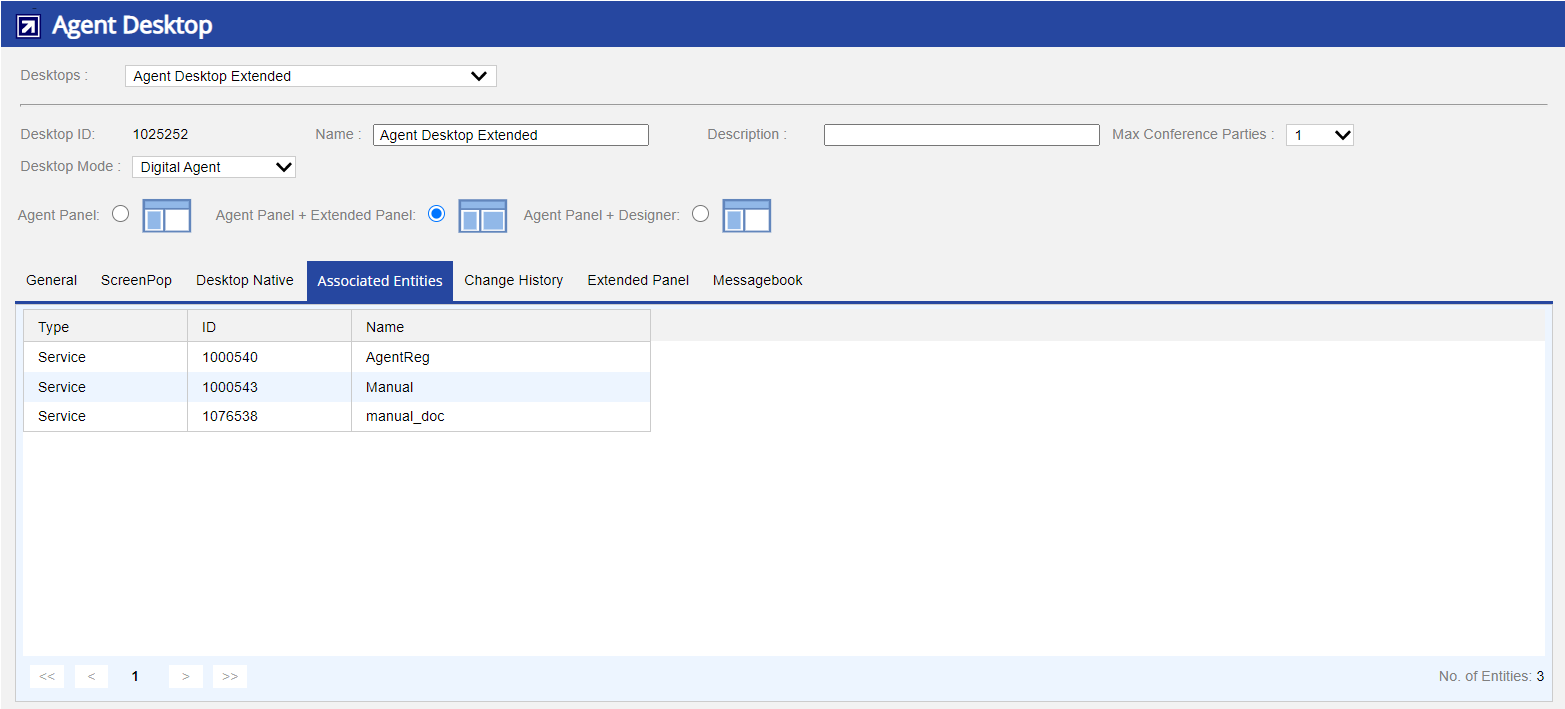
Configuring ADN Application You can configure the Agent Desktop Native settings on the Configure tab of the LiveVox portal. Login to the LiveVox portal with an account that has administrator privileges and navigate to Configure > Agents > Agent Desktop > Desktop Native. On the LiveVox U10 platform and above versions, the Desktop Native tab is available by default in the Agent Desktop screen of the voice portal. - Click the Associated Entities tab and ensure that the selected desktop is associated with the service to which the agent must log in. You can configure the association in the Client or Service editor.
 - On the Desktop Native tab, ensure that the Native Mode is set to Optional or Required. The Native Mode drop-down menu has the following options:
- Disabled: Agent cannot log in using ADN
- Optional: Agent can use the browser or ADN to log in
- Required: Agent can log in only using ADN
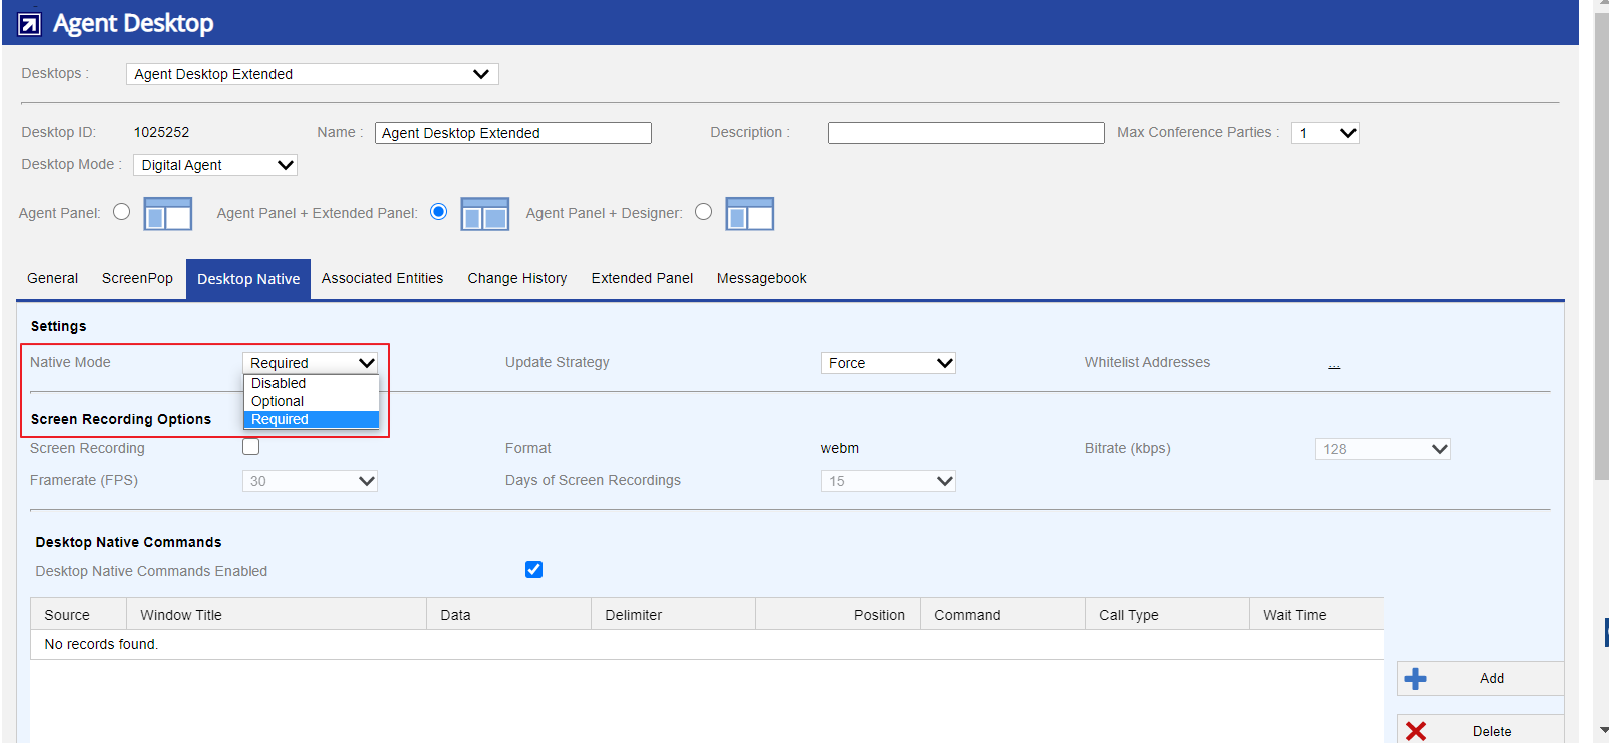
- Choose an Update Strategy to define the version of the Agent Desktop Native application:
- Ok: No restriction to use any version of ADN
- Ask: If an agent has a different version installed than the one configured for the site, a pop-up prompting an update appears. An update notification appears after the agent logs in to the Agent Desktop Native application and selects a service.
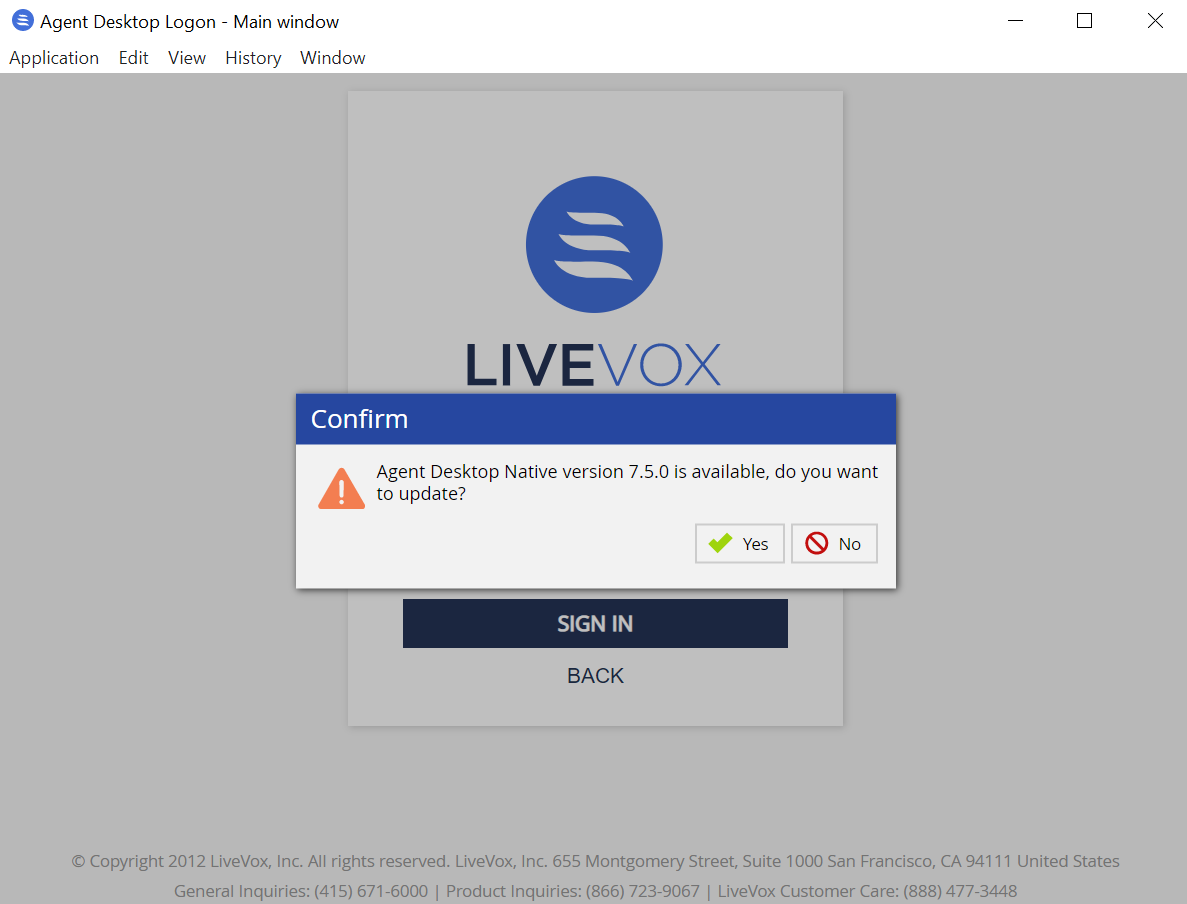 - Force: After login, the update process installs and starts the new version without intervention. The update automatically launches when an agent logs in to the Agent Desktop Native application and selects a service.

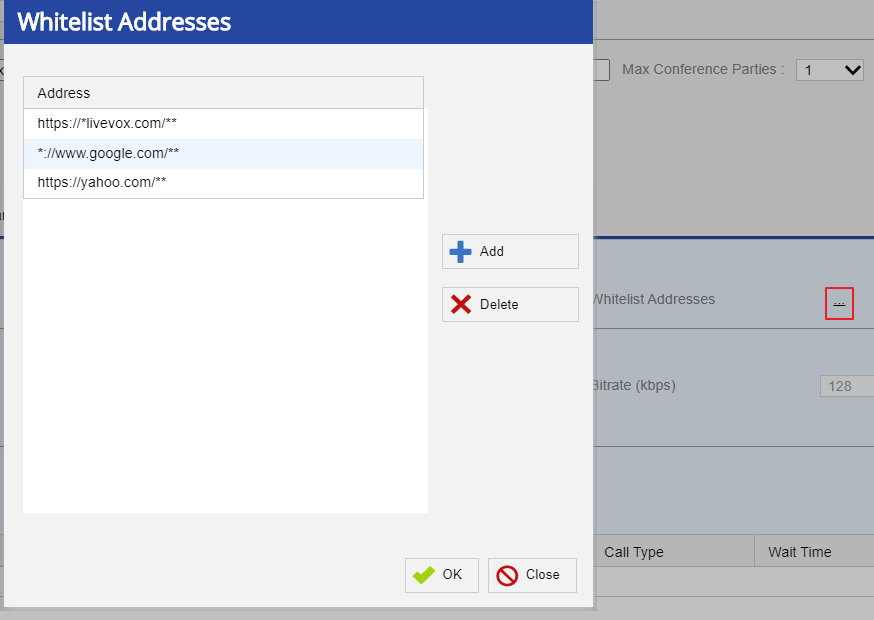
- Set Whitelist Addresses to define trusted domains. If the domain is not added in the Whitelist address list, the agent will be displayed with a similar error window.

| Anchor |
|---|
| #WhiteList_address |
|---|
| #WhiteList_address |
|---|
|
| Note |
|---|
- By default, only the trusted LiveVox domains are listed. This mechanism allows blocking of all loading resources which do not match the whitelists. Click the ellipsis next to the Whitelist Addresses to open the Whitelist Addresses pop-up window that allows you to view and manage the list of all the approved addresses for the Desktop Native application.
- Add: Adds new entry. Enter the address to be added as a whitelisted address in the address field.
- Delete: Deletes an entry. Select the address and click the Delete button to delete an entry.
- Ok: Click Ok to save the changes.
- Close: Click Close to discard the changes.
For example, https://*livevox.com/**, *://www.google.com/**, https://yahoo.com/**.
 - Typically, when enabling access, you will want to create a specific top-level-domain entry, and a wildcard-subdomain entry like this: *://yahoo.com/** , *://*.yahoo.com/**
- If you have a single-sign-on provider, you need to allow access to them as well. For example, *://yourcorp.okta.com/**
- You can discover what URLs need to be whitelisted is to check the details in any "BLOCKED" errors appearing in the app window or the ADN logs. For detailed information on ADN logs, see the ADN Logs section of this document.
|
Configuring ADN application on Agent WorkstationLaunch the ADN application.
You will be prompted to configure your client code by the below message.
 | Info |
|---|
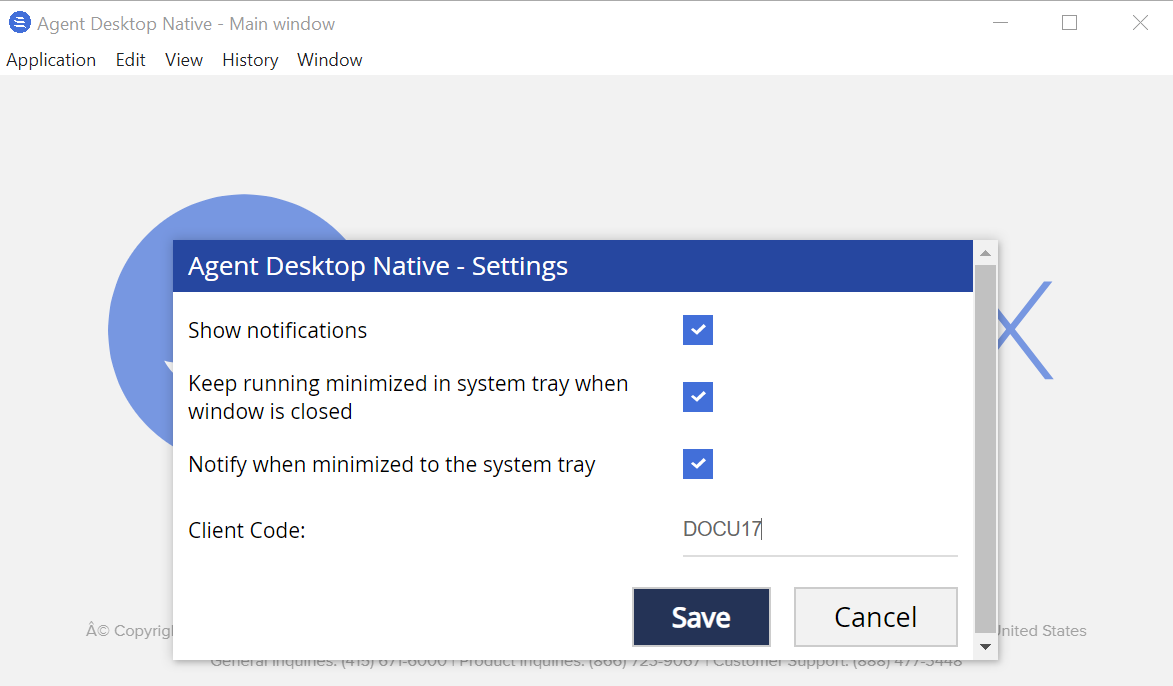
You can set the Client Code from the settings options.- On a Windows system, go to Application > Settings.
- On a Mac system, go to Agent Desktop Native > Settings.
|
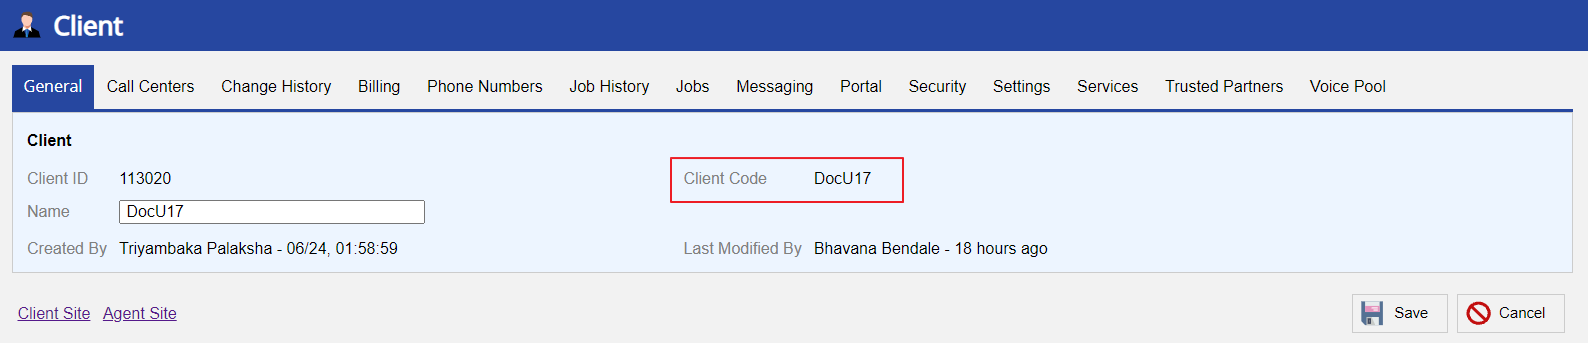
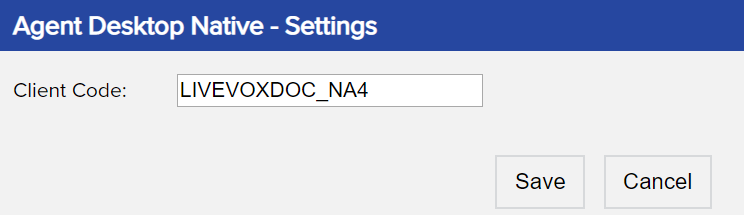
- Enter your Client Code. The Client Code is available on the General tab of the Client editor.
 - Enter your Client Code in the Agent Desktop Native-Settings window, and click the Save button.
 Specify your login credentials and click the Next button.
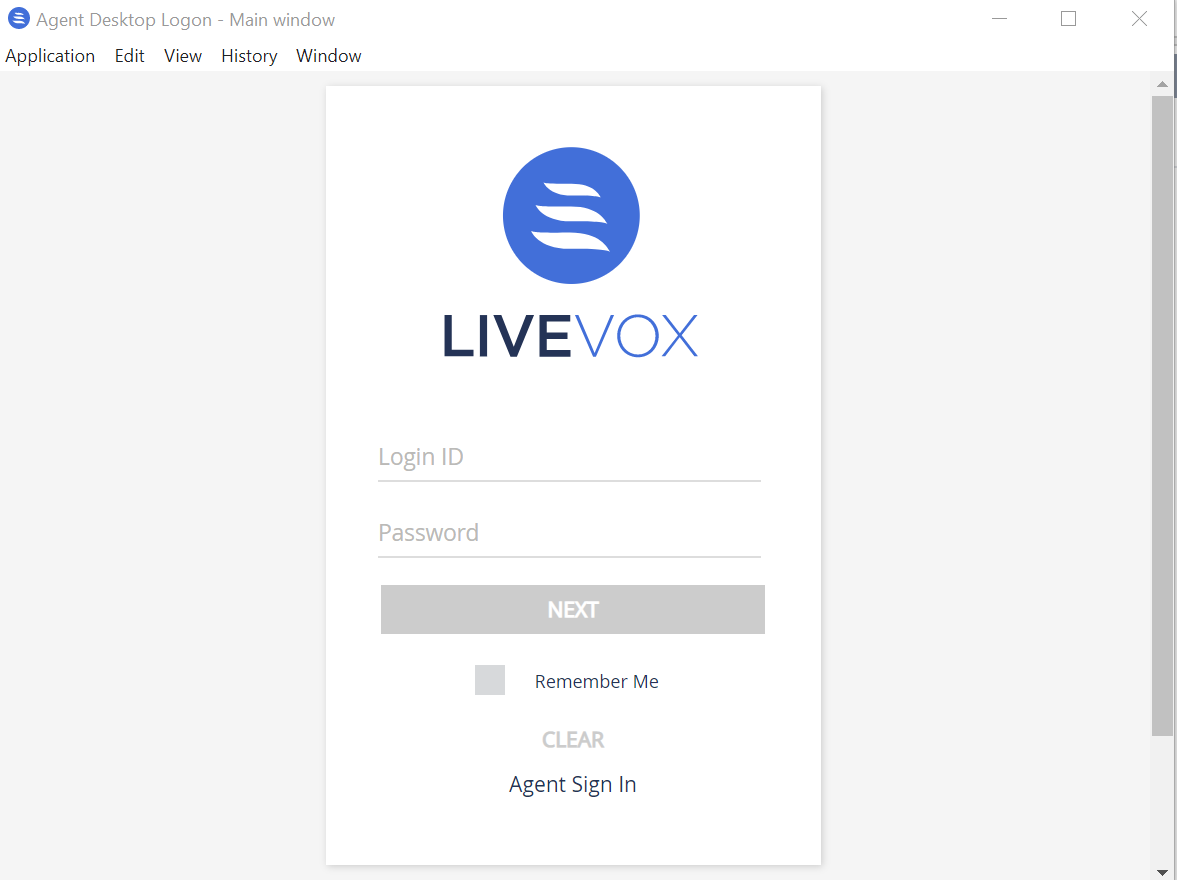 | Info |
|---|
- You can select the Remember Me checkbox to save your Login ID for the next logins. Your password will not be saved.
- You can use the Clear option to remove your entered credentials.
|
- In the Service drop-down menu, select a service to which you want to log in, and then click Sign In.
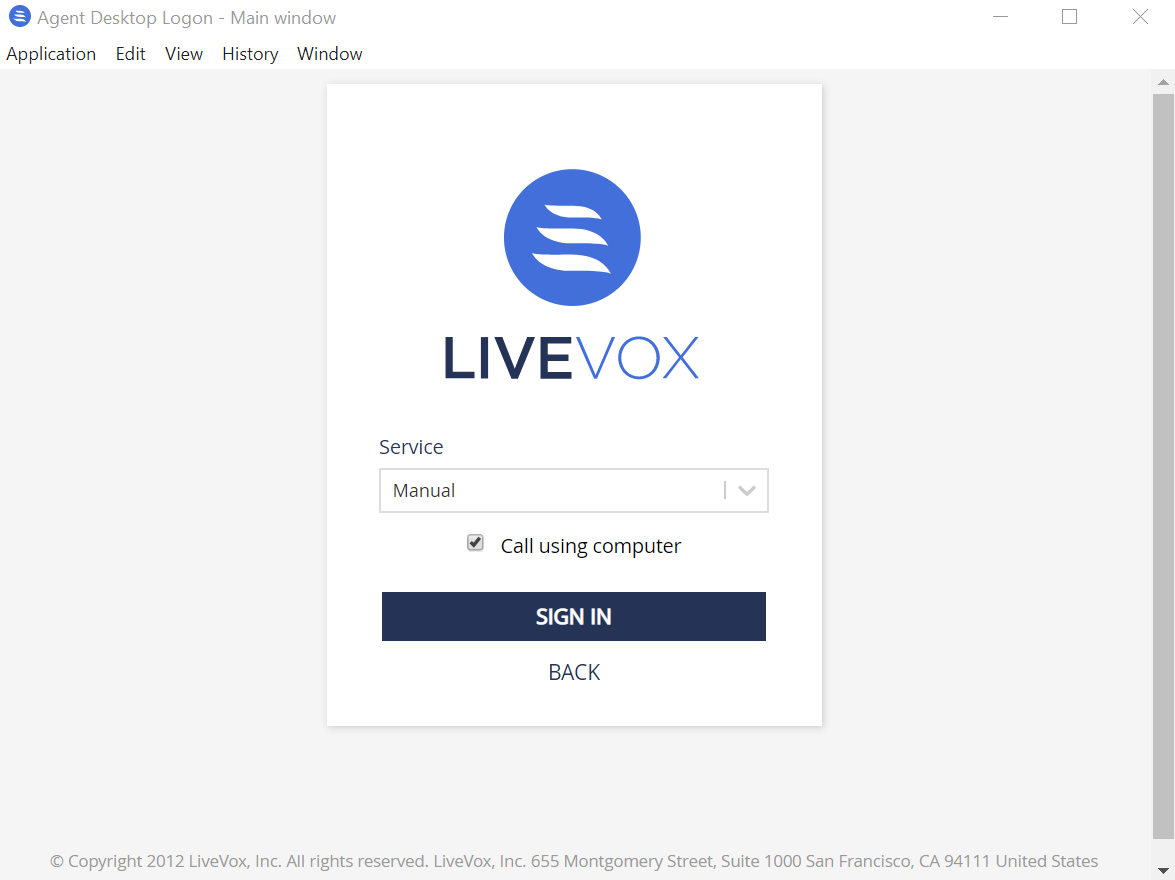
Depending on the selected service, the agent desktop prompts you to either dial in or connect by using your computer audio via WebRTC.
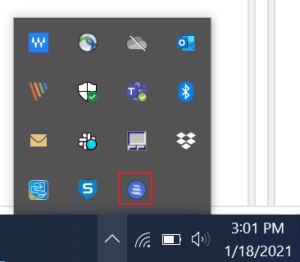
 ADN Icon in System TrayOnce the ADN application is installed, you can see the ADN icon in the system tray as below. This tray icon allows agents to do certain tasks even when the application is closed. | Note |
|---|
When an agent clicks the close (X) button in the upper right corner of the ADN application, the ADN application is not completely quit. This action only minimizes the application into the lower right corner (system tray), retaining the logon status of the agent and allowing them to accept to accept phone calls. |
The icon color will change depending on the agent state. The below table shows icons for different agentfor different agent's states. | Icon | Description |
|---|
| Default | | Agent is in Ready state. | | Agent is in Not Ready state. | | Agent is in call. | | Agent is in Hold state. | | Agent is in Preview Dial. | | Agent is getting the inbound call. | | Agent is in Wrap Up state. | | Agent is online. | | Agent is offline. |
In addition, agents are displayed the icon with a red dot when there is a new chat notification.
For example, an agent is in ready state and gets a message from another agent, then the agent gets the notification and this is indicated on the ready state icon with red dot.
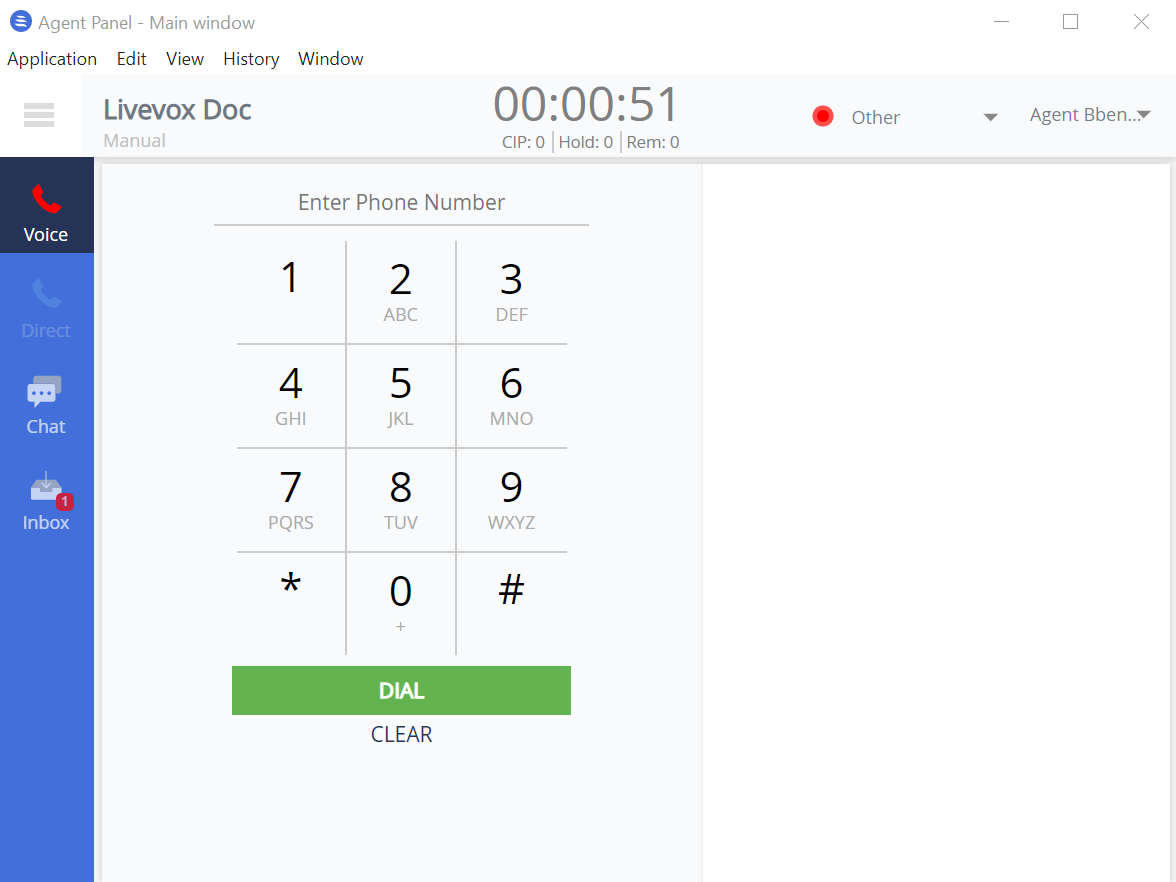
 Image Modified Image Modified When agents right click on the tray icon, they are provided the below options: ADN FunctionalityThe Agent Desktop Native application contains the same functionality as the Agent Desktop application on the browser. For more information, see the Agent User Guide on User Hub.
 ADN LogsYou can view errors reported when performing the ADN operations at the following locations on locations on the respective OS versions:- Windows: %USERPROFILE%\AppData\Roaming\Agent Desktop Native\logs\
- macOS: ~/Library/Logs/Agent Desktop Native/
- Linux: ~/.config/Agent Desktop Native/logs/
24 Hour Customer Care Line: (888) 477-3448
LiveVox Customer Care Email: customercare@livevox.com
This document is an unpublished work protected by the United States copyright laws and is proprietary to LiveVox, Inc. (“LiveVox”). Disclosure, copying, reproduction, merger, translation, modification, enhancement, or use by anyone other than authorized employees, clients or licensees of LiveVox, and its affiliate companies, without the prior written consent of LiveVox, is prohibited. This document is intended as a guide to assist users of systems provided by LiveVox, and does not constitute the provision by LiveVox of any legal or compliance advice. Compliance by authorized clients or licensees of LiveVox with all applicable local, state, federal, or foreign laws and regulations is the sole responsibility of those authorized clients or licensees. Further, features and services that rely on third party performance are subject to the errors and omissions of those third parties, over which LiveVox has no control. LiveVox therefore disclaims all liability resulting from or arising out of any services supplied by or through any third-party vendor or any acts or omissions of the applicable third party vendor. Additionally, LiveVox makes no representations or warranties with respect to the accuracy of content supplied by parties other than LiveVox.
For Internal and Client Use Only |